Quick answer
Set up your hammock stand on level, clear ground, assemble the frame fully before hanging anything, and position the long axis so you have at least a few feet of open space at both ends. Attach the hammock with a gentle sag rather than a tight line, then test it with your hand before sitting down. Most hangout hammock stand assembly takes 10 to 20 minutes with two people.
hangout hammock stand
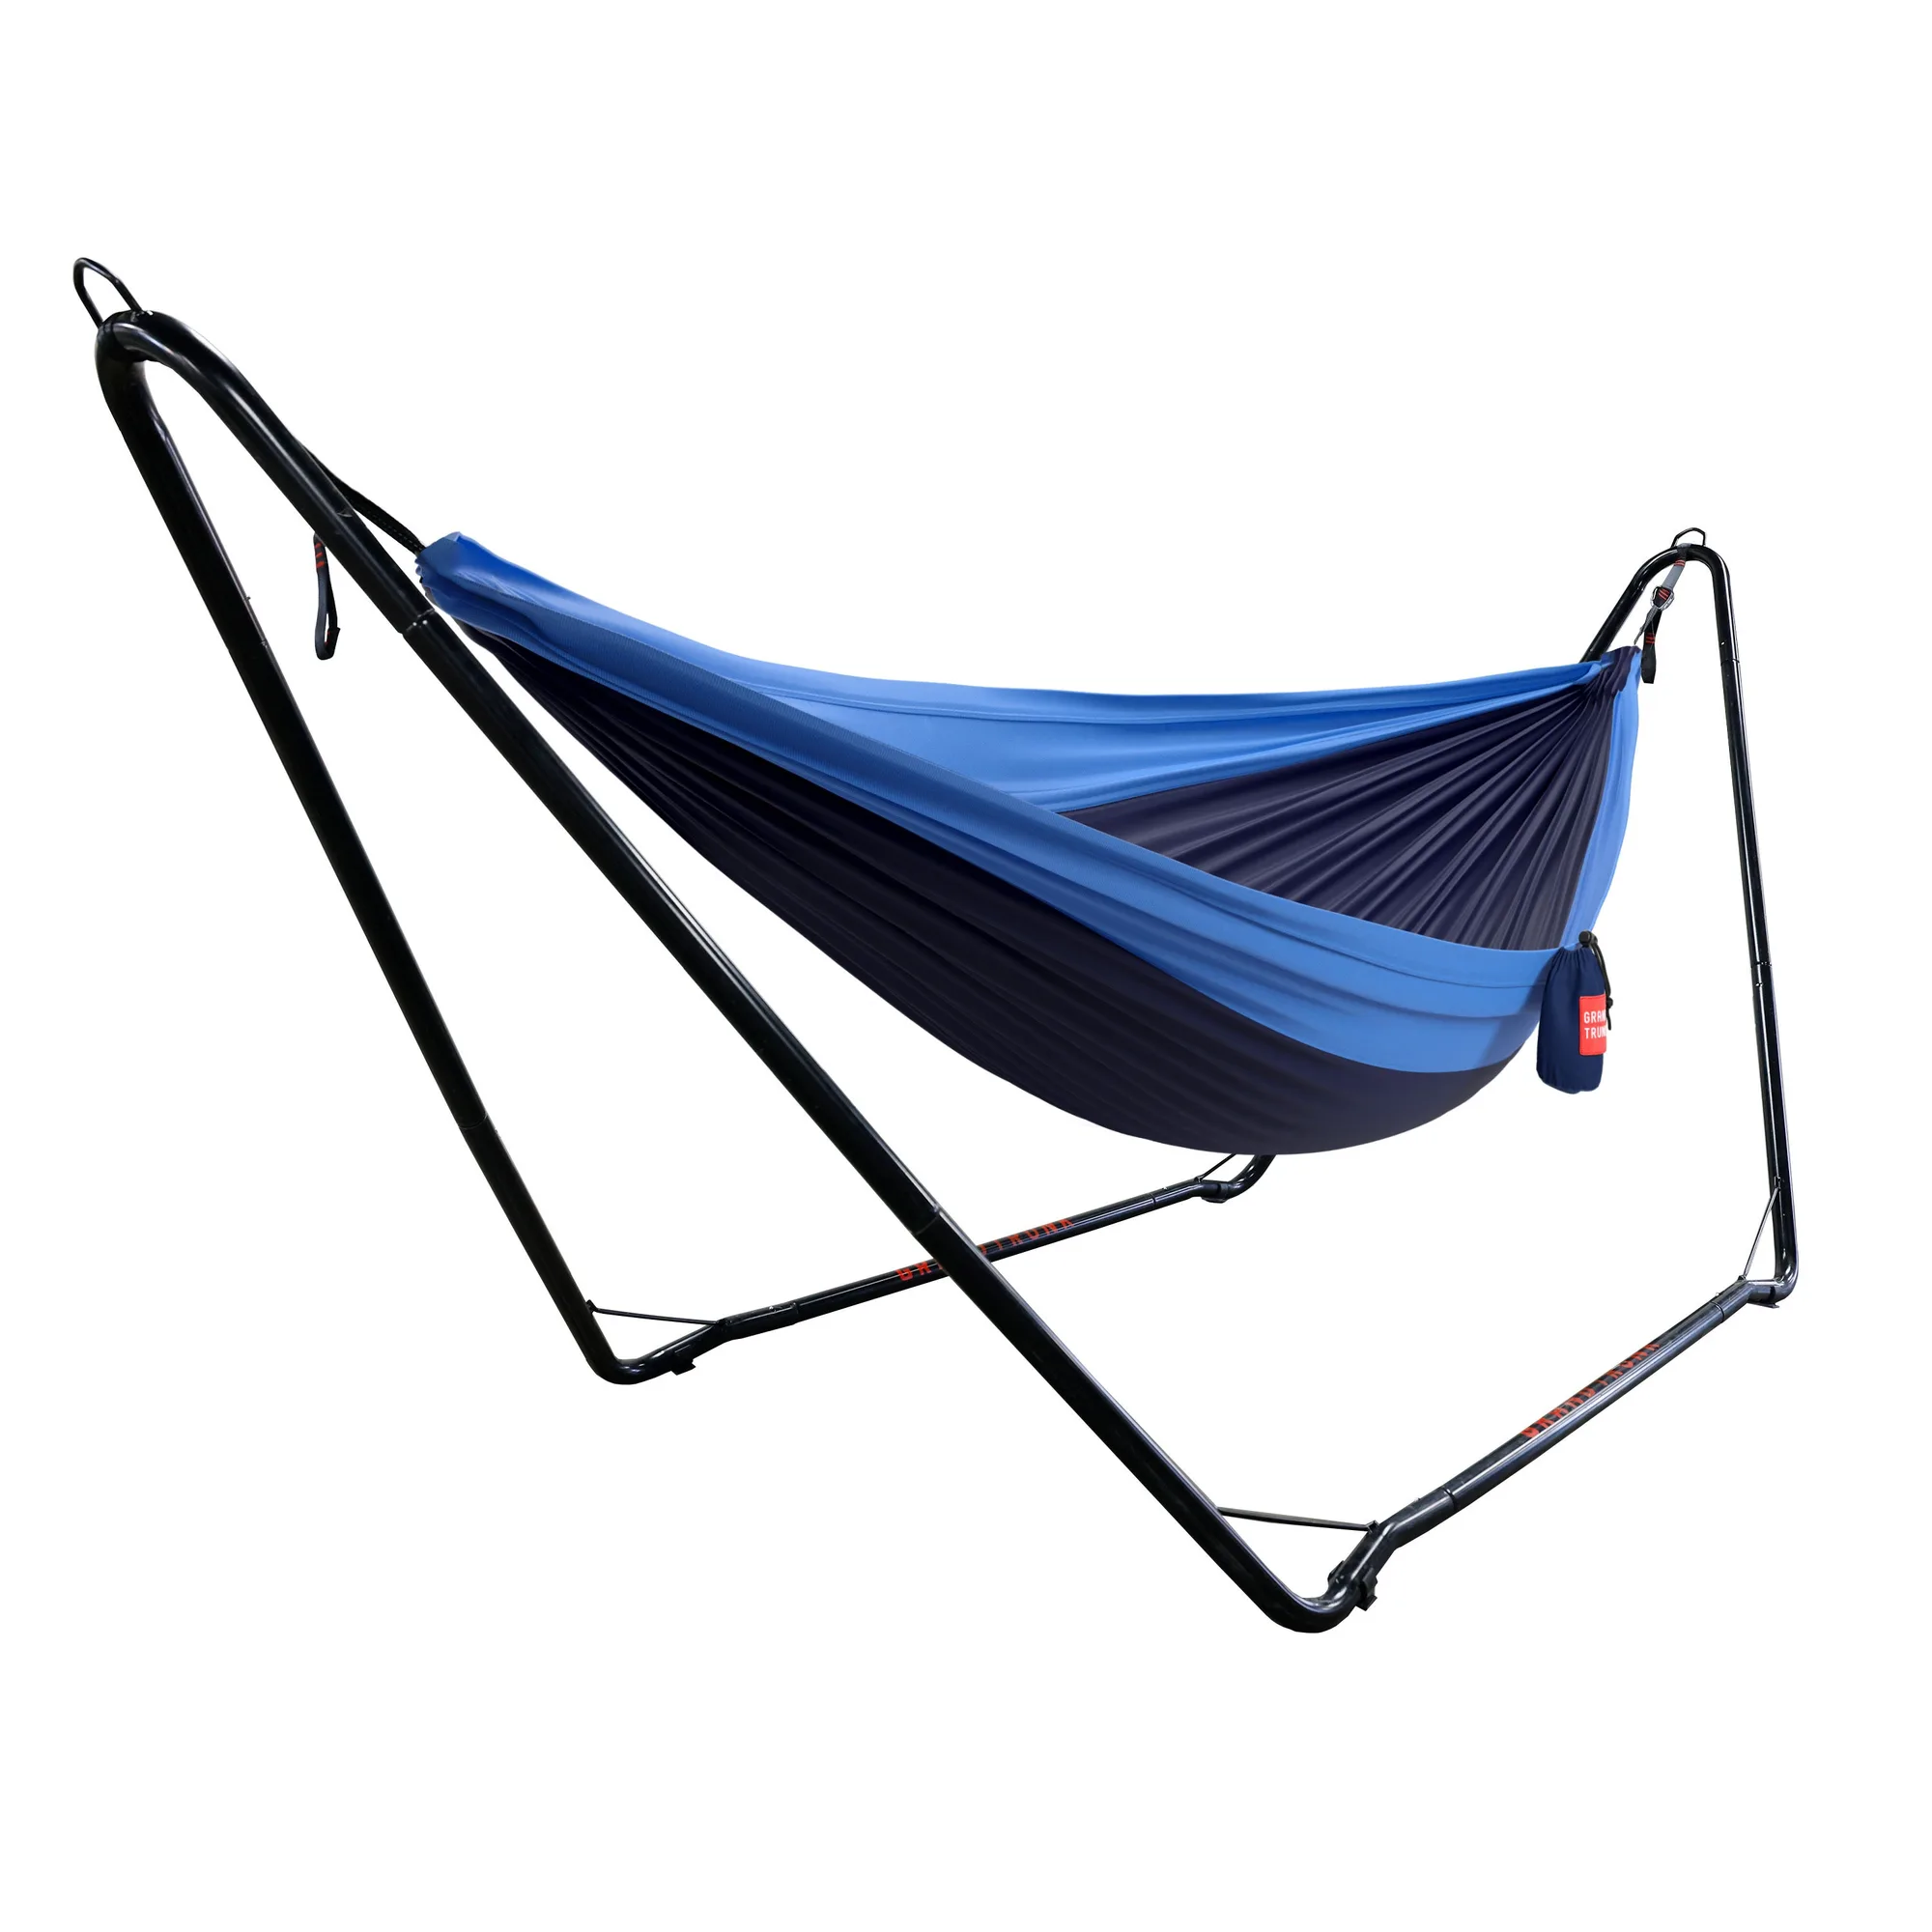
A hammock stand removes the two biggest barriers to hanging out: finding two perfectly spaced trees and hoping they are strong enough. Once the frame is up, you can move it around the yard, patio, or campsite without re-rigging anything. The catch is that a stand only feels stable when it is assembled correctly and placed on ground that can support it.
This guide walks through hammock stand setup in order, from unpacking and sorting hardware to choosing a spot and positioning the frame so you can get in and out safely. It also covers the small checkpoints that separate a wobbly, frustrating hang from one you will use every evening.
Before you start: unpack, sort, and read
Lay every part out on a tarp or driveway before you begin. Count the tubes, bolts, washers, and caps against the parts list, and set the instructions where you can see them. Missing a single washer is the most common reason a frame feels loose after assembly, and it is much easier to catch now than after you have partially built the stand.
If you are assembling alone, work on a flat surface and keep the frame low until the main joints are connected. Two people make the job faster and safer, especially when you lift the assembled frame upright. Do not tighten every bolt to full torque until the whole structure is together; snug them first, then go back around at the end.
- Checkpoint: all hardware accounted for and instructions within reach before the first bolt goes in.
Assemble the frame in the right order
Build the base or feet first, then attach the upright arms and the crossbar or spreader bars. Follow the sequence in your specific stand's instructions, because some frames use labeled left and right arms that will not line up if swapped. Push joints fully together before inserting bolts; a partially seated tube is the most common cause of a frame that rocks.
Once the frame is standing, tighten all fasteners in a crisscross pattern rather than going around in a circle. This helps the frame settle evenly instead of pulling to one side. Give the top bar a firm shake. A small amount of flex is normal, but a clunk or visible gap means something is not fully seated.
- Common mistake: overtightening one side first, which racks the frame out of square.
Choose ground that can actually hold the stand
Level ground matters more than pretty ground. A stand on a slope will lean, and the hammock will slide toward the low end every time you sit down. Firm soil, packed gravel, or a wooden deck are all good options. Soft turf after heavy rain, loose sand, and fresh mulch are not, because the feet can sink unevenly overnight.
Clear the footprint of rocks, roots, sprinkler heads, and low furniture. Leave at least a few feet of open space at both ends of the frame so you can walk around it and so the hammock does not swing into a wall, fence, or grill. If you must use a hard surface, check whether your stand includes surface-protecting feet or pads; if not, add them so the frame does not scratch the deck.
- Checkpoint: stand sits flat with all feet touching at once, no rocking when you press a corner.
Position the stand for comfort, shade, and safety
Point the long axis of the stand in the direction you want to lie, and think about what you will see when you look up. A view of the garden or sky beats staring at a shed wall. If afternoon sun is brutal, rotate the stand so the hammock body falls into shade from a tree or your home, or plan to add a separate shade solution rather than fighting the sun later.
Keep the stand away from overhead branches that drop sap or debris, and away from the path people use to walk to the back door. If you have a pool, place the stand so someone getting out of the hammock is not stepping directly onto a wet edge. For a portable stand you plan to move, mark or remember a spot that stays dry and level year-round.
- Common mistake: setting up under a tree for shade without checking for falling fruit, sap, or weak limbs.
Hang the hammock with the right amount of sag
Attach your hammock to the stand's connection points using the hardware or straps your hammock came with. Aim for a gentle curve, roughly 30 degrees from horizontal at each end, rather than a tight, flat line. A hammock strung too tight is tippy and puts more stress on the frame; too much sag turns it into a deep bowl that is hard to get out of.
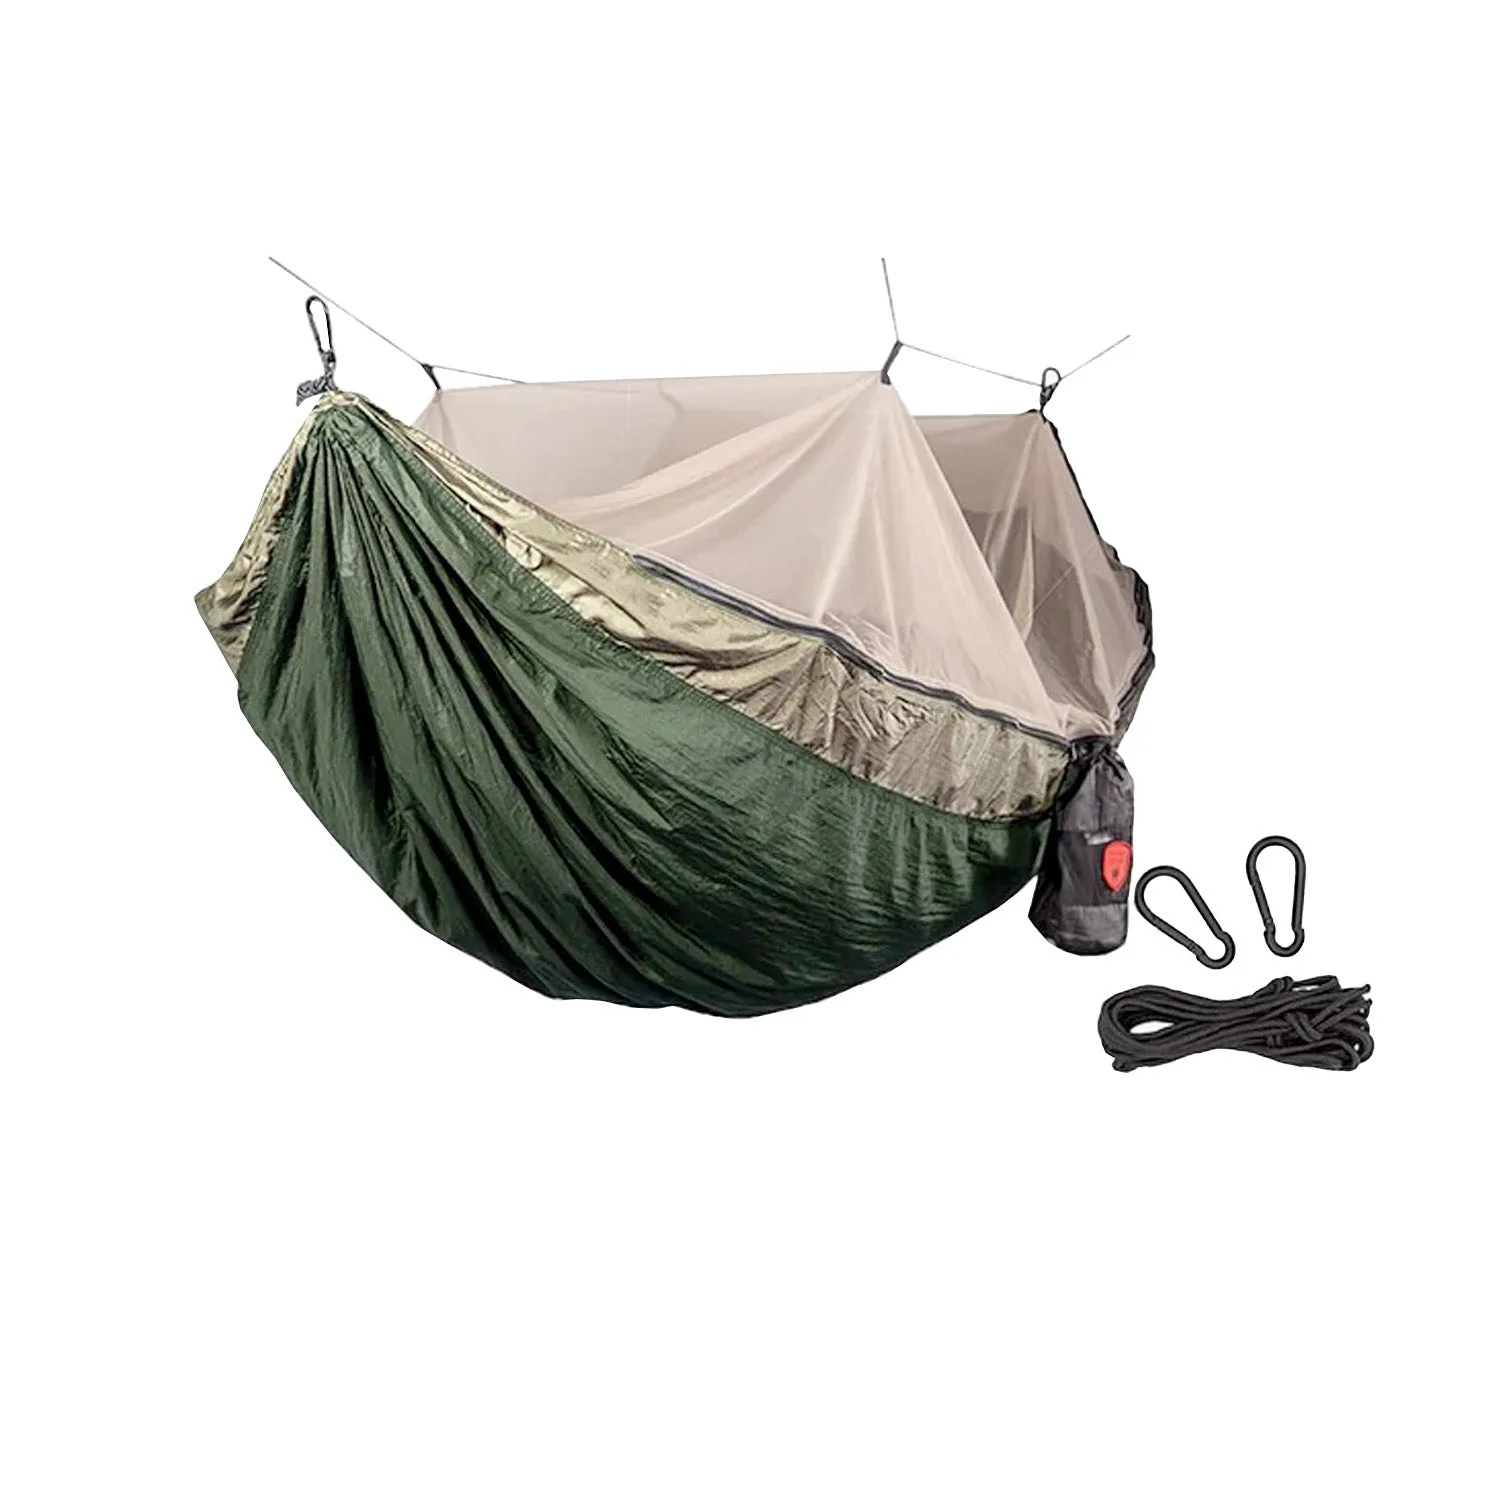
Sit down carefully the first time, keeping your weight centered, then lie back and check that your head and feet are supported and your body is not sliding to one side. If you are using a hammock with a bug net, such as the Skeeter Beeter Pro Mosquito Net Hammock, set the net up after the hammock is hung and confirm the zipper runs freely. Note that hanging kits and straps are not included with that hammock, so plan your suspension separately.
Skeeter Beeter Pro Mosquito Net Hammock
- Checkpoint: hammock holds your weight with a smooth curve and no creaking from the frame.
Final safety check and weather habits
Before you leave it out, walk around the frame and confirm every bolt is tight, every foot is on solid ground, and nothing is pinched or rubbing. Sit in the hammock once more and sway gently. If the frame shifts, stop and re-level rather than hoping it settles. A stand that moves on the first sit will keep moving.
For long-term outdoor use, bring the hammock inside or cover it during storms and off-season months, and check fasteners at the start of each season. If you store the stand outdoors, retighten bolts after the first few uses, since new frames often settle. A quick two-minute inspection each spring keeps the setup safe and ready.
- Common mistake: leaving a hammock out through winter, which ages fabric and hardware faster.
Hammock stand setup steps
- 1. Sort and inspect the parts: Lay out all tubes, bolts, washers, and caps, and check them against the parts list before assembly. Missing hardware is easier to replace now than after the frame is half-built.
- 2. Build the base and uprights: Assemble the feet or base first, then attach the upright arms and crossbar, pushing joints fully together before bolting. A partially seated joint is the most common cause of a rocking frame.
- 3. Tighten in a crisscross pattern: Snug all fasteners first, then tighten them evenly across the frame rather than around in a circle. Even tightening keeps the stand square and stable.
- 4. Pick level, firm ground: Choose packed soil, gravel, or decking, and clear the footprint of rocks, roots, and sprinkler heads. Soft or sloped ground will let the stand lean and sink.
- 5. Position for view, shade, and clearance: Aim the long axis where you want to lie, leave open space at both ends, and avoid overhead hazards and busy walkways. A good position is one you can walk around and get out of safely.
- 6. Hang with a gentle sag: Attach the hammock with roughly 30 degrees of sag at each end, then sit centered and check support. Too tight is tippy; too loose is hard to exit.
- 7. Do a final safety pass: Recheck every bolt, confirm all feet are grounded, and sway gently before regular use. If the frame shifts on the first sit, re-level it before using it again.
Gear that pairs well with a stand setup
- Skeeter Beeter Pro Mosquito Net Hammock: This mosquito-proof hammock has triple-lock stitched seams and a double-sided zipper for easy entry and exit; hanging kit and straps are not included. The double-sided zipper makes it easier to get in and out on a stand, but you will need to add a suspension kit separately before your first hang.
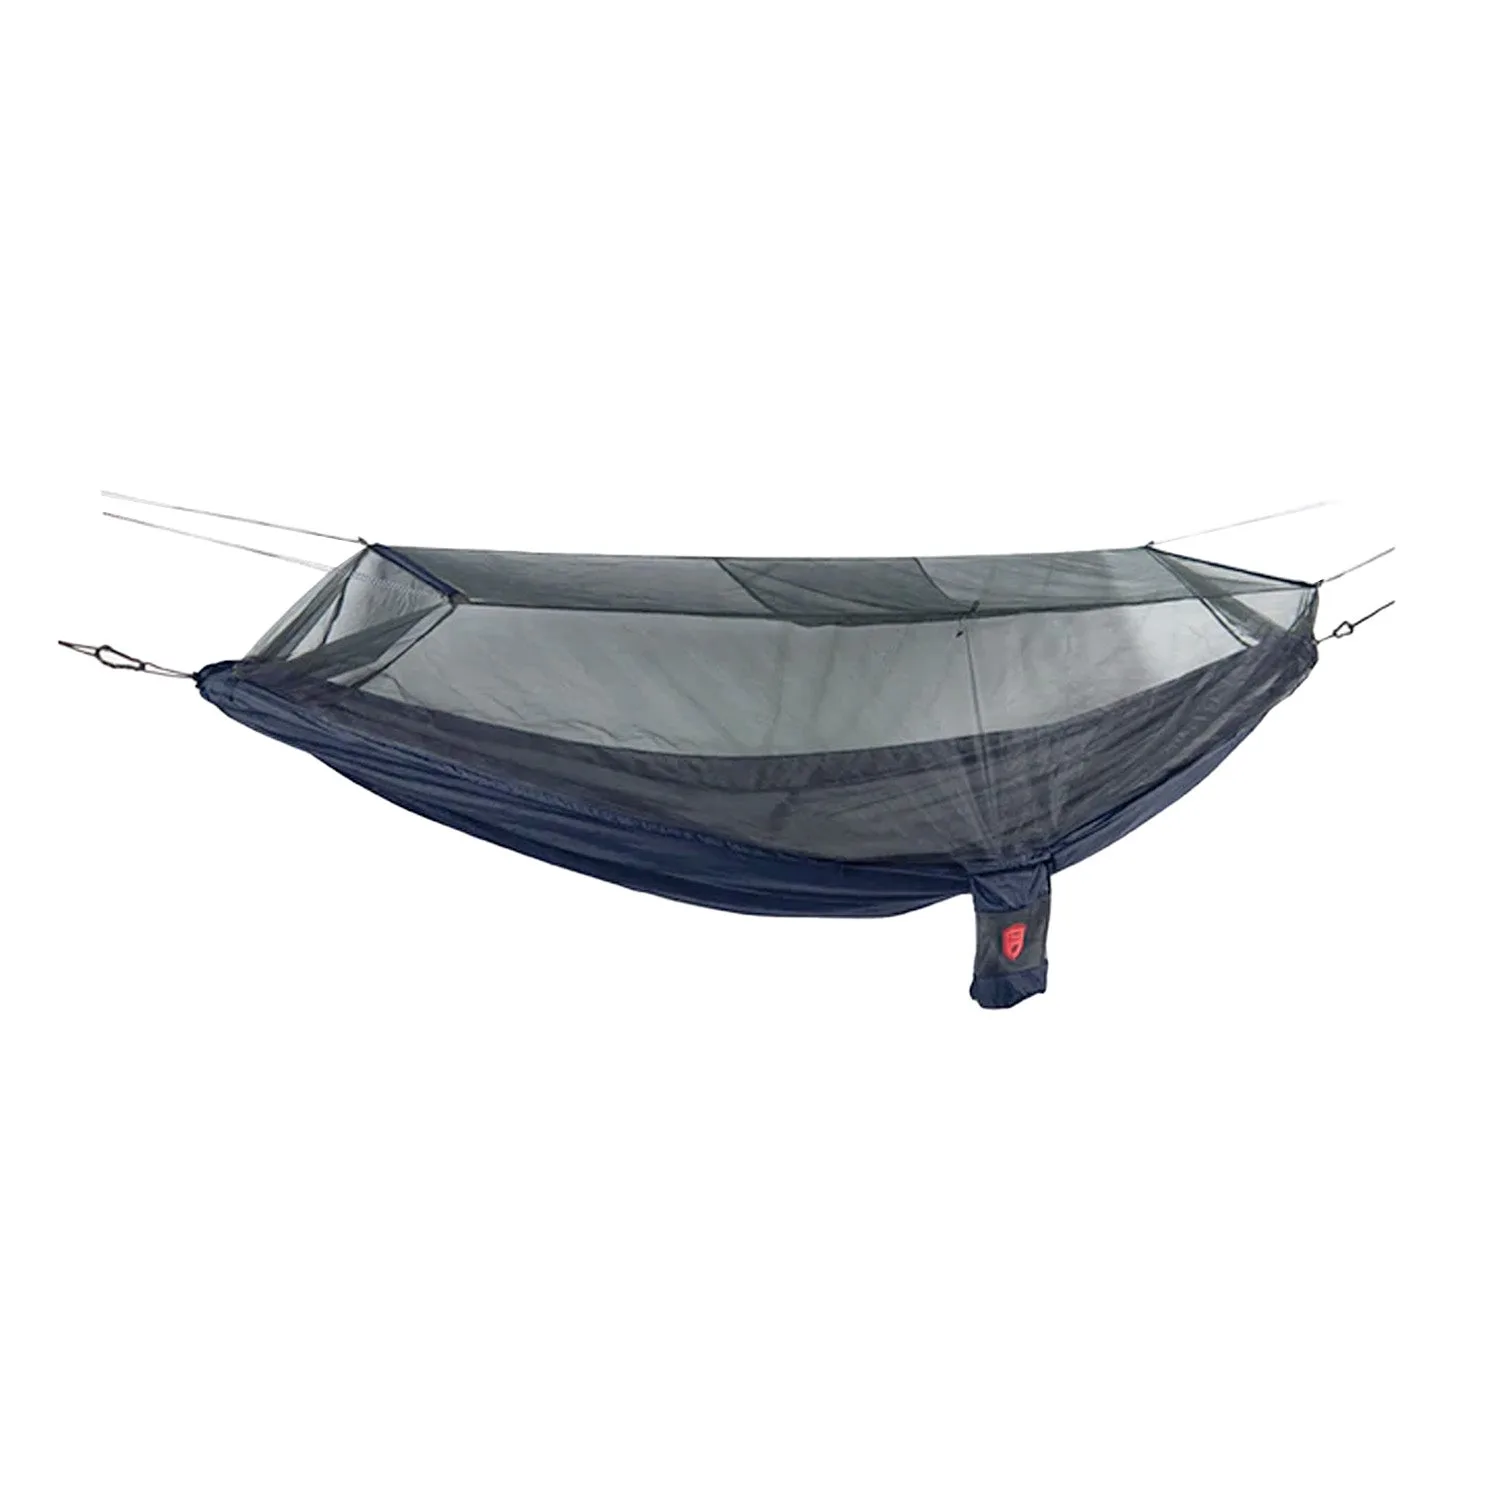
- Skeeter Beeter XT Mosquito Net Hammock: A mosquito-proof hammock designed to keep bugs out for a better night's sleep outdoors; hanging kit and straps are not included. A good choice if insects are the main reason you avoid evening hangs, as long as you budget for straps or a hanging kit.
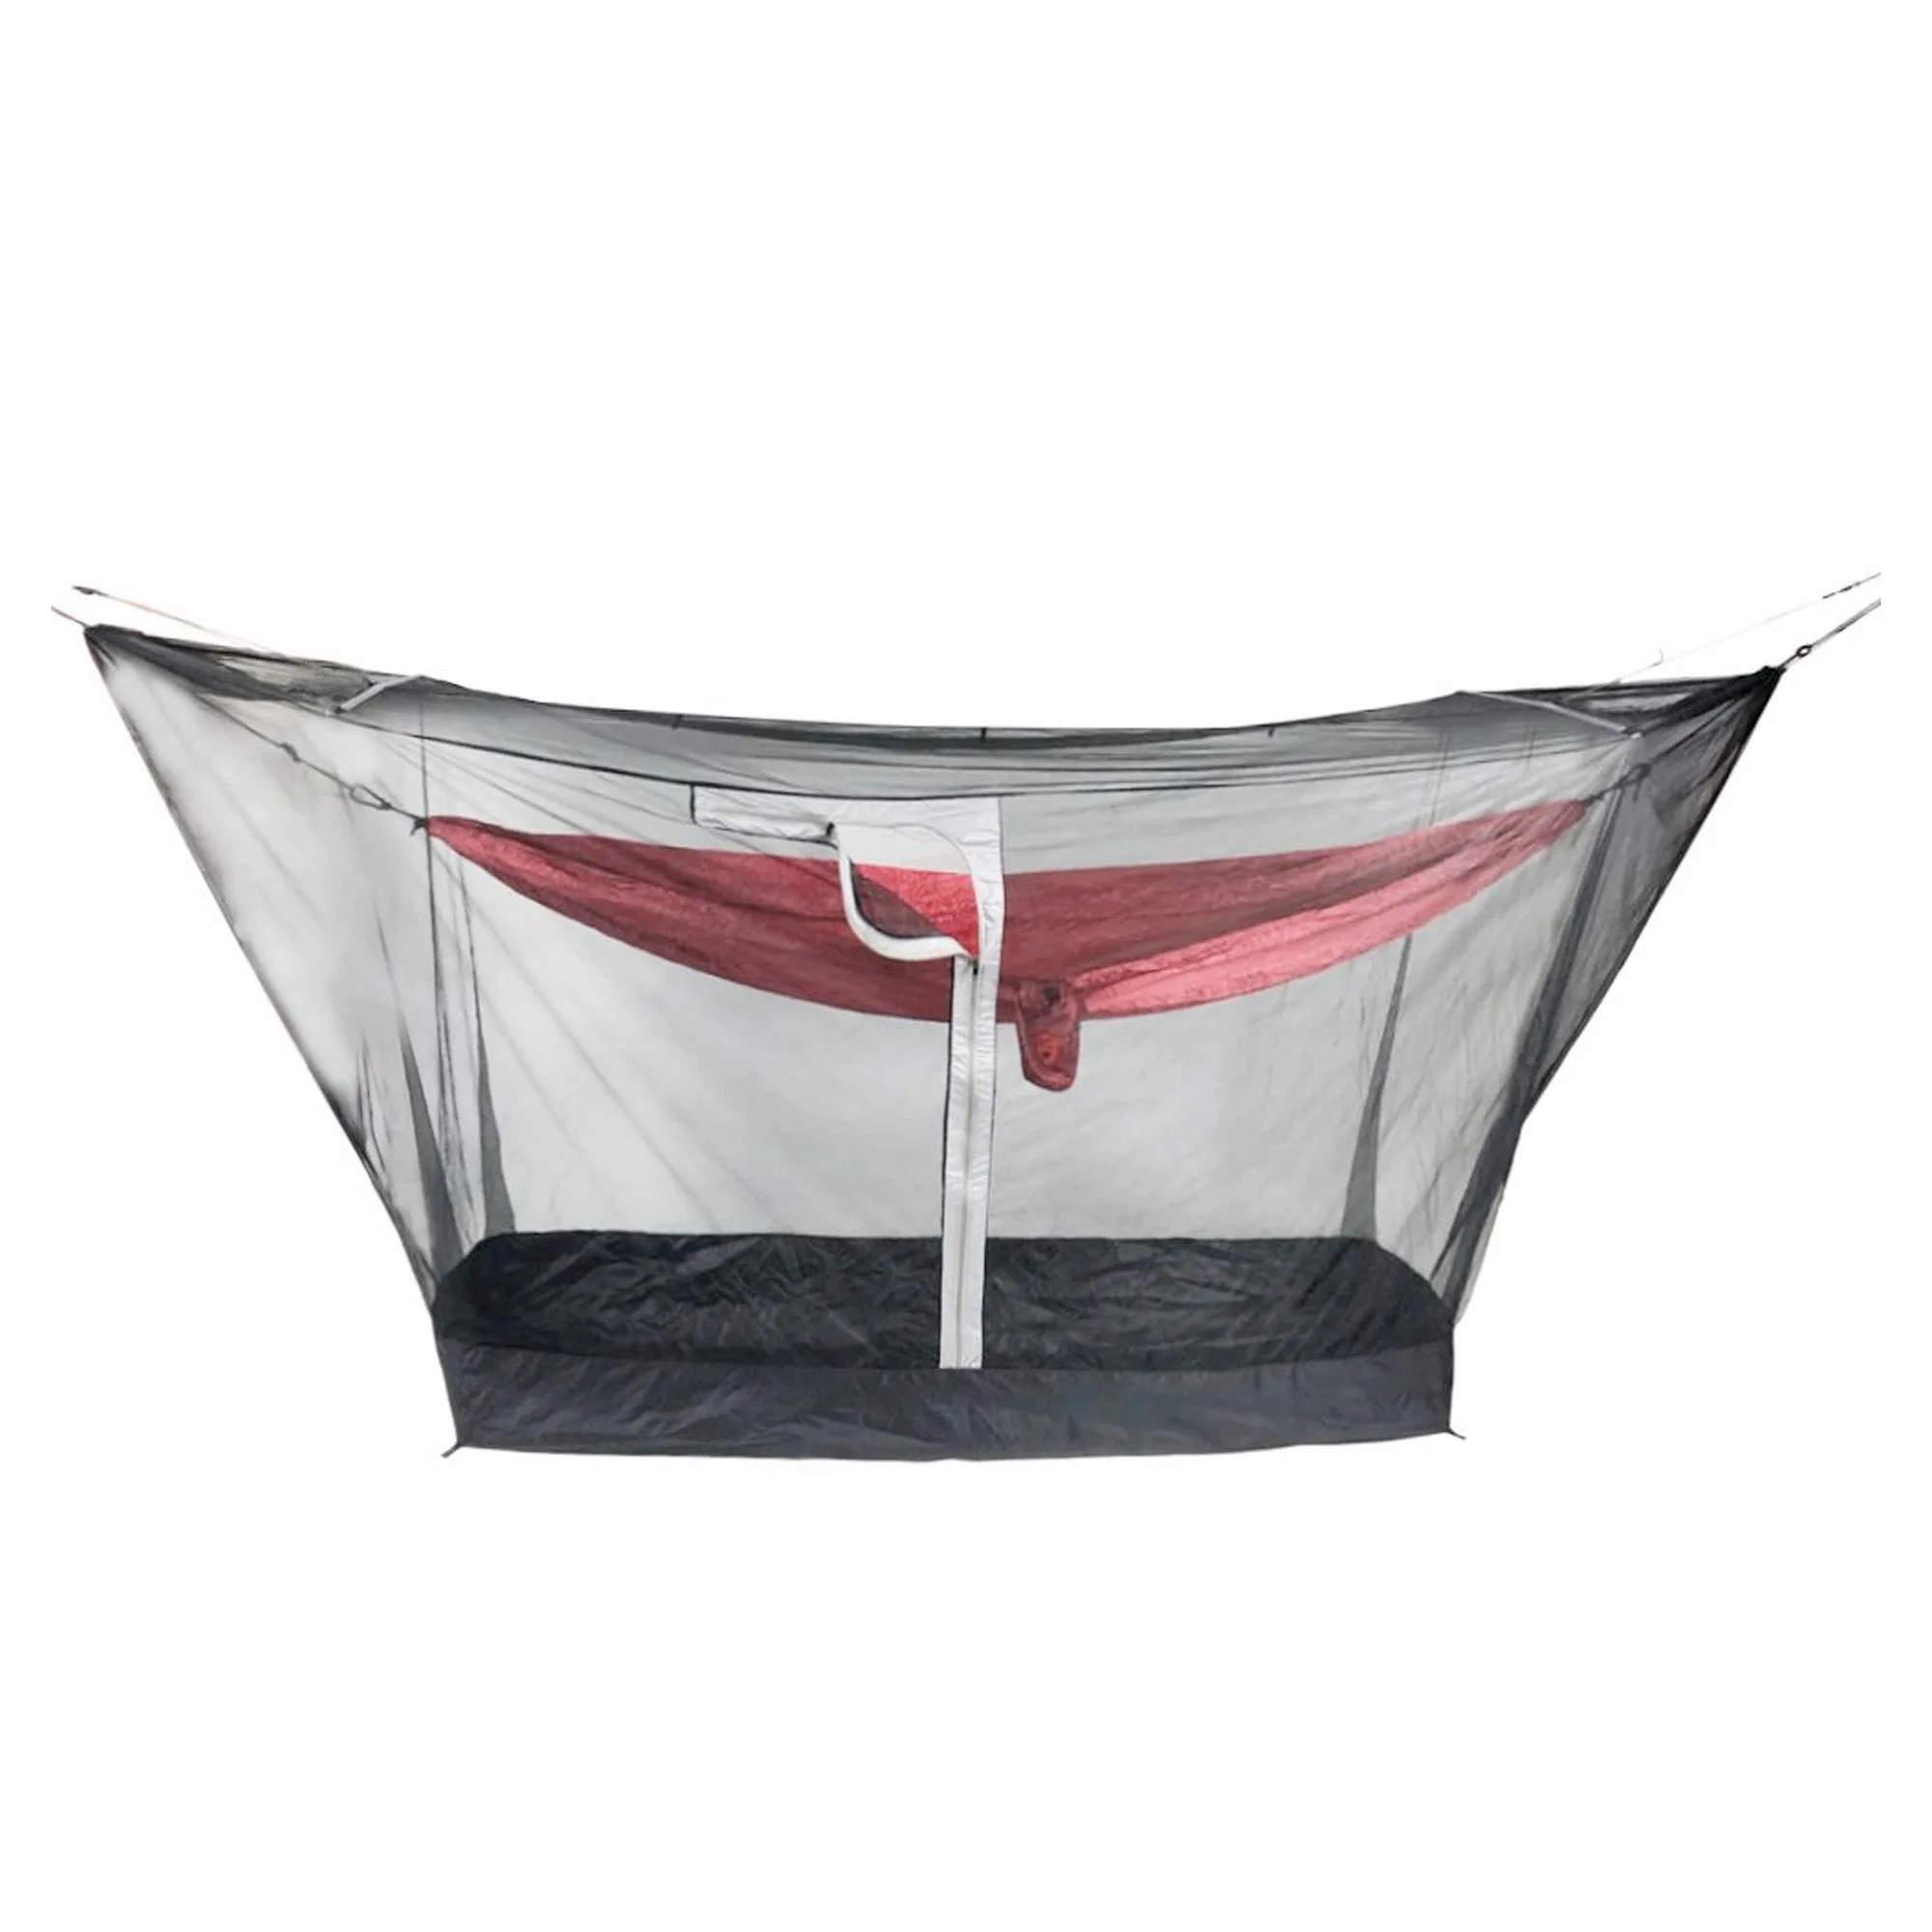
- MOZZY 360 Hammock Bug Net Shelter: Deluxe mosquito netting that fits almost any hammock, with a built-in door and a water-resistant bathtub bottom for protection on the ground. Lets you add bug protection to a hammock you already own, and the bathtub bottom gives your pack and boots a dry place to sit.
A hammock stand setup is only as good as its assembly and placement. Build it fully, tighten evenly, choose level ground, and hang with a gentle sag. Do that, and your backyard hangout will be ready in minutes and stay comfortable all season.