Quick Answer
You can hang solar string lights without drilling by using adhesive hooks, tension rods, magnetic clips, or zip ties on existing structures. Choose a method that matches your surface and weight load, and always clean the surface before applying adhesives to ensure a secure hold.
Renting a home or apartment often means you can't drill holes in the walls, ceiling, or balcony railing. But that shouldn't stop you from enjoying warm, ambient lighting outdoors. Solar string lights are a perfect choice because they don't need an outlet, and with the right mounting tricks, you can hang them without leaving a single mark.
In this guide, we'll walk you through seven no-drill methods to hang solar string lights on your patio, balcony, fence, or pergola. Each step includes a common mistake to avoid and a checkpoint to make sure your lights stay secure all season long.
Assess Your Space and Choose the Right Mounting Method
Before you start, look at where you want to hang the lights. Is it a balcony with a metal railing? A patio with a wooden pergola? Or a wall with a smooth surface? The answer determines which no-drill method will work best. For example, adhesive hooks work well on smooth surfaces like vinyl siding or painted walls, while tension rods are perfect for doorways or between two vertical posts.
Also consider the weight of the lights. Solar string lights are typically lightweight, but if you have a long strand with heavy bulbs, you'll need stronger hooks or multiple support points. Always check the weight rating on your adhesive hooks—most are rated for 1–3 pounds, which is enough for most string lights.
Common mistake: Using adhesive hooks on textured or dirty surfaces. The adhesive won't stick properly, and your lights will fall. Checkpoint: Clean the surface with rubbing alcohol and let it dry completely before applying any adhesive.
- Measure the distance between your two anchor points to know how many hooks or clips you'll need.
Gather the Right Tools and Materials
You'll need a few basic supplies: adhesive hooks (command hooks or outdoor-rated ones), zip ties, cable clips, a tension rod (if using that method), and a ladder. For metal surfaces, magnetic clips are a great option—they attach securely and are easy to remove. If you're hanging lights on a wooden fence, consider using small eye hooks that screw in without drilling—but that might not be allowed in a rental, so check your lease first.
For solar string lights like the Glow Solar String Lights, the solar panel needs direct sunlight during the day. Plan your mounting so the panel isn't shaded by a roof or tree. You can often place the panel separately and run the lights from it, giving you more flexibility in where you hang the strand.
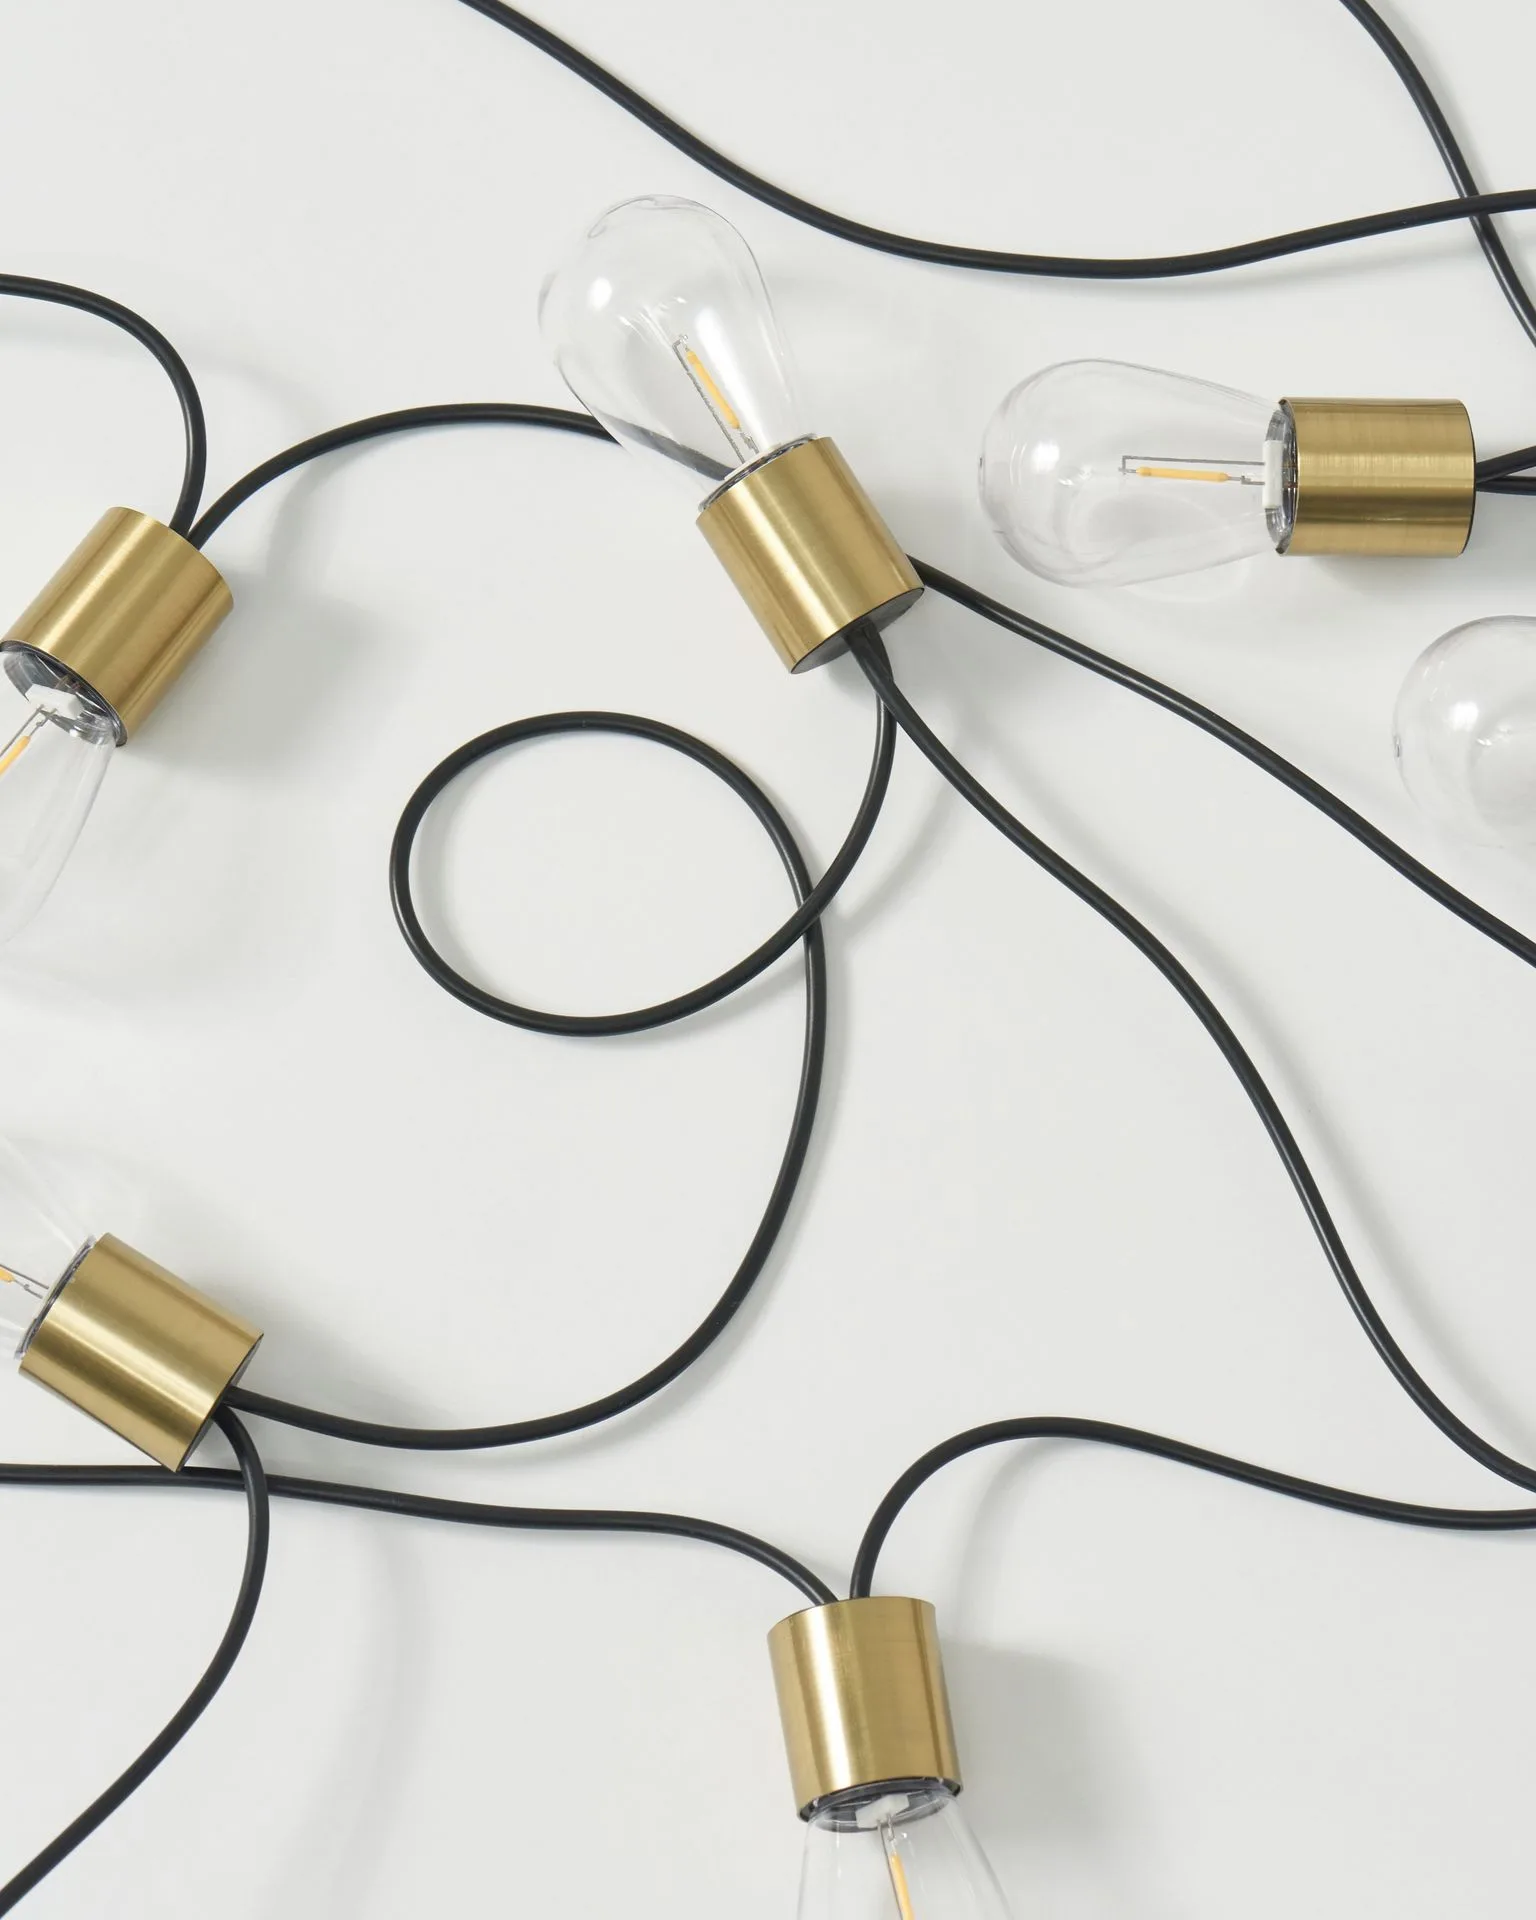
Glow Solar String Lights
Common mistake: Forgetting to test the lights before hanging. Always lay them out and test them in daylight to ensure the solar battery is charged and all bulbs work. Checkpoint: Charge the lights fully for a day before installation.
- Use outdoor-rated adhesive hooks that can withstand rain and UV exposure.
Install Adhesive Hooks for a Simple, Damage-Free Hold
Adhesive hooks are the most popular no-drill solution. Choose hooks designed for outdoor use, as they have stronger adhesive and resist weather. Apply them to clean, dry surfaces—smooth walls, window frames, or the underside of a balcony. Wait at least an hour after applying before hanging the lights to let the adhesive set.
Space the hooks about 2–3 feet apart to prevent the lights from sagging. For a straight line, use a chalk line or a laser level to mark where the hooks should go. If you're hanging lights along a railing, you can also use zip ties to attach the lights directly to the railing—no hooks needed.
Common mistake: Pulling the lights too tight. This puts stress on the hooks and can cause them to pop off. Leave a little slack in the strand. Checkpoint: After hanging, gently tug the lights to ensure each hook holds firmly.
- For a curved or angled layout, use more hooks at the corners to maintain the shape.
Use Tension Rods for Doorways and Openings
If you want to hang lights across a doorway, a window, or between two walls, a tension rod is a fantastic tool. These rods expand to fit the width of the opening and require no drilling. Simply twist to tighten, and you have an instant anchor point. You can then drape the string lights over the rod or use clips to attach them.
Tension rods are especially useful on balconies where you can place a rod between two walls or a wall and a railing. Make sure the rod is rated for the width of your opening and can support the weight of the lights. For extra security, you can add a second rod for longer spans.
Common mistake: Using a tension rod that's too short for the opening. It won't grip properly and could fall. Measure the exact width and buy a rod that extends at least 2 inches beyond that. Checkpoint: Test the rod by applying slight pressure to ensure it's secure before hanging lights.
- Wrap the ends of the tension rod with rubber or felt pads to protect the surface.
Leverage Zip Ties and Cable Clips for Existing Structures
Zip ties are a renter's best friend. You can attach string lights to chain-link fences, balcony railings, or pergola beams without any tools. Loop the zip tie around the structure and the light strand, then pull tight. Cut off the excess tail. This method is quick, adjustable, and completely removable.
Cable clips are another option—they stick to surfaces with adhesive and hold the wire in place. Use them on walls, ceilings, or along the bottom of a railing. They're less visible than hooks and keep the lights neat and organized.
Common mistake: Tightening zip ties too much, which can damage the wire of the lights. Leave a little room for the wire to move. Checkpoint: Ensure the zip tie is snug but not crushing the insulation.
- Use black zip ties for a more discreet look against dark surfaces.
Consider Magnetic Clips for Metal Surfaces
If you have a metal balcony railing, steel door frame, or metal pergola, magnetic clips are a brilliant no-drill solution. They attach instantly, hold the wire securely, and are just as easy to remove. Choose clips with a strong magnet and a rubber lining to avoid scratching the metal.
Magnetic clips work best on flat metal surfaces. If your railing is round or has a decorative pattern, the magnet may not sit flush, so you'll need to use zip ties instead. Test the magnetic strength before buying a large pack.
Common mistake: Assuming all metal is magnetic. Aluminum and some stainless steel alloys are not magnetic, so the clips won't stick. Checkpoint: Test your surface with a fridge magnet before purchasing magnetic clips.
- Place magnetic clips every few feet to keep the lights evenly spaced.
Hang Lights on a Balcony or Patio with Creative Alternatives
For balconies, you can also use planters or heavy pots as anchor points. Drape the lights along the railing and tie them to the pot handles or the railing itself. Another idea is to use a freestanding umbrella or a clothesline pole as a support. If you have a pergola, you can weave the lights through the slats—no hooks needed.
For a more permanent look without drilling, consider using a freestanding light stand or a planter with a tall stake. These are portable and can be moved to different spots as needed. The key is to be creative and use what you already have.
Common mistake: Hanging lights too high, making them difficult to reach for maintenance or charging the solar panel. Keep the solar panel accessible so you can clean it and adjust its angle. Checkpoint: Ensure the solar panel is positioned to receive at least 6–8 hours of direct sunlight.
- Use a planter hook to hang the solar panel off the edge of a balcony for better sun exposure.
Step-by-Step: Hang Solar String Lights Without Drilling
- Step 1: Plan your layout: Decide where you want the lights and measure the distance between anchor points. Choose a mounting method that suits your surface (adhesive hooks, tension rods, zip ties, or magnets). Checkpoint: Make sure you have enough hooks or clips to support the entire length of the strand.
- Step 2: Clean and prepare surfaces: Wipe down all surfaces where you'll apply adhesive hooks with rubbing alcohol. Let them dry completely. For metal surfaces, test if they're magnetic. Checkpoint: A clean, dry surface ensures the adhesive sticks firmly.
- Step 3: Install your mounting hardware: Apply adhesive hooks, install tension rods, or attach zip ties/clips. For adhesive hooks, wait at least an hour before hanging the lights. Checkpoint: Gently tug each hook or clip to verify it's secure.
- Step 4: Hang the solar string lights: Start from the solar panel end and work your way along the planned path. Leave slight slack in the wire to avoid putting stress on the hooks. Use extra clips at corners to maintain the shape. Checkpoint: Ensure the lights are not too tight and are evenly spaced.
- Step 5: Position the solar panel: Place the solar panel where it gets direct sunlight for most of the day. If needed, use a separate mount or a planter hook to angle it toward the sun. Checkpoint: Confirm the panel is not shaded by trees, roofs, or furniture.
- Step 6: Test and adjust: Wait for the lights to charge for a full day, then test them at night. Adjust the position of the lights or the solar panel if any section is too dim or if the lights don't turn on. Checkpoint: If some bulbs are dim, check for loose connections or shade on the panel.
Product Spotlight
- Glow Solar String Lights: With thoughtful and elegant brass detailing, these aren’t your standard outdoor string lights, especially since they turn on automatically when it's dark and use solar energy to keep your energy costs at zero. These lights are ideal for no-drill installation because they don't require a nearby outlet, giving you the freedom to hang them anywhere the sun reaches. The automatic on/off feature means you don't have to worry about timers, and the brass detailing adds a touch of elegance to any patio or balcony.
- Lark Floor Lamp: Meet the Lark LED Floor Lamp, a unique arc floor lamp with a flair for style. With a stunning brass finish from the base to the stem and a wicker hanging shade, bring both warmth and flexibility to your home. If you want to extend the cozy ambiance indoors, the Lark Floor Lamp offers a similar warm glow without any installation. Its arc design and wicker shade complement the natural look of solar string lights, creating a seamless transition from outdoor to indoor lighting.
With these no-drill methods, you can enjoy beautiful solar string lights without damaging your walls or balcony. Whether you use adhesive hooks, tension rods, or zip ties, the key is to plan ahead and secure everything properly. For a reliable, elegant option, consider the Glow Solar String Lights, which turn on automatically and cost nothing to run. Now you're ready to transform your outdoor space—no drill required.