Quick answer
Mount the Harmony Platelight Acrylic in a spot with steady airflow and no direct heat, route its power cable away from moving parts, and clean it gently with a dry microfiber cloth. These three habits keep the backlit art secure and clear.
Why placement and power routing matter more than you think
A platelight is more than decor—it sits inside your PC case, where airflow, heat, and cable management directly affect both the art and your components. Placing the acrylic panel where it blocks a fan or rests against a hot surface can shorten its life and spoil the look. Similarly, a loose power cable can rattle, disconnect, or interfere with other parts.
Before you commit to a spot, check that the panel has clearance from the case wall, that its cable can reach your preferred power source without tension, and that you can still access the panel for cleaning. If your case has a tempered glass side panel, remember that the acrylic will be visible from the outside, so align it with your build’s lighting and color scheme.
When to skip a full teardown
You do not always need to remove your motherboard or drain a custom loop to install a platelight. If your case has a dedicated mounting point or enough open space near the side panel, you can often install the panel with the case upright and the power off. However, if the only viable spot requires removing a GPU or disconnecting tubing, plan the install during a maintenance session rather than rushing it.
Step-by-step setup and care
- Choose a clear, cool spot: Pick a location inside your case where the acrylic panel will not block airflow from fans or heatsinks and is at least a few centimeters away from heat sources like the GPU backplate or CPU cooler. Common mistake: placing it directly in front of an intake fan, which can cause turbulence and reduce cooling. Test-fit the panel before removing any protective film.
- Route the power cable safely: Connect the platelight’s power cable to a suitable header or controller, then route it behind the motherboard tray or along the case frame, avoiding sharp edges and moving parts like fan blades. Checkpoint: gently tug the cable to ensure it is not under tension and cannot be snagged. Leave a small service loop near the panel so you can remove it for cleaning without disconnecting the cable.
- Secure the acrylic panel: Use the provided mounting hardware or a safe adhesive method to fix the panel in place. Do not overtighten screws, as acrylic can crack under stress. If using adhesive, apply it to the frame, not the printed side. Common mistake: pressing too hard on the center of the panel during installation. Verify the panel does not wobble or touch any circuit boards.
- Clean with care: Dust the acrylic weekly with a dry microfiber cloth. For fingerprints, dampen the cloth with water only—never use ammonia-based cleaners or paper towels, which can scratch the surface. Checkpoint: hold the panel by the edges when cleaning to avoid leaving new prints. Avoid spraying liquid directly on the panel; apply to the cloth first.
- Check monthly for heat or loosening: During routine PC maintenance, inspect the panel for warping, discoloration, or loose mounts. If the acrylic feels warm to the touch, move it farther from heat sources. Common mistake: ignoring small cracks that can grow over time. Note the installation date and set a reminder to recheck after three months.
Product facts
-
Harmony - Platelight Acrylic: Made of high quality, durable acrylic, these panels allow light from our Platelight to diffuse through, creating a gorgeous backlit piece of art. The acrylic diffuses light evenly, so placement near a direct light source can wash out the art—choose a spot with indirect or ambient lighting for the best effect.
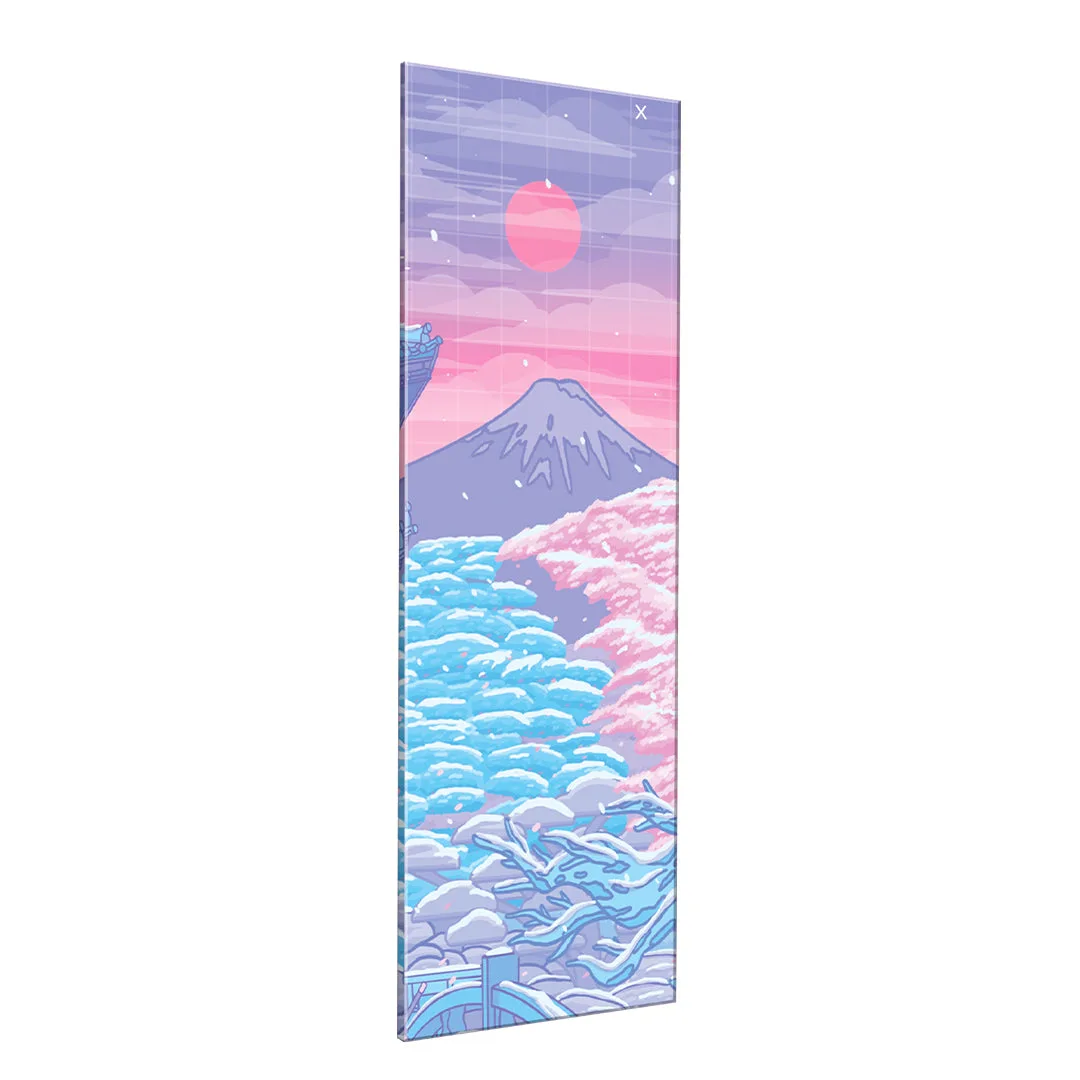
Harmony - Platelight Acrylic