Quick answer
Start with a limited, desaturated palette, work from the eyes and face outward, and build shadows in thin layers so the doll's unsettling details stay visible. Save your darkest values for the final pass.
Why haunted doll pages reward restraint
Creepy illustrations usually depend on small cues: a hollow stare, a cracked cheek, a shadow that falls the wrong way. Flooding those areas with bright color or heavy marker strokes flattens the effect and makes the page read as ordinary. A restrained palette and slow layering keep the horror readable.
This is also why the Haunted Dolls Coloring Book suits adults who already enjoy gothic art. The appeal is in the mood, not in filling space quickly.
Pick a medium that forgives layering
Colored pencils and hard pastels are the easiest tools for building soft shadows on detailed faces, because you can add several light passes without saturating the paper. Alcohol markers give smooth, bold coverage but dry fast, so a single dark stroke is hard to lift. If you use markers, test them on a corner first and keep a colorless blender handy.
Watercolor can work for background washes, but heavy water buckles thin paper and can bleed into fine linework. Keep wet media away from the smallest details unless you are confident in the paper.
When to break the moody palette
A single accent color can make a haunted page more unsettling than an all-gray scene. A muted red on a ribbon, a sickly green in one eye, or a cold blue rim light draws the viewer's attention exactly where you want it. The exception is a page you plan to display in a bright room: too many accents can make the horror read as playful rather than eerie.
Step-by-step creepy coloring process
- 1. Scan the page and mark the focal points: Before you pick up a pencil, look for the eyes, mouth, and any cracks or props that carry the scare. Lightly circle them in pencil on a scrap sheet so you know which areas need the most contrast. Common mistake: starting with the background or clothing and then having to darken the face to compete. If you cannot identify a focal point, choose the eyes by default.
- 2. Test your palette on a separate sheet: Lay down small swatches of every color you plan to use, including your darkest shadow and lightest highlight. Check how they look next to each other and how they dry if you are using markers or watercolor. Common mistake: committing a dark color to the page before seeing it against the paper tone. Keep the swatch sheet beside you as a reference for the rest of the page.
- 3. Block in base colors with light pressure: Fill the large areas, such as skin, hair, and clothing, with a single light layer. Leave the focal points mostly untouched for now. Common mistake: pressing hard on the first layer, which closes the paper's texture and makes later blending difficult. The base layer should look unfinished and slightly pale.
- 4. Build shadows in thin layers: Add shadow gradually around the eye sockets, under the chin, and along one side of the face. Use small circular strokes and step up one shade at a time. Common mistake: jumping straight to your darkest pencil, which creates harsh edges that are hard to soften. If a shadow looks too strong, lift some color with a kneaded eraser before adding more.
- 5. Detail the eyes and face last: Once the surrounding values are set, color the iris, pupil, and any highlights. A tiny dot of white or pale gray in the eye can make the doll look glassy and alert. Common mistake: coloring the eyes first and then losing them under darker skin tones. Check the face from arm's length before you finish the eyes.
- 6. Add one accent color for unease: Choose a single muted accent, such as dull red or cold green, and apply it to one small element like a ribbon, a button, or a reflection. Keep it small so it reads as a deliberate cue. Common mistake: spreading the accent across several areas, which dilutes the effect. If the accent feels too bright, glaze over it with a neutral gray pencil.
- 7. Deepen the darkest values and stop: Make a final pass with your darkest pencil in the deepest shadows and along the outer edges of the doll. Step back and compare the page to your swatch sheet. Common mistake: continuing to darken until the linework disappears. If you can still see the printed lines clearly, you have not overworked the page.
Product facts
-
Haunted Dolls Coloring Book: Eighty pages of detailed haunted doll illustrations, sized 8.5 x 10 x 0.5 inches. The page count and size give you room to practice layering techniques across many faces without running out of material.
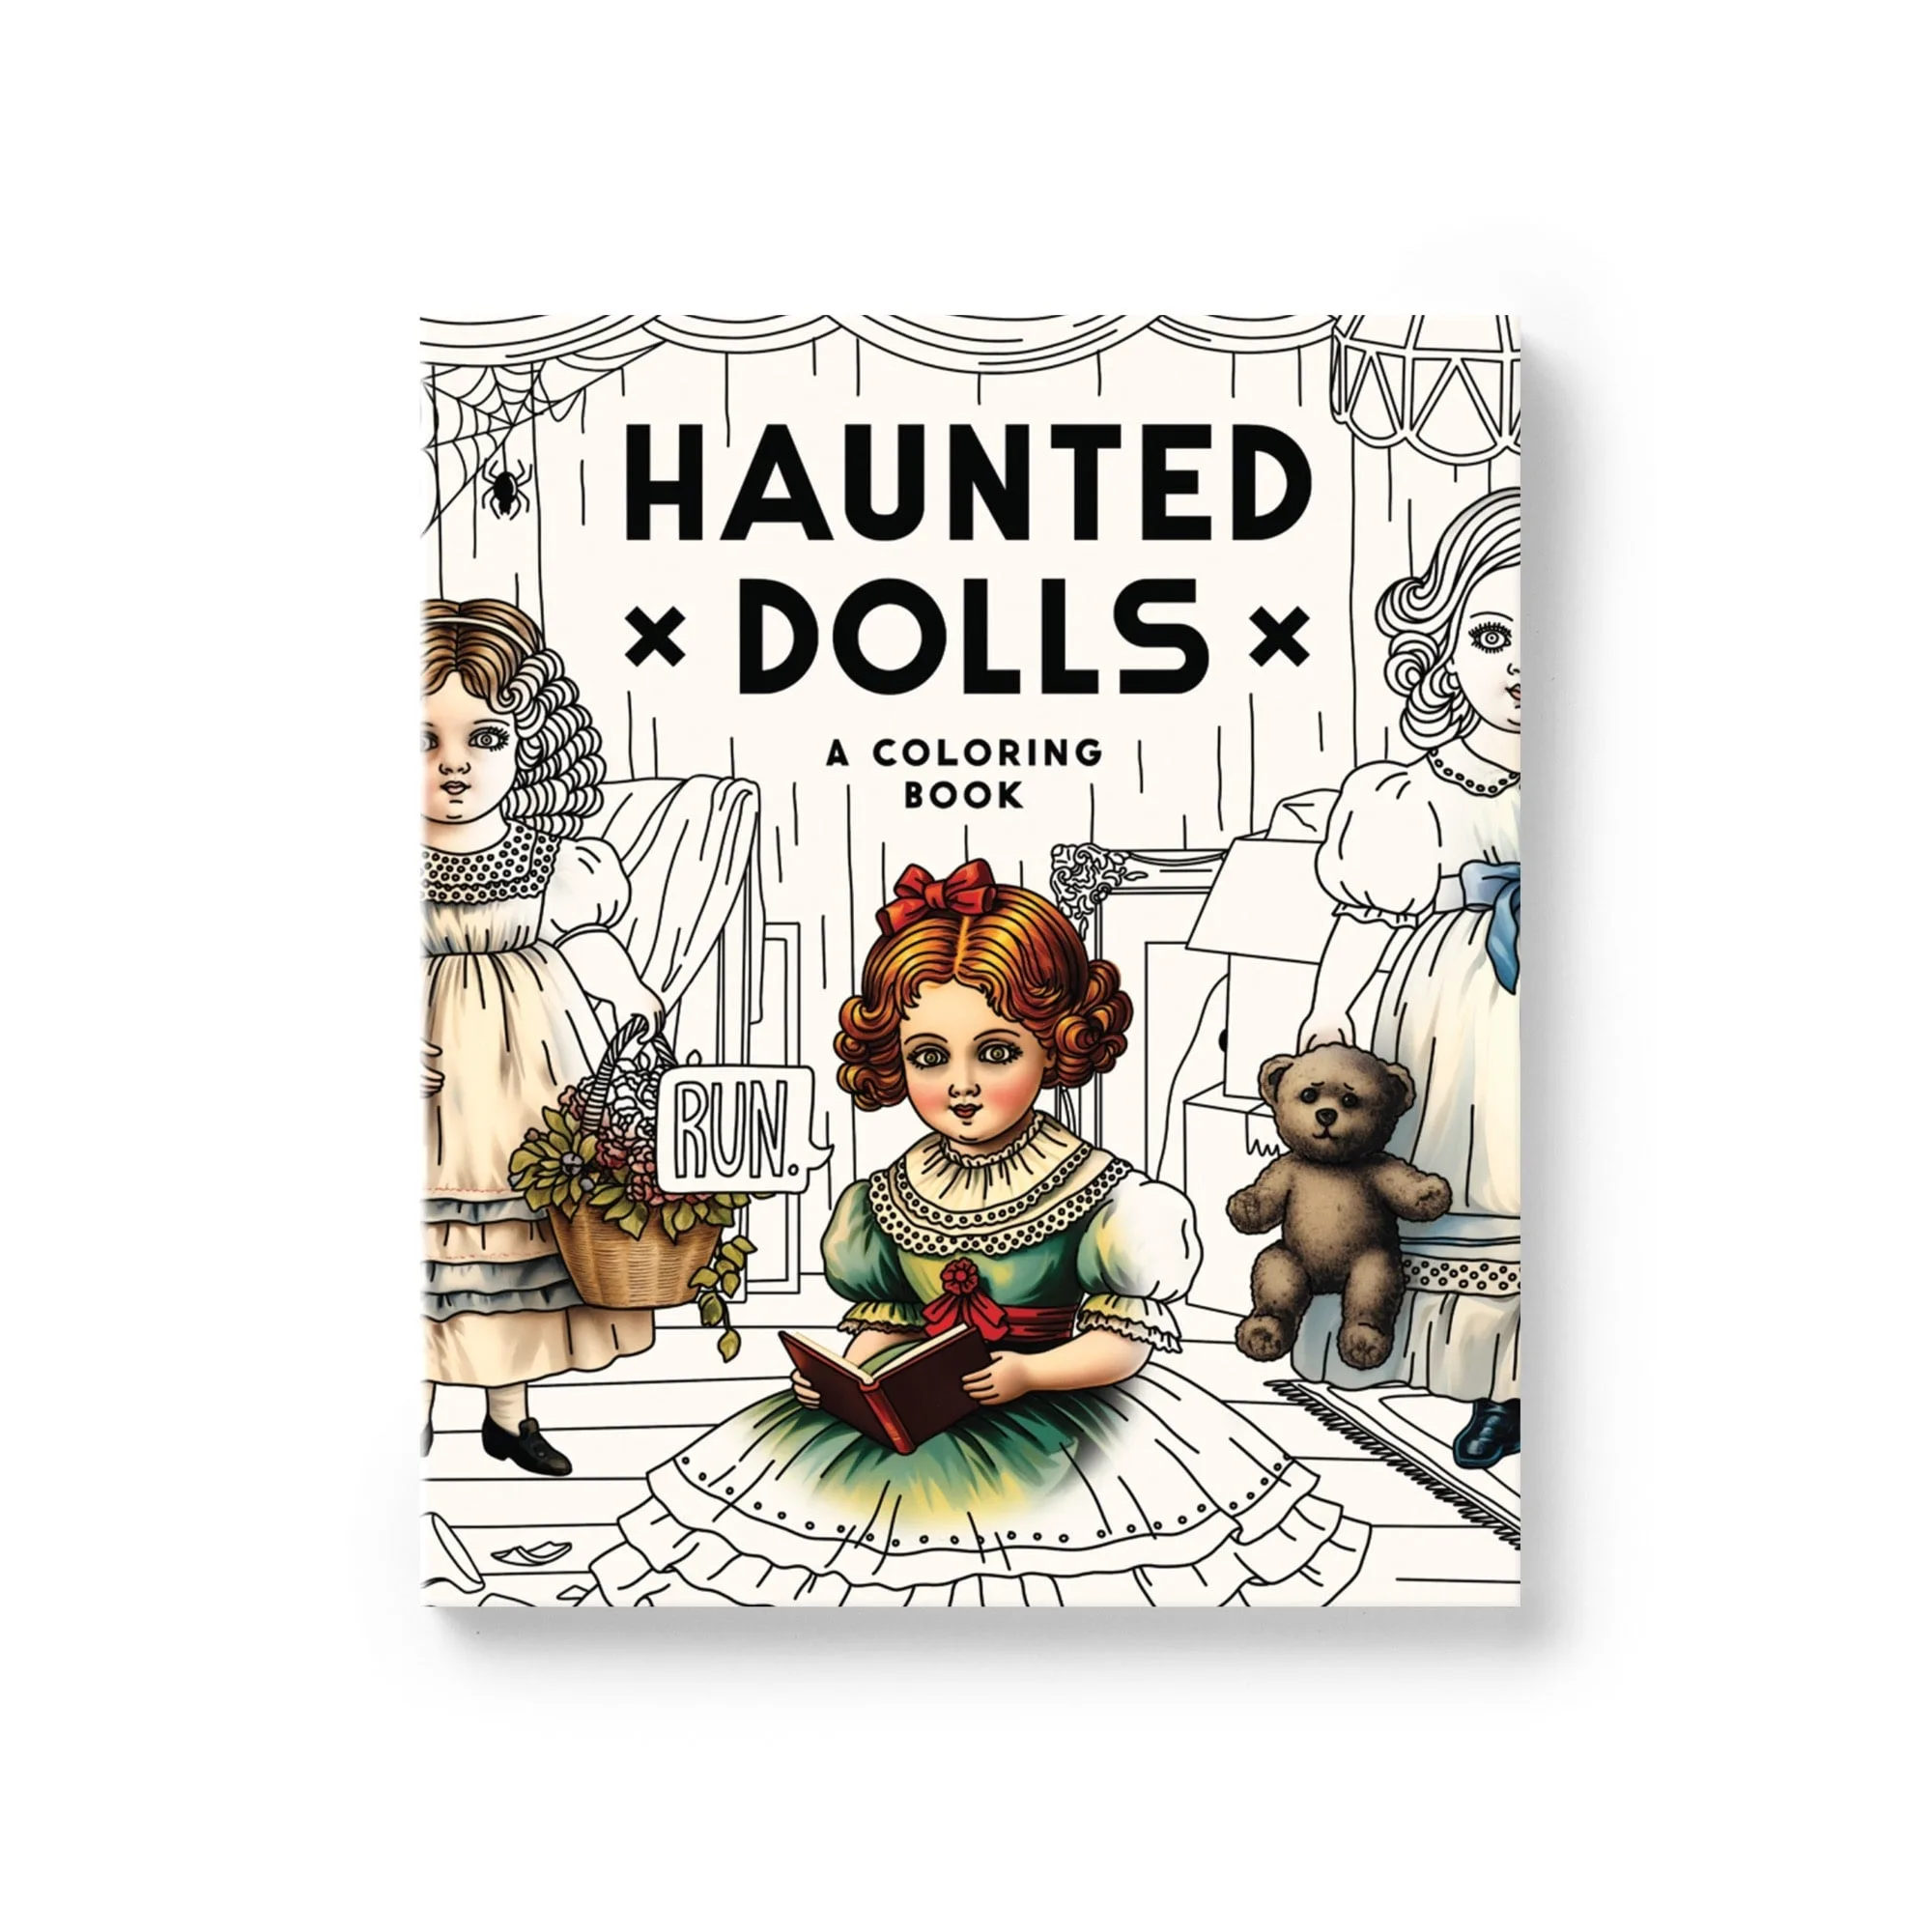
Haunted Dolls Coloring Book