Quick answer
Start with the printed step-by-step instructions for the one key build, sort the 88 snap-fit parts into piles first, and build alongside your child rather than for them. Keep the first session short and stop while it is still fun.
Why the first session should be short and guided
A 6-year-old can follow a printed sequence for a while, but attention drops fast when parts are scattered. Sorting before building removes most of the frustration and lets your child focus on the actual steps. The set is non-motorized, so there is no wiring or battery step to worry about, which keeps the first build manageable.
The 20-model range is broad, from vehicles and simple machines to imaginative structures. That variety is useful later, but it can tempt kids to jump between models. Finish one build before opening the next.
When to step back and when to step in
Your role changes as the build progresses. Early on, you may need to point at the next part or hold a piece steady. By the middle of the model, try to let your child find the part and match it to the drawing. If a connection will not snap, check orientation together before pushing harder.
If your child loses interest, pause and return later. Forcing the finish line turns a STEM activity into a chore.
Steps to start the Engino 20 Models Designer Set with a 6-year-old
- Open the box and sort parts by type: Tip the 88 parts onto a tray and group them by shape and color before opening the instructions. Common mistake: letting your child dig through a mixed pile, which slows every step and causes early frustration. A sorted tray is the single biggest time-saver for the first build.
- Choose the key build from the printed instructions: The set includes printed, step-by-step instructions for one key build. Start there rather than picking a model from the box art. Common mistake: choosing a model that looks exciting but has no printed sequence, which leaves you guessing. The key build is the intended entry point, not a warm-up you can skip.
- Read each step aloud before snapping: Point to the part in the drawing, name it, and let your child find it in the sorted tray. Then check the orientation together before pushing pieces together. Common mistake: rushing ahead to the next drawing before the current connection is fully seated. One step at a time beats racing to the finished model.
- Let your child make the connections: Resist the urge to assemble the model yourself. If a part will not snap, turn it around rather than forcing it. Common mistake: pushing harder when a piece is backwards, which can damage the connection point. If it does not click easily, the orientation is wrong, not the strength.
- Pause at the halfway point: Check that the build so far matches the instructions before continuing. This is also a good moment for a short break if attention is fading. Common mistake: pressing on through tiredness and ending with a wobbly model and a frustrated child. A five-minute break often saves a twenty-minute repair.
- Finish, test, and name the model: Once the last part is on, let your child roll, spin, or handle the model to see how it works. Ask what they would change. Common mistake: immediately moving to the next model without reflecting on the first. Naming the build gives a sense of ownership that carries into the next session.
Product facts
-
Engino Creative Builder: 20 Models Designer Set- STEM Building Toys for Kids Ages 6+ (20 Models to Build): The set includes 88 durable, snap-fit parts for building 20 non-motorized models. Snap-fit parts are easier for small hands to connect than screw-and-bolt systems, and the non-motorized design means no extra tools or power source are needed.
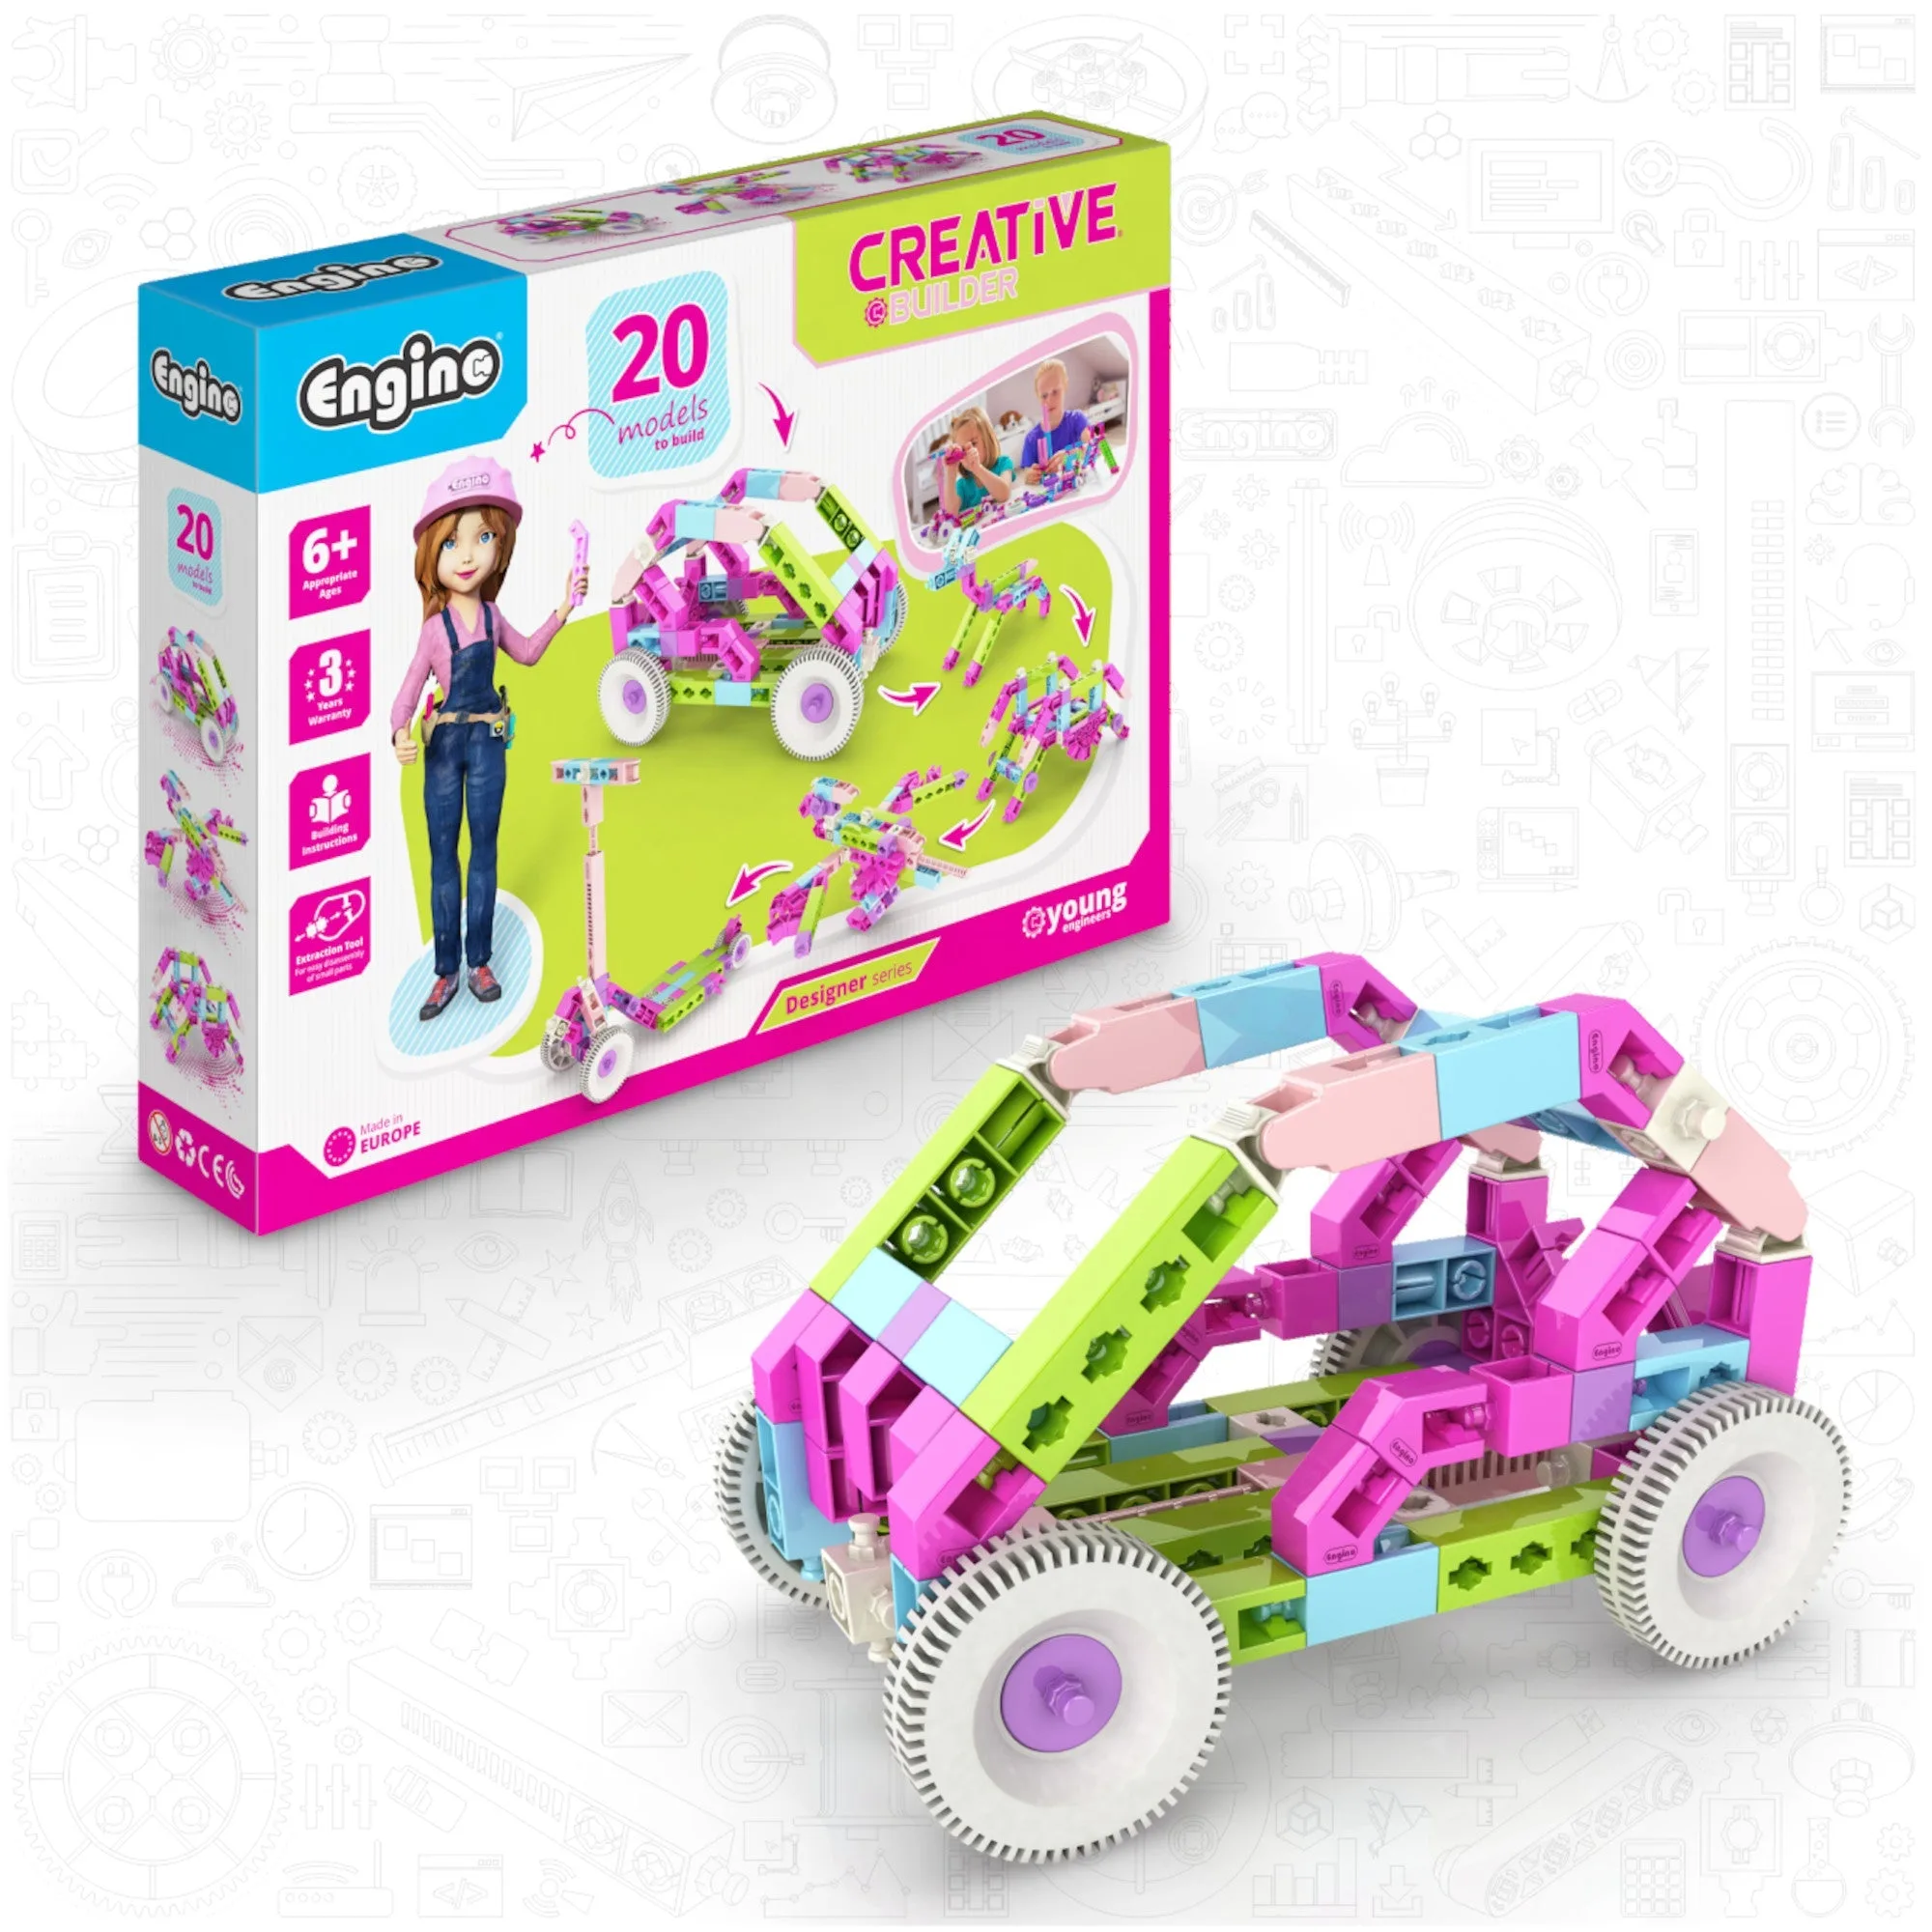
Engino Creative Builder: 20 Models Designer Set- STEM Building Toys for Kids Ages 6+ (20 Models to Build)