Quick answer
Use the Henneberger Swift mount to attach an Aimpoint Micro directly to your Tikka T3x. The process involves preparing the rifle, mounting the base, installing the optic, and confirming a secure fit.
Why the Henneberger Swift suits the Tikka T3x
The Henneberger Swift is a quick-release mount designed specifically for Tikka T3 and T3x rifles, with an AIMPOINT MICRO interface. That means you can mount an Aimpoint Micro without additional adapters, keeping the setup simple and low-profile.
A quick-release design lets you remove and reattach the optic while maintaining zero, provided the mount is properly installed and the locking mechanism is engaged. This is useful for switching between optics or storing the rifle in a compact case.
Trade-offs to consider
The mount is optimized for the Aimpoint Micro footprint, so it won't accept other optic interfaces without a separate adapter. Also, because it's a quick-release mount, you must periodically check the locking screws for tightness, especially after heavy use or transport.
If you prefer a fixed, low-maintenance mount and never remove your optic, a non-quick-release solution might be simpler. But for flexibility, the Swift offers a practical balance.
Step-by-step installation
- Prepare the rifle and workspace: Ensure the rifle is unloaded and clear. Work on a clean, well-lit surface with the tools you'll need: hex keys, a torque wrench, and thread-locking compound if desired. Double-check the chamber is empty before beginning.
- Attach the mount to the Tikka T3x rail: Position the Henneberger Swift mount on the rifle's dovetail or rail (depending on your T3x configuration). Align the recoil lug with the corresponding slot and press down firmly. Make sure the mount sits flush and the recoil lug engages properly; a poor fit can affect zero retention.
- Tighten the mounting screws: Tighten the screws evenly in a cross pattern to the manufacturer's recommended torque (consult the mount's instructions). Avoid over-tightening, which can damage the rail or strip threads. Use a torque wrench and verify the screws are snug but not overtightened.
- Install the Aimpoint Micro: Place the Aimpoint Micro onto the mount's interface and secure it according to Aimpoint's instructions. Ensure the optic is seated fully and the screws are tightened to the correct torque. Check that the optic is level and aligned with the bore before final tightening.
- Verify quick-release function: If your mount has a quick-release lever, test it by opening and closing it. It should lock firmly without excessive play. Adjust the tension if necessary per the manufacturer's guidance. A loose lever can cause zero shift; ensure it locks securely.
- Confirm zero and check stability: At the range, fire a few groups to confirm zero. After shooting, re-check all screws and the quick-release lever for any loosening. Re-torque screws after the first range session, as they may settle.
Product facts
-
Montage rapide HMS HENNEBERGER SWIFT| TIKKA T3x | pour AIMPOINT MICRO: Montage en Selle HMS Henneberger Swift pour Carabine TIKKA T3 et TIKKA T3x, with AIMPOINT MICRO interface. It provides a direct mounting solution for Aimpoint Micro optics on Tikka T3/T3x rifles, eliminating the need for extra adapters.
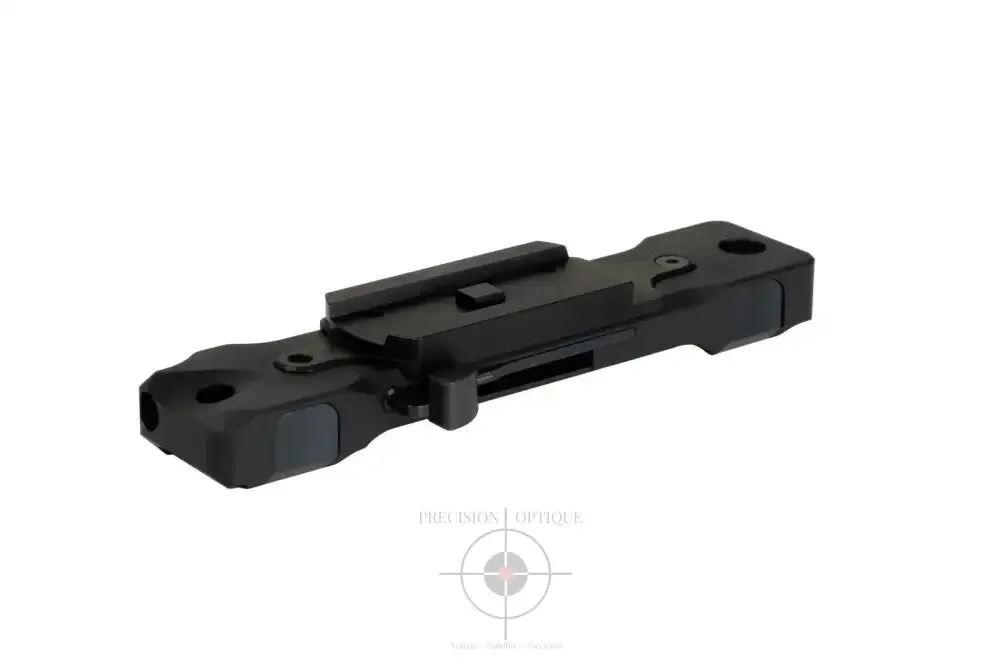
Montage rapide HMS HENNEBERGER SWIFT| TIKKA T3x | pour AIMPOINT MICRO