Quick Answer
Start by confirming your Honda's bolt pattern and factory wheel specs, then choose an offset that keeps the tire inside the fender and clears suspension and brakes. Always test-fit before mounting tires, because a few millimeters of offset or backspacing can mean the difference between a clean fit and rubbing.
Measure Your Honda's Bolt Pattern and Factory Specs
Before you shop for aftermarket wheels for Honda, you need three numbers: bolt pattern, center bore, and factory wheel size. The bolt pattern is the number of lug holes and the diameter of the circle they sit on, written like 5x114.3. Most modern Honda cars use 5x114.3, but you should verify yours rather than assume. The center bore is the hub hole diameter, and if the new wheel's bore is larger you'll need hub-centric rings to avoid vibration. Factory wheel size includes diameter, width, and offset, which you can find on a sticker in the driver's door jamb or by measuring the wheel itself. Write these down before browsing listings.
Understand Offset and Backspacing
Offset is the distance from the wheel's mounting surface to its centerline, measured in millimeters. Positive offset means the mounting surface is closer to the outer face, so the wheel sits further inboard; negative offset pushes the wheel outward. Lower offset makes the wheel stick out more, which can look aggressive but increases the risk of fender contact. Backspacing is the distance from the mounting surface to the inner edge of the wheel, and it tells you how much room you have on the inside for suspension and brake components. A honda wheel offset guide is only useful when you also know your car's factory offset and how much room you have to work with.
Check Clearance for Suspension, Brakes, and Fenders
Clearance is where most fitment problems show up. Turn the steering wheel lock to lock and look at the gap between the tire and the inner fender liner, suspension arms, and brake calipers. On many Hondas, the front strut and the rear trailing arm are the tightest points. If you're lowering the car, remember that camber changes as the suspension compresses, which can pull the top of the tire inward or outward. A wheel that fits at stock height may rub when you add passengers or hit a dip. Measure the distance from the hub face to the nearest suspension component and compare it to the backspacing of the wheel you're considering. If the wheel's backspacing is greater than that distance, it won't fit without spacers or modifications.
Test-Fit Before Mounting Tires
Once you have a candidate wheel, mount it without a tire and check clearance at full steering lock and full suspension compression. You can use a jack to lift the suspension or load the trunk to simulate compression. Look for any contact with brake lines, ABS sensors, or fender liners. Spin the wheel to check for runout and make sure it doesn't hit the caliper. This step takes minutes and can save you from buying tires that you can't return. If you're also upgrading your exhaust, note that some aftermarket exhaust systems route close to the rear suspension, so check that your new wheel and tire combo doesn't interfere with any piping.
Choose Tires That Match Your Wheel Width
Tire width affects clearance as much as wheel offset. A wider tire can rub on the inside even if the wheel itself fits. Use the wheel manufacturer's recommended tire width range and stay within it. A common mistake is choosing a tire that's too wide for the wheel, which causes a bulging sidewall and vague steering. For a daily-driven Honda, a slightly stretched or square setup is usually more predictable than an aggressive stretch. If you're unsure, ask a tire shop to test-fit a used tire of the same size before you commit.
Step-by-Step Honda Wheel Fitment Check
- Record your factory specs: Find the door jamb sticker or measure your current wheel to note bolt pattern, center bore, diameter, width, and offset. Checkpoint: Confirm bolt pattern is correct for your model year.
- Calculate target offset and backspacing: Decide how much you want the wheel to move outward or inward, then convert offset to backspacing to compare with your clearance measurements. Common mistake: ignoring backspacing and only looking at offset.
- Measure clearances at full lock and compression: With the car on jack stands, turn the steering wheel and compress the suspension to find the tightest points to the fender, suspension, and brakes. Checkpoint: Note the minimum gap in millimeters.
- Test-fit the bare wheel: Mount the new wheel without a tire and spin it, checking for contact with calipers, suspension arms, and fender liners. Common mistake: skipping this step and mounting tires first.
- Select compatible tires: Choose a tire width within the wheel's recommended range and verify it doesn't add unwanted width that causes rubbing. Checkpoint: Confirm tire diameter is within 3% of factory to avoid speedometer error.
Exhaust Clearance and Wheel Fitment
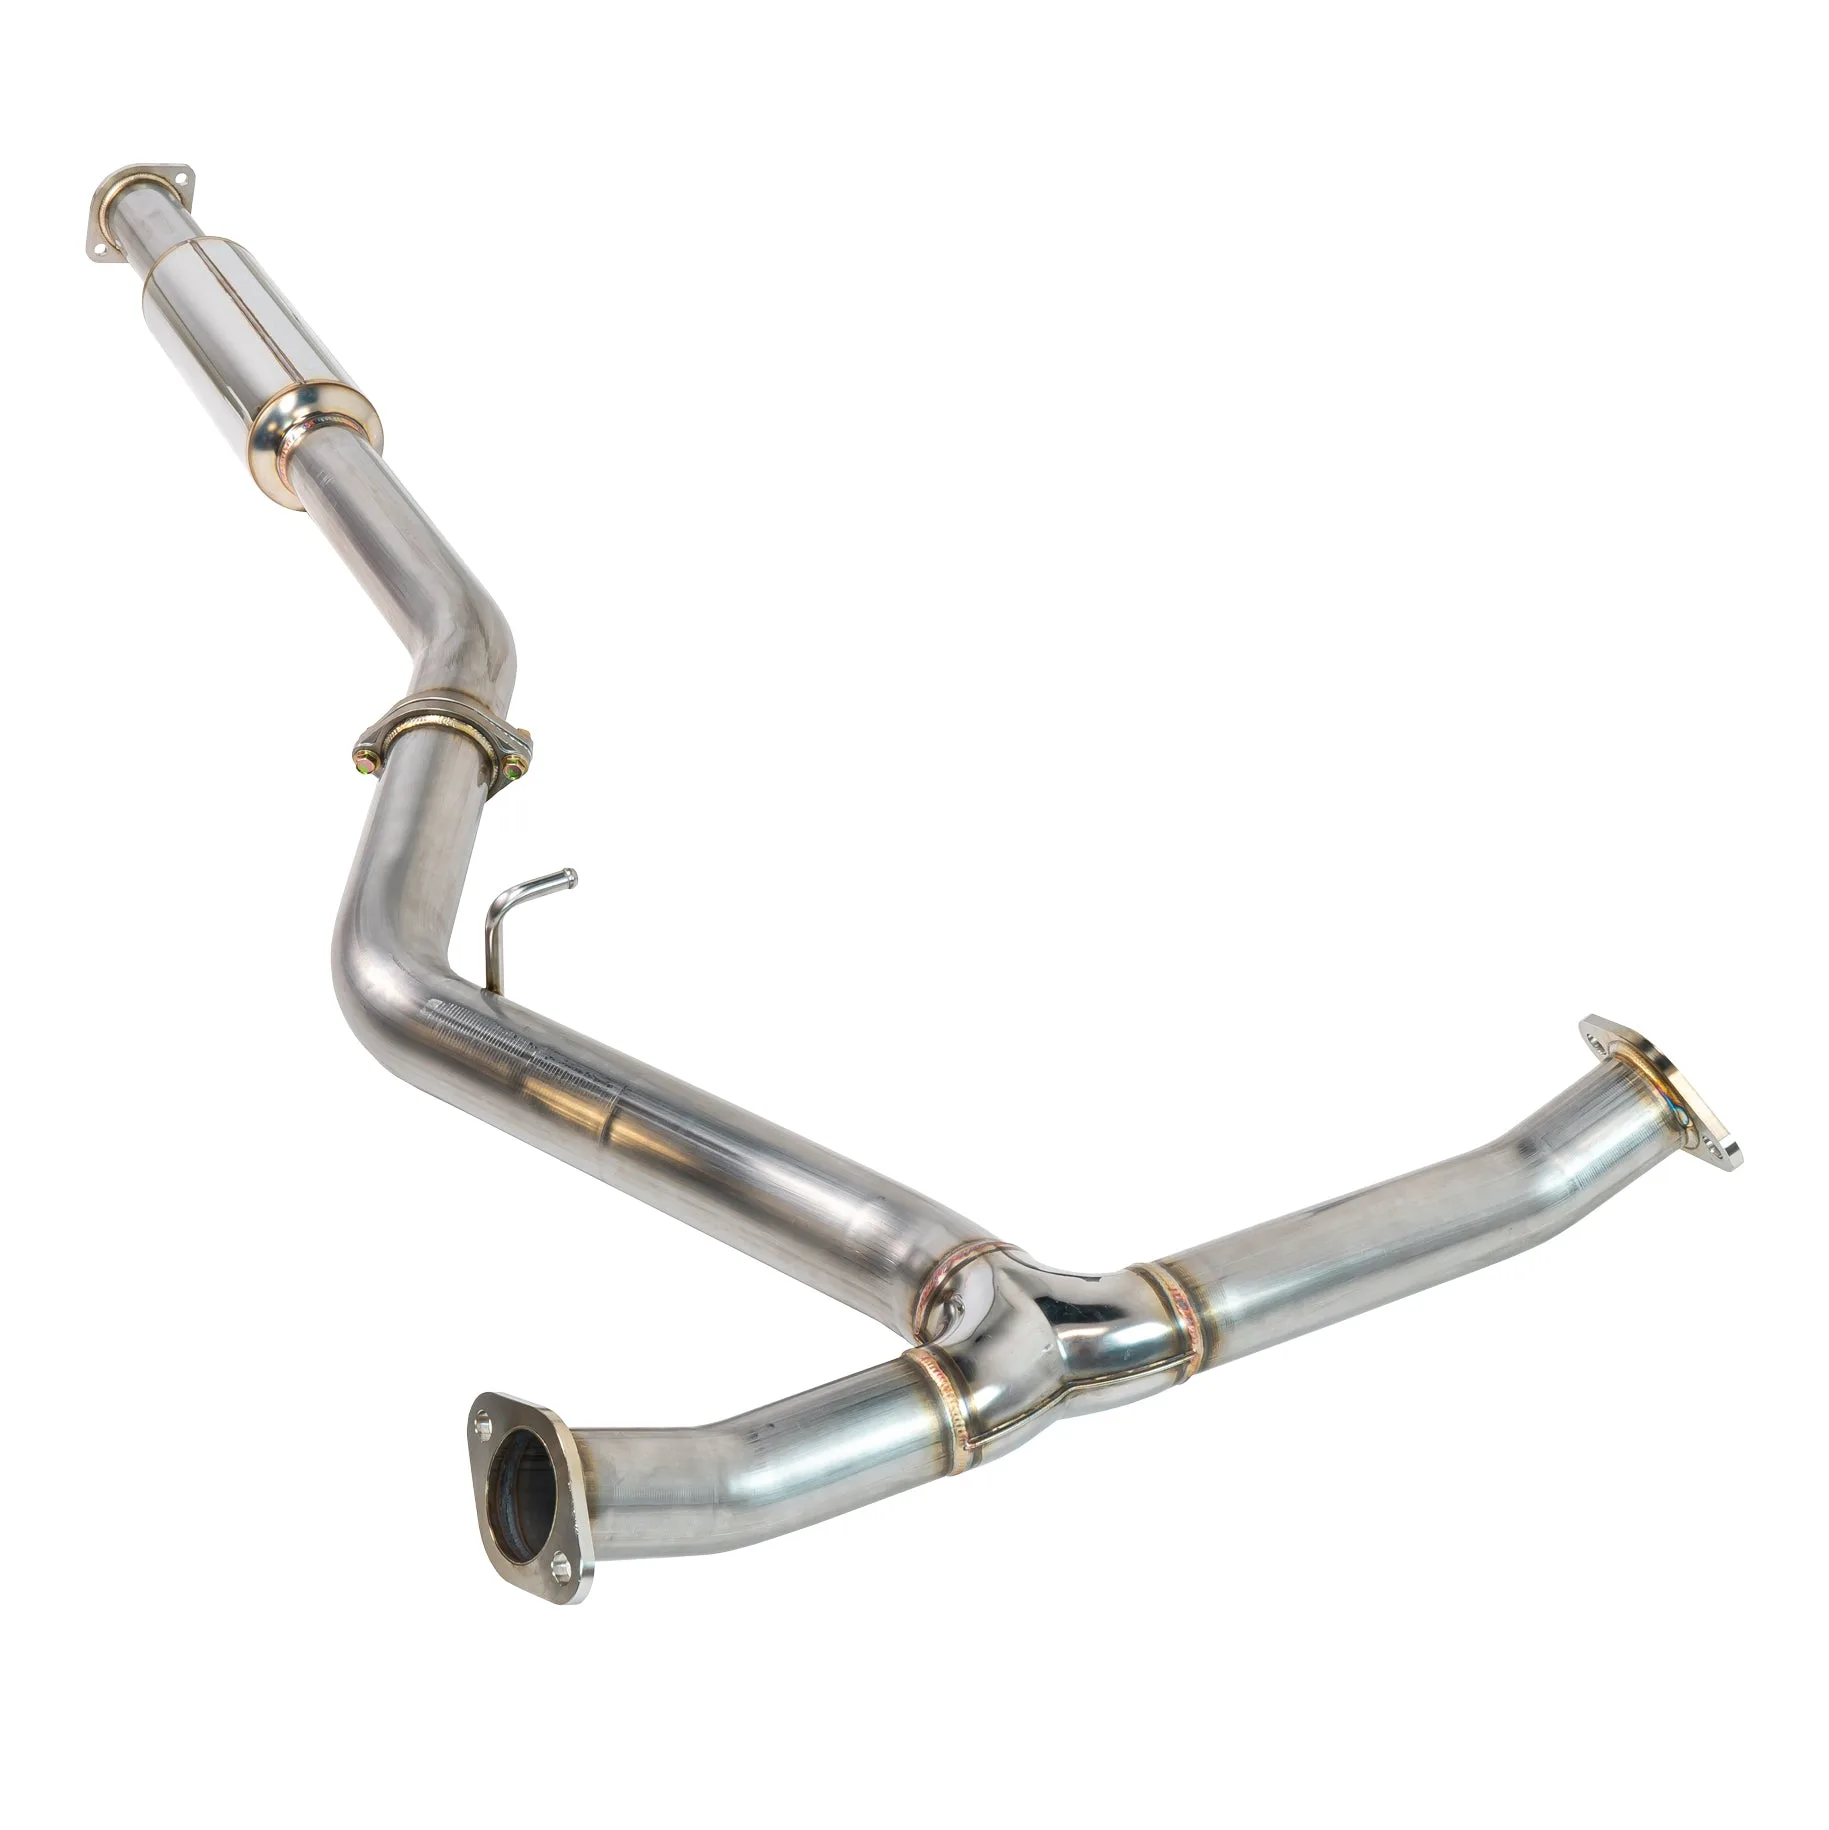
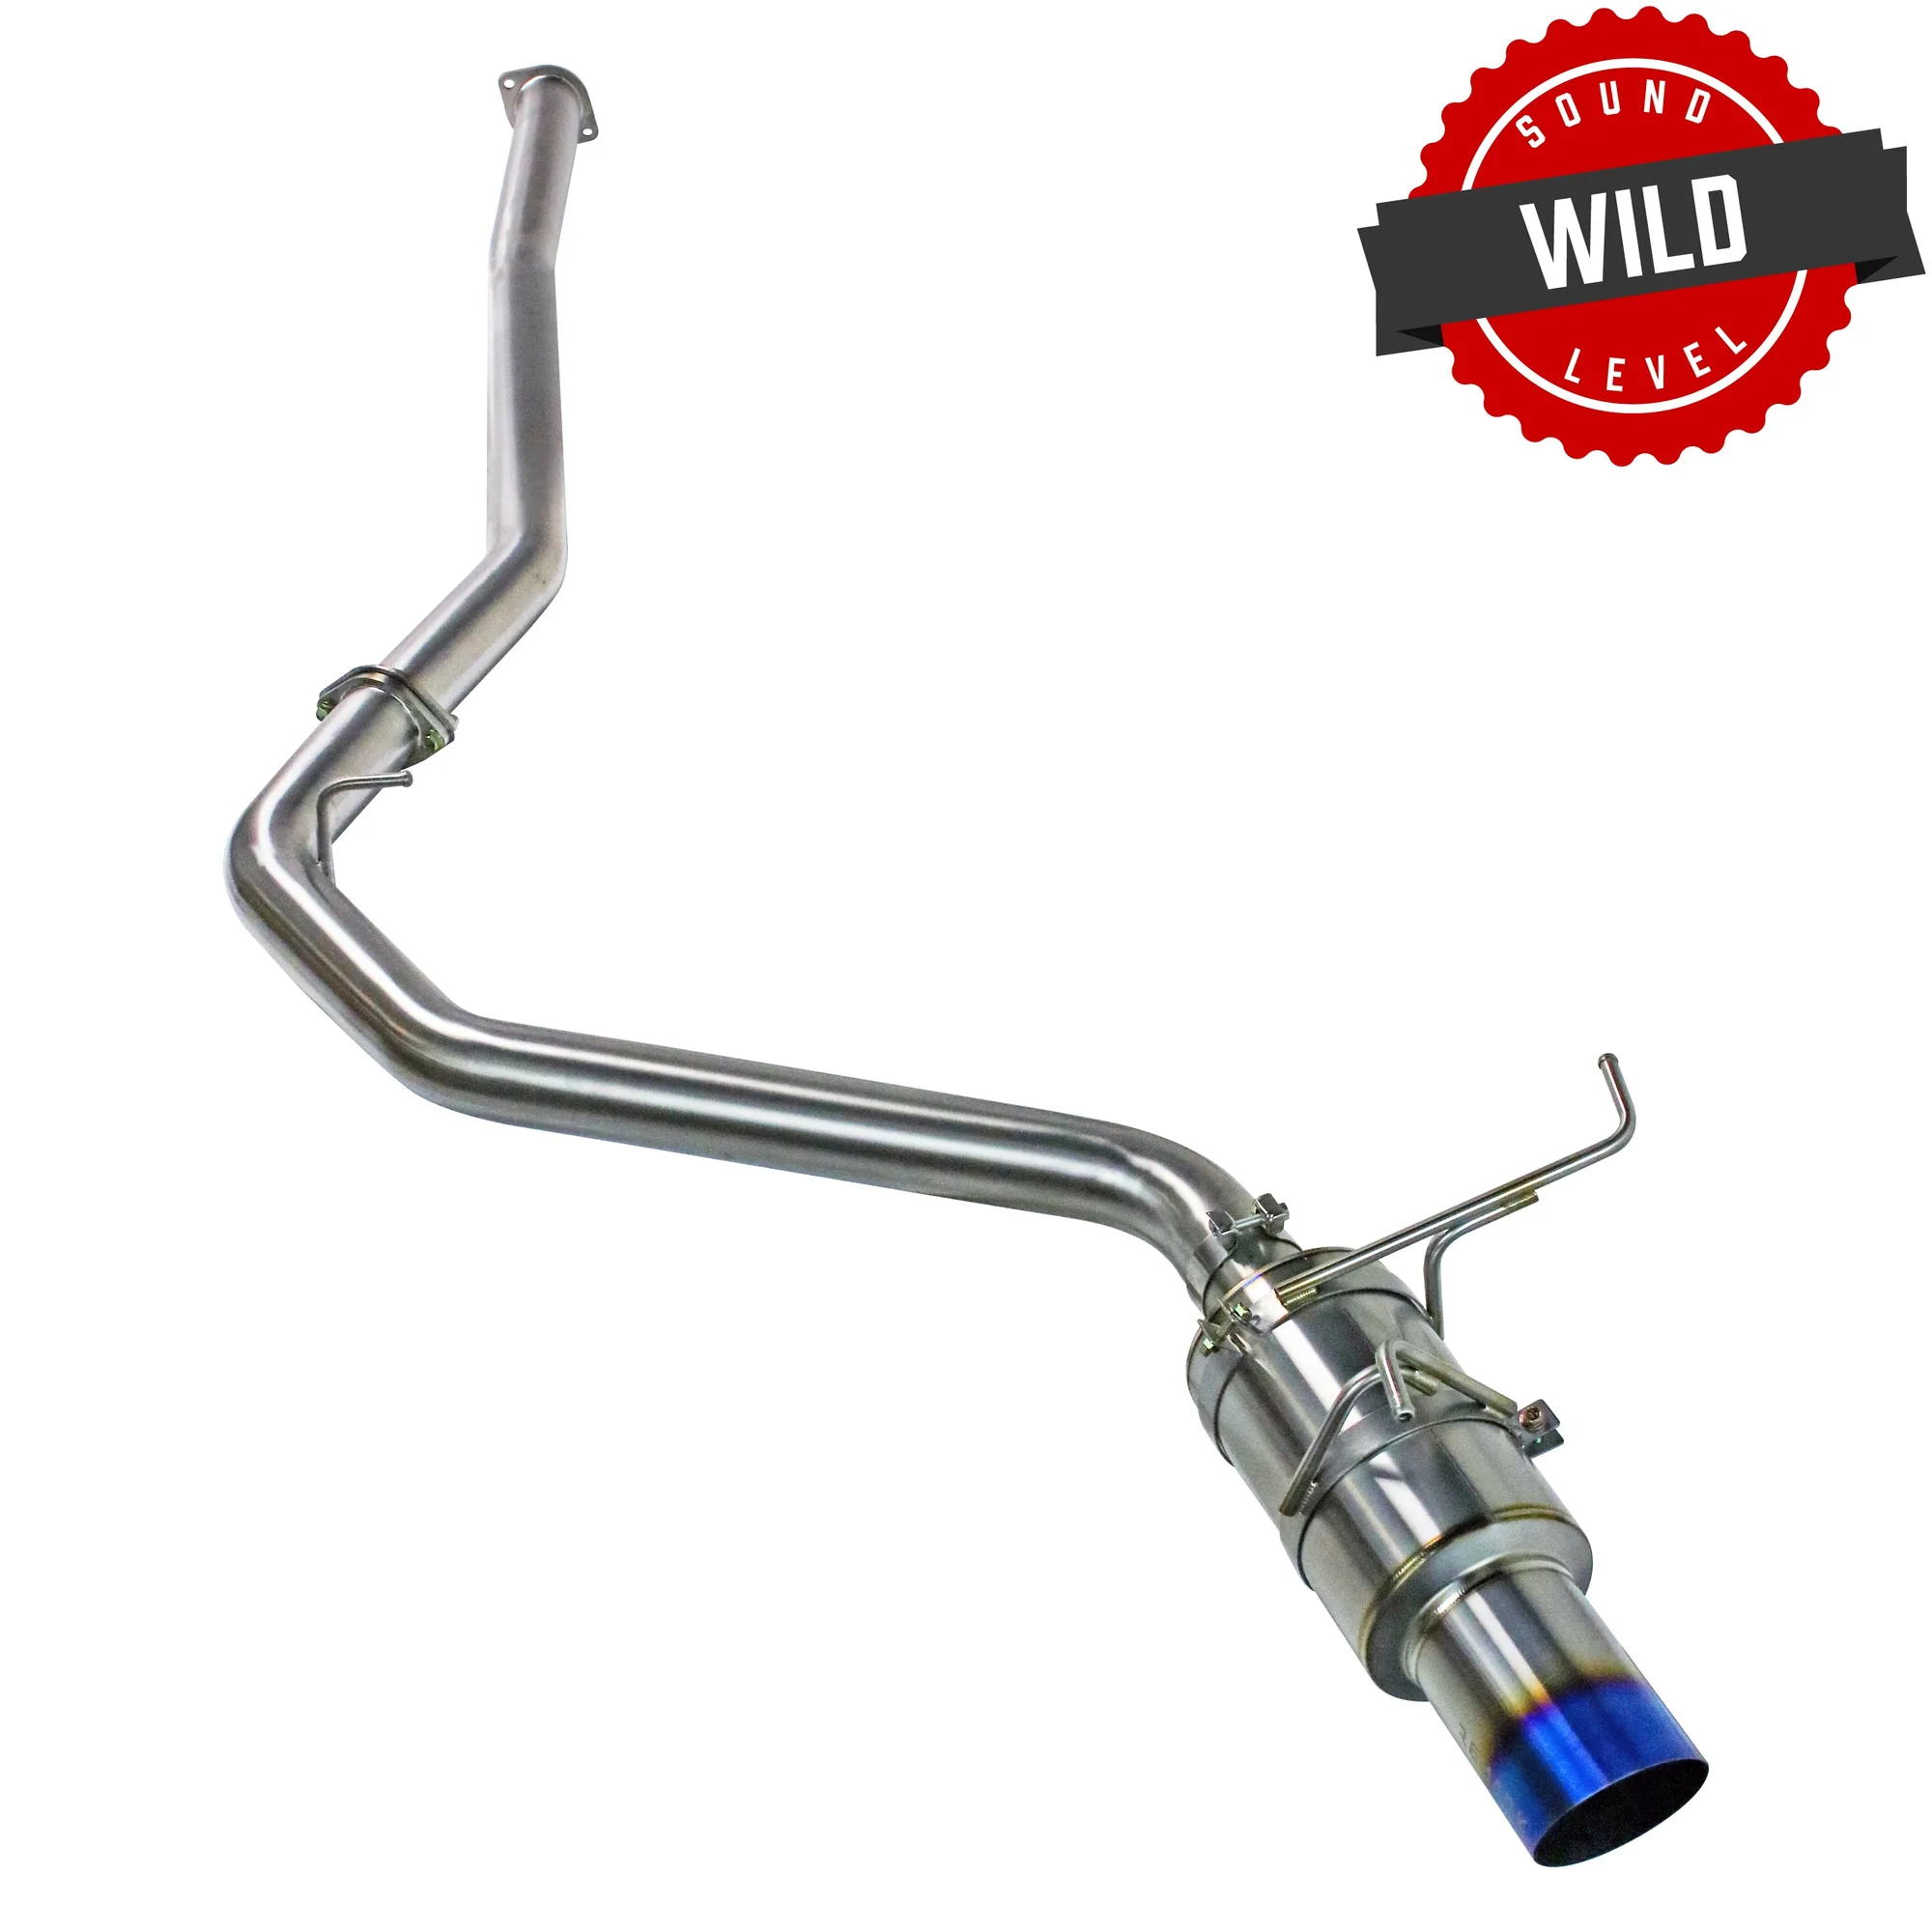
- Midpipe Kit for Axleback System- Subaru WRX VB [2022+]: Midpipe Kit for Axleback System- Subaru WRX VB [2022+] is available in three versions, including a 3-inch center section with or without resonator and a 2.5-inch center section with resonator, all splitting to dual 2.5-inch at the rear. If you drive a Subaru WRX and are also planning wheel and tire changes, the midpipe's routing and diameter can affect clearance near the rear suspension. Knowing the exact configuration helps you check for interference before you buy wheels.