Quick Answer
To achieve a cat eye look with cluster lashes, focus on lash mapping: place longer clusters at the outer corners and gradually shorter ones toward the inner corner. Use a high-quality applicator and adhesive for precision. Our step-by-step guide will help you master this winged effect effortlessly.
Cat eye lashes are a timeless trend that instantly lifts and elongates the eyes, creating a sultry, winged effect. While strip lashes can achieve this look, cluster lashes offer more customization and a lighter, more natural feel. With the right technique, you can create a stunning cat eye that suits your eye shape and style.
In this guide, we'll walk you through the process of applying cluster lashes for a cat eye look, from choosing the right clusters to mapping your lash line. We'll also share pro tips and product recommendations to make your application flawless.
Understanding Cluster Lashes for Cat Eye Looks
Cluster lashes are small groups of lash extensions that come in various lengths and thicknesses. Unlike strip lashes, they allow you to place individual clusters along your lash line, giving you control over the density and length. For a cat eye look, the key is to concentrate the longest clusters at the outer corners and taper them toward the inner corner, mimicking the natural winged shape.
When choosing clusters, consider the length and curl. Longer clusters (e.g., 12-14mm) work best for the outer corners, while shorter ones (8-10mm) are ideal for the inner and middle sections. A curl like D or DD adds extra lift and drama. Our Flawless Fans Single Length clusters are a great choice for a seamless, natural finish, while Easy Fan Blossom Lashes offer more volume and are beginner-friendly.
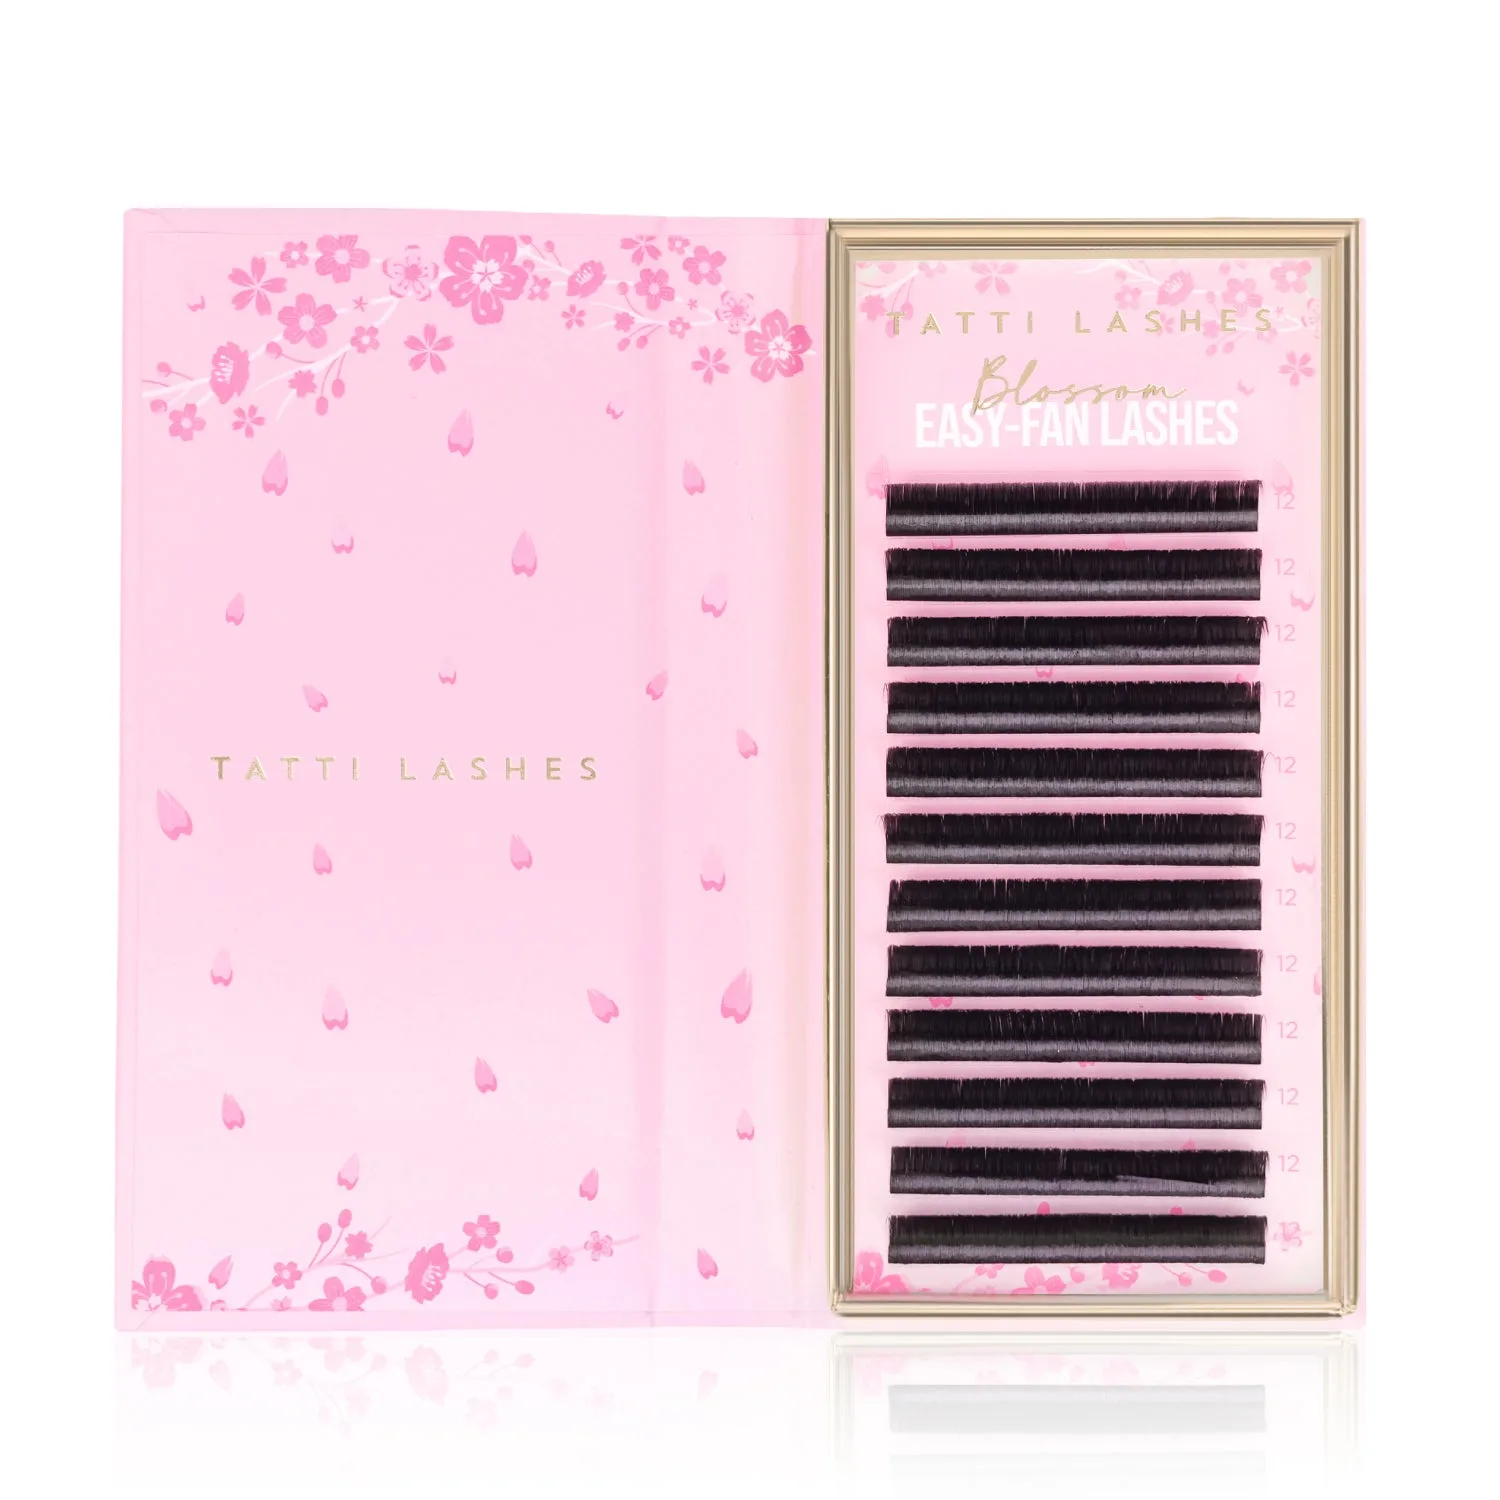
Easy Fan Blossom Lashes
- Choose clusters with a mix of lengths for a gradient effect.
- Opt for a curl that matches your desired lift and eye shape.
Preparing Your Natural Lashes
Before applying clusters, ensure your natural lashes are clean and free of any makeup or oil. Use a gentle cleanser and allow them to dry completely. This ensures the adhesive bonds properly and lasts longer. If you have straight lashes, consider curling them first to blend seamlessly with the clusters.
You'll also need a reliable adhesive and an applicator. A good applicator, like the Grip & Go Lash Applicator, provides precision and control, making it easier to place clusters accurately. Its ergonomic design and angled tip allow you to pick up and place lashes without twisting your hand, which is essential for achieving a sharp cat eye wing.
- Clean lashes with an oil-free makeup remover.
- Curl your natural lashes to blend with the clusters.
Mapping Your Cat Eye Lash Line
Lash mapping is crucial for a symmetrical and flattering cat eye. Start by identifying your eye shape. For a classic cat eye, the longest clusters go at the outer corners, gradually decreasing in length toward the inner corner. Mark three points: the inner corner, the middle, and the outer corner, and decide the lengths you'll use at each point.
As a general rule, use the longest clusters at the outer corner (about 2-3mm longer than your natural lashes), medium lengths in the middle, and the shortest at the inner corner. This creates a smooth gradient that lifts the eye. For a more dramatic wing, you can extend the length at the outer corner even further.
- Use a mirror and a fine-tip pen to mark your lash line.
- Plan your lengths before applying to avoid mistakes.
Applying the Clusters Step by Step
Now it's time to apply. Dip the base of each cluster into a small amount of lash adhesive, wait a few seconds for it to become tacky, then place it under your natural lashes, starting from the outer corner. Use your applicator to press the cluster gently onto the lash line. Hold for a few seconds to ensure it bonds.
Work your way inward, placing clusters at the marked points. Make sure each cluster is evenly spaced and lies flat against your lash line. Once all clusters are applied, gently press your natural lashes and clusters together with your fingers or a lash comb to blend them. Finish with a coat of mascara if desired.
- Apply clusters from the outer corner inward.
- Wait for the adhesive to become tacky before placing.
Step-by-Step Application Process
- Step 1: Prep Your Lashes: Cleanse your lashes and eyelids to remove any oils or makeup. Curl your natural lashes to ensure they blend seamlessly with the clusters. Checkpoint: Your lashes should be completely dry and oil-free before starting.
- Step 2: Map Your Lash Line: Decide on the lengths for the inner, middle, and outer corners. Mark these points with a fine-tip pen or simply visualize them. Checkpoint: The outer corner should have the longest clusters for the cat eye wing.
- Step 3: Apply the First Cluster: Dip the first cluster (the longest) into adhesive, wait for it to become tacky, then place it at the outer corner under your natural lashes. Press gently and hold for a few seconds. Checkpoint: Ensure the cluster is angled slightly upward to create the winged effect.
- Step 4: Continue Inward: Apply the remaining clusters, moving from the outer corner to the inner corner, using progressively shorter lengths. Keep spacing even and avoid overlapping. Checkpoint: Step back and check symmetry after each cluster.
- Step 5: Blend and Finish: Once all clusters are applied, gently press your natural lashes and clusters together with your fingers or a lash comb. Apply mascara if desired. Checkpoint: The final look should have a smooth gradient and a lifted, winged appearance.
Product Facts
- Flawless Fans Single Length: These knot-free individual wisps feature ultra-fine fibres with no visible knot at the base, allowing them to sit flat and blend seamlessly into your natural lash line. This makes them perfect for layering and creating a seamless cat eye gradient without bulk.
- Grip & Go Lash Applicator: Created with a wide base and ergonomic, non-slip grip handle, this tool gives you full control and stability, allowing for a more confident, mess-free application. The angled tip design means you can pick up and place your lashes directly, no need to rotate your hand. Precision is key for cat eye placement, and this applicator ensures you can place clusters exactly where you need them.
- Easy Fan Blossom Lashes: Blossoms are unique due to the gel lash strip that holds your fan and prevents any separation at the base. This allows you plenty of time to adjust the size or design of the fan, giving you complete control when creating bespoke lash fans. If you're new to clusters, this feature reduces frustration and helps you achieve a flawless cat eye with ease.
With these tips and tricks, you can confidently create a stunning cat eye look using cluster lashes. Remember to choose the right clusters and applicator for your needs, and practice your lash mapping for the best results. Ready to elevate your lash game? Explore our 1-Step Press™ Pre-Glued Lash Kit for an even easier application experience.