Quick answer
Adding a rock wall to your swing set is a straightforward DIY project when you use a hardware-only kit like the Rockwall Add On. You just need a compatible swing set, a drill, and about an hour of time.
Why a hardware-only kit makes sense
A hardware-only rock wall kit gives you the climbing holds and mounting hardware without the plywood panel. This lets you attach the holds directly to an existing vertical beam or post on your swing set, saving cost and installation effort. The kit is designed for children, with grips that have a flat rim for firm foot contact and a beveled edge that fits small hands. The gentle sloped incline provides enough challenge without being too steep.
Compatibility check before you start
Not every swing set can accept a rock wall add-on. The Rockwall Add On is designed for Discovery, Eclipse, or other Plan-it Play kits. Measure the available vertical space on your swing set's support beam or post. You need at least 4 feet of clear vertical surface to mount all 10 rock wall pieces with proper spacing. If your swing set has a solid wood or composite post at least 4x4 inches, you can proceed.
Step-by-step installation
- Step 1: Gather tools and check hardware: You need a drill with a Phillips bit, a tape measure, a pencil, and the included mounting hardware. Open the kit and verify you have all 10 rock wall pieces and the correct number of screws and washers. A common mistake is starting without checking the hardware, then realizing a piece is missing halfway through. Lay out all parts on a flat surface before you begin.
- Step 2: Mark the mounting positions: Hold the first rock wall piece against the beam at a comfortable height for the lowest hold (about 12 inches off the ground). Use a pencil to mark the screw holes. Space the remaining pieces 10 to 12 inches apart vertically, alternating left and right to create a natural climbing pattern. A common mistake is placing holds too close together, which makes the climb too easy and reduces the challenge. Use a level to ensure each hold is straight.
- Step 3: Drill pilot holes: Using a drill bit slightly smaller than the included screws, drill pilot holes at each marked location. This prevents the wood from splitting and makes it easier to drive the screws. A common mistake is skipping pilot holes, which can crack the beam or strip the screw head. Drill about 1 inch deep for a 4x4 post.
- Step 4: Attach the rock wall pieces: Place each rock wall piece over its pilot holes and secure it with the provided screws and washers. Tighten until the hold is snug against the beam, but do not overtighten or you may crack the plastic. A common mistake is overtightening, which can deform the grip or damage the mounting hardware. Check each hold for wobble after tightening.
- Step5: Test for safety: Once all 10 pieces are mounted, give each one a firm tug to confirm it is secure. Have your child test the wall under supervision. Check that the lowest hold is within easy reach and that the spacing feels natural. A common mistake is skipping the safety check and letting children climb before the holds are fully secure. Repeat the tug test after the first week of use.
Product details
-
Rockwall Add On - Hardware-Only Kit: Includes 10 green rock wall pieces with mounting hardware. Each piece has a flat rim for firm foot contact and a beveled edge sized for children's hands. The hardware-only design lets you attach the holds directly to your existing swing set frame without buying a separate climbing panel.
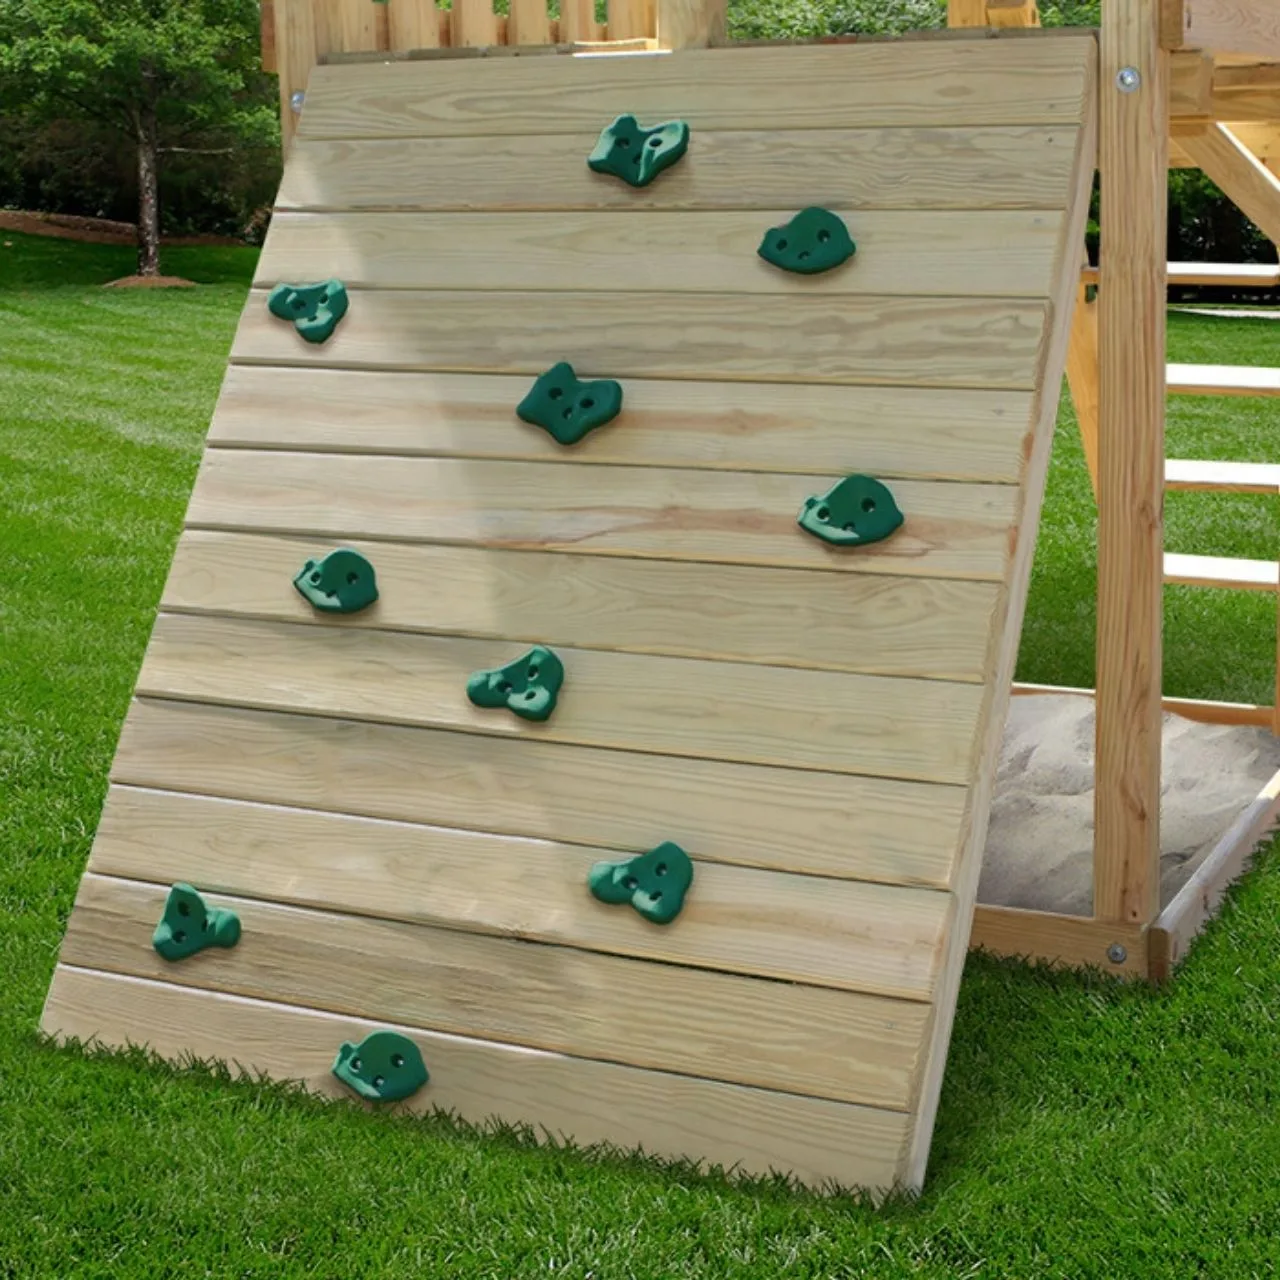
Rockwall Add On - Hardware-Only Kit