What Makes 035 Nail Wraps Different
The 035 nail wraps are semi-cured UV gel wraps, not ordinary stickers. They require a UV lamp to cure and benefit from a UV gel topcoat for extra protection and durability. This means you have a small window to position them perfectly before curing — and that window is your best chance to avoid wrinkles.
Each pack contains 16 wraps in a sheer airbrushed purple with red iridescence and ultra-fine glitter. The design is delicate, so careful handling pays off.
What the 035 Set Includes and Requires
-
035: 16 SEMI-CURED UV GEL WRAPS IN A SHEER AIRBRUSHED PURPLE FEATURING RED IRIDESCENCE WITH ULTRA FINE GLITTER Knowing the exact finish helps you anticipate how the wrap will behave — sheer and glittery means any wrinkle will be visible under light.
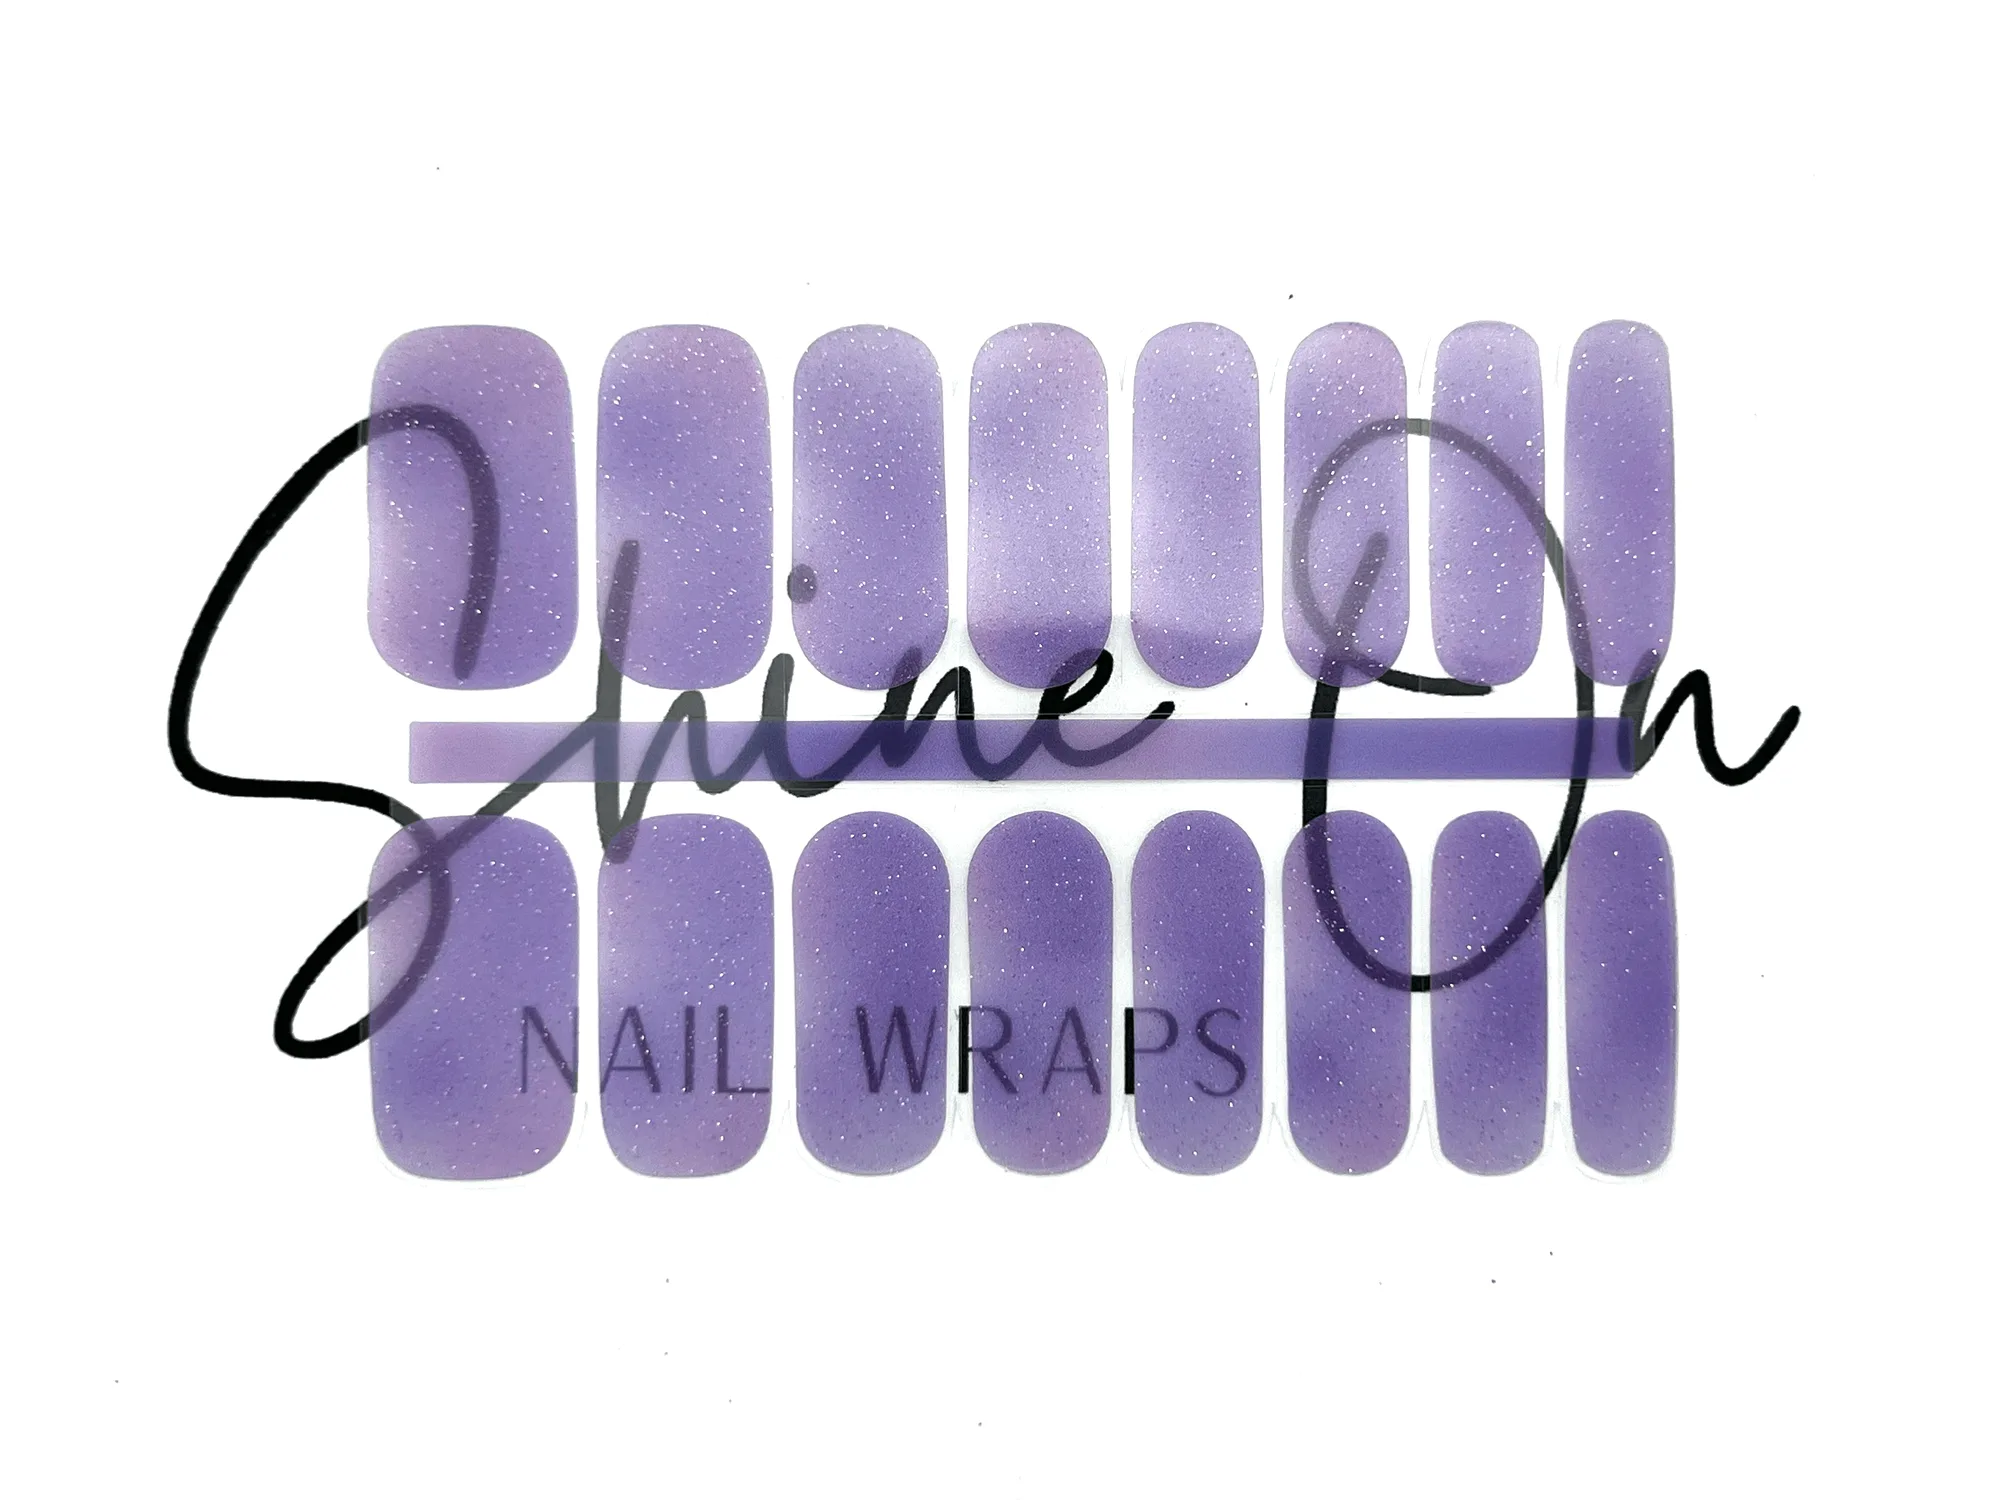
035
-
035: *THESE SEMI-CURED UV GEL WRAPS REQUIRE A UV LIGHT TO CURE* This is the key difference from standard nail wraps. You must have a UV lamp ready before you start; without curing, the wrap won't harden and will wrinkle easily.
-
035: *WE RECOMMEND ADDING A UV GEL TOPCOAT TO PROTECT YOUR NAIL ART AND ADD DURABILITY* A topcoat seals the edges and smooths the surface, reducing the chance of wrinkles lifting after application.
Application Steps to Prevent Wrinkles
Follow these steps carefully. The semi-cured material gives you time to adjust, but once it's under the UV lamp, the shape sets.
- Prep your nails: Push back cuticles, gently buff the nail surface, and wipe with rubbing alcohol to remove oil. A clean, dry base helps the wrap adhere evenly.
- Select the right size wrap: Hold the wrap against your nail before peeling. It should cover the nail from cuticle to tip without overlapping the skin. Wrinkles often start when the wrap is too large.
- Warm the wrap slightly: Rub the wrap between your fingers for a few seconds. Warming makes the semi-cured gel more flexible, so it conforms to the nail curve without creasing.
- Peel and apply from the cuticle: Peel the wrap from the backing. Align the straight edge with your cuticle line, then press down toward the tip. Smooth from center to edges to push out air.
- File off the excess: Fold the tip of the wrap over the nail edge and file downward in one direction. A gentle sawing motion can lift the edge and cause wrinkles later.
- Cure under a UV lamp: Place your hand under the UV lamp and cure according to the lamp's instructions. The wrap will harden and lock into place, preventing future wrinkles.
- Apply a UV gel topcoat: Brush a thin layer of UV gel topcoat over the cured wrap. Cure again. This seals the edges and adds a smooth, glossy finish that hides any minor texture.
Checkpoints That Catch Wrinkles Early
Before curing, check for wrinkles by looking at the wrap from an angle under good light. If you see a crease, lift the wrap gently (it's still uncured) and re-smooth it. Pay extra attention near the cuticle and sidewalls, where wrinkles most often form.
If you notice a small wrinkle after curing, you can lightly buff the surface and apply another thin layer of topcoat to even it out. The supplied information does not confirm this repair method, but it is a common practice with gel wraps.
What the Listing Does Not Confirm
The catalog does not specify a recommended curing time or lamp wattage. Use your UV lamp's standard gel-cure setting. It also does not mention whether the wraps can be repositioned after initial contact — so aim for correct placement on the first try.
For best results, treat 035 wraps as a semi-cured gel product: prepare your nails, work in good light, and cure fully before adding topcoat.