Start with the right shade and format
A natural sun-kissed look starts before the brush touches your face. The Attitude Bronzer comes in multiple shades to complement a variety of skin tones, so your first step is picking a shade that adds warmth without looking obvious. For fair skin, lean toward the lighter end of the range and build gradually. Deeper skin tones can usually handle richer, more saturated shades.
Format matters too. The Attitude Bronzer lets you choose your preferred format for easy application, so think about how you like to work. Cream formulas blend with fingers or a damp sponge and suit dry or mature skin. Powder formulas are easier to control and set quickly, which helps if you have oily skin or want a longer-lasting finish. Neither is better, they just serve different routines.
Bronzer placement tips for a natural finish
Where you place bronzer changes the entire effect. The goal is to mimic where the sun naturally hits your face, not to contour or sculpt.
- Forehead and temples: Lightly sweep bronzer along the top of your forehead and out toward your temples. This is where sun exposure is most common and creates an immediate warm frame.
- Cheeks and cheekbones: Apply from the top of your cheekbone outward toward your ear, blending downward slightly. Avoid placing bronzer directly on the apples of your cheeks, which can look like blush instead of sun.
- Jawline and neck: A soft pass along the jawline and down onto the neck helps avoid a visible line between face and body. Blend well so the transition is seamless.
- Nose and bridge: A tiny amount across the bridge of your nose adds a subtle sun-kissed touch. Keep it light, especially if you have fair skin.
What the Attitude Bronzer record confirms
-
Bronzer -0.3 OZ.: Each compact contains 0.3 oz. of product. A compact size that fits easily into a daily makeup routine and is practical for on-the-go touch-ups.
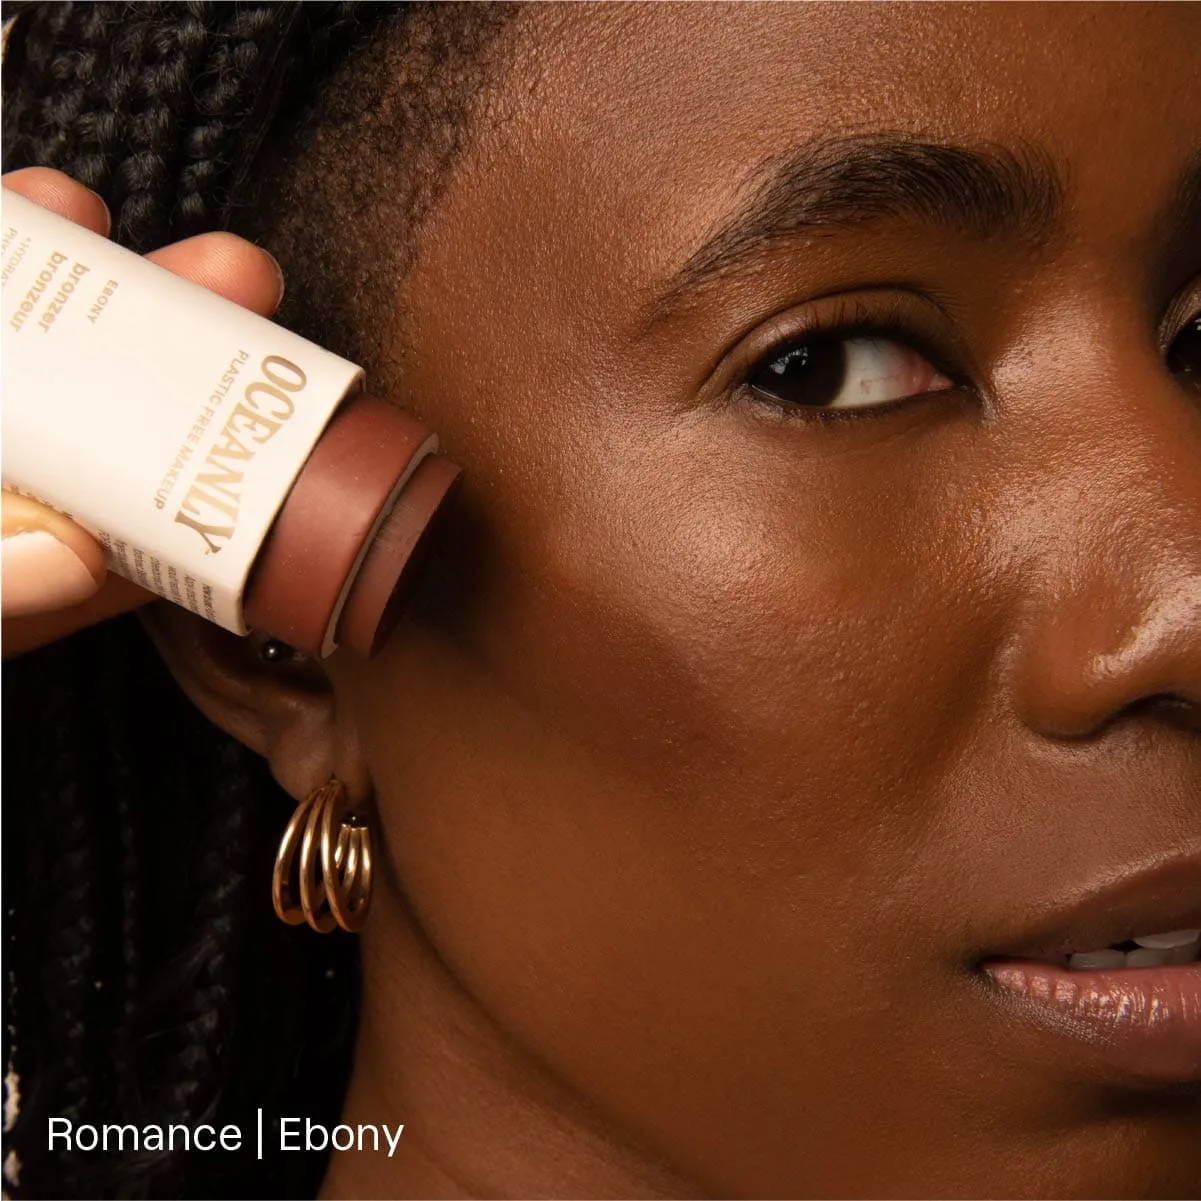
Bronzer -0.3 OZ.
-
Bronzer -0.3 OZ.: Available in multiple shades to complement a variety of skin tones. Supports shade matching for fair skin and deeper complexions without guessing at a single universal tone.
-
Bronzer -0.3 OZ.: Choose your preferred format for easy application. Lets you decide between cream and powder based on your skin type and application habits.
-
Bronzer -0.3 OZ.: Helps create a warm, radiant look without heavy coverage. Confirms the bronzer is designed for a natural, buildable effect rather than full-coverage sculpting.
A simple sun-kissed makeup tutorial
Follow these steps for an everyday look that reads as healthy warmth, not makeup.
- Step 1: Prep your base: Start with your usual foundation or tinted moisturizer. Bronzer sits best on a smooth, set base. If you use cream bronzer, apply it before powdering. If you use powder bronzer, apply after your base is set.
- Step 2: Pick up a small amount: Tap your brush or fingers lightly into the bronzer. A little goes a long way, and building gradually is easier than removing excess.
- Step 3: Apply to the high points of your face: Follow the placement tips above: forehead, temples, cheekbones, jawline, and a touch on the nose. Use light, sweeping motions.
- Step 4: Blend, blend, blend: Use a clean brush or sponge to soften any edges. The goal is a seamless transition with no visible lines.
- Step 5: Build only where needed: If you want more warmth, add another thin layer rather than pressing harder. The Attitude Bronzer is designed for a warm, radiant look without heavy coverage, so thin layers work best.
Cream bronzer vs powder bronzer: which suits you
Cream bronzer melts into the skin and gives a dewy, lit-from-within finish. It works well for dry or mature skin and for anyone who prefers blending with fingers. Powder bronzer is easier to control, sets quickly, and tends to last longer on oily skin. It also works well for quick touch-ups throughout the day.
The Attitude Bronzer is available in your preferred format, so you can choose based on your skin type and how you like to apply makeup. If you are unsure, start with powder for control, or cream if you want a more skin-like finish.
Shade matching and application checkpoints
Use these checkpoints to keep your bronzer looking natural.
- Match your undertone: Choose a bronzer that is one or two shades warmer than your skin, not darker. For fair skin, avoid shades that are too orange or too deep. The Attitude Bronzer's multiple shades help you find a closer match.
- Check in natural light: Apply bronzer near a window or in daylight to make sure the warmth looks natural and blends well with your neck.
- Keep it off the center of your face: Bronzer belongs on the perimeter and high points. Applying it too close to the center of your face can look muddy.
- Build in thin layers: The Attitude Bronzer is designed for a warm, radiant look without heavy coverage. Thin layers give you more control than one heavy application.
What the supplied information does not confirm
The Attitude Bronzer record does not include specific ingredient lists, skin-type suitability claims, or patch-test recommendations. If you have sensitive skin or known allergies, check the full product packaging or contact the brand directly before use. The record also does not specify exact wear time or whether the formula is fragrance-free, so treat those as open questions rather than assumptions.