Quick answer
Apply your traction pad to a clean, dry board, center it over the tail stringer, and press it down firmly from the center outward. Then rinse it with fresh water after every session and avoid solvents or direct heat.
Why placement and prep decide how long the pad lasts
Most traction pads fail for one of two reasons: they were installed on a dusty or wax-contaminated surface, or they were positioned too far forward or off-center. Both problems are avoidable with a five-minute prep routine.
A two-piece pad gives you a little more freedom than a one-piece design because you can set each half independently around the stringer. That flexibility is useful, but it also means you need to check symmetry before you commit.
When a flat, archless pad makes sense
If you move your back foot around a lot, a flat pad lets you slide and reset without fighting a raised arch. Riders who prefer a locked-in back foot often want more contour, so choose based on how you actually surf rather than what looks aggressive on the rack.
Step-by-step: install and care for your traction pad
- Clean and dry the tail: Remove all wax with a wax comb or scraper, then wipe the area with isopropyl alcohol and let it dry completely. Common mistake: installing over leftover wax or moisture, which prevents the adhesive from bonding. Run your hand over the surface; if you feel any slickness or coolness, wait longer.
- Mark the centerline and test-fit: Lay the pad on the board without peeling the backing and align it with the stringer. For a two-piece pad, set both halves in place and check that the gap is even and the tail kick sits where you want it. Common mistake: guessing the position and discovering it is off-center after peeling. Take a photo of the test fit so you can match it after peeling.
- Peel and press from the center out: Peel a small section of backing, anchor the pad at the centerline, then work outward, pressing firmly to push out air bubbles. Common mistake: peeling the entire backing at once and trapping air or misaligning the pad. Press each section for a few seconds before moving to the next.
- Let the adhesive cure before surfing: Wait at least 24 hours before waxing over the pad or taking the board in the water. Common mistake: surfing immediately, which can lift the edges before the bond sets. Store the board flat and out of direct sun during curing.
- Rinse and clean after every session: Rinse the pad with fresh water, then use a soft brush and mild soap for stubborn grime. Common mistake: using solvents, harsh cleaners, or high-pressure water, which can degrade the foam and adhesive. Avoid direct sunlight for long periods; UV and heat are harder on the pad than salt water.
Product facts
-
Rebound 2-Piece Surf Traction Pad: Two-piece pad with no arch and a 30mm tail kick. The flat surface lets you adjust your back foot easily, while the 30mm kick gives a clear reference point for turns.
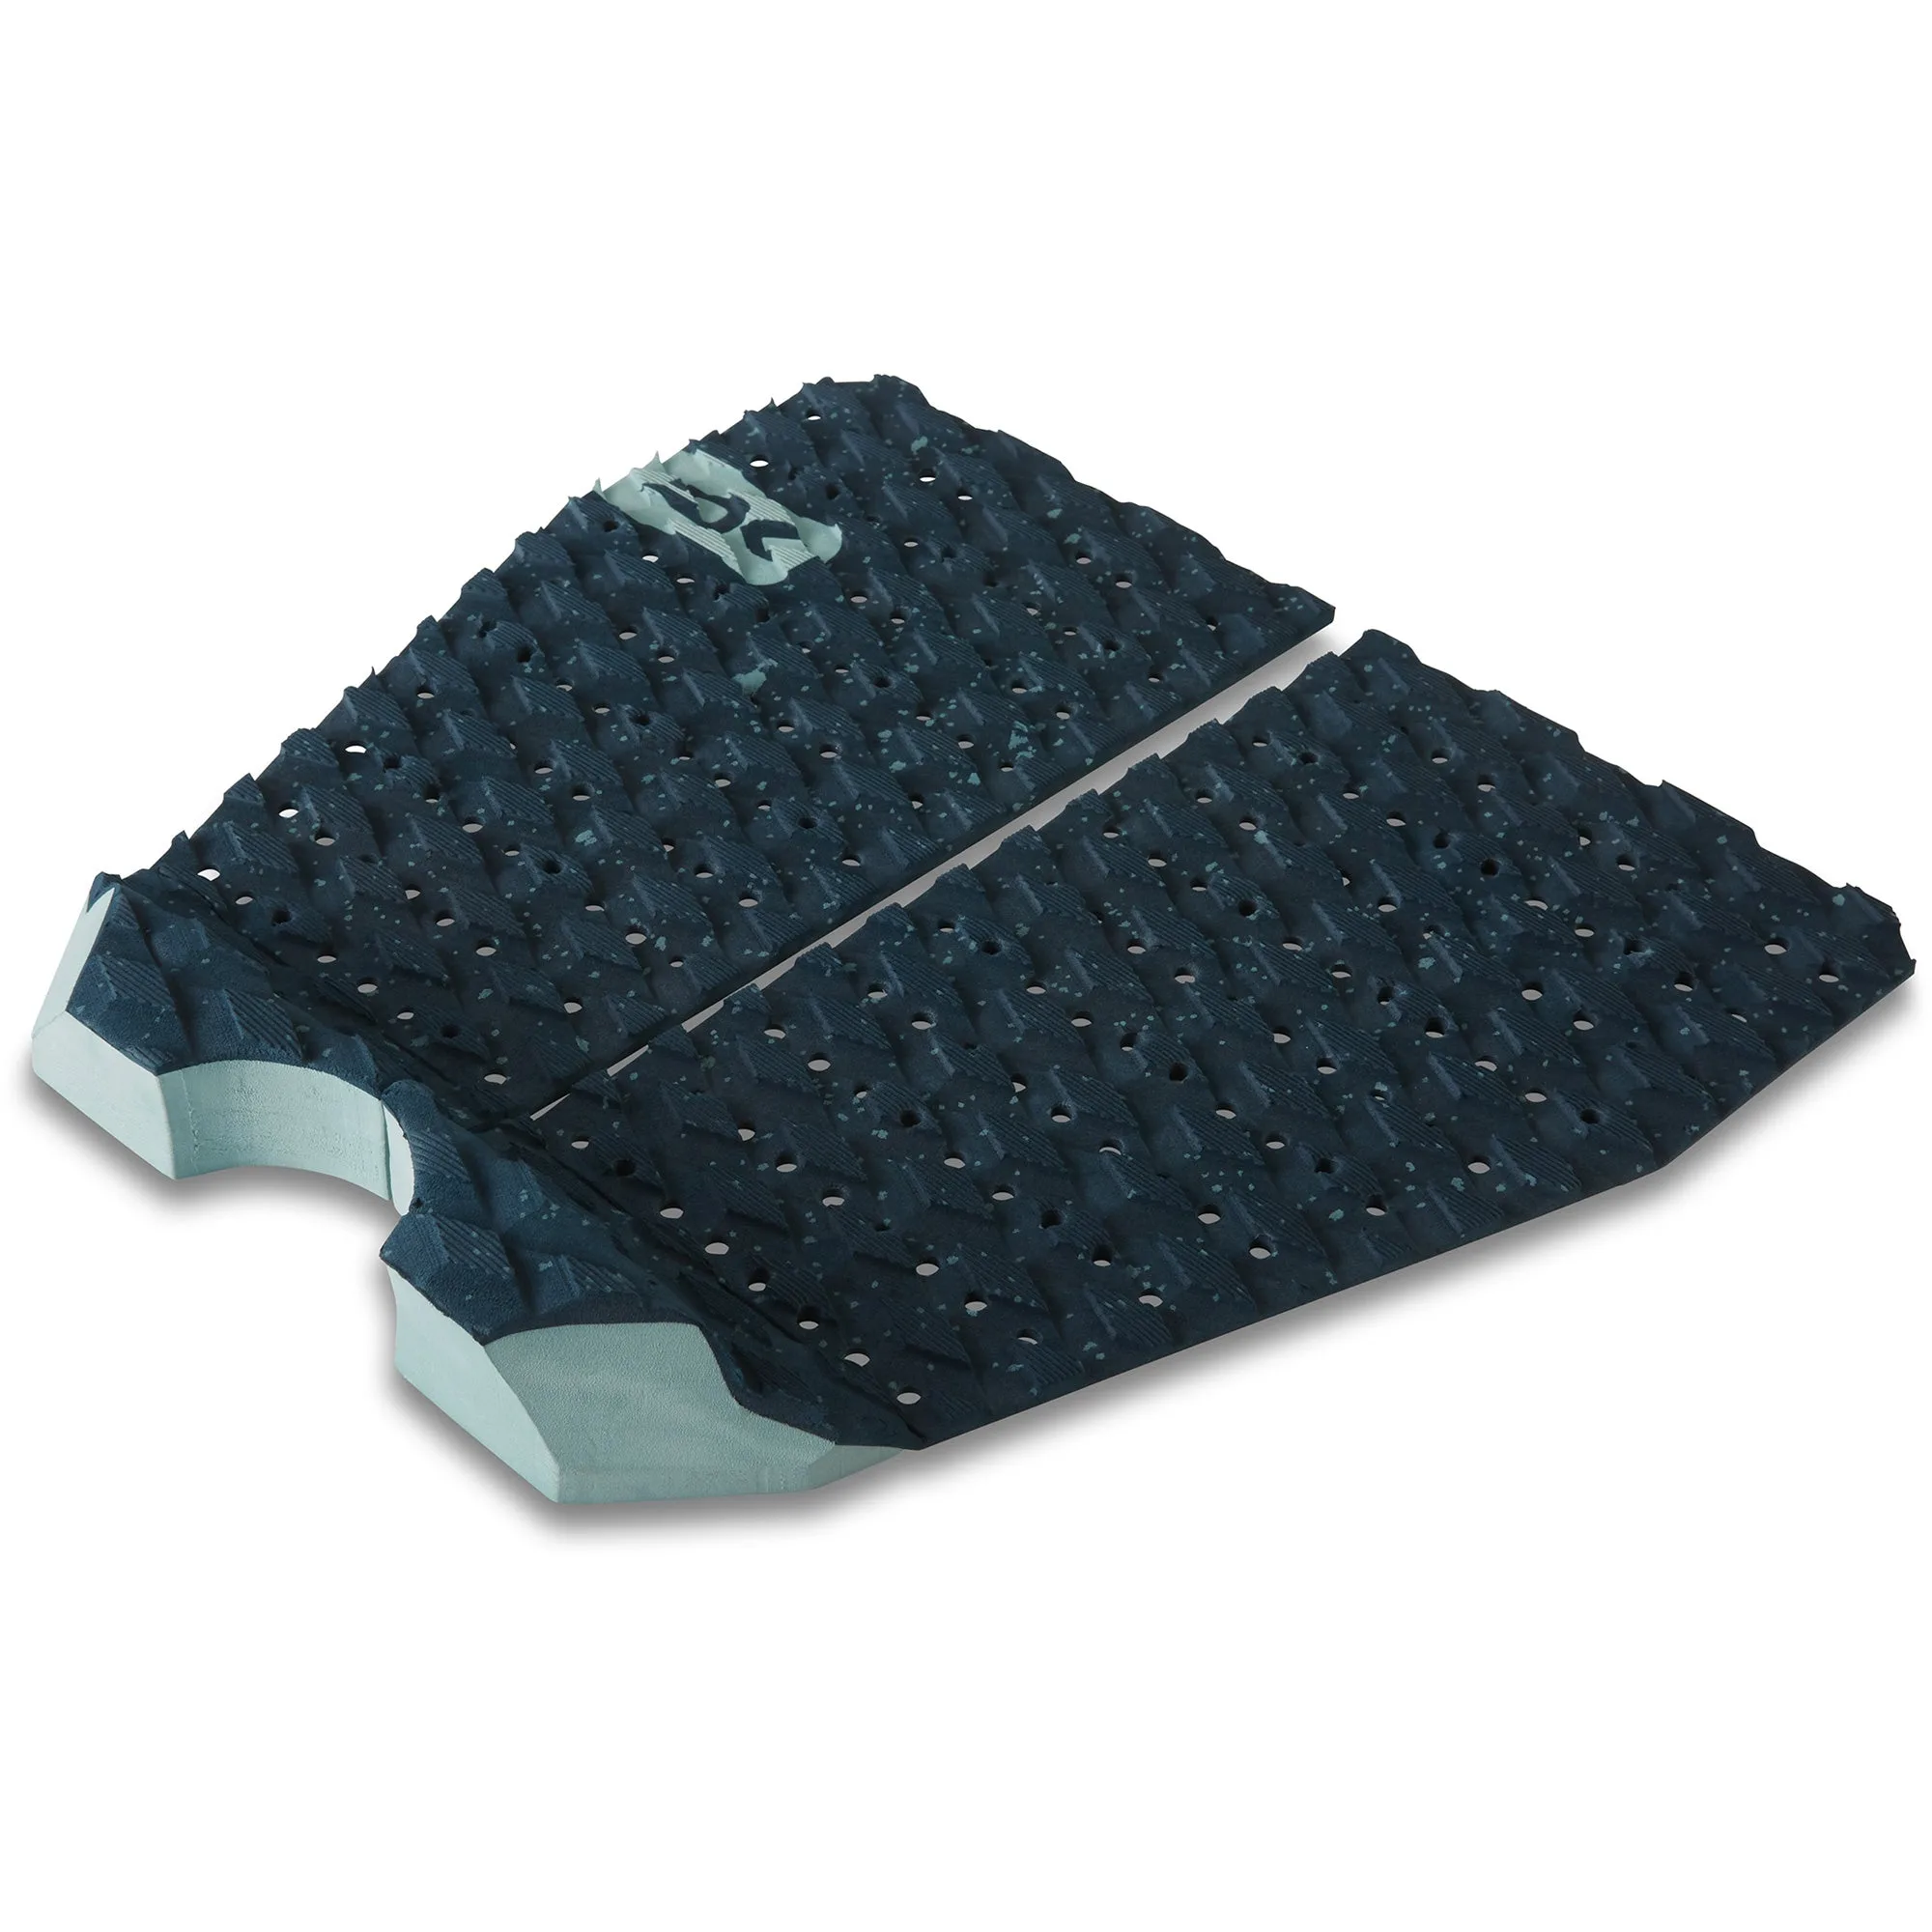
Rebound 2-Piece Surf Traction Pad