In a severe bleeding emergency, a tourniquet can be the difference between life and death. The Combat Application Tourniquet (CAT) is widely used by military and civilian first responders due to its effectiveness and ease of use. However, proper application is critical; a poorly applied tourniquet can fail to stop bleeding or cause additional harm.
This guide provides a clear, step-by-step visual walkthrough for applying a CAT tourniquet correctly. Whether you're a trained professional or a concerned citizen, mastering this skill is essential. We'll cover when to use a tourniquet, how to position it, and how to secure it effectively. By the end, you'll have the confidence to act decisively in an emergency.
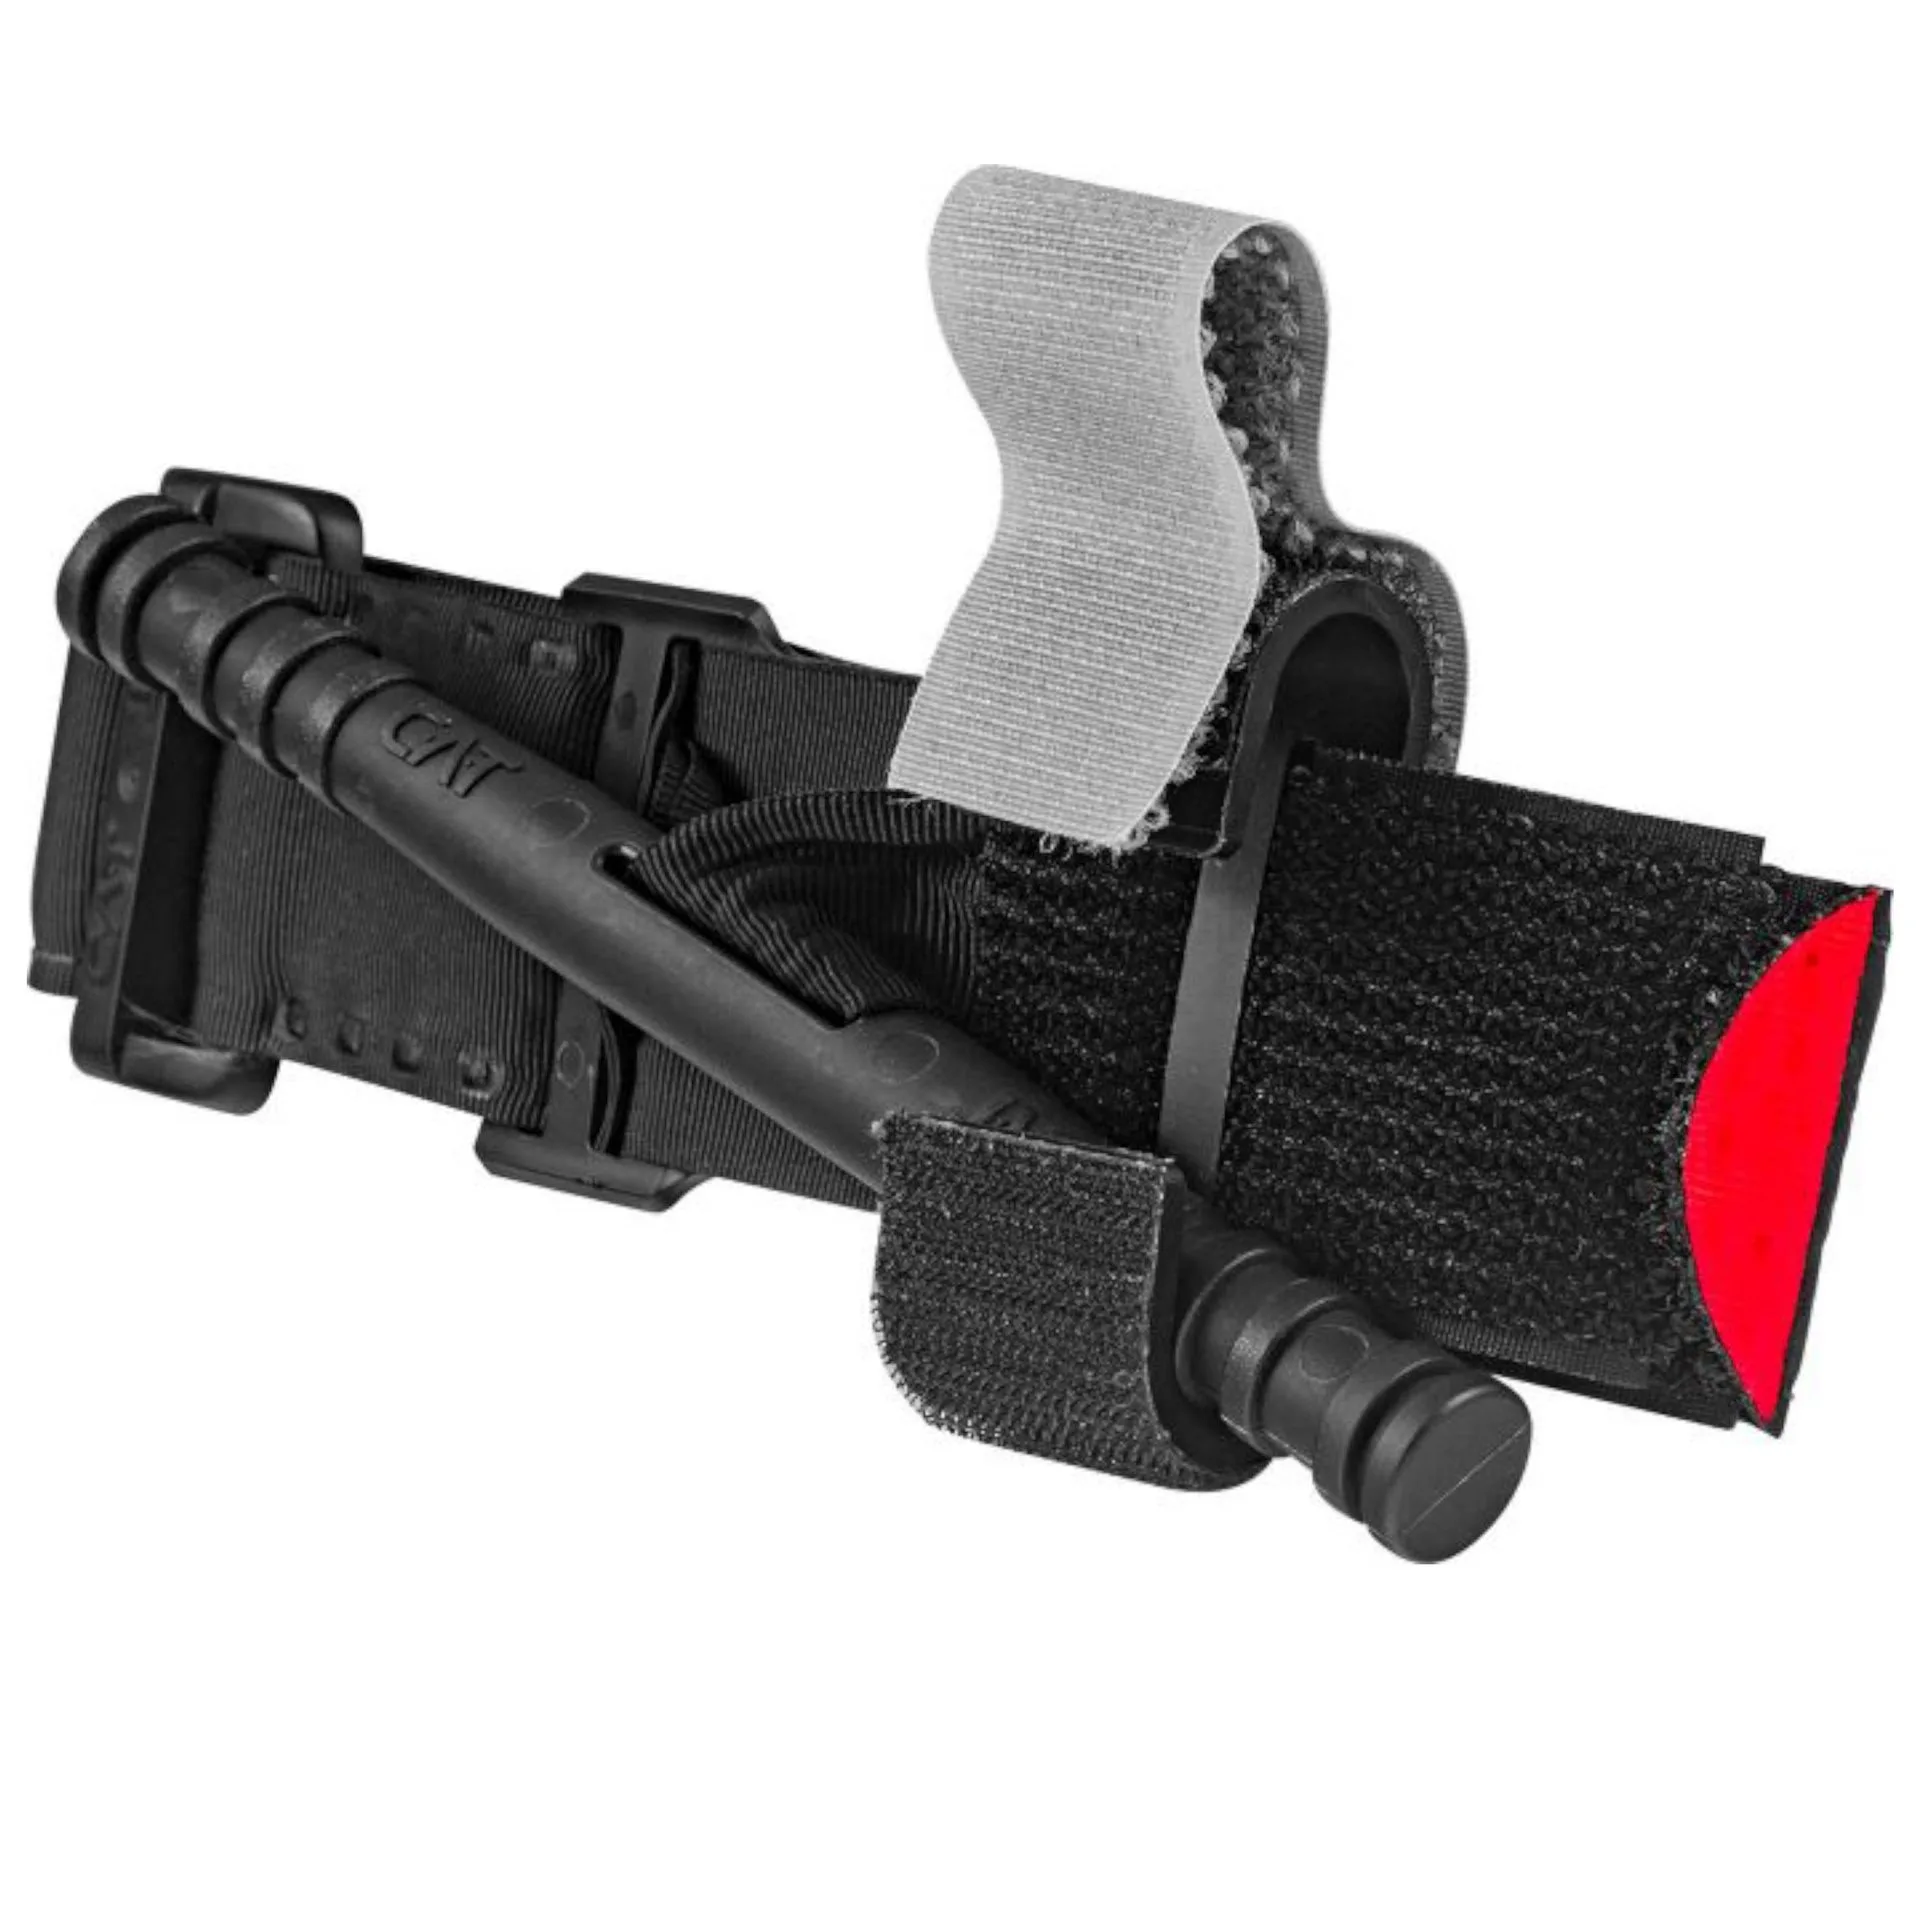
CAT tourniquet
When to Use a CAT Tourniquet
A tourniquet is indicated for life-threatening bleeding from an arm or leg that cannot be controlled by direct pressure. Examples include severe lacerations, crush injuries, or amputations. If blood is spurting or pooling rapidly, do not delay—apply the tourniquet immediately. The goal is to stop the bleeding quickly, even if it means sacrificing the limb to save the life.
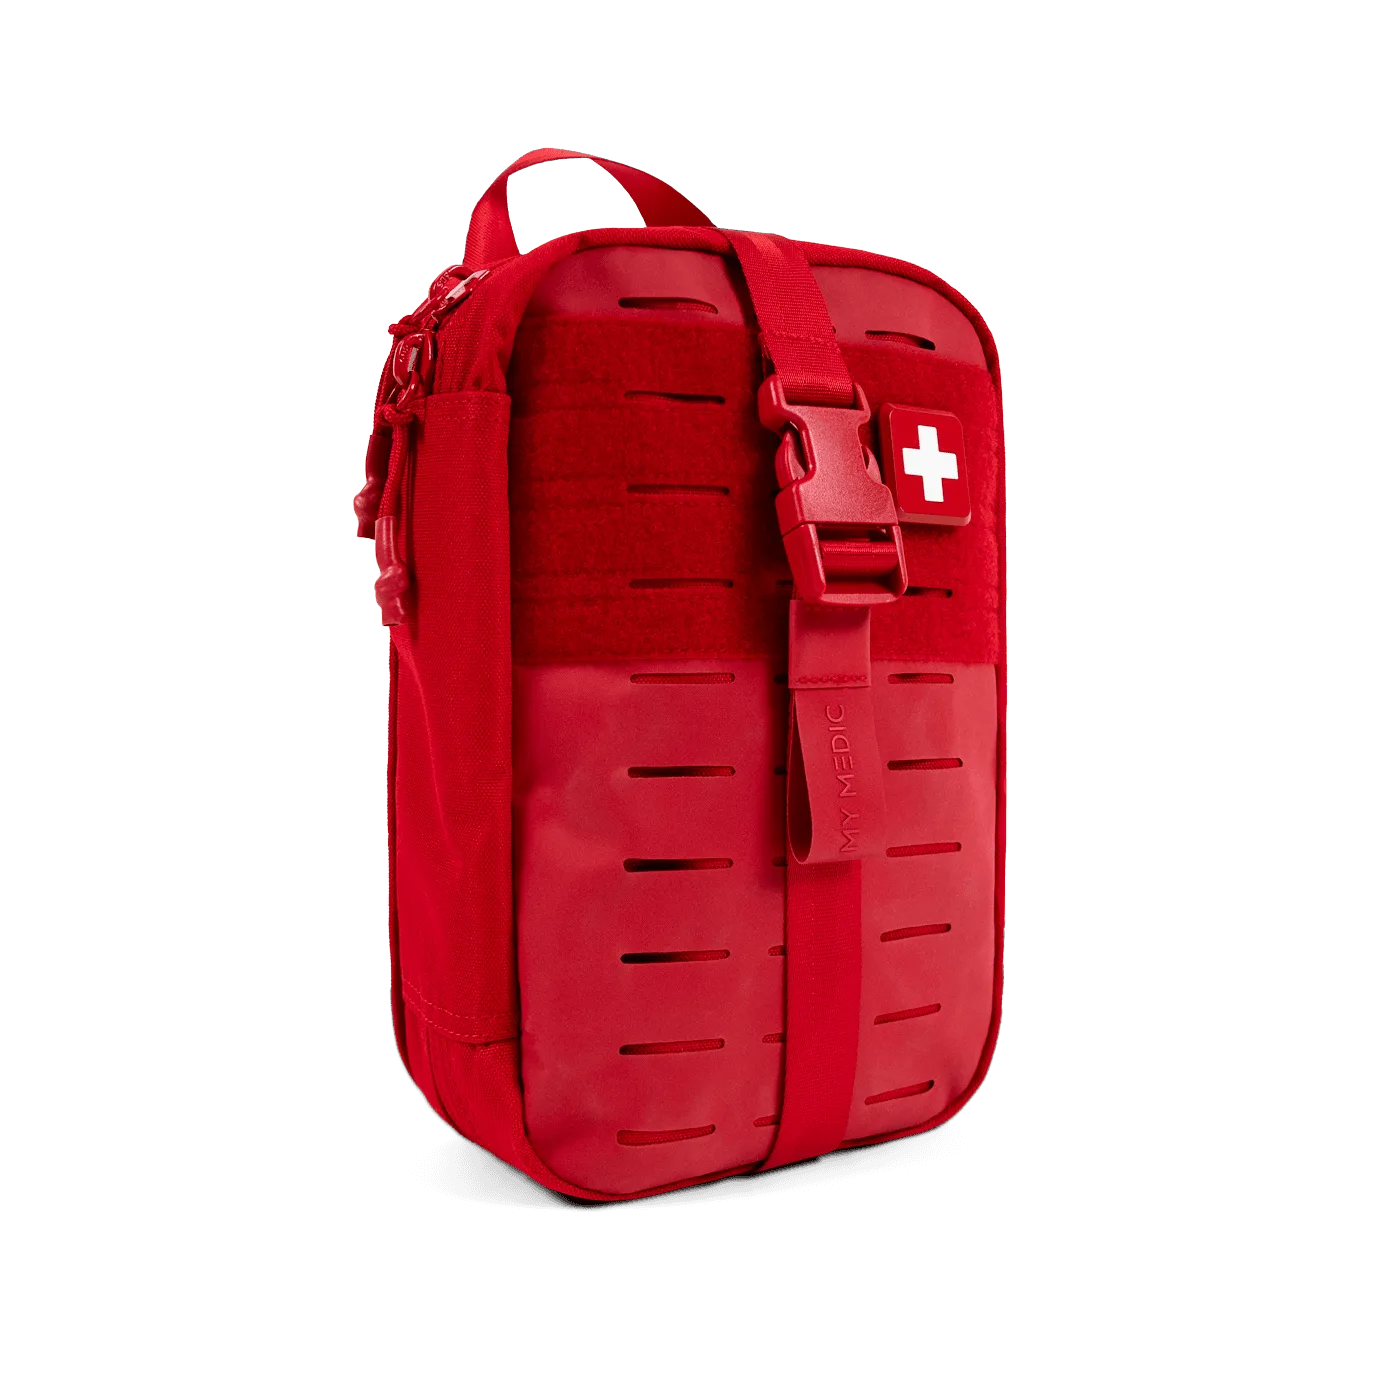
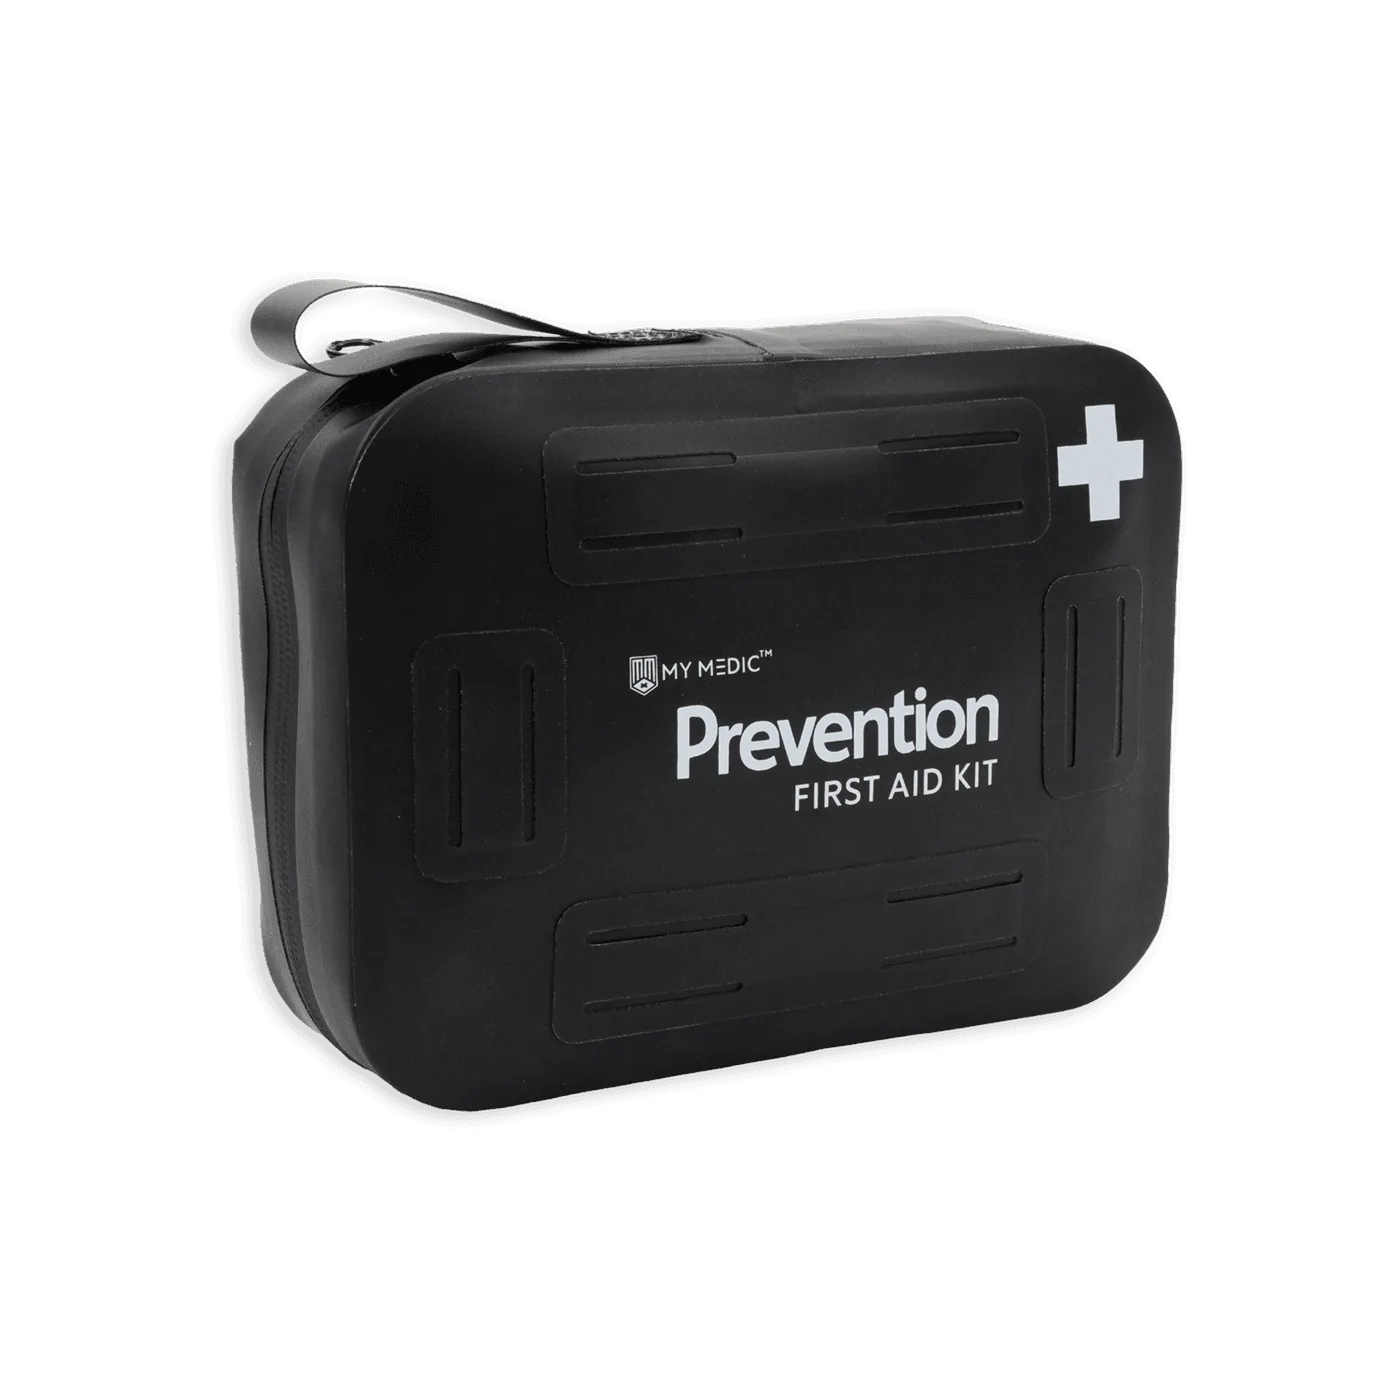
It's important to note that tourniquets are not for minor bleeding or wounds on the torso, head, or neck. For those areas, use direct pressure and wound packing. Always carry a reliable tourniquet, like the CAT, in your first aid kit. My Medic offers comprehensive kits that include tourniquets and training materials, ensuring you're prepared.
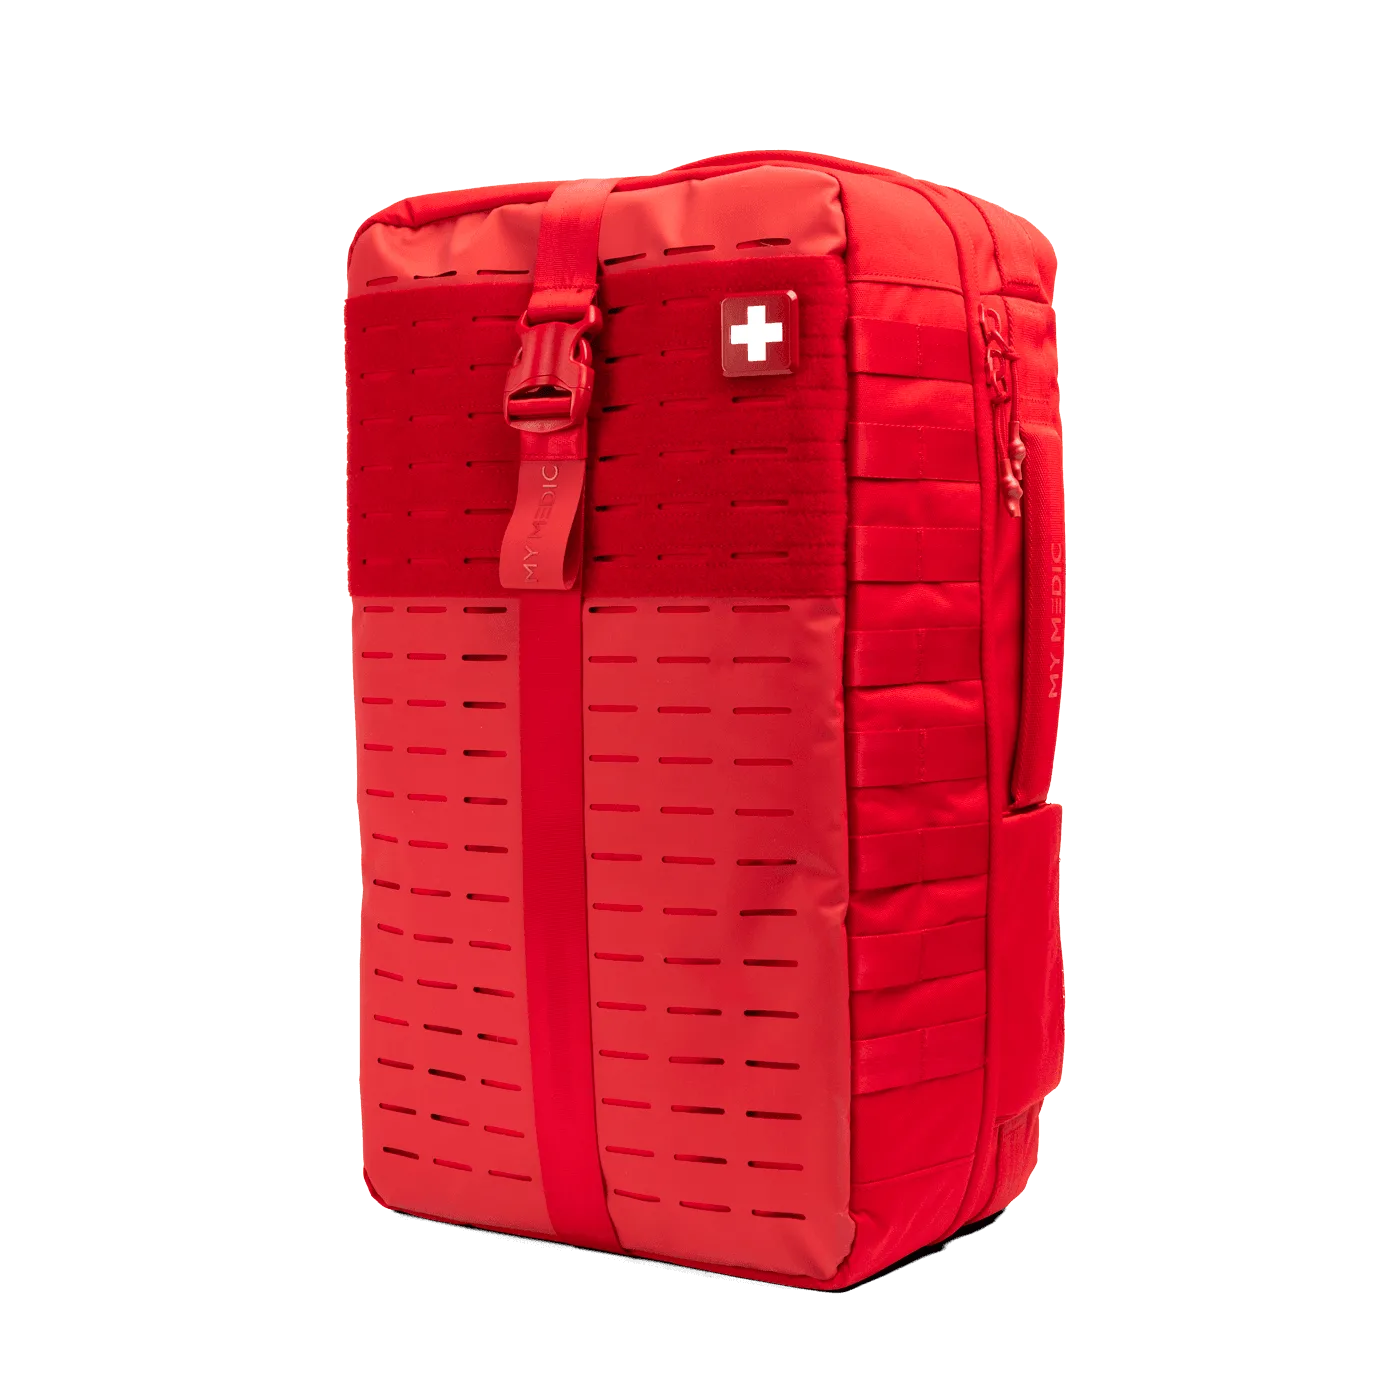
Medic
- Use only for severe, life-threatening limb bleeding
- Apply above the bleeding site, between the wound and the heart
- Apply as high on the limb as possible, ideally 2-3 inches above the wound
Step-by-Step CAT Tourniquet Application
Step 1: Remove the tourniquet from its packaging and ensure it is intact. Unfold the band and check that the windlass rod is in place. Step 2: Place the tourniquet around the limb, 2-3 inches above the wound (closer to the heart). Avoid placing it over a joint; if necessary, apply just above the joint. Step 3: Pull the band tight and secure it with the hook-and-loop closure. Ensure the band is snug but not yet tight enough to stop blood flow.
Step 4: Twist the windlass rod until bleeding stops. You should see the bleeding diminish and the pulse below the tourniquet disappear. Step 5: Lock the windlass rod in place using the windlass clip. Step 6: Secure the rod by wrapping the remaining band around it and tucking the end under the secured band. Finally, note the time of application on the tourniquet or in your memory, as medical personnel will need this information.
- Practice with a training tourniquet to build muscle memory
- Always carry a backup tourniquet in case the first fails or is damaged
- Do not remove a tourniquet once applied; leave it for medical professionals
Common Mistakes to Avoid
One of the most common errors is applying the tourniquet too loosely, which fails to occlude the artery and can actually increase bleeding. Another mistake is placing it too low, such as directly on the wound or over a joint. Always place it high on the limb, even if that means above the elbow or knee.
Additionally, some people hesitate to tighten enough due to fear of pain or tissue damage. Remember, a properly applied tourniquet is painful, but it is necessary to save the limb and life. Do not release the tourniquet once applied, as this can lead to reperfusion injury and worsen the outcome.
- Ensure the band is at least 2 inches wide to distribute pressure evenly
- Avoid covering the windlass rod with the band; it must remain accessible
- If bleeding continues after tightening, twist the rod further until it stops
Training and Practice: The Key to Confidence
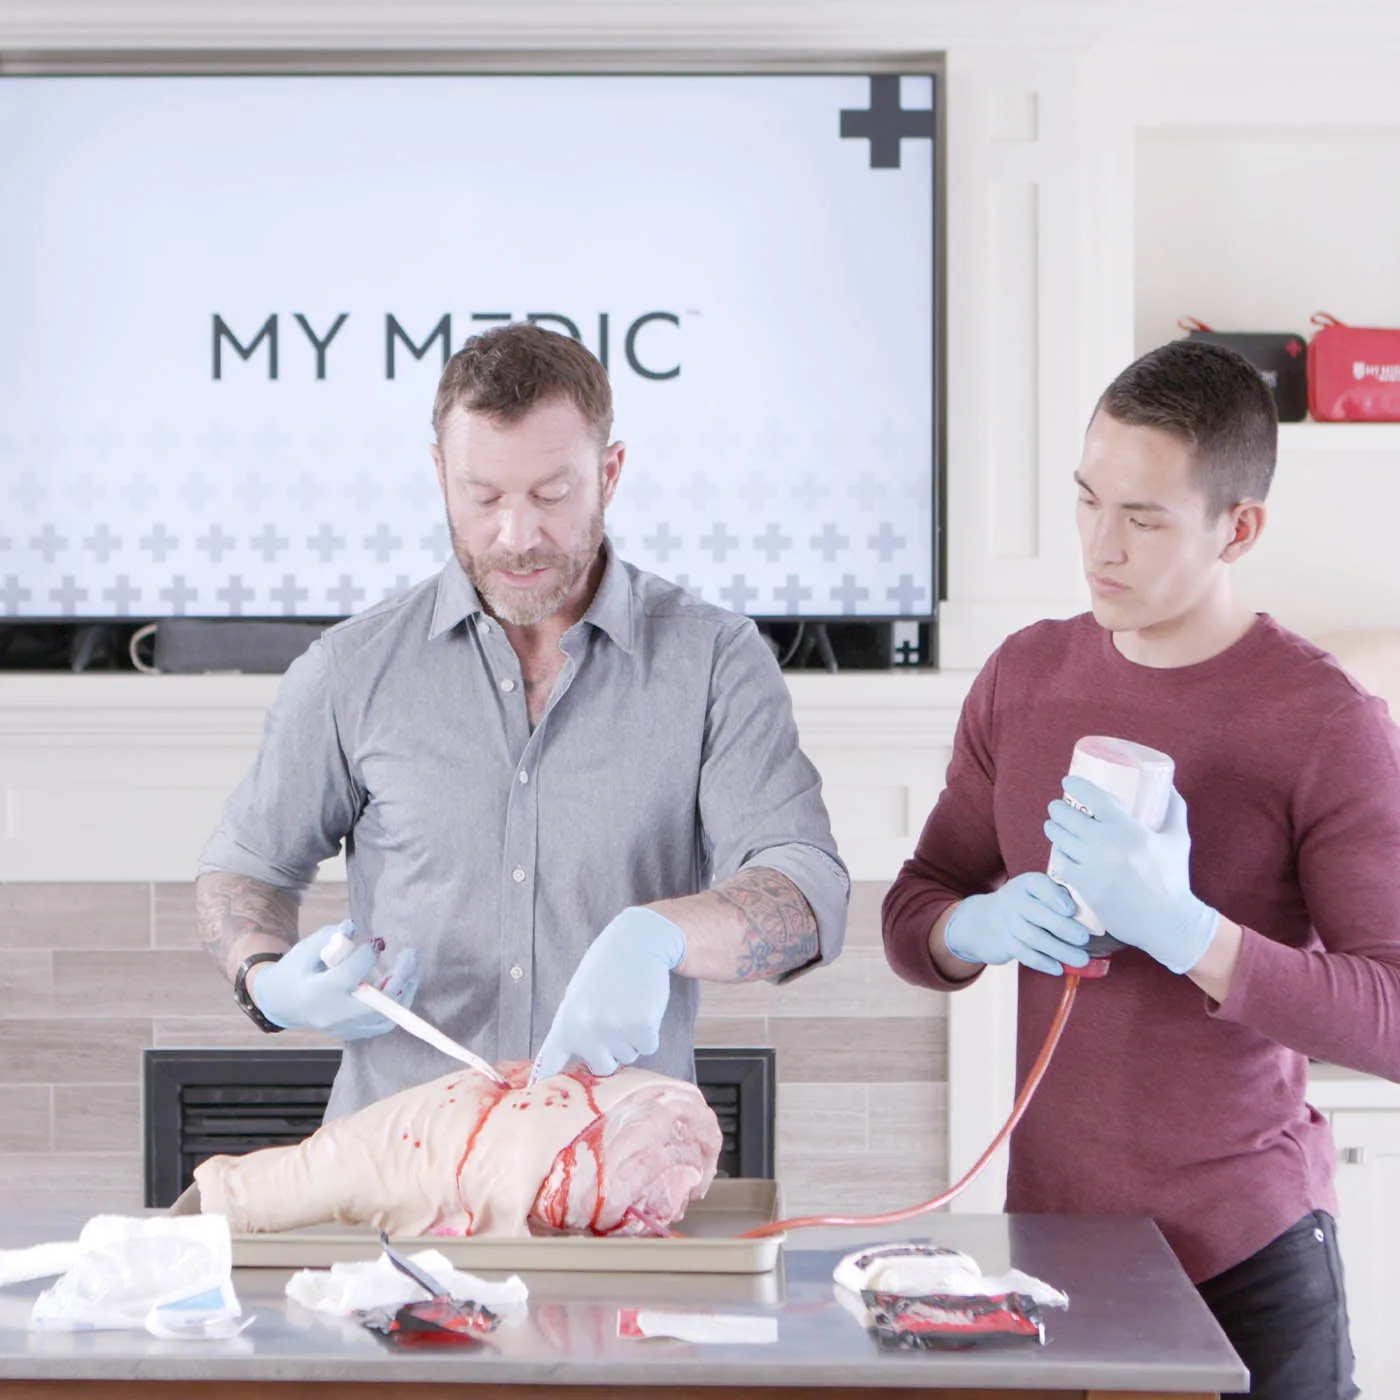
Applying a tourniquet correctly under stress requires practice. Consider taking a certified first aid course that includes hands-on tourniquet training. Many courses offer simulation exercises that mimic real-life scenarios. Additionally, you can purchase a training tourniquet to practice at home.
My Medic offers the Stay Alive Guide, which covers essential first aid skills, including tourniquet application. Pairing your kit with educational resources enhances your readiness. Remember, the more you practice, the more automatic the steps become, allowing you to act quickly when every second counts.
- Practice on both arms and legs to simulate different scenarios
- Time yourself to ensure you can apply it in under 30 seconds
- Review the steps regularly to keep them fresh in your memory
Mastering the CAT tourniquet application is a vital skill for anyone who may face a severe bleeding emergency. By following this visual guide and practicing regularly, you'll be prepared to act decisively. Equip yourself with a quality tourniquet and the knowledge to use it effectively. Explore My Medic's range of first aid kits and training resources to enhance your preparedness today.