Quick Answer
To apply a clear vinyl sticker on glass or a mirror, clean the surface thoroughly, use the wet method for positioning, and press from the center outward to avoid bubbles.
Why Glass and Mirrors Need Special Care
Glass and mirrors are non-porous, which means they don't absorb moisture or adhesive. This makes them great surfaces for vinyl stickers, but it also means any dust, oil, or leftover cleaner can prevent the adhesive from bonding fully. A clean, dry surface is the foundation of a bubble-free application.
The clear background of a clear vinyl sticker can show imperfections more easily than opaque stickers. Because the sticker is transparent, any trapped air or debris is visible, so taking the time to prepare the surface and apply the sticker carefully pays off.
Wet vs. Dry Application
For large stickers or those on curved surfaces, the wet method is often easier because it lets you slide the sticker into the perfect position before it bonds. However, for small stickers like the Psalm 118:14 clear vinyl sticker, the dry method works well if you're confident in your placement. The wet method requires a spray bottle with a few drops of dish soap, but it adds a bit of drying time.
If you choose the wet method, wait until the sticker is fully dry before touching it or applying pressure. Rushing this step can cause the adhesive to fail later.
Step-by-Step Application Guide
- Clean the Surface: Wipe the glass or mirror with a lint-free cloth and a glass cleaner. Remove all dust, fingerprints, and residue. Let it dry completely. Checkpoint: Run a clean finger across the surface to feel for any leftover stickiness or grit.
- Prepare the Sticker: Peel the backing paper off the clear vinyl sticker slowly. If the sticker is large, use the hinge method: tape the top edge to the surface, then lift the bottom to remove the backing. Checkpoint: If the sticker curls or folds, lay it flat for a minute to relax before continuing.
- Position the Sticker: Hold the sticker by its edges and place it on the glass or mirror. Use a level or a measuring tape if you want it perfectly straight. Do not press down yet. Checkpoint: Step back and check the alignment from a few feet away before committing.
- Press from the Center Outward: Use a squeegee or a credit card wrapped in a soft cloth. Starting at the center, press outward toward the edges in smooth strokes. This pushes air bubbles out. Checkpoint: If a bubble remains, lift the nearest edge and re-press; never pop the vinyl.
- Smooth the Edges: Run your finger or the squeegee along all edges to ensure they are fully adhered. Pay extra attention to corners and curves. Checkpoint: Check for any edge that lifts; if it does, press it down firmly with your thumb.
- Let It Cure: Wait at least 24 hours before cleaning the glass or exposing the sticker to moisture. This allows the adhesive to bond fully. Checkpoint: Avoid using harsh cleaners or scrubbing the sticker for the first week.
Products Mentioned
-
The Lord is My Strength and My Song, Psalm 118:14 Clear Vinyl Sticker: This clear vinyl sticker features a guitar with flowers and is weather resistant with a special laminate that protects it from rain, wind, and sunlight. The durable laminate means it can handle the occasional splash on a bathroom mirror or window, but proper application ensures the adhesive bonds well from the start.
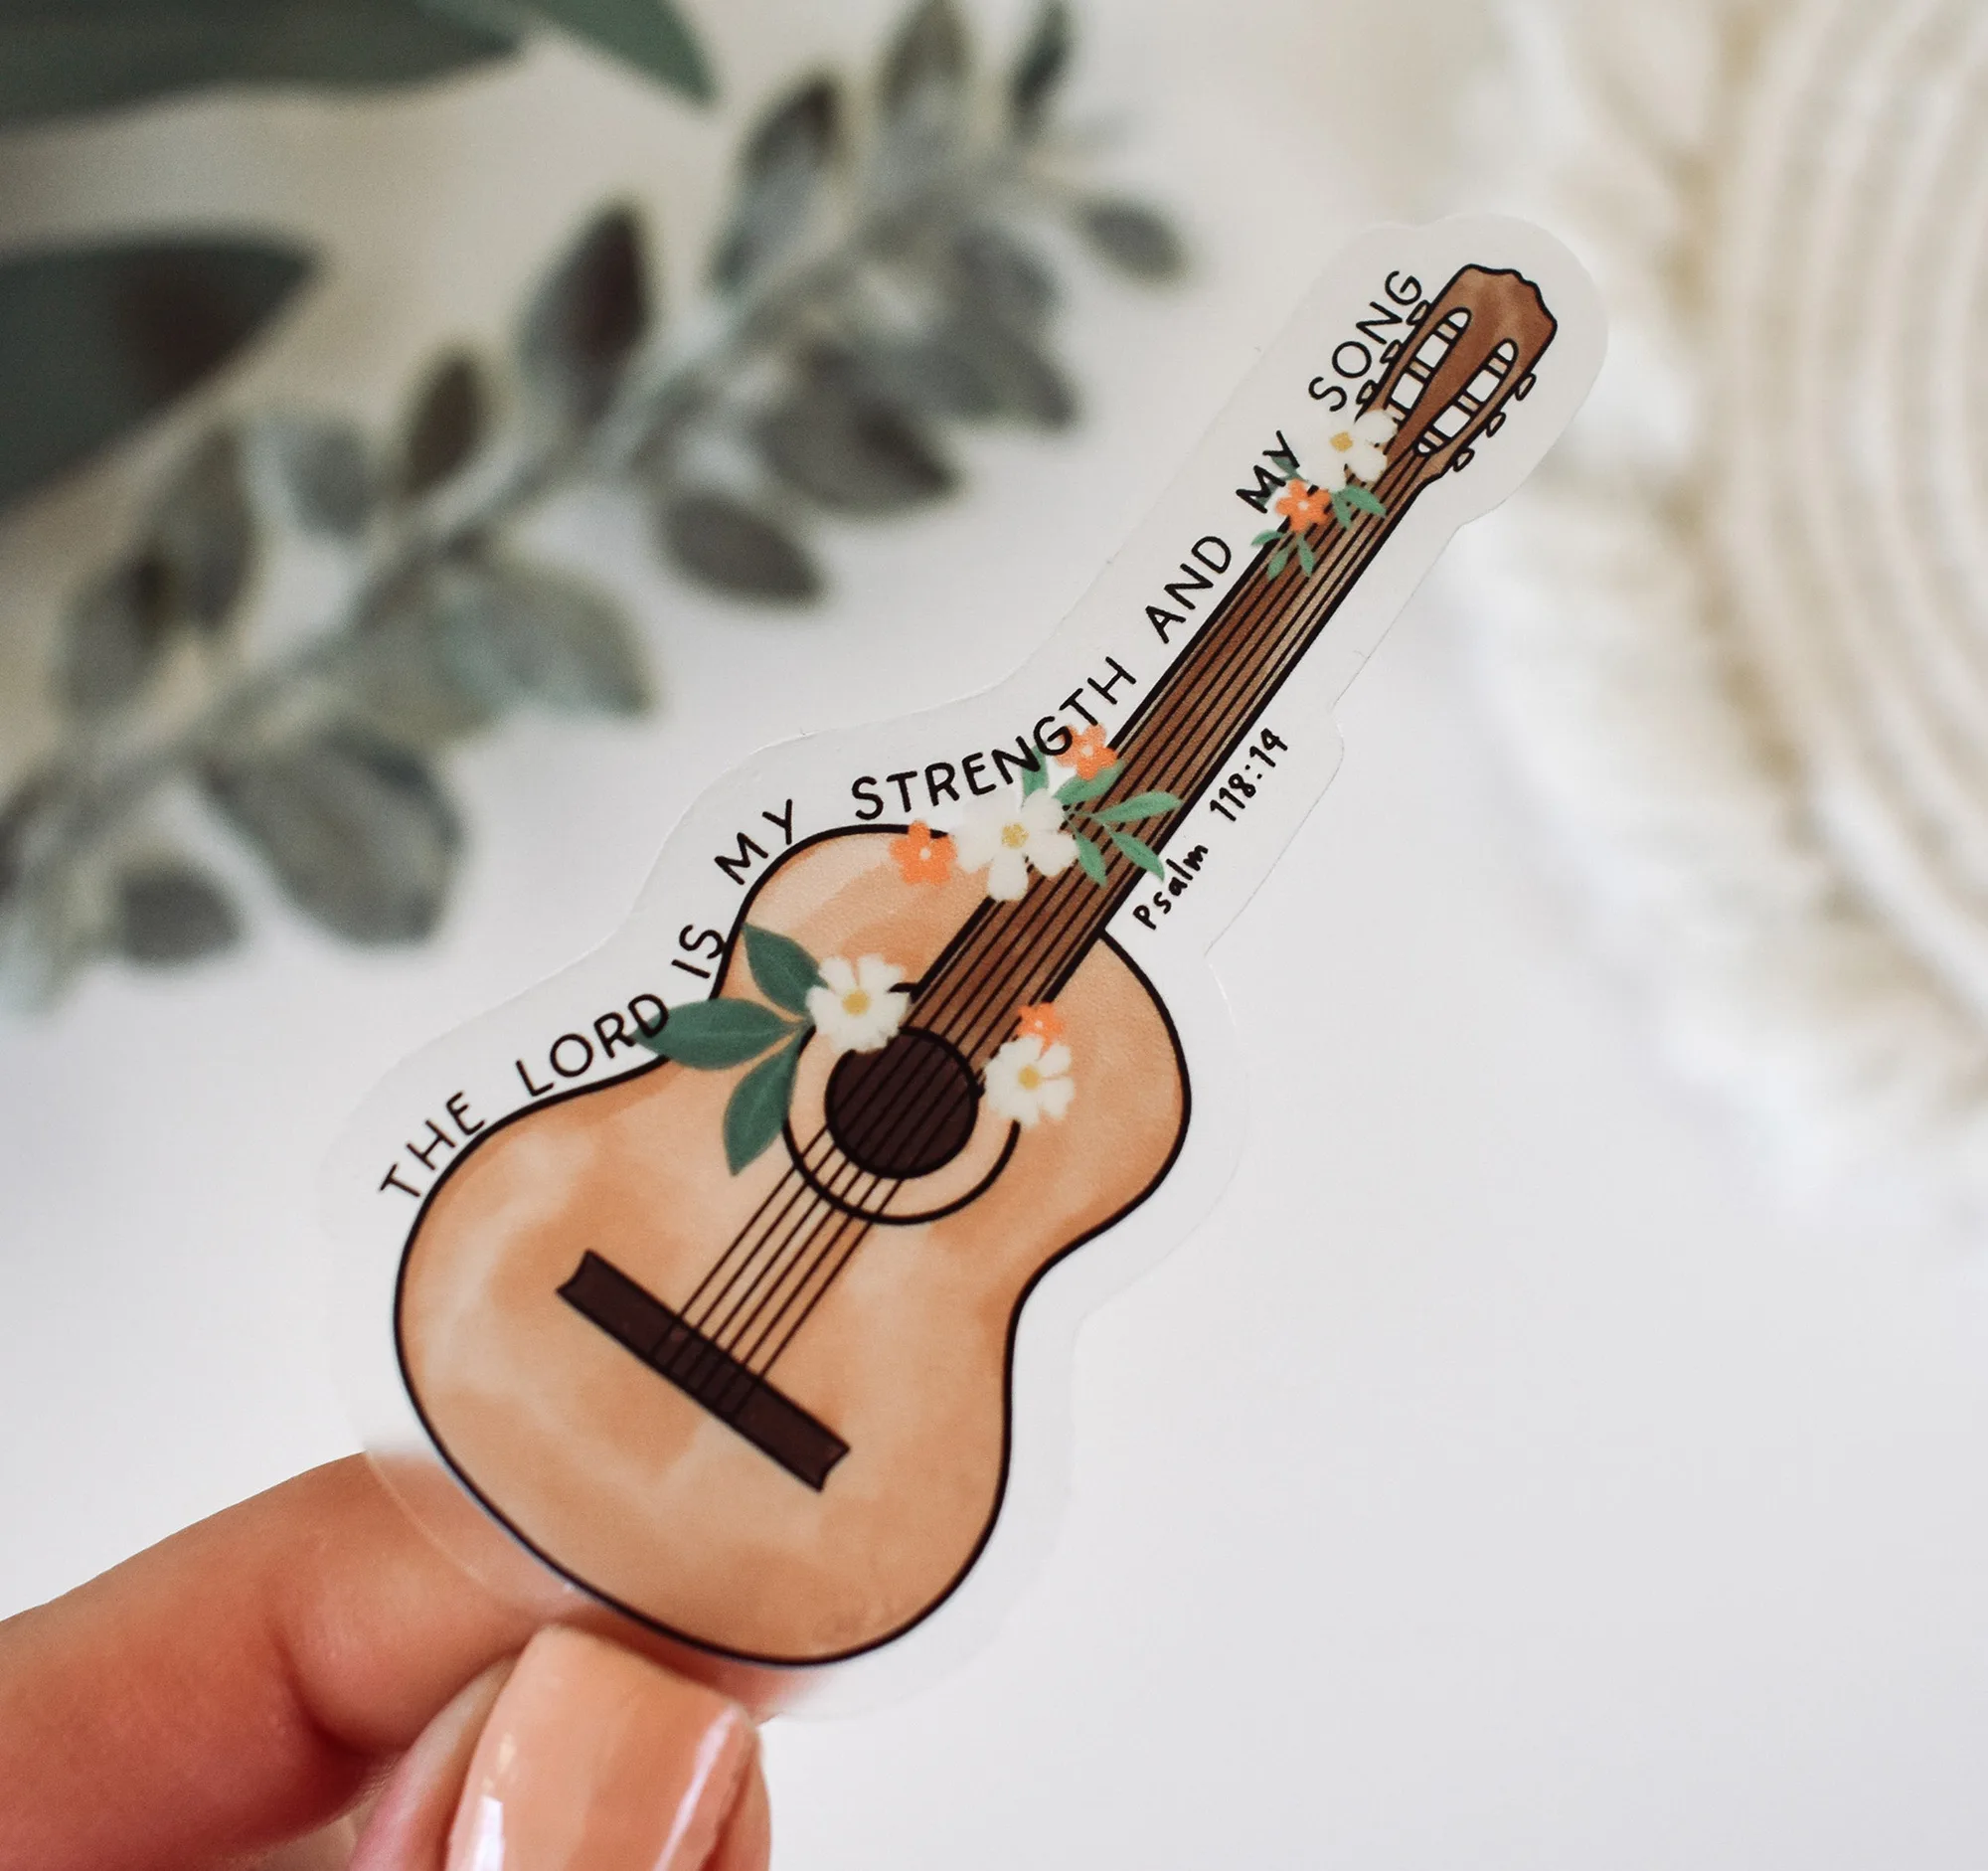
The Lord is My Strength and My Song, Psalm 118:14 Clear Vinyl Sticker