Quick answer
Shake the bottle, then use a fine-tip art pen to draw thin lines over a fully cured gel base. The ink air-dries in about 60 seconds, so work one small section at a time and seal the finished design with a top coat. For clean coral lines, control the pen angle and load instead of pressing harder.
Set up your workspace before the first line
Nail art ink dries by air, not by curing, so your surface and tools need to be ready before the bottle is open. Work on a stable, lint-free mat in a room without a strong fan or breeze. Have a paper towel, a small brush or cotton swab for corrections, and your top coat within reach.
If you are drawing over gel polish, finish the gel steps first and wipe away any sticky layer according to your top coat instructions. The ink sits on top of the cured surface; it does not replace a base coat or builder. For a beginner nail art ink session, keep the design plan simple: one or two line motifs per nail is enough to practice control.
Choose the right tool for the line width
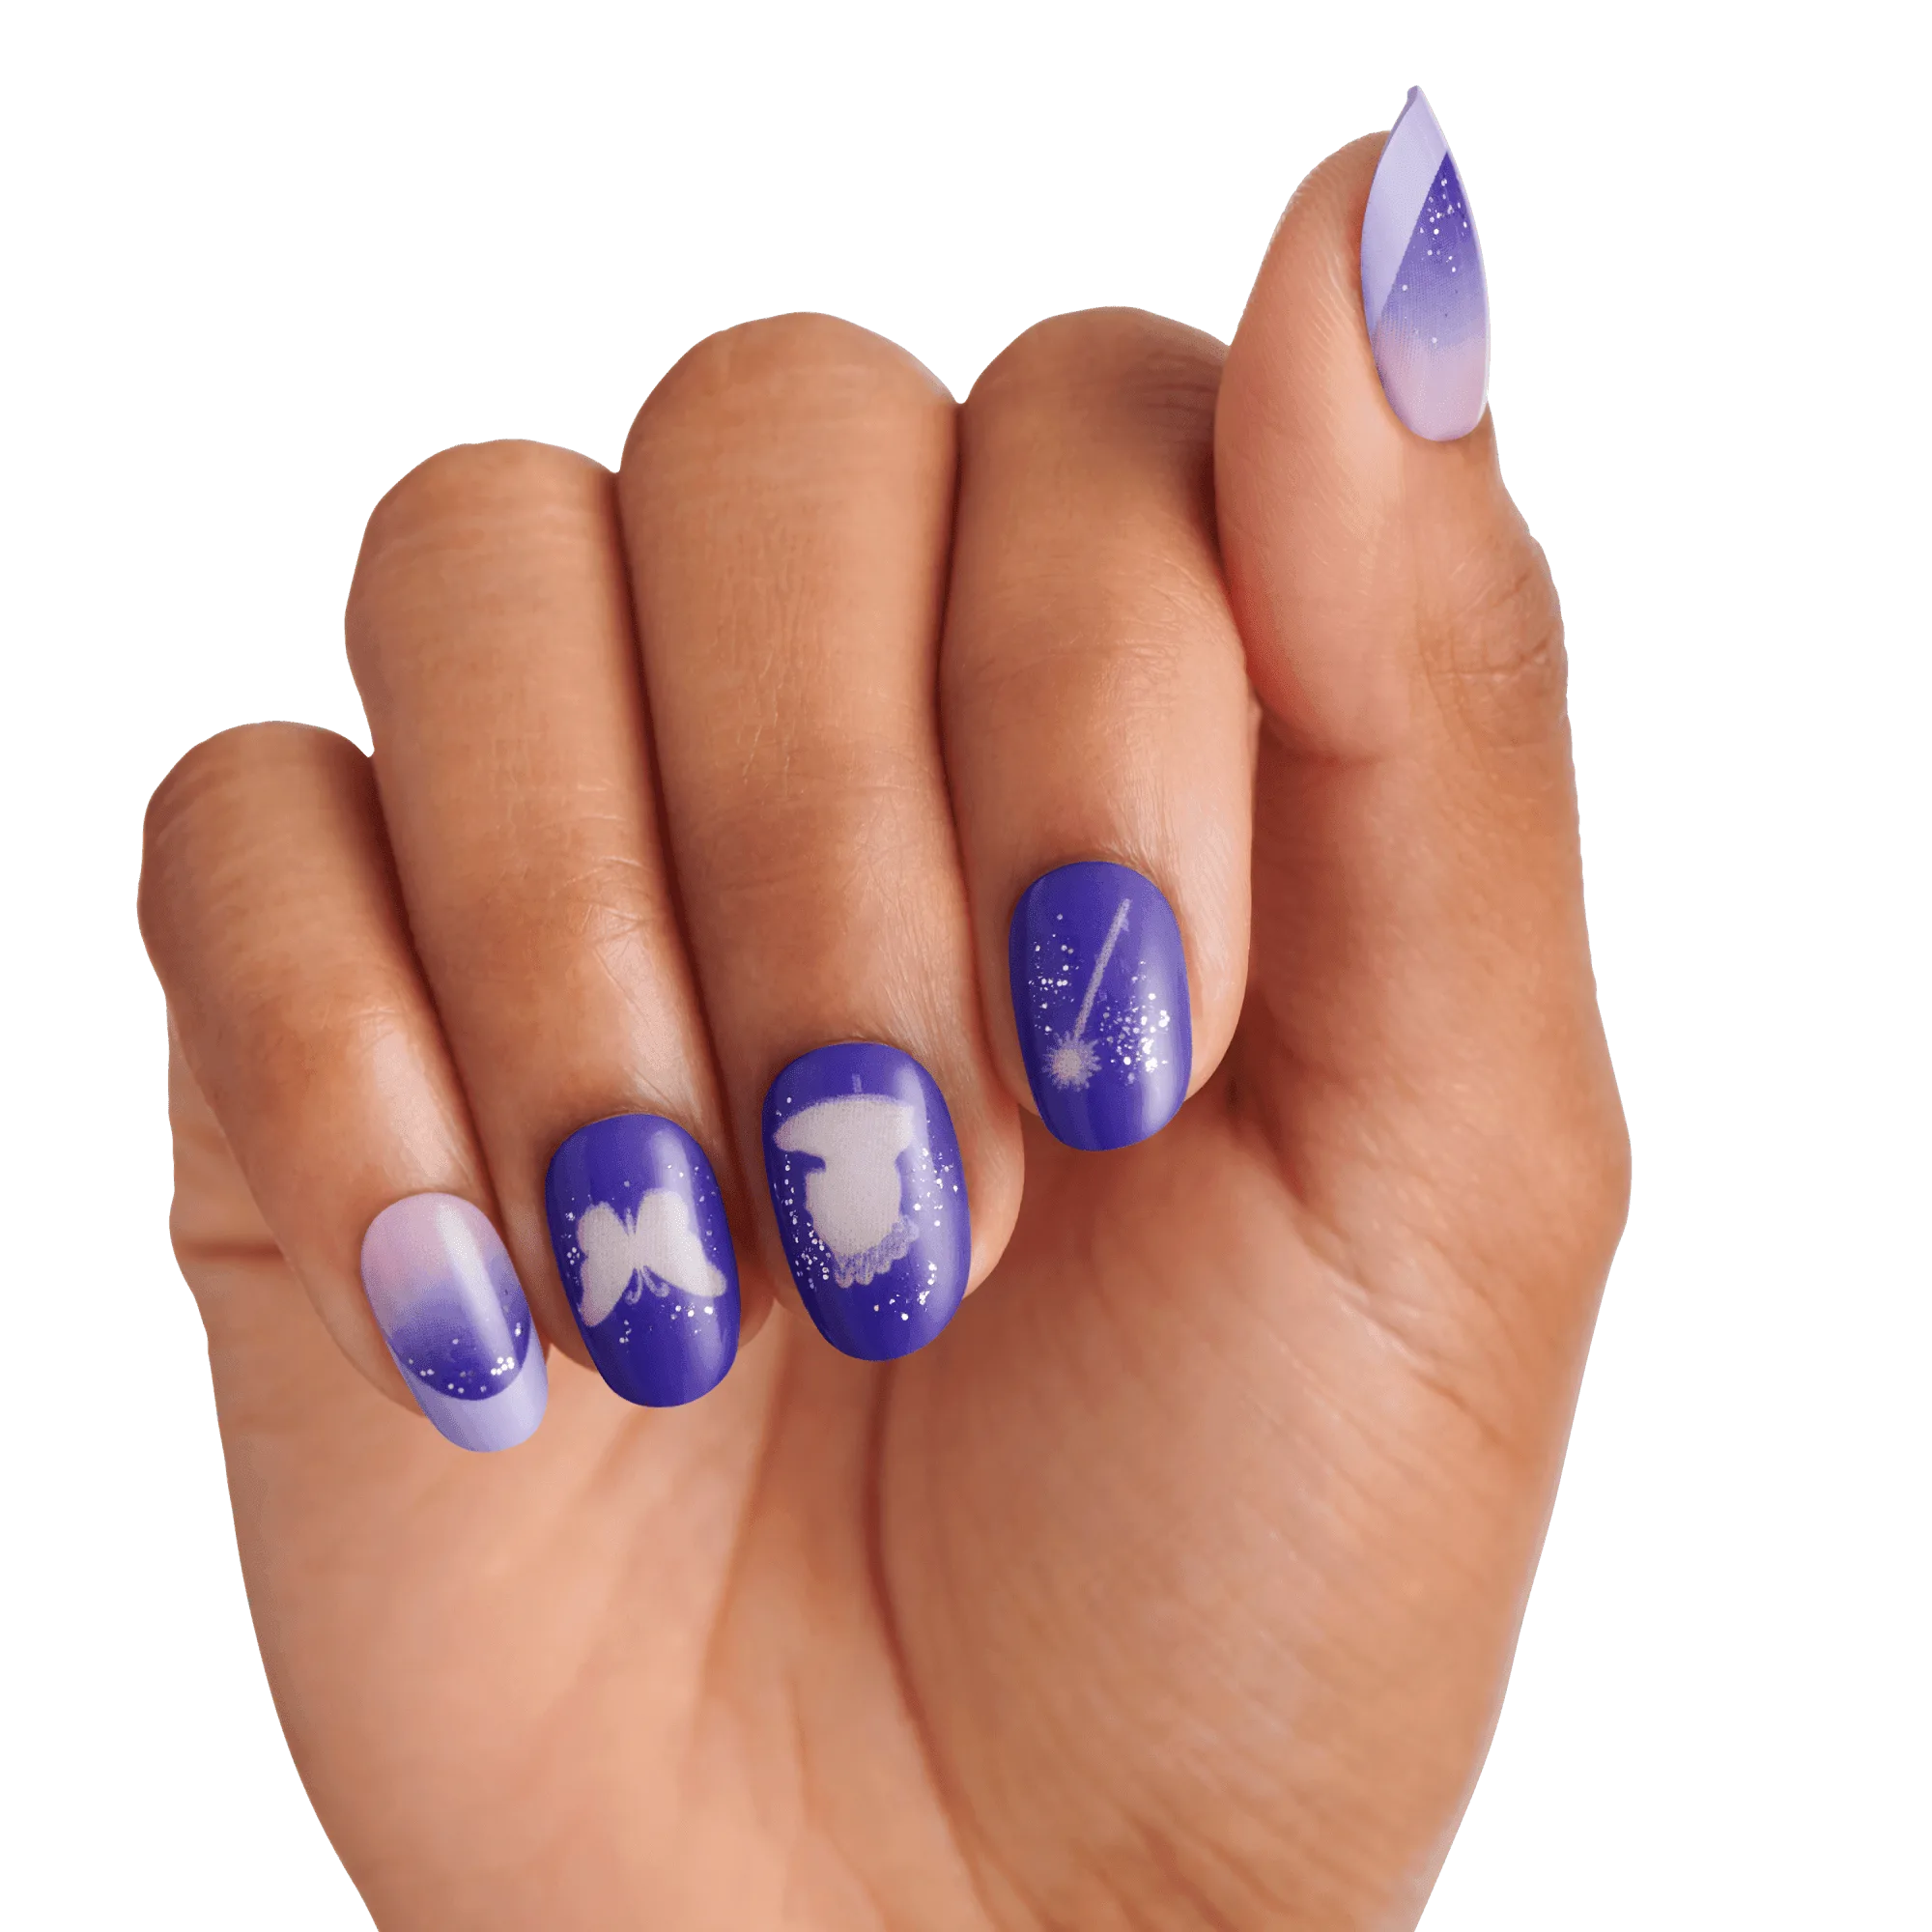
A fine-tip art pen gives you the most control for thin, continuous lines. The Purple Art Pen uses a fine tip applicator and a pigmented, air-dry formula that can be used over gel polishes, rubber bases, and builders. That makes it a practical companion to Coral Nail Art Ink when you want consistent line weight across a set.
If you prefer to load a separate detail brush, pour or pick up a small amount of ink rather than dipping directly into the bottle. More pigment on the brush does not create a cleaner line; it creates a puddle that spreads before it dries. The catalog does not list a specific brush size for the ink, so test your chosen tool on a swatch first and adjust pressure rather than assuming a standard line width.
Test the flow on a swatch
Before you touch a finished nail, draw a few lines on a cured swatch or a spare tip. This tells you how fast the ink moves, how much pressure the tip needs, and whether the color covers in one pass. Coral is a mid-tone shade, so thin lines may look softer than a dark ink; if you want more opacity, plan for a second pass after the first dries.
Shake the bottle before using, as the catalog directs. If the ink has separated or the tip feels dry, shake again and wipe the tip on a clean surface. Do not add thinner or mix the ink with gel; it is an air-dry formula, not a soak-off gel, and adding other products changes how it behaves.
Draw in short sections and let each one dry
Start at the cuticle end or the base of the motif and pull the line toward you in one steady motion. Short strokes of about 3 to 5 mm are easier to keep straight than one long drag across the nail. The ink will dry in about 60 seconds, so you can build a design in stages without waiting long between passes.
Keep the pen at a low angle for thin lines and a more upright angle for slightly thicker strokes. If the line starts to pool, stop and let it set before adding more. Going back over wet ink with a second stroke is the most common reason coral lines look muddy or uneven.
Fix mistakes without ruining the base
Because the ink is air-dry, a mistake is easiest to remove while it is still wet. Use a small brush lightly dampened with cleanser or a clean cotton swab to lift the line, then let the area dry completely before redrawing. If the ink has already set, a gentle scrape with a cuticle pusher or a fine file may work, but it can dull the gel surface underneath.
For a beginner nail art ink project, place your corrections on a practice nail first. If you are working over a gel top coat, remember that aggressive wiping can remove the shine. Keep the correction local and avoid flooding the surrounding area with cleanser.
Seal the design so the lines last
Once the ink is fully dry, apply a top coat over the entire nail and cure it according to that product's instructions. The ink itself is not a soak-off gel, so the top coat is what protects the line work from daily wear. Use thin layers of top coat; a thick layer can drag the ink if you brush too hard.
If you want a matte finish, check that your matte top coat is compatible with air-dry ink before committing to a full set. The catalog does not state ink compatibility with every top coat, so test on one nail first. For a coordinated look, Coral Nail Art Ink can be paired with the Purple Art Pen for fine details, or used over a cured gel base from a kit such as the Nail Tutorial - At-Home Gel Kit.
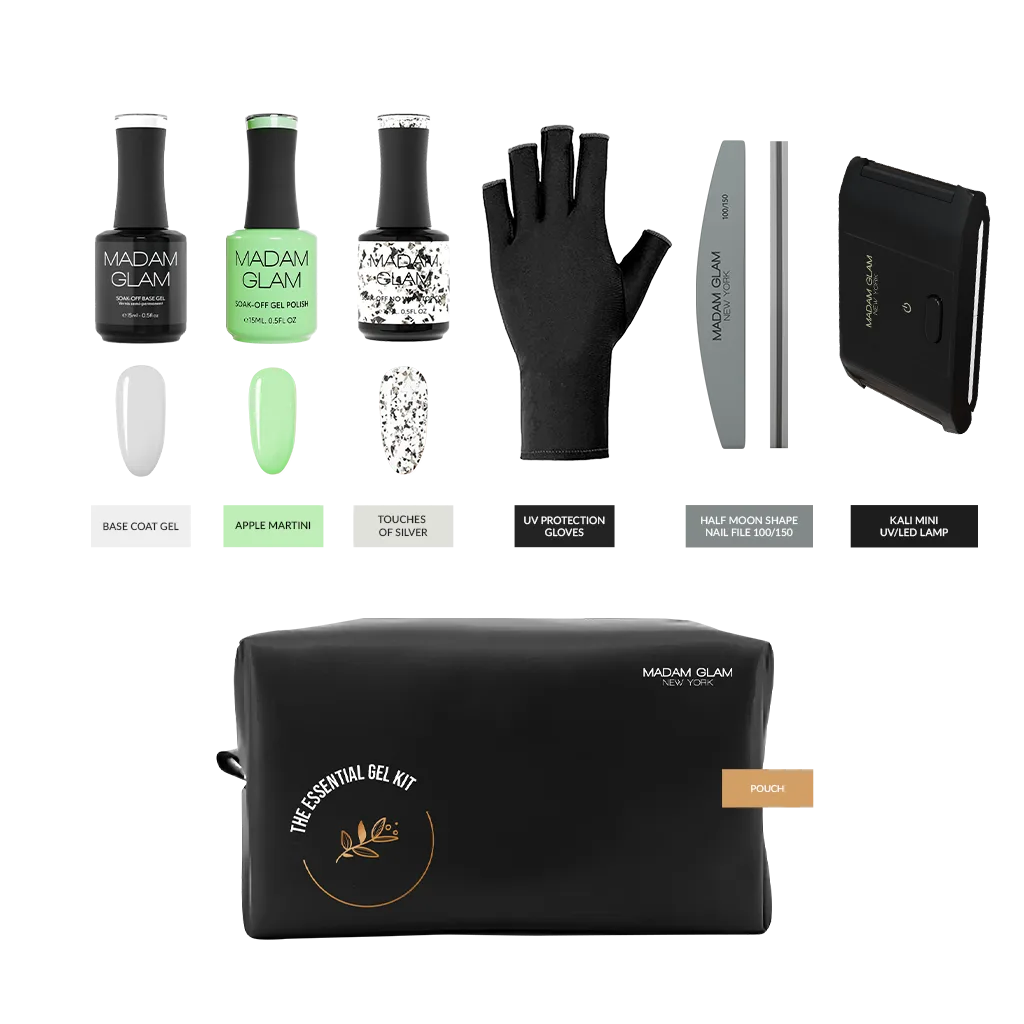
Nail Tutorial - At-Home Gel Kit
Step-by-step: clean coral line work
- Prep and cure the base: Complete your gel base and color steps, then wipe any sticky layer according to your top coat instructions. The ink goes over a cured surface, not under gel. Checkpoint: the nail should be dry and matte or glossy as your top coat requires before ink touches it.
- Shake and test the ink: Shake Coral Nail Art Ink before use and draw a few lines on a swatch to see how the color and flow behave. Adjust your pressure before working on the nail. Common mistake: skipping the swatch and discovering the line is too thick or too sheer on a finished nail.
- Draw in short, steady sections: Use a fine-tip tool such as the Purple Art Pen or a detail brush. Pull 3 to 5 mm strokes and let each pass air-dry for about 60 seconds before adding more. Checkpoint: if the ink pools or drags, stop and let it set rather than going over wet lines.
- Correct while wet, then seal: Lift mistakes with a lightly dampened brush or swab while the ink is wet. Once the design is fully dry, apply a thin top coat and cure it to protect the lines. Next step: test your top coat on one nail first if you are unsure how it interacts with air-dry ink.
Products used in this tutorial
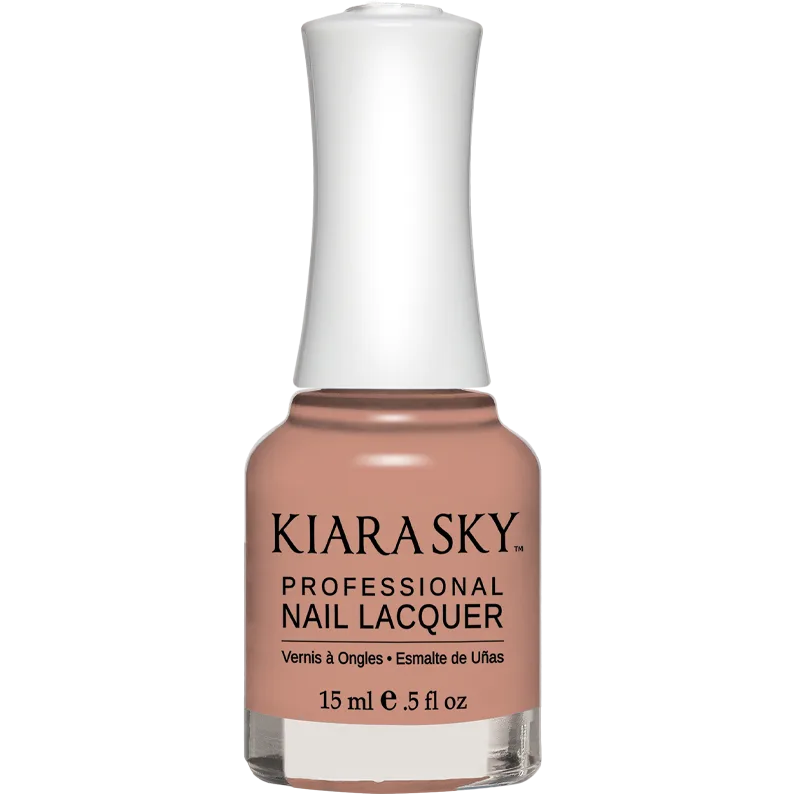
- Coral Nail Art Ink: Coral Nail Art Ink is an air-dry formula that is not a soak-off gel and dries in about 60 seconds; shake the bottle before using. The fast air-dry time means you can build line work in short passes, but you must seal it with a top coat because it will not cure like gel.
- Purple Art Pen: Purple Art Pen has a fine tip applicator and a pigmented, air-dry formula that can be used over gel polishes, rubber bases, and builders. A fine tip helps keep coral line work consistent, and the pen format is useful if you prefer not to load a separate detail brush.