Quick answer
To get a flawless brown mani with Espresso press-on nails, start with clean, dry nails, choose the correct size, and press each nail on firmly for at least 30 seconds. Proper prep and sizing are the keys to a seamless, long-lasting espresso nail look.
Why prep matters more than the press
Press-on nails only bond as well as the surface they adhere to. Oils, lotions, or leftover polish create a barrier that prevents the adhesive from gripping, leading to lifting within days. Even the best application technique fails on unprepared nails.
For brown press-on nails application, pay extra attention to cuticle area—any gap or lifting there is more visible against the rich espresso shade. Push back cuticles gently and buff the nail plate to remove shine without thinning the nail.
Sizing: the difference between a natural look and a bulky one
Espresso press-on nails come in sizes S, M, and L, and each set includes multiple nail sizes. A nail that is too wide will press onto your skin and lift at the edges; too narrow leaves a visible gap. Always size each nail individually—your two thumbnails may not be the same size.
If you're between sizes, go with the smaller one. You can gently file the sides of a slightly larger nail to fit, but you can't shrink an oversized nail without compromising the structure.
Step-by-step application for Espresso press-on nails
- Prep your natural nails: Wash hands with soap and water, dry thoroughly, then gently push back cuticles and buff the nail surface to remove shine. Wipe each nail with alcohol or a dehydrator. Don't skip the buffing—shiny spots are the most common cause of lifting.
- Size each nail: Match each Espresso press-on nail to your natural nail width. The press-on should cover from sidewall to sidewall without touching the skin. If between sizes, choose the smaller one and file the sides if needed. Check sizing on your dominant hand first—it's usually wider.
- Apply adhesive: If using glue, apply a thin, even layer to your natural nail and a small dot on the back of the press-on. If using adhesive tabs, place the tab on your natural nail, pressing firmly. Avoid using too much glue—it can ooze out and create bumps.
- Press and hold: Align the press-on at the cuticle line and press down firmly, starting from the center and working outward to squeeze out air bubbles. Hold for 30 seconds. Press at a slight angle toward the cuticle to avoid trapping air.
- File and shape: After all nails are applied, use a fine-grit file to gently refine the free edge and smooth any unevenness. File in one direction to prevent peeling. File after application, not before—this ensures a seamless edge.
- Avoid water for one hour: Keep hands dry for at least an hour after application to let the adhesive fully cure. Avoid washing dishes, showering, or soaking hands. Set a timer—this step significantly extends wear time.
Product facts
-
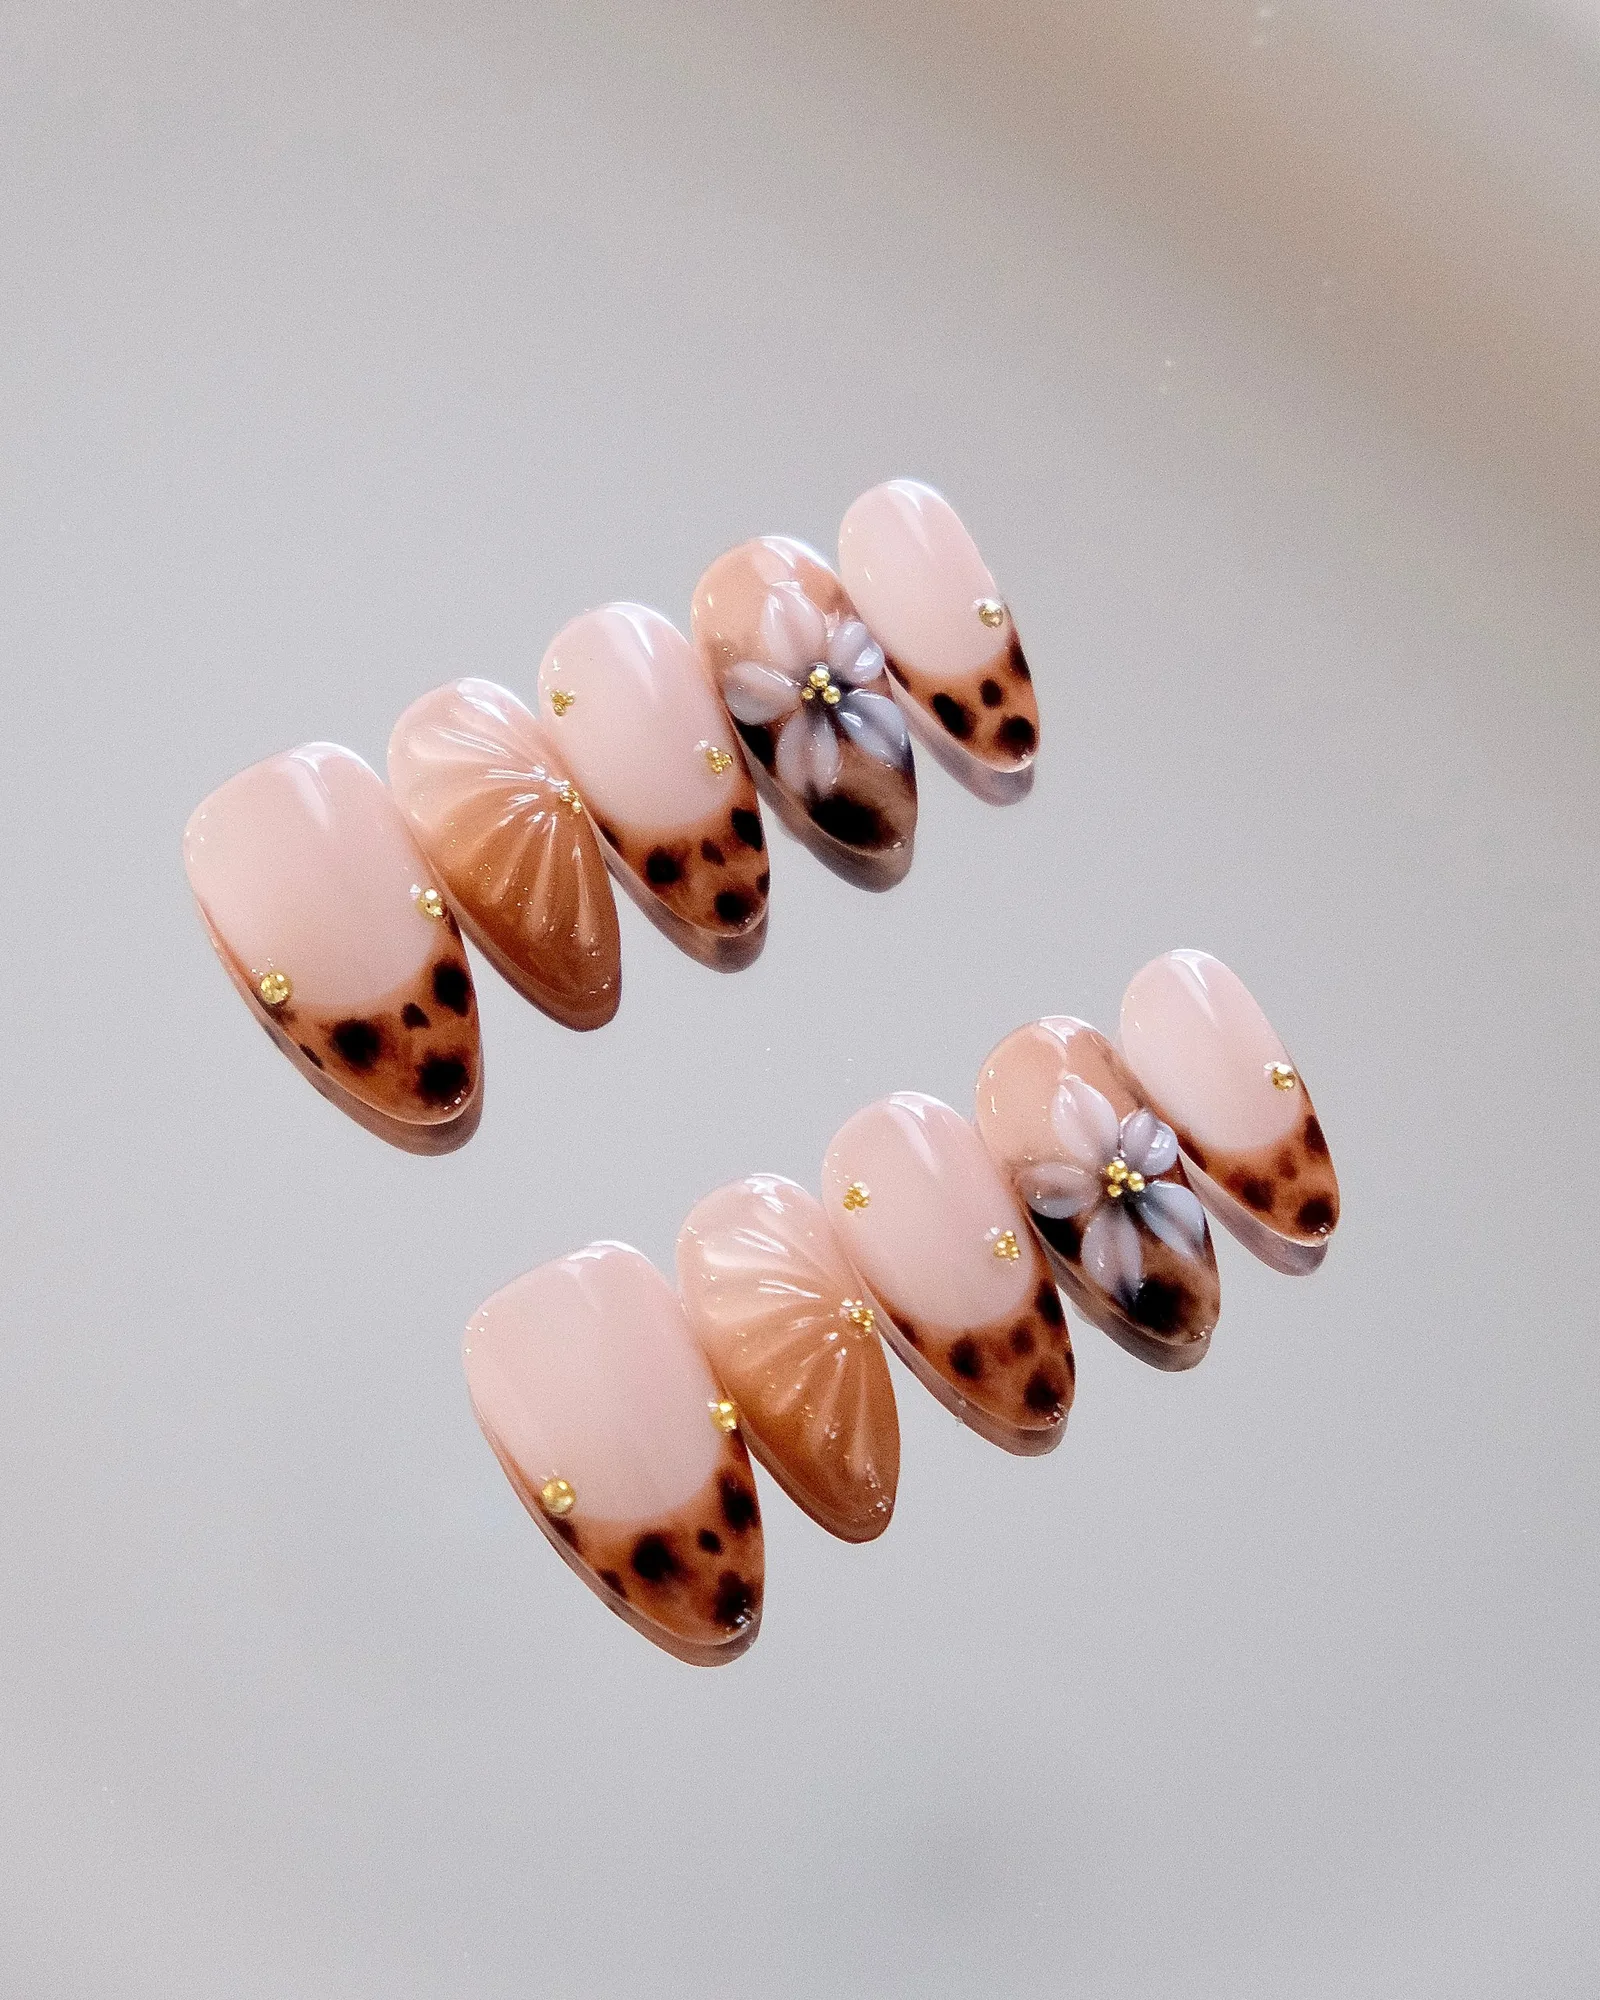
Espresso: Long-lasting wear up to 3 weeks with proper application. This means you can enjoy your espresso nail look for weeks, but only if you follow the application steps carefully—especially prep and sizing.
Espresso
-
Espresso: Reusable and durable for multiple uses. You can remove and reapply the nails for future manicures, making them a cost-effective choice for brown manicure at home.