Quick Answer
To apply faux mink individuals for a natural, wispy look, start with clean, curled natural lashes, then place small clusters or individual lashes underneath your lash line, spacing them evenly. Use a strong-hold adhesive and press each lash gently for a few seconds to secure. Focus on the outer half of the eye for a subtle, feathery effect.
Faux mink individual lashes are a favorite for achieving a soft, wispy look without the commitment of extensions. Unlike strip lashes, individuals let you control placement and density, so you can fill gaps or add length exactly where you want it. The result is a natural, feathery effect that blends seamlessly with your own lashes.
Whether you're new to individual lash application or want to refine your technique, this guide walks you through the process step by step. You'll learn how to prep your lashes, choose the right adhesive, and place each lash for a flawless finish. Plus, we'll point out common mistakes to avoid so your lashes stay comfortable and last all day.
Why Choose Faux Mink Individuals?
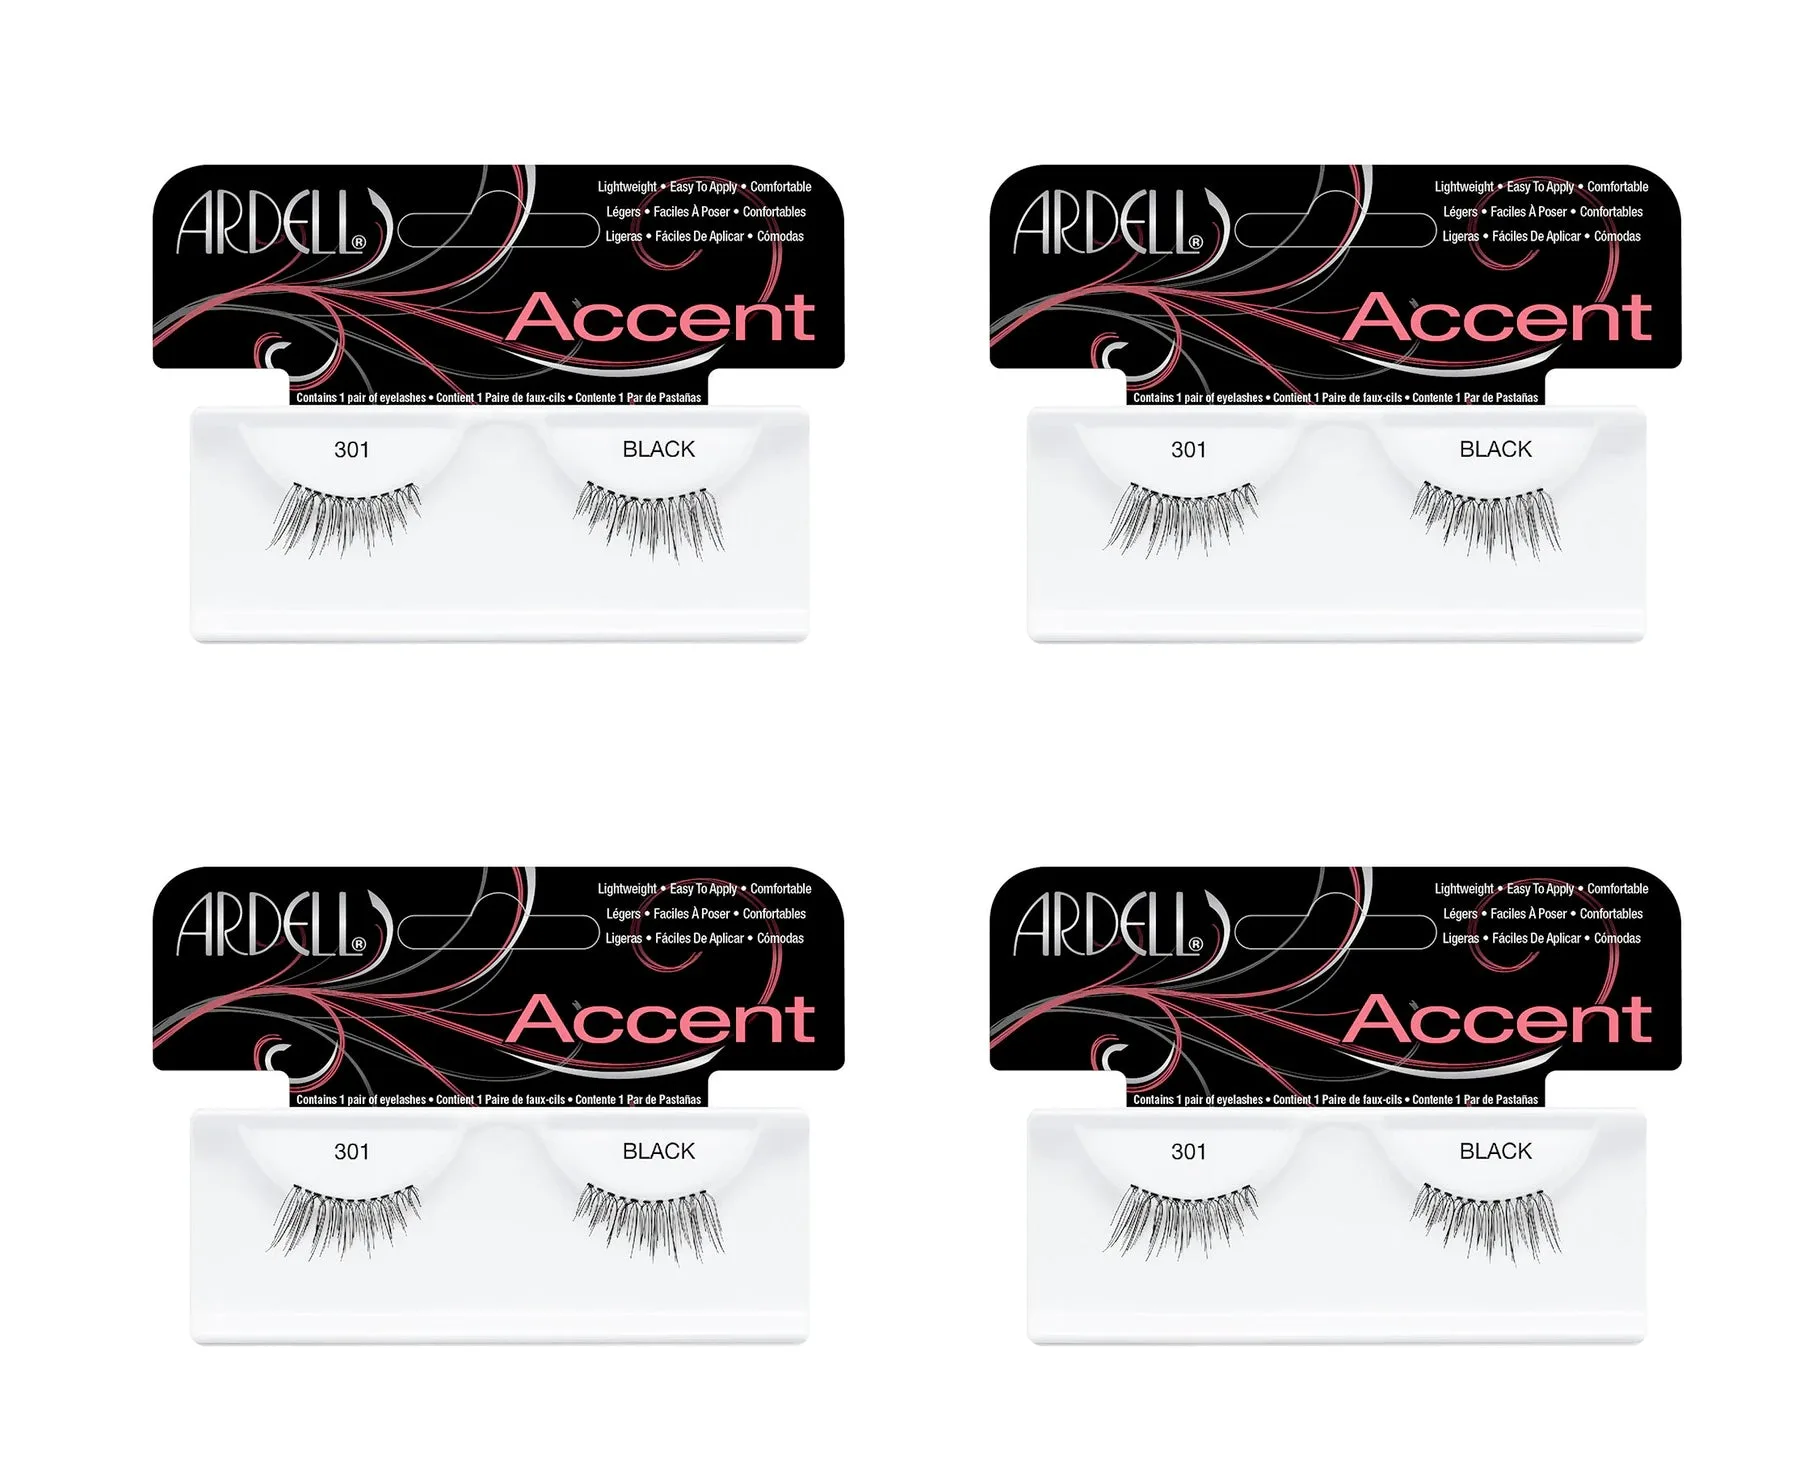
Faux mink lashes mimic the soft, fluffy texture of real mink without the ethical concerns. They're lightweight and flexible, making them comfortable for all-day wear. Individual styles, like Ardell's Individual Illusion 216, combine the ease of a strip with the dimension of hand-applied extensions. This style features lightly increased density and evenly placed lash clusters, giving you a softly built, piece-by-piece effect in one effortless strip.
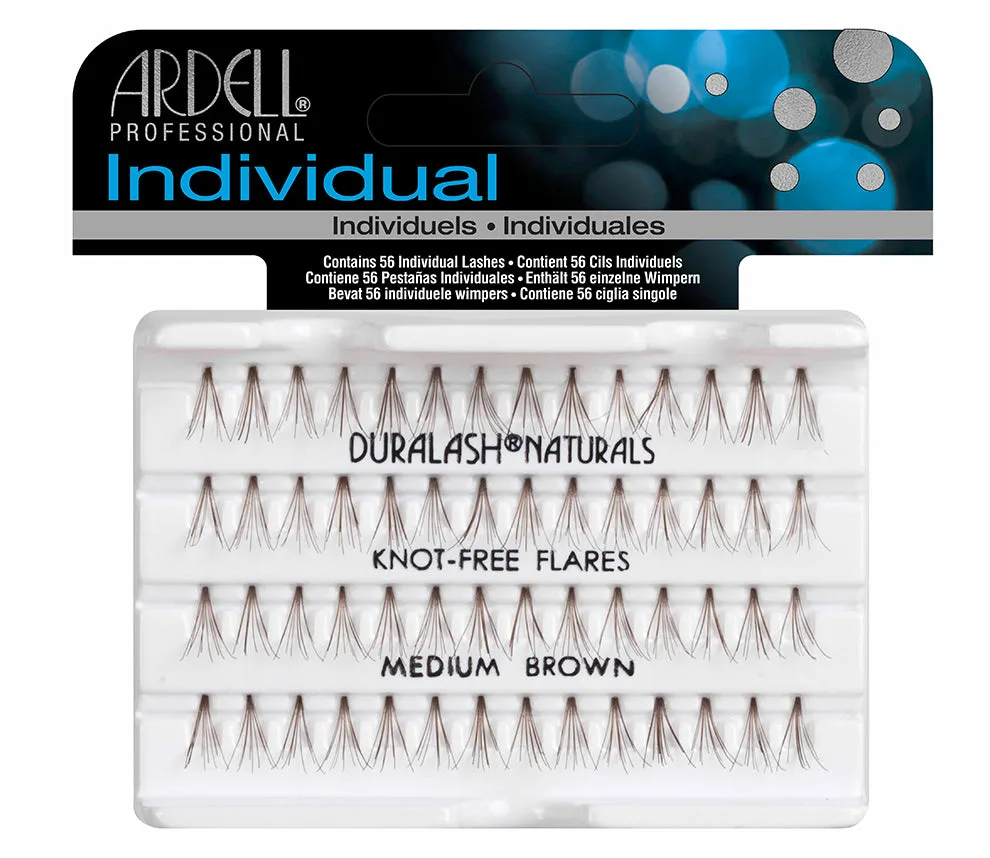
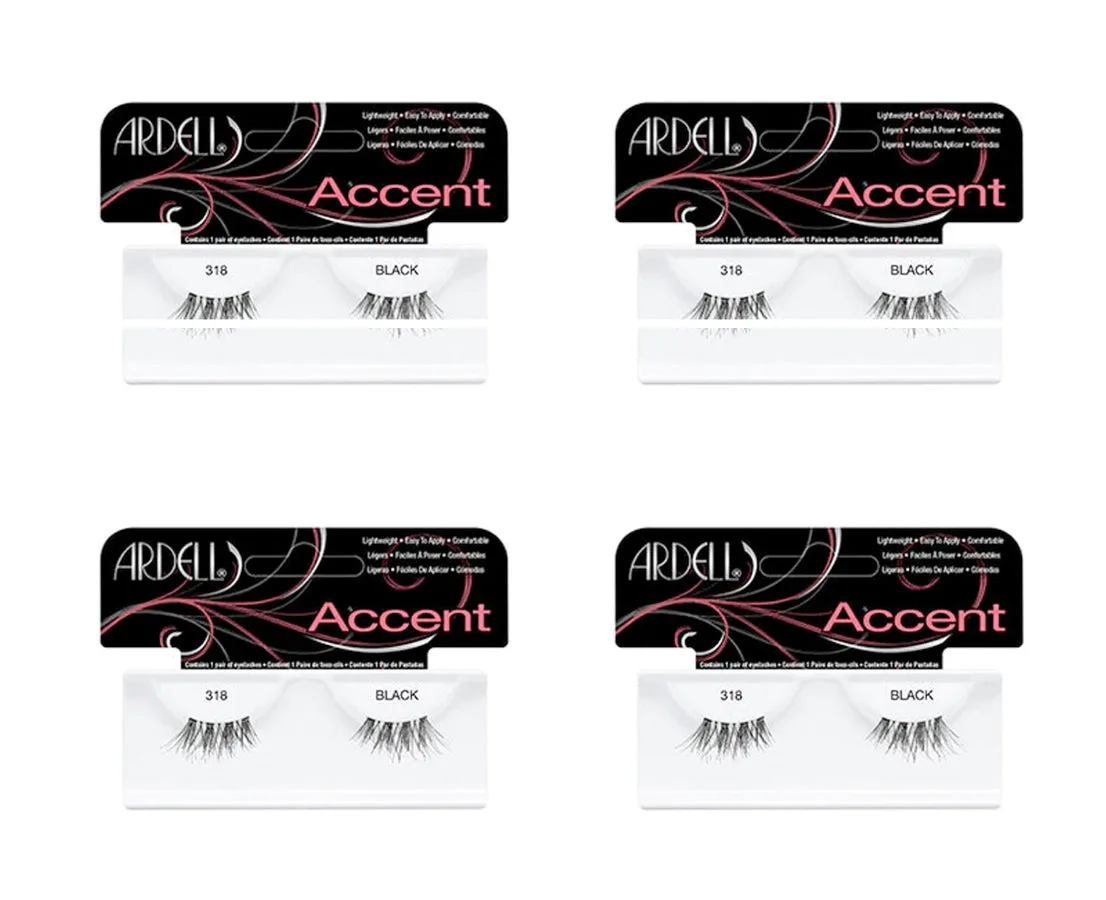
For a truly custom look, you can also use individual clusters or accent lashes. The key is choosing a style that matches your eye shape and desired intensity. Faux mink individuals are ideal for a natural, wispy look because they blend with your natural lashes and don't look overly dramatic.
- Faux mink individuals are lightweight and flexible, so they feel barely there.
- They allow you to control density and length for a personalized look.
- They work well for both everyday wear and special occasions.
Prepping Your Natural Lashes
Before applying any individual lashes, your natural lashes must be clean, dry, and free of makeup or oils. Use a gentle oil-free cleanser to remove any residue, then curl your lashes with an eyelash curler. This step helps your natural lashes blend with the faux mink individuals and creates a seamless base.
If you're using a lash adhesive, apply a thin layer to the band or base of the individual lash. For individuals, you'll often use a small amount of glue directly on the lash cluster. Ardell's Strong Hold Lash Glue in Black is a great choice—it provides all the hold your faux lashes need to stay perfectly in place all day, with a raise-proof effect that keeps lashes secure from end to end.
- Always start with clean, dry lashes to ensure maximum adhesion.
- Curl your natural lashes to help them blend with the faux mink individuals.
- Use a strong-hold adhesive for long-lasting wear, especially if you have oily eyelids.
Placing the Lashes: Step-by-Step
When placing individual lashes, work from the outer corner toward the inner corner. This creates a natural gradient and avoids a heavy look. Pick up a single lash or small cluster with tweezers, dip the base into a small dot of adhesive, and wait a few seconds for the glue to become tacky. Then, place the lash underneath your natural lashes, as close to the lash line as possible.
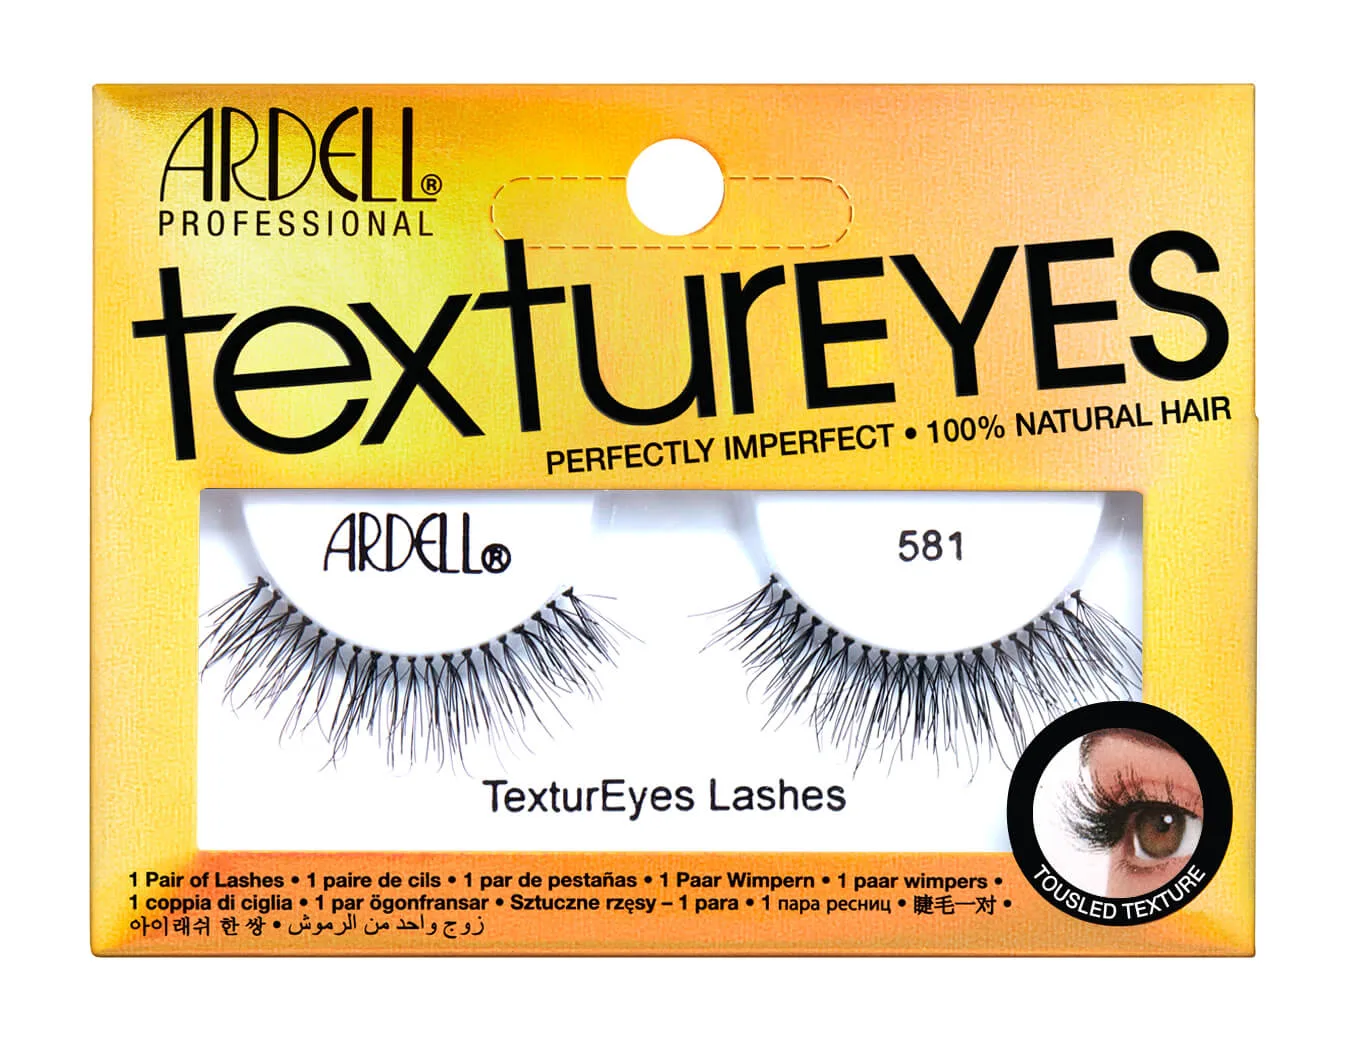
Press gently for 5-10 seconds to secure. Space the lashes evenly, leaving small gaps so they look like natural growth. For a wispy effect, alternate lengths and use a lighter hand toward the inner corner. If you're using a strip style like Individual Illusion 216, you can apply it like a traditional strip lash but with the benefit of individual-like dimension.
- Place lashes under your natural lashes to hide the band and create a seamless look.
- Wait for the adhesive to become tacky before placing to prevent slipping.
- Use a mirror and good lighting to ensure even placement.
Common Mistakes to Avoid
One common mistake is applying too much glue, which can cause clumping or visible residue. Use a small dot—enough to cover the base but not so much that it seeps onto your lid. Another mistake is placing lashes too far from the lash line, which makes them look unnatural and can cause discomfort.
Skipping the tacky wait is another frequent error. If you apply the lash immediately after dipping in glue, it may slide or not adhere properly. Always wait 20-30 seconds for the adhesive to become tacky. Finally, don't overload the inner corner—keep the look light and airy there to maintain a natural, wispy appearance.
- Use minimal glue to avoid clumping and visible residue.
- Place lashes close to the lash line for a natural look.
- Wait for the adhesive to become tacky before placing the lash.
Step-by-Step Application Process
- Prep Your Lashes: Cleanse your natural lashes to remove any oil or makeup. Curl them with an eyelash curler to help blend with the faux mink individuals. Checkpoint: Your lashes should be completely clean and dry before moving on.
- Apply Adhesive: If using individual lashes, dip the base into a small dot of lash glue. For pre-glued options like Press On Wispies, skip this step. Checkpoint: Wait 20-30 seconds for the glue to become tacky before placing the lash.
- Place the Lash: Using tweezers, place the lash underneath your natural lashes, close to the lash line. Press gently for 5-10 seconds to secure. Checkpoint: Ensure the lash is straight and not twisted; adjust if needed.
- Repeat and Blend: Continue placing lashes, spacing them evenly and focusing on the outer half of the eye. Alternate lengths for a wispy effect. Checkpoint: Step back and check symmetry; fill any gaps with an extra lash.
- Finish and Set: Once all lashes are placed, gently press the entire lash line to ensure everything is secure. Avoid mascara to keep the look light. Checkpoint: Your lashes should feel comfortable and look natural; if any lash lifts, reapply a small amount of glue.
Product Picks for a Natural, Wispy Look
- Individual Illusion 216, 4-Pairs: Discover Individual Illusion 216, a seamless strip lash that bridges the gap between traditional strip lashes and hand-applied individuals, with a touch more fullness. Thoughtfully designed to mimic the placement and dimension of individual extensions, this style delivers a softly built, piece-by-piece effect in one effortless strip. This is perfect for beginners who want the look of individual lashes without the hassle of applying each one separately. The strip design gives you control and a natural, wispy result.
- Strong Hold Lash Glue, Black: Introducing Ardell’s strongest hold adhesive yet! This lash glue provides all the hold your faux lashes need to stay perfectly in place all day. Feel confident knowing your lashes are in place from end to end due to its raise proof effect. A reliable adhesive is essential for individual lash application. This strong-hold formula keeps your lashes secure from morning to night, so you don't have to worry about lifting or shifting.
- Press On Wispies Natural 30 ct + Applicator: Pressed for time? Underlash in under a minute with our Press-On Pre-glued Extensions. Just press-on and get on with your day. Pre-Glued lashes adhere instantly and hold securely all day -- WITH NO GLUE, NO FUSS, NO MUSS! Streamlined into one easy step, application is fast and frustration-free. Extensions are placed under natural lashes so the bands can’t be seen. 30 clusters in 4 lengths let you stack, fill or accent for a custom look. If you want a wispy look without dealing with glue, these pre-glued clusters are a game-changer. They're ideal for quick application and offer flexibility to create a natural, custom style.
Applying faux mink individuals for a natural, wispy look is easier than you think. With the right preparation, placement, and adhesive, you can achieve a soft, feathery effect that enhances your eyes without looking overdone. Whether you choose individual clusters or a strip style like Individual Illusion 216, the key is to take your time and avoid common mistakes. For a quick, glue-free option, try Press On Wispies Natural. Now you're ready to create your own natural lash look at home!