Quick answer
Apply festival eye stickers and face gems to clean, completely dry skin, press each gem for 10–15 seconds, and seal the edges with a thin layer of eyelash glue or cosmetic adhesive. For all-night wear, avoid oil-based skincare before application and keep the design under 12 gems so it stays secure through sweat and movement.
Prep your skin so gems actually stick
Adhesive fails on oily or freshly moisturized skin. Wash your face with a gentle cleanser, pat dry, and wait five minutes before applying anything. If you use moisturizer, choose a water-based formula and let it absorb fully. Avoid facial oils, serums, and heavy creams on the areas where gems will sit. A quick swipe of alcohol-free toner on the placement zones removes residue without stripping your skin.
Plan your festival face gems placement before you glue
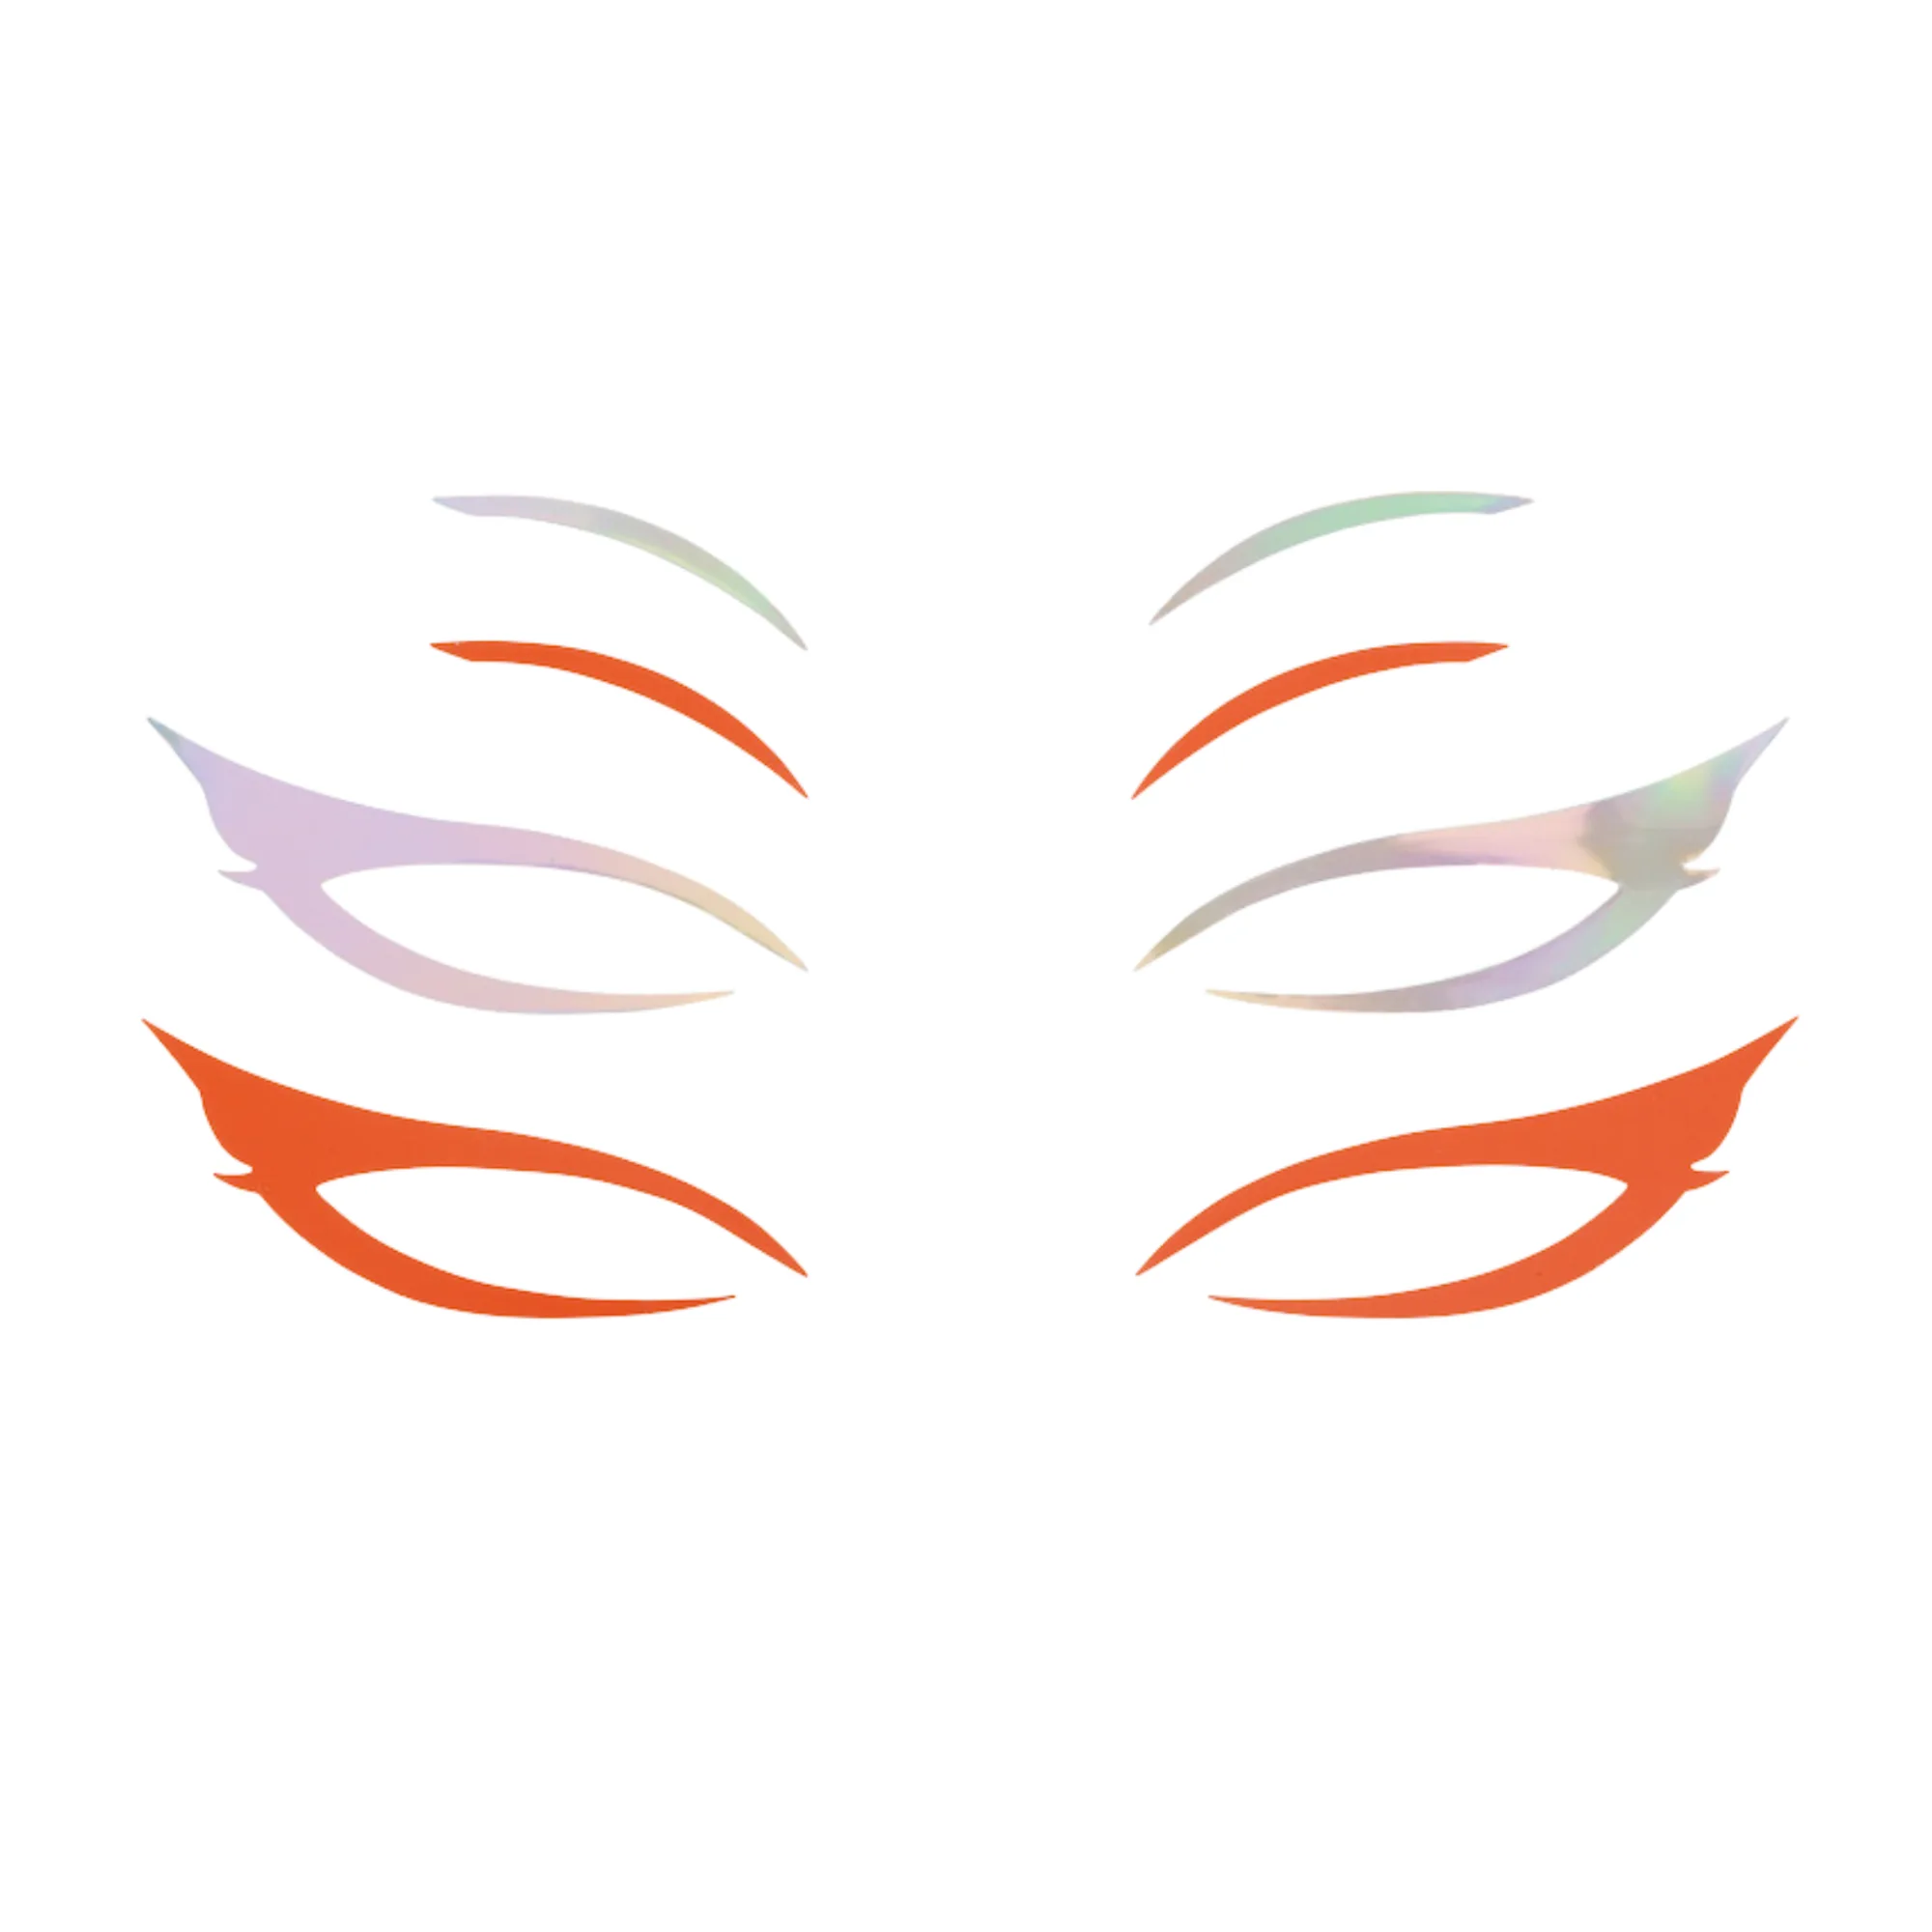
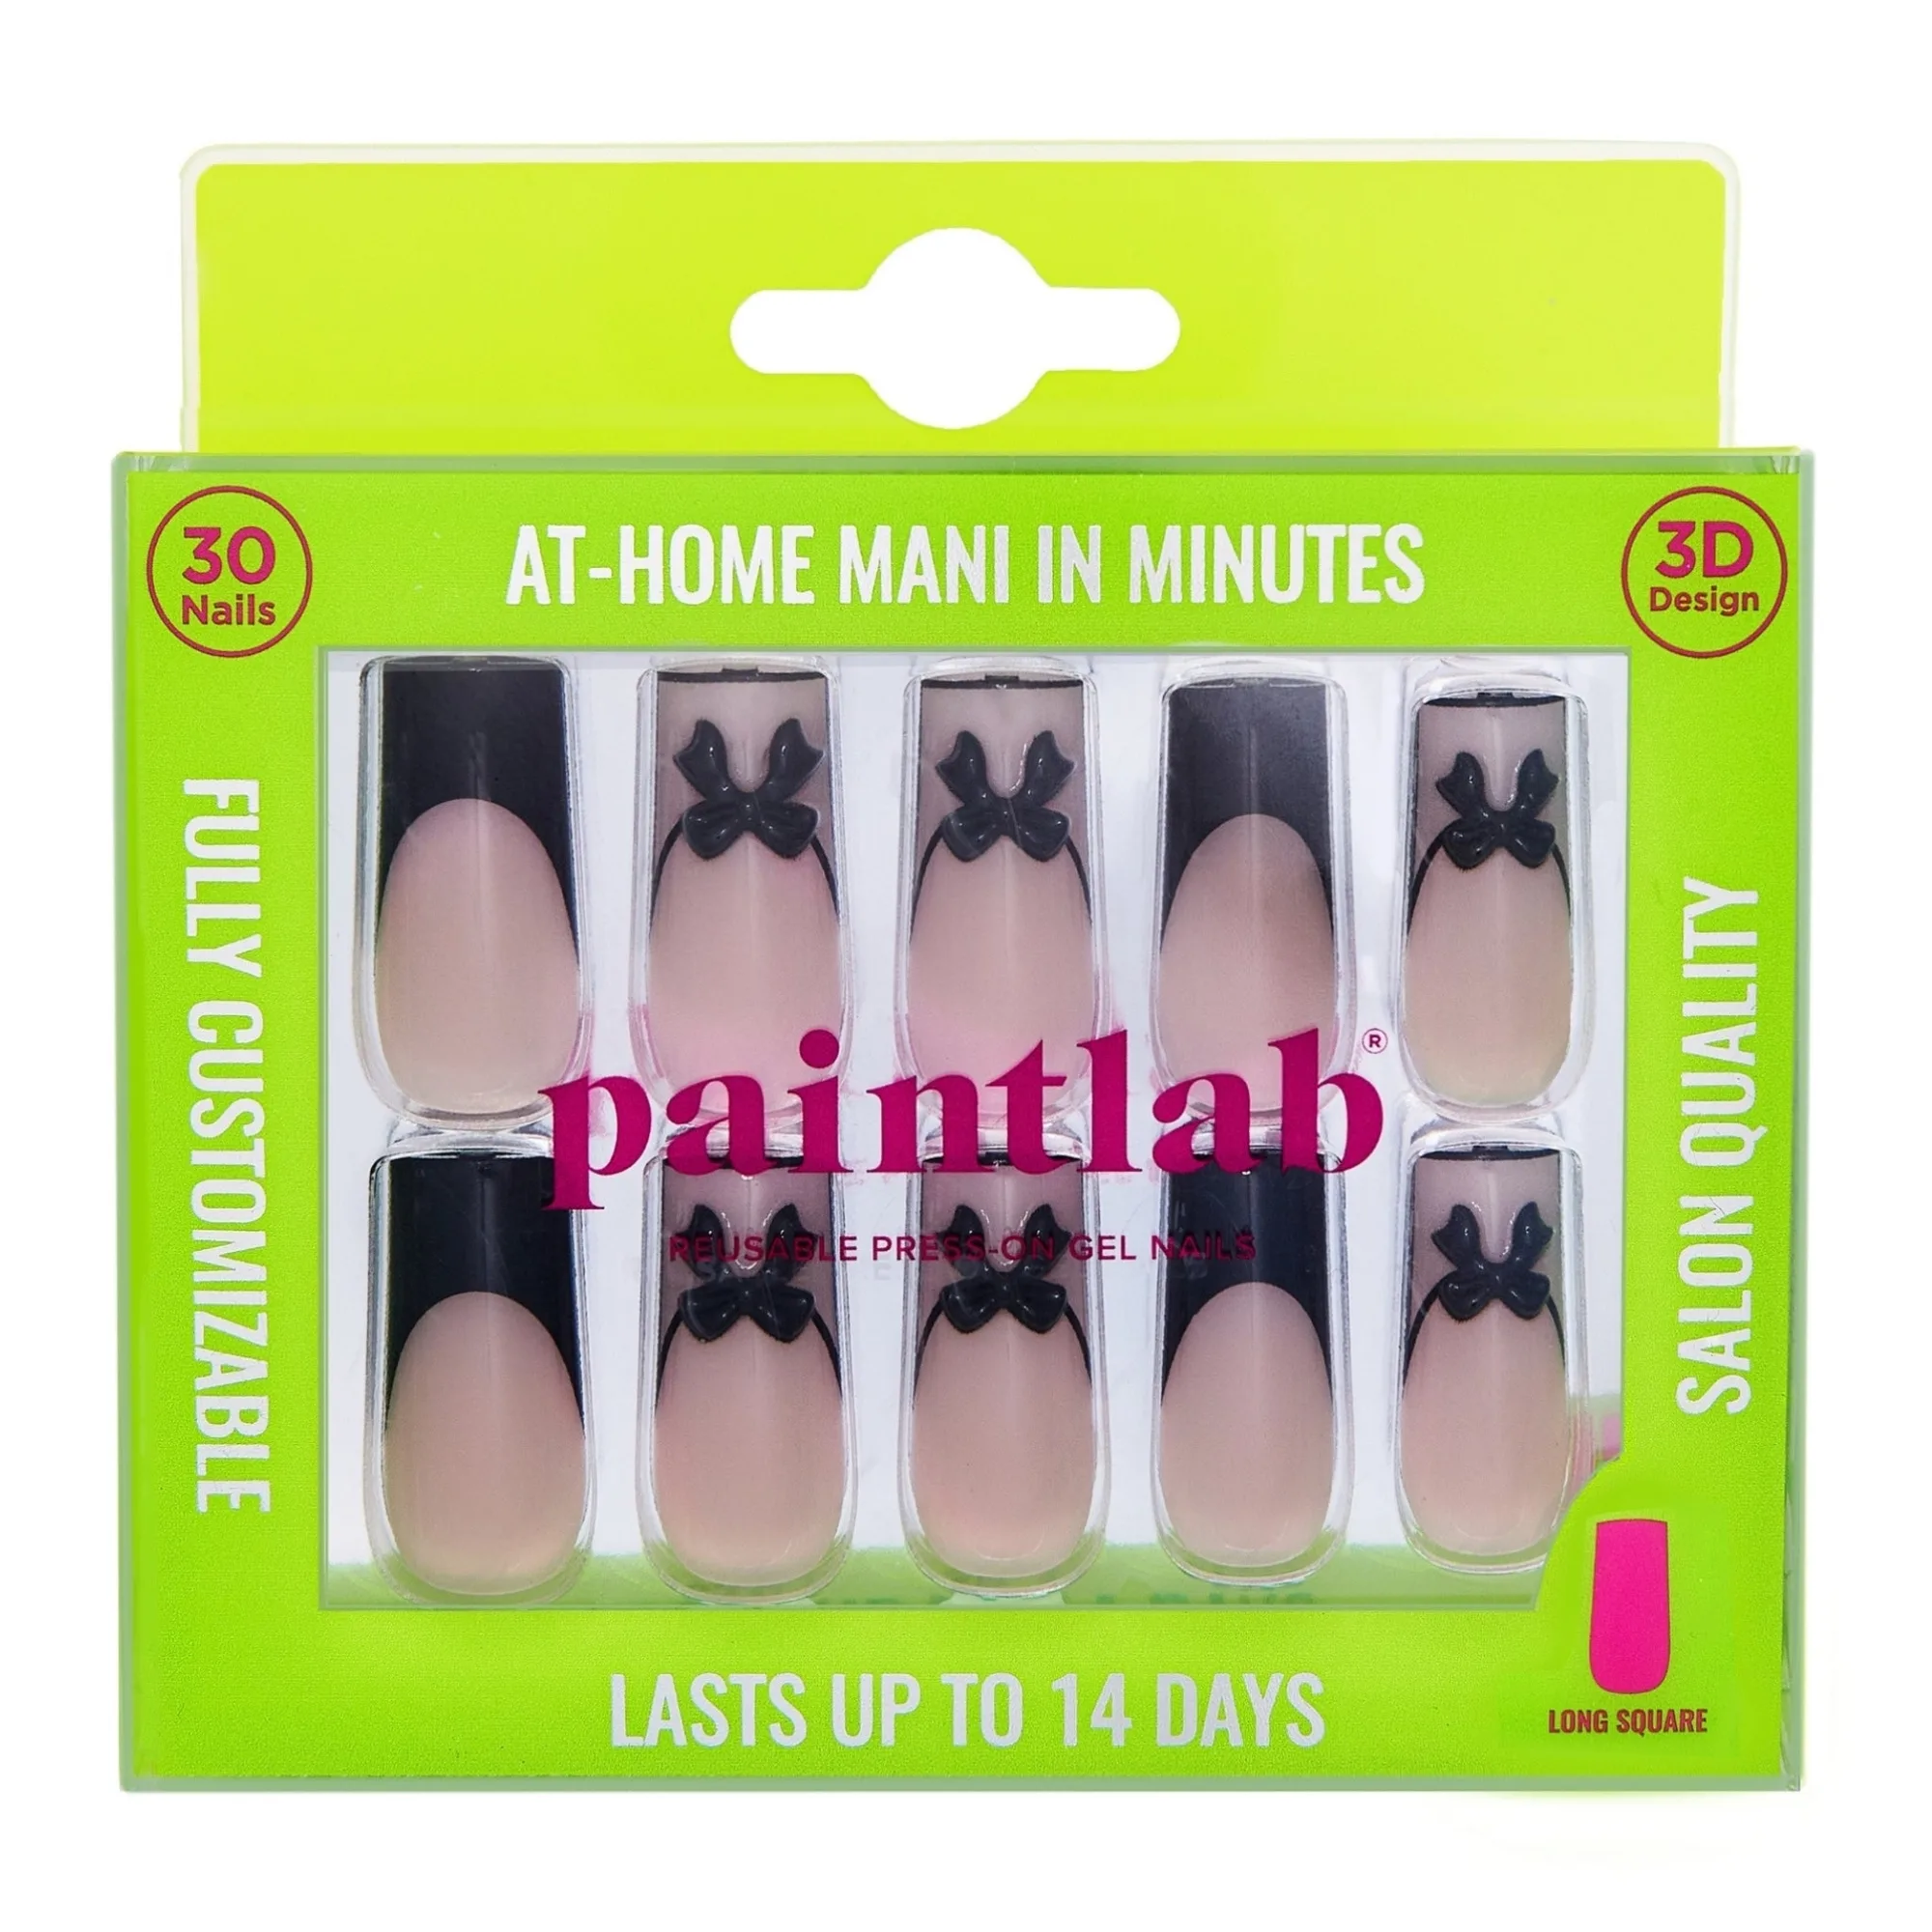
Lay the gems on a clean paper towel and arrange them in the pattern you want before any adhesive touches your face. Popular placements include a cluster at the outer eye corner, a single line following the brow bone, or a few gems spaced along the cheekbone. For eye sticker makeup ideas, mirror the design on both sides or intentionally place an asymmetric cluster on one side for a editorial look. Keep the total number of gems under 12 for reliable hold. If you are also wearing press-on nails, consider matching your gem color to your nail shade for a cohesive festival look; warm amber or berry tones in gems pair well with the Maple Syrup Short Almond Press-On Nails or the Pinot Noir Almond Press-On Nails.
Choose the right adhesive for face gems and body gems
Not all adhesives are safe for facial skin. Use cosmetic-grade eyelash glue or a dedicated gem adhesive labeled for skin use. Avoid craft glue, superglue, and any product not intended for cosmetics. For body gems for concerts, the same cosmetic adhesive works on shoulders, collarbones, and arms. If you have sensitive skin, test a small amount behind your ear 24 hours before the event. Some gems come with pre-applied adhesive backing; these are convenient but usually weaker, so keep eyelash glue on hand as a backup.
Step-by-step: apply eye stickers and face gems
- Cleanse and dry the placement area: Wash with a gentle cleanser, pat dry, and wait five minutes. Swipe alcohol-free toner over the spots where gems will go to remove any leftover oil or makeup. Checkpoint: skin should feel matte and slightly tight, not slick or moisturized.
- Arrange your design before gluing: Place gems on a paper towel in your intended pattern. For eye stickers, decide whether you want a mirror design or a single-sided cluster. Keep the total under 12 gems for secure hold. Common mistake: skipping this step and then repositioning gems after the adhesive is tacky, which weakens the bond.
- Apply a small dot of cosmetic adhesive: Use eyelash glue or skin-safe gem adhesive. Put a tiny dot on the back of each gem or directly on the skin, whichever the product instructs. Wait 10–15 seconds until the glue becomes tacky, not wet. Checkpoint: if the glue is still shiny and wet, it will slide; if it is fully dry, it will not stick. Aim for tacky.
- Press and hold each gem for 10–15 seconds: Use clean fingers or tweezers. Press firmly without sliding the gem. For eye stickers, start at the outer corner and work inward so you can see placement in a mirror. Common mistake: pressing too lightly or for only a few seconds, which causes gems to pop off within an hour.
- Seal the edges with a thin layer of glue: Dip a toothpick or the glue applicator into adhesive and trace a very thin line around the base of each gem or sticker edge. Let it dry for two minutes. Checkpoint: the seal should be invisible and flat, not a visible glob that catches hair or clothing.
- Set with a light mist of setting spray: Hold setting spray 10 inches from your face and mist once. Do not spray directly onto the gems, as this can loosen adhesive. Let it dry completely before touching your face. Common mistake: over-spraying, which can drip and weaken the glue.
- Remove gently with oil or warm water: At the end of the night, soak a cotton pad with micellar water or facial oil and hold it over each gem for 20 seconds. Peel slowly from the edge. Never rip gems off dry skin. Checkpoint: if you feel resistance, add more oil and wait. Forcing removal can irritate skin.
Festival-ready press-on nails that pair with gem looks
- Maple Syrup Short Almond Press-On Nails: Maple Syrup Short Almond Press-On Nails are a warm, golden amber shade described as capturing the cozy warmth of fall. The short almond shape keeps your hands practical for adjusting gems and holding drinks, while the golden tone complements gold or amber face gems.
- Pinot Noir Almond Press-On Nails: Pinot Noir Almond Press-On Nails are a deep berry-burgundy shade described as sophisticated, sensual, and elegant. This moody color pairs well with silver or deep red gems and suits evening festival sets or candlelit after-parties.
- Tortoise Chic Sleek Coffin Press-On Nails: Tortoise Chic Sleek Coffin Press-On Nails feature a tortoiseshell pattern on a longer coffin shape described as warm, chic, and on trend. The longer coffin shape and patterned finish make a statement on their own, so you can keep face gems minimal and let your nails carry the look.