Quick Answer
To combine gel nail stickers with press-on nails, apply the stickers to your natural nails or the press-ons before securing them, then seal with a top coat for durability.
Why Layer Gel Stickers with Press-Ons?
Layering gel nail stickers with press-on nails gives you the flexibility to change your manicure without committing to a full set. You can use stickers to add accents to plain press-ons, or apply them directly to your natural nails and then top with a clear press-on for extra length. This technique works well with short round press-on shapes, which provide a neutral base that lets the sticker design stand out.
One trade-off to consider: stickers applied on top of press-ons may add slight thickness, which can affect the fit if your press-ons are already snug. To avoid this, choose press-ons that fit well and press them down firmly after applying the sticker.
Step-by-Step: Layering Gel Stickers with Press-Ons
- Prep Your Natural Nails: Start with clean, dry, oil-free nails. Gently push back cuticles and lightly buff the nail surface so the press-on or sticker adheres better. Skipping this step can cause lifting.
- Select and Fit Your Press-Ons: Choose press-ons that fit each nail perfectly. Test-fit them without adhesive to ensure they cover the entire nail bed without gaps or overhang. A proper fit prevents the stickers from wrinkling at the edges.
- Apply the Gel Sticker: Peel the gel sticker from its backing and place it on the press-on or your natural nail. Press from the center outward to smooth out air bubbles, then trim any excess with a cuticle trimmer. Work quickly but carefully—gel stickers can stretch if pulled too hard.
- Secure the Press-On: Apply a thin layer of nail glue or adhesive tab to your natural nail, then press the press-on firmly for 10-15 seconds. If you applied the sticker directly to your natural nail, skip this step and proceed to sealing. Make sure the press-on is fully seated before the glue sets.
- Seal with a Top Coat: Apply a clear top coat over the entire nail, including the edges, to seal the sticker and press-on. This adds shine and helps prevent chipping. Capping the free edge is essential for longevity.
- Cure and Finish: If your top coat requires curing, use a UV/LED lamp for the recommended time. Wipe off any tacky residue with a cleanser, then apply cuticle oil to hydrate. Curing ensures the design stays put.
Press-On Sets That Work Well with Stickers
-
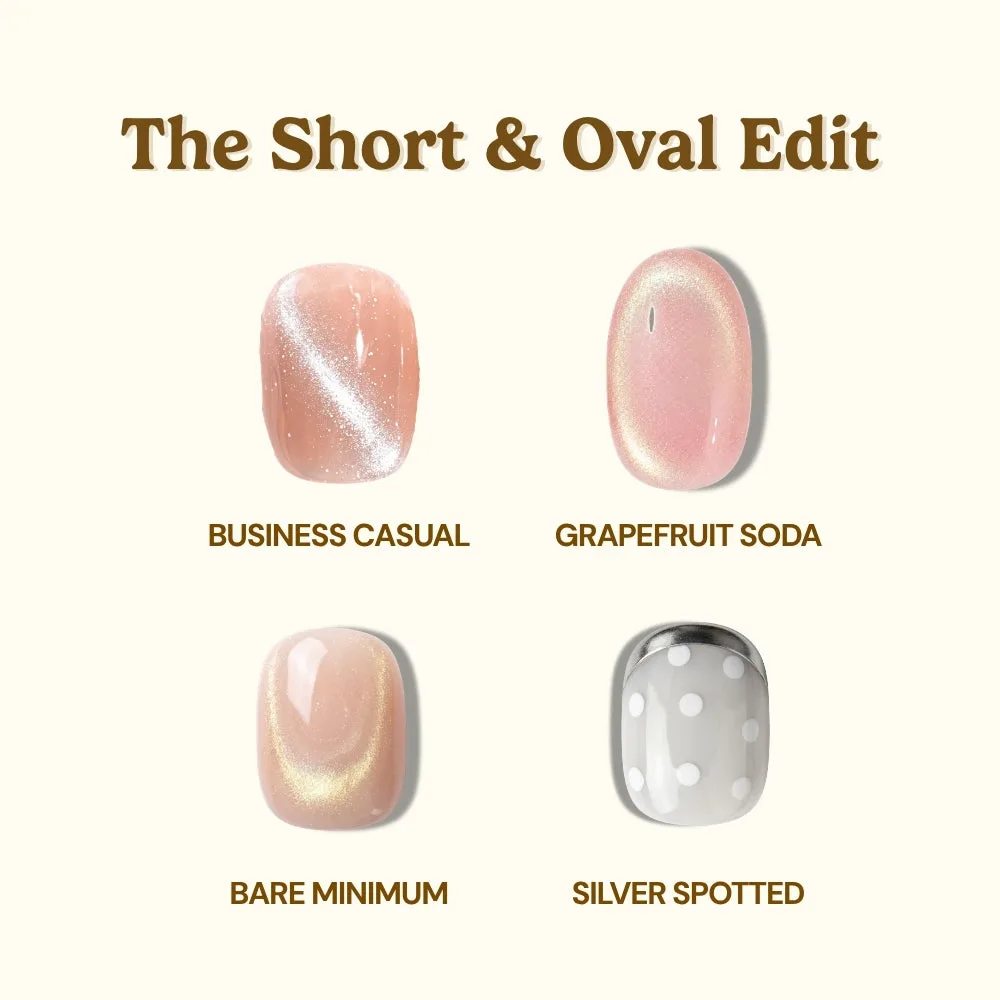
The Short & Round Edit Press-On Nail Set (4pk): The Short & Round Edit Press-On Nail Set includes four short round shapes in Business Casual, Grapefruit Soda, Bare Minimum and Silver Spotted, covering boardroom-neutral to shimmer-flecked styles. The short round shape gives you a neutral base that pairs easily with gel stickers, and the variety lets you mix and match for different occasions.
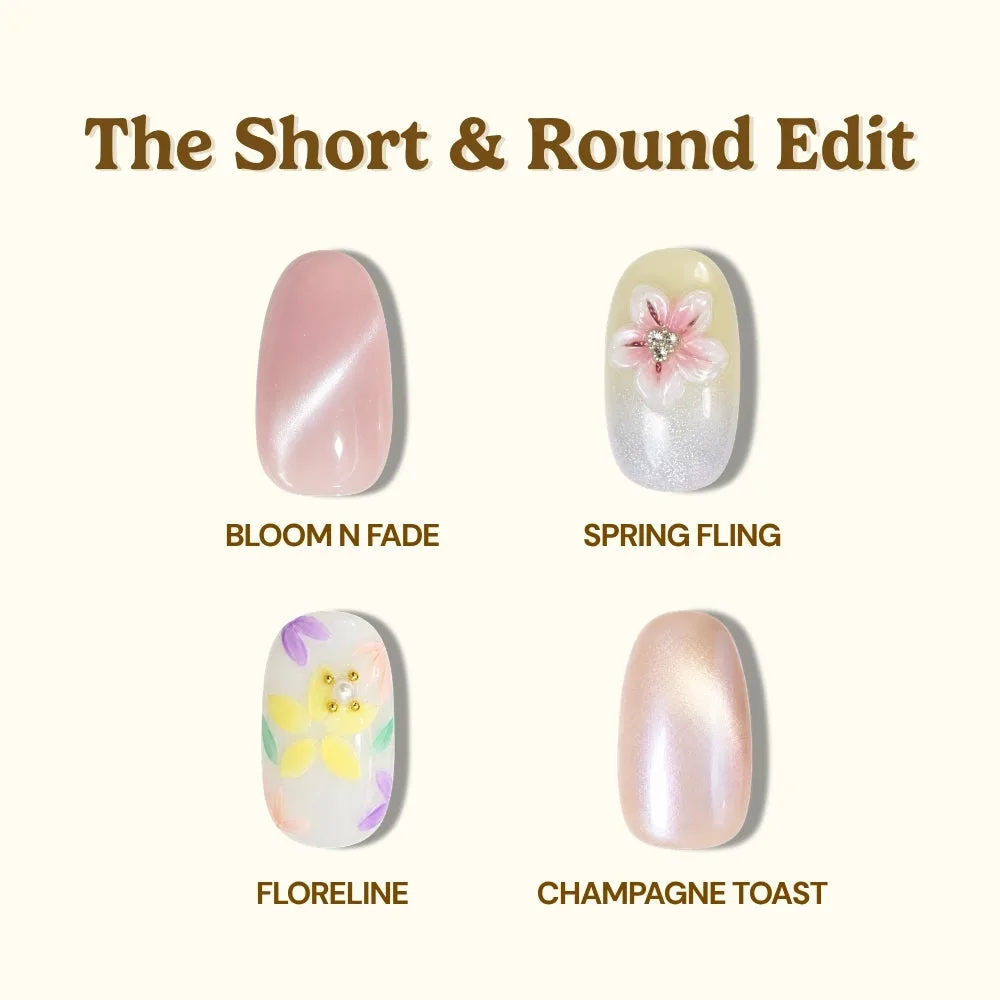
The Short & Round Edit Press-On Nail Set (4pk)
-
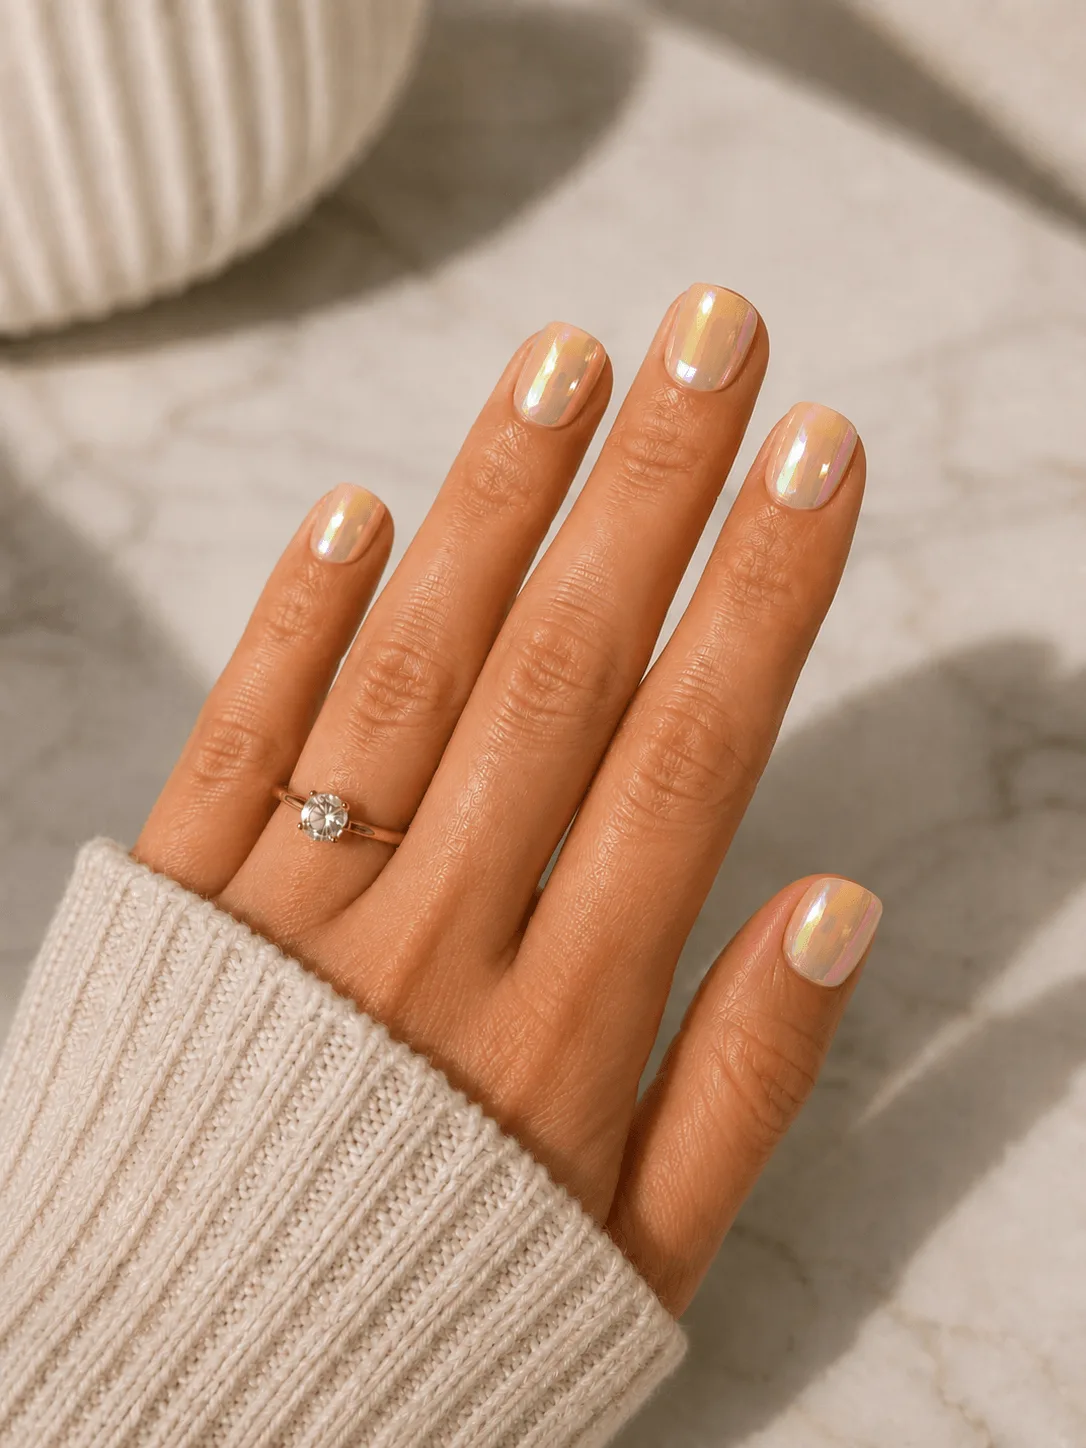
Milk Bar Press-On Nail Set (4pk): Milk Bar Press-On Nail Set offers four pearlescent pastels—Taro Latte, Soft Serve, Peritinkle and Silk Slip—in a milky, chrome-finished color story. The soft pastel finish acts as a subtle canvas that makes gel stickers pop without overwhelming the design.
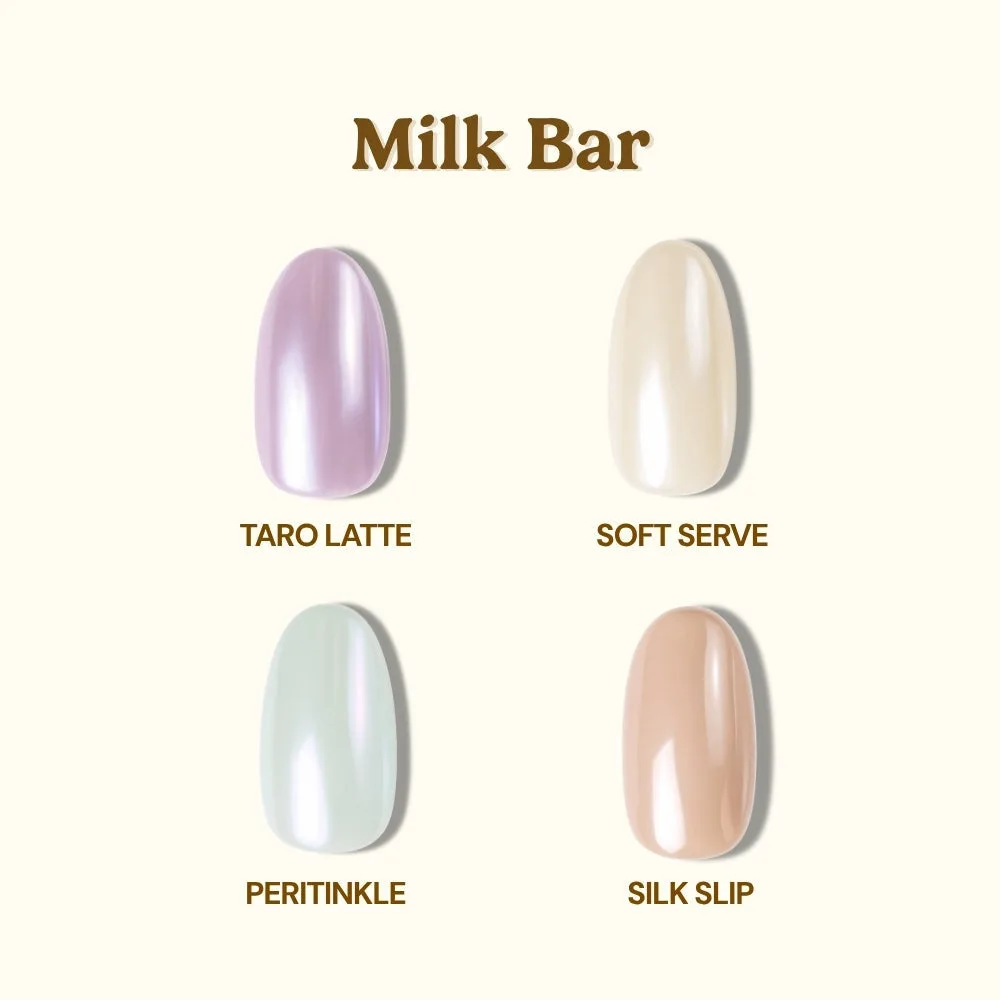
Milk Bar Press-On Nail Set (4pk)
-
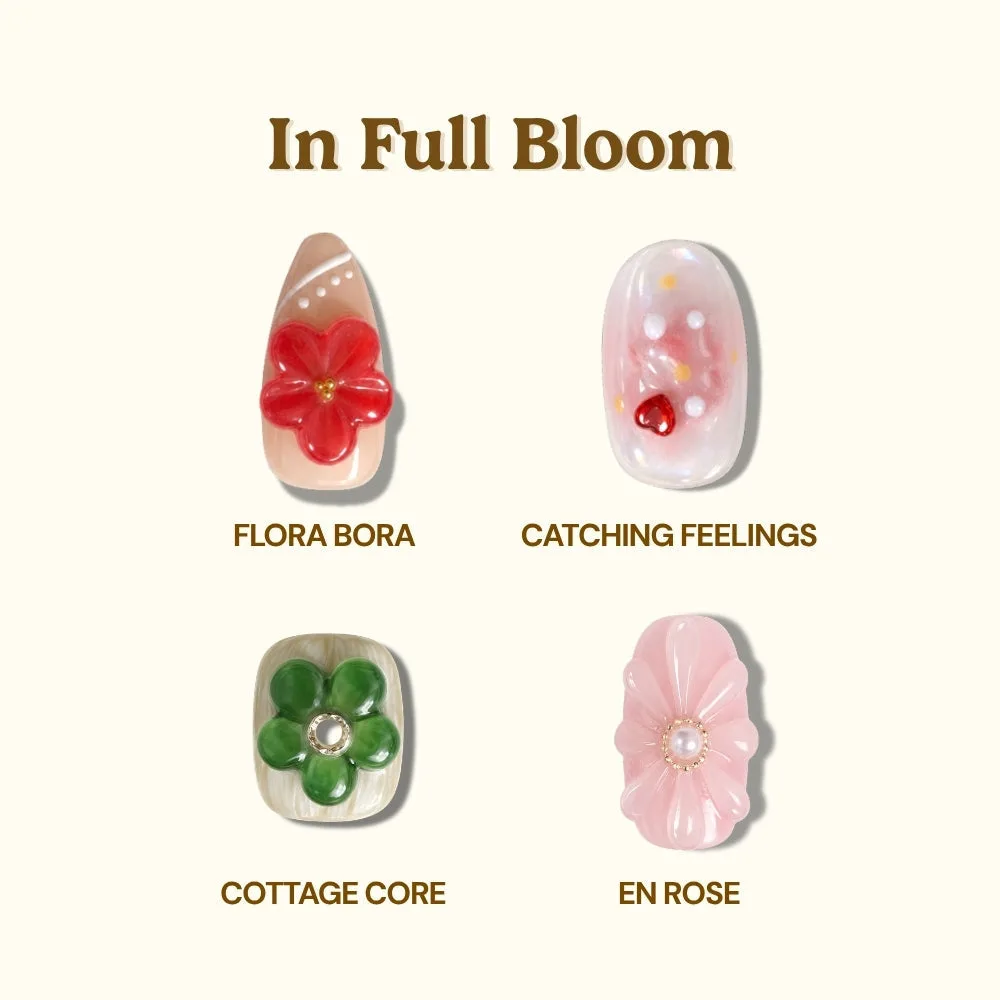
In Full Bloom Press-On Nail Set (4pk): In Full Bloom Press-On Nail Set includes four floral takes—Flora Bora, Catching Feelings, Cottage Core and En Rose—that bring petals and blossoms to your hands. If you prefer a romantic look, these floral press-ons can be enhanced with complementary stickers for a layered, garden-inspired manicure.