Quick answer
To apply Gold Drip press-on nails for a clean metallic finish, prep your natural nails until they are dry and oil-free, choose a press-on size that covers your sidewalls without touching them, and press straight down for 20–30 seconds. Avoid sliding the nail into place; that is the most common cause of smudged adhesive, ridges, and lifted edges. Finish by filing the free edge in one direction only, then keep your hands dry for the first hour.
Prep the natural nail so the metallic finish stays smooth
Metallic press-ons reflect light, so any bump underneath shows up immediately. Start by pushing back your cuticles and lightly buffing the nail plate with a fine-grit buffer. Wipe each nail with an alcohol pad or acetone-free prep wipe, then let it dry completely. If your nails are oily or you just washed your hands, wait a few minutes before applying. A dry, matte natural nail gives the adhesive a clean surface to grip, which is the foundation of a ridge-free gold press-on nail set.
Match the press-on to your nail width, not just length
The most common sizing mistake is choosing a press-on that is too wide and pressing it over the sidewalls. That creates tension, and the nail pops off within a day. Instead, hold each press-on across your natural nail and check that the edges sit just inside your sidewalls. If you are between sizes, size down rather than up. For short square styles like Gold Drip, a slightly narrower fit still looks clean because the square shape keeps the line straight.
Apply adhesive in a thin, even layer
Whether you use glue or adhesive tabs, less is more. For glue, place one small dot near the center of your natural nail and one thin line on the back of the press-on. For tabs, choose a tab that matches the nail width and press it flat so there are no folds. A thick blob of glue will not dry evenly and can create a visible bump under the metallic finish. If you see excess adhesive at the edges after pressing, remove the nail, clean both surfaces, and start again with less product.
Press straight down and hold without sliding
Line the press-on up with your cuticle, then press it straight down toward the tip. Hold for 20–30 seconds with steady pressure. Do not slide or wiggle the nail into place; sliding pushes adhesive toward the cuticle and leaves a gap at the tip. After you press, check the edges by gently pressing around the perimeter. If any edge lifts, remove the nail and reapply rather than adding more glue on top.
File the free edge in one direction
If the press-on extends past your natural tip or feels long, file the free edge with a fine-grit file. Use one-direction strokes from the side toward the center, not a back-and-forth sawing motion. Sawing can chip the metallic coating and create a jagged edge that catches on fabric. For a short square set like Gold Drip, keep the file flat against the tip so the square line stays crisp.
Protect the finish for the first hour
Adhesive needs time to cure. For the first hour after applying, avoid washing dishes, showering, or soaking your hands. If you need to wash your hands, use cool water and dry immediately. Once cured, the metallic finish on Gold Drip is glossy and reflective, but it can still dull if you scrub it with abrasive cleaners. Wear gloves for heavy cleaning, and use cuticle oil on your natural nails, not on the press-on surface, to keep the bond strong.
Application steps at a glance
- Prep and dehydrate: Push back cuticles, buff lightly with a fine-grit buffer, and wipe with an alcohol pad. Let the nail dry completely. Checkpoint: the natural nail should look matte and feel dry before you apply anything.
- Size each press-on: Hold the press-on across your natural nail. The edges should sit just inside your sidewalls. Size down if you are between sizes. Mistake to avoid: choosing a wide nail and pressing it over the sidewalls.
- Apply a thin adhesive layer: Use one small dot of glue on the natural nail and a thin line on the press-on, or one flat adhesive tab that matches the width. Checkpoint: no thick blobs or folded tabs.
- Press straight down: Align with the cuticle, press down toward the tip, and hold for 20–30 seconds without sliding. Mistake to avoid: sliding the nail into place, which pushes glue toward the cuticle and causes lifting.
- File the free edge: Use one-direction strokes with a fine-grit file to shape the tip. Keep the file flat for square styles. Checkpoint: the edge is smooth and does not catch on fabric.
- Let the adhesive cure: Keep hands dry for the first hour. Use cool water if you must wash, and dry immediately. Mistake to avoid: soaking your hands or doing dishes right after application.
Product facts
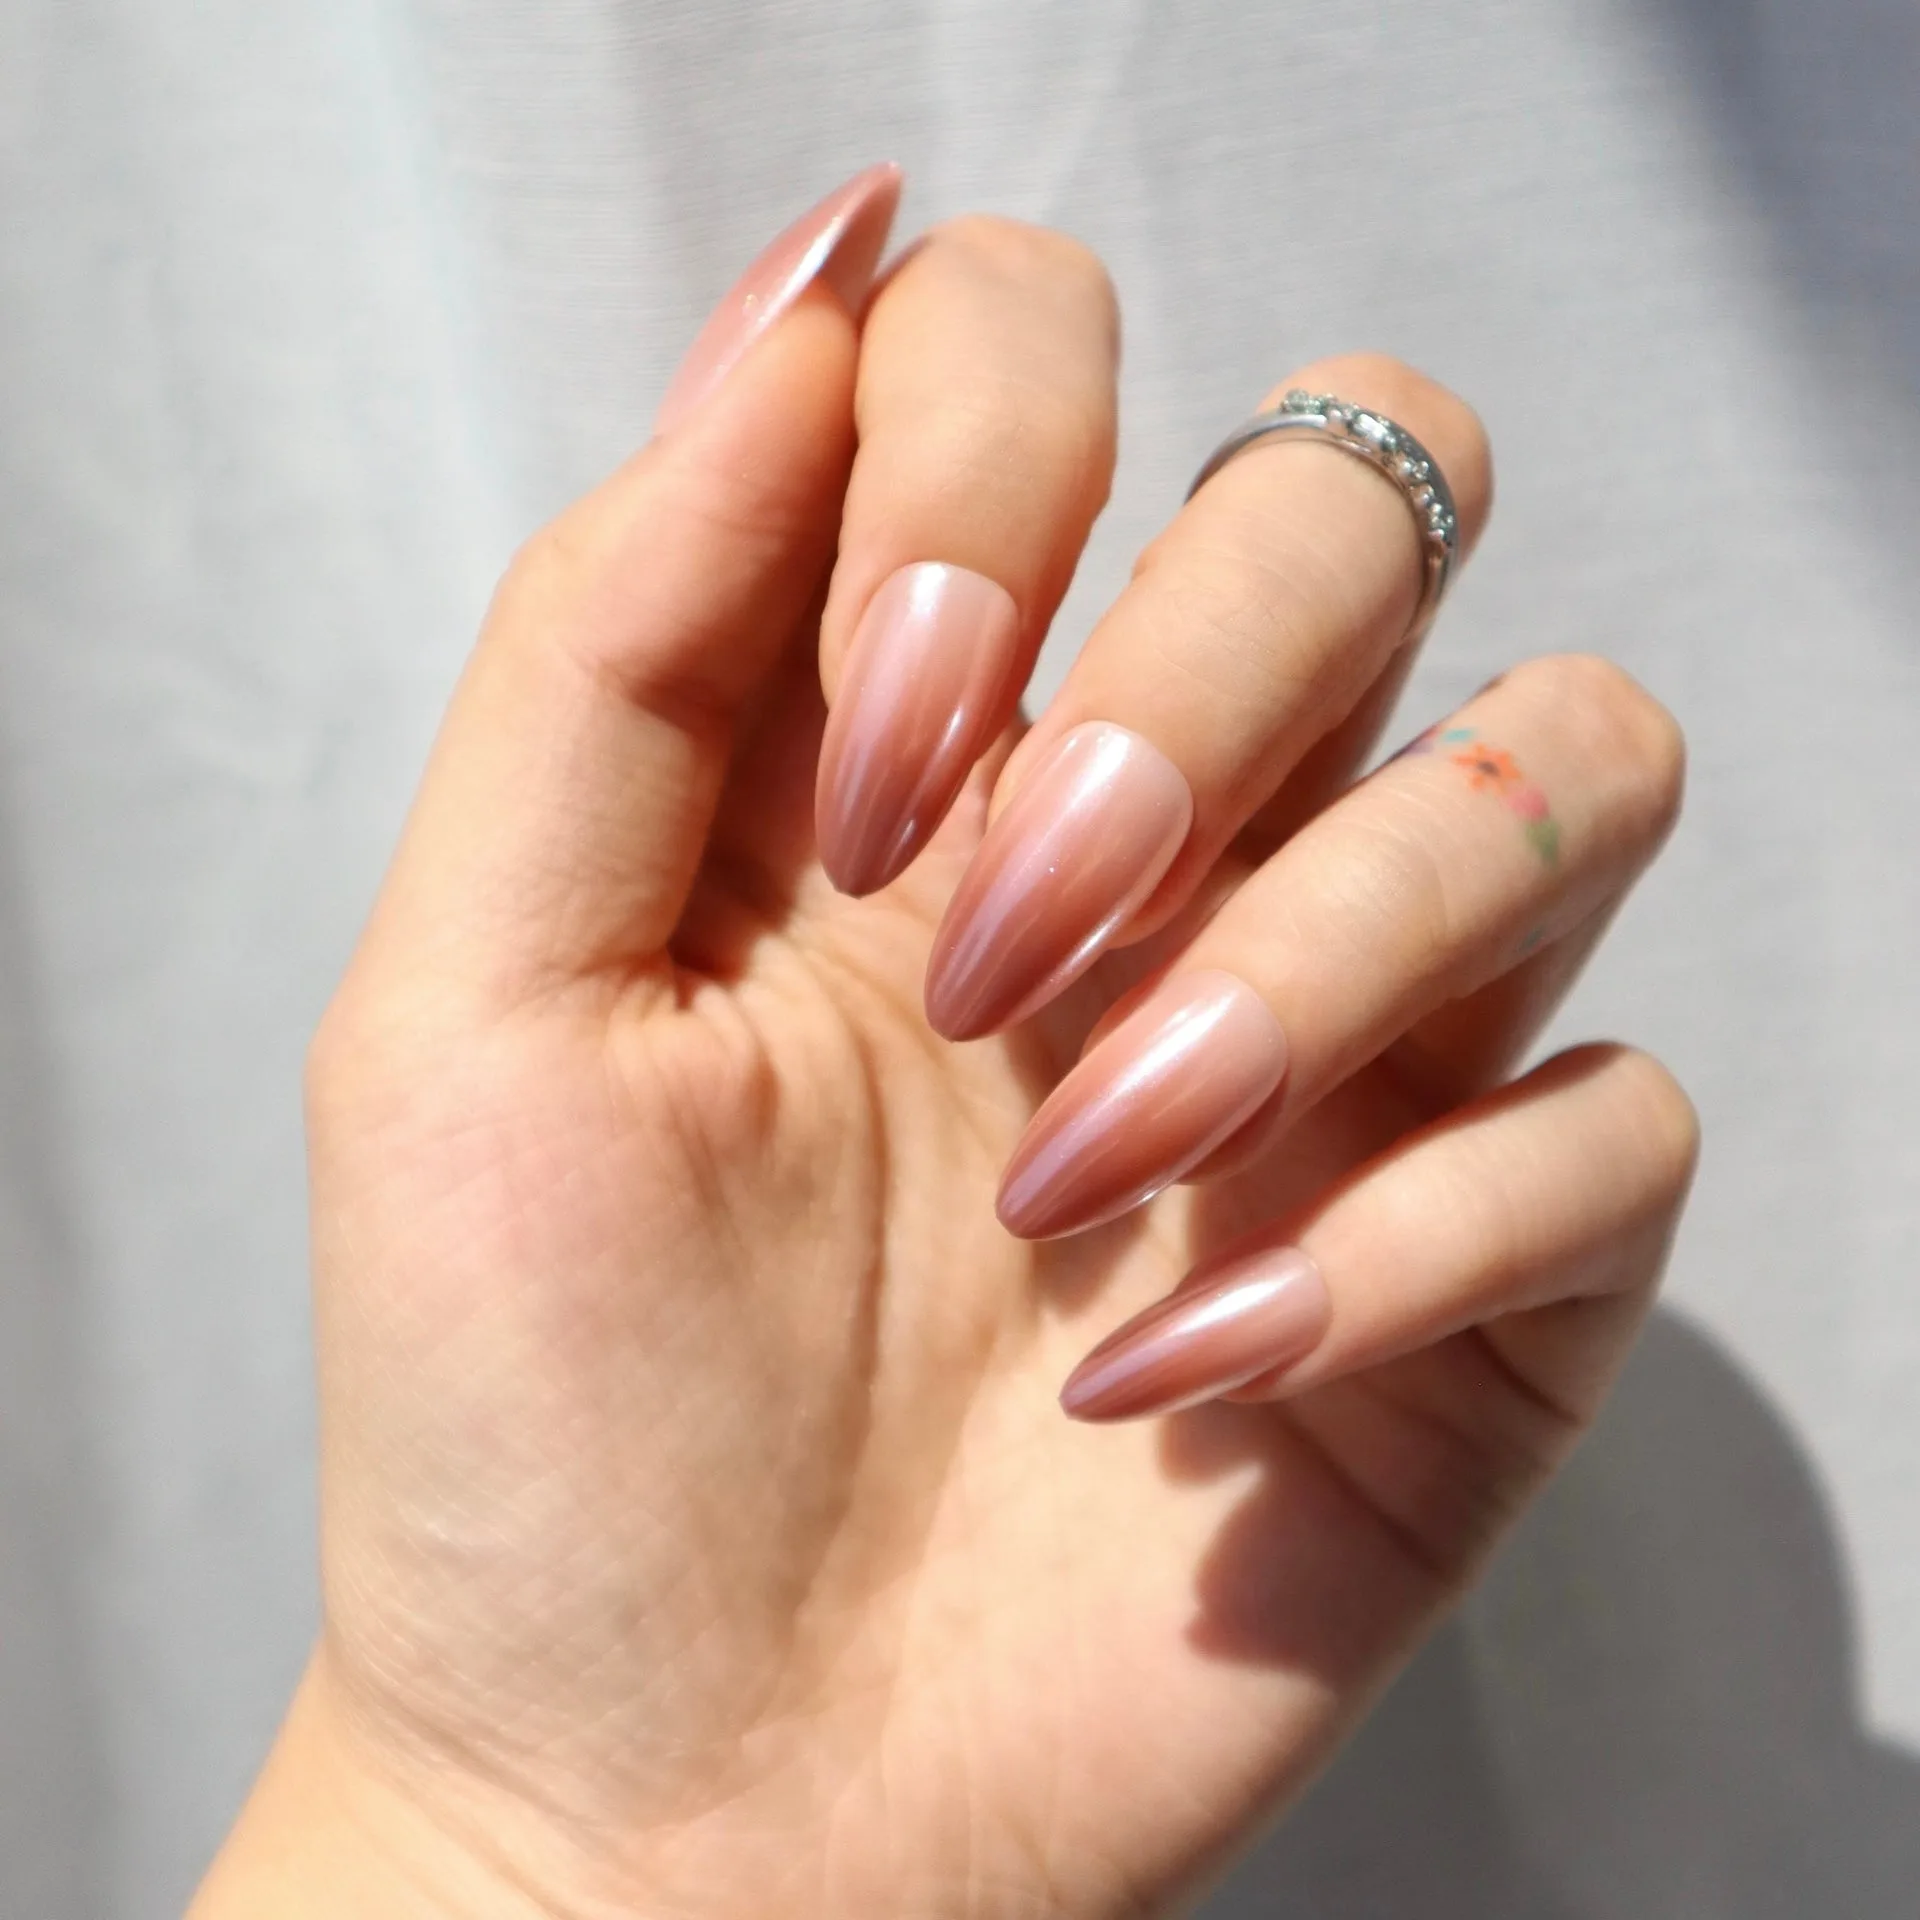
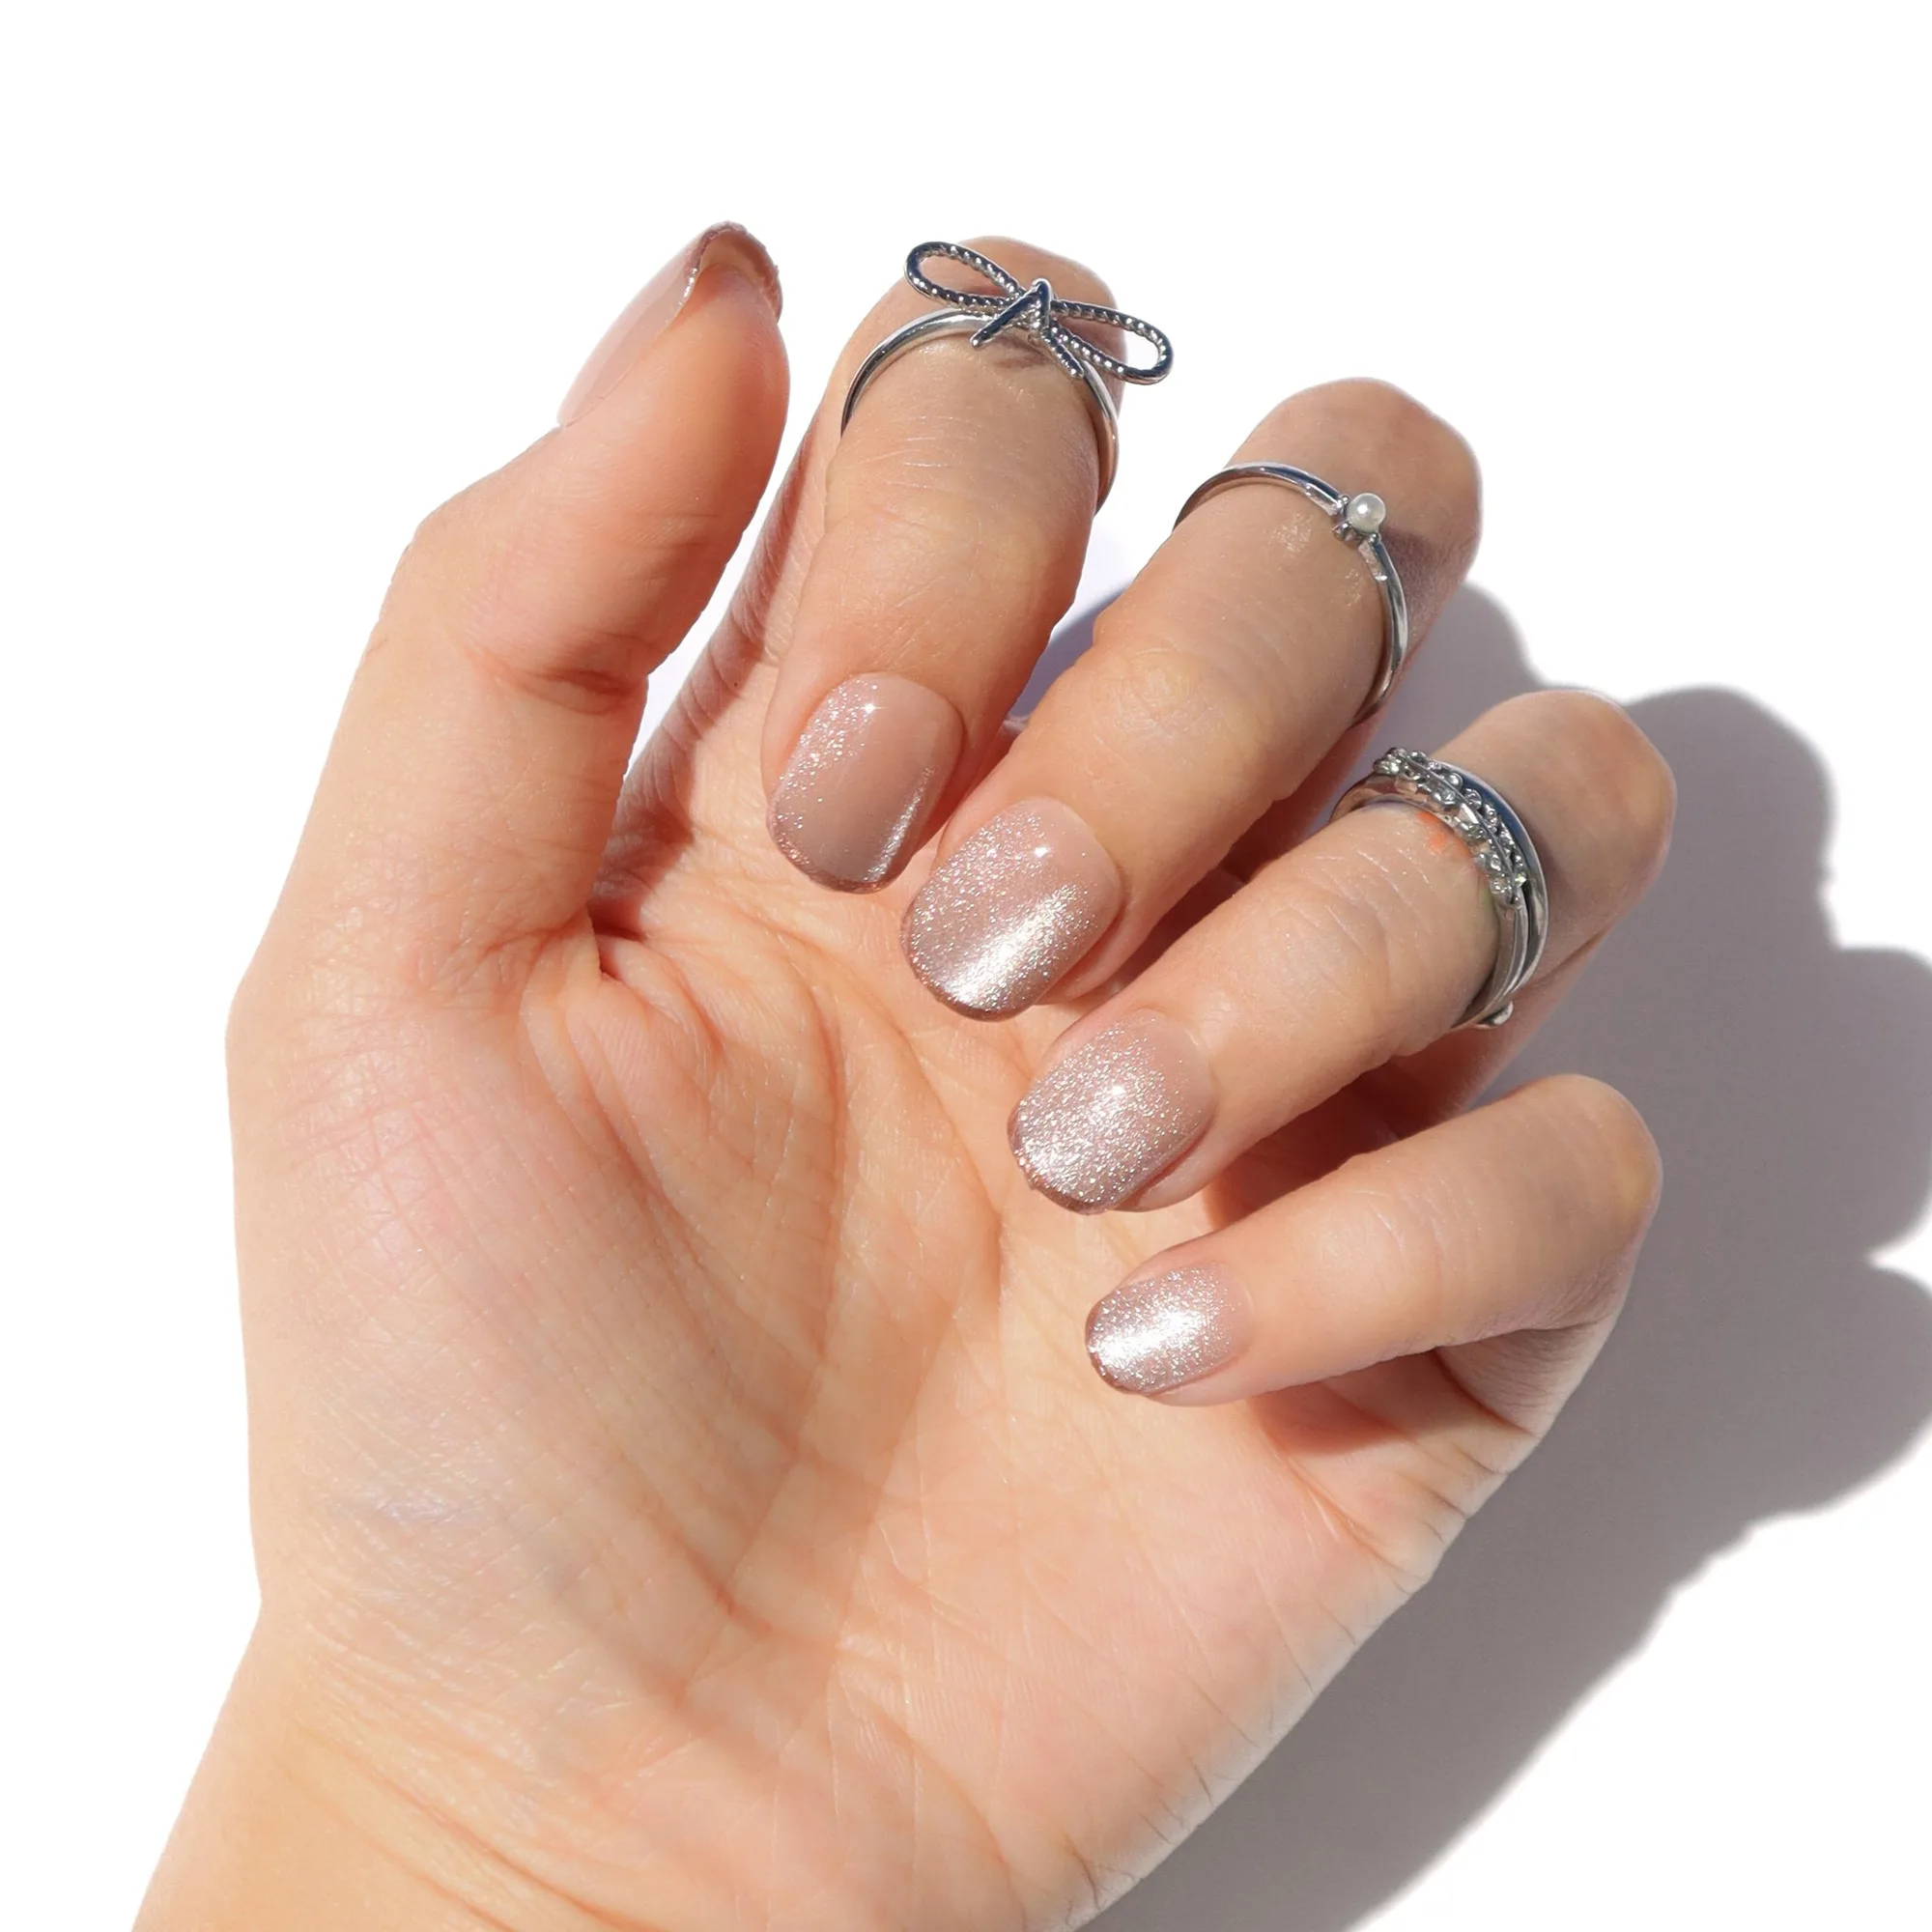
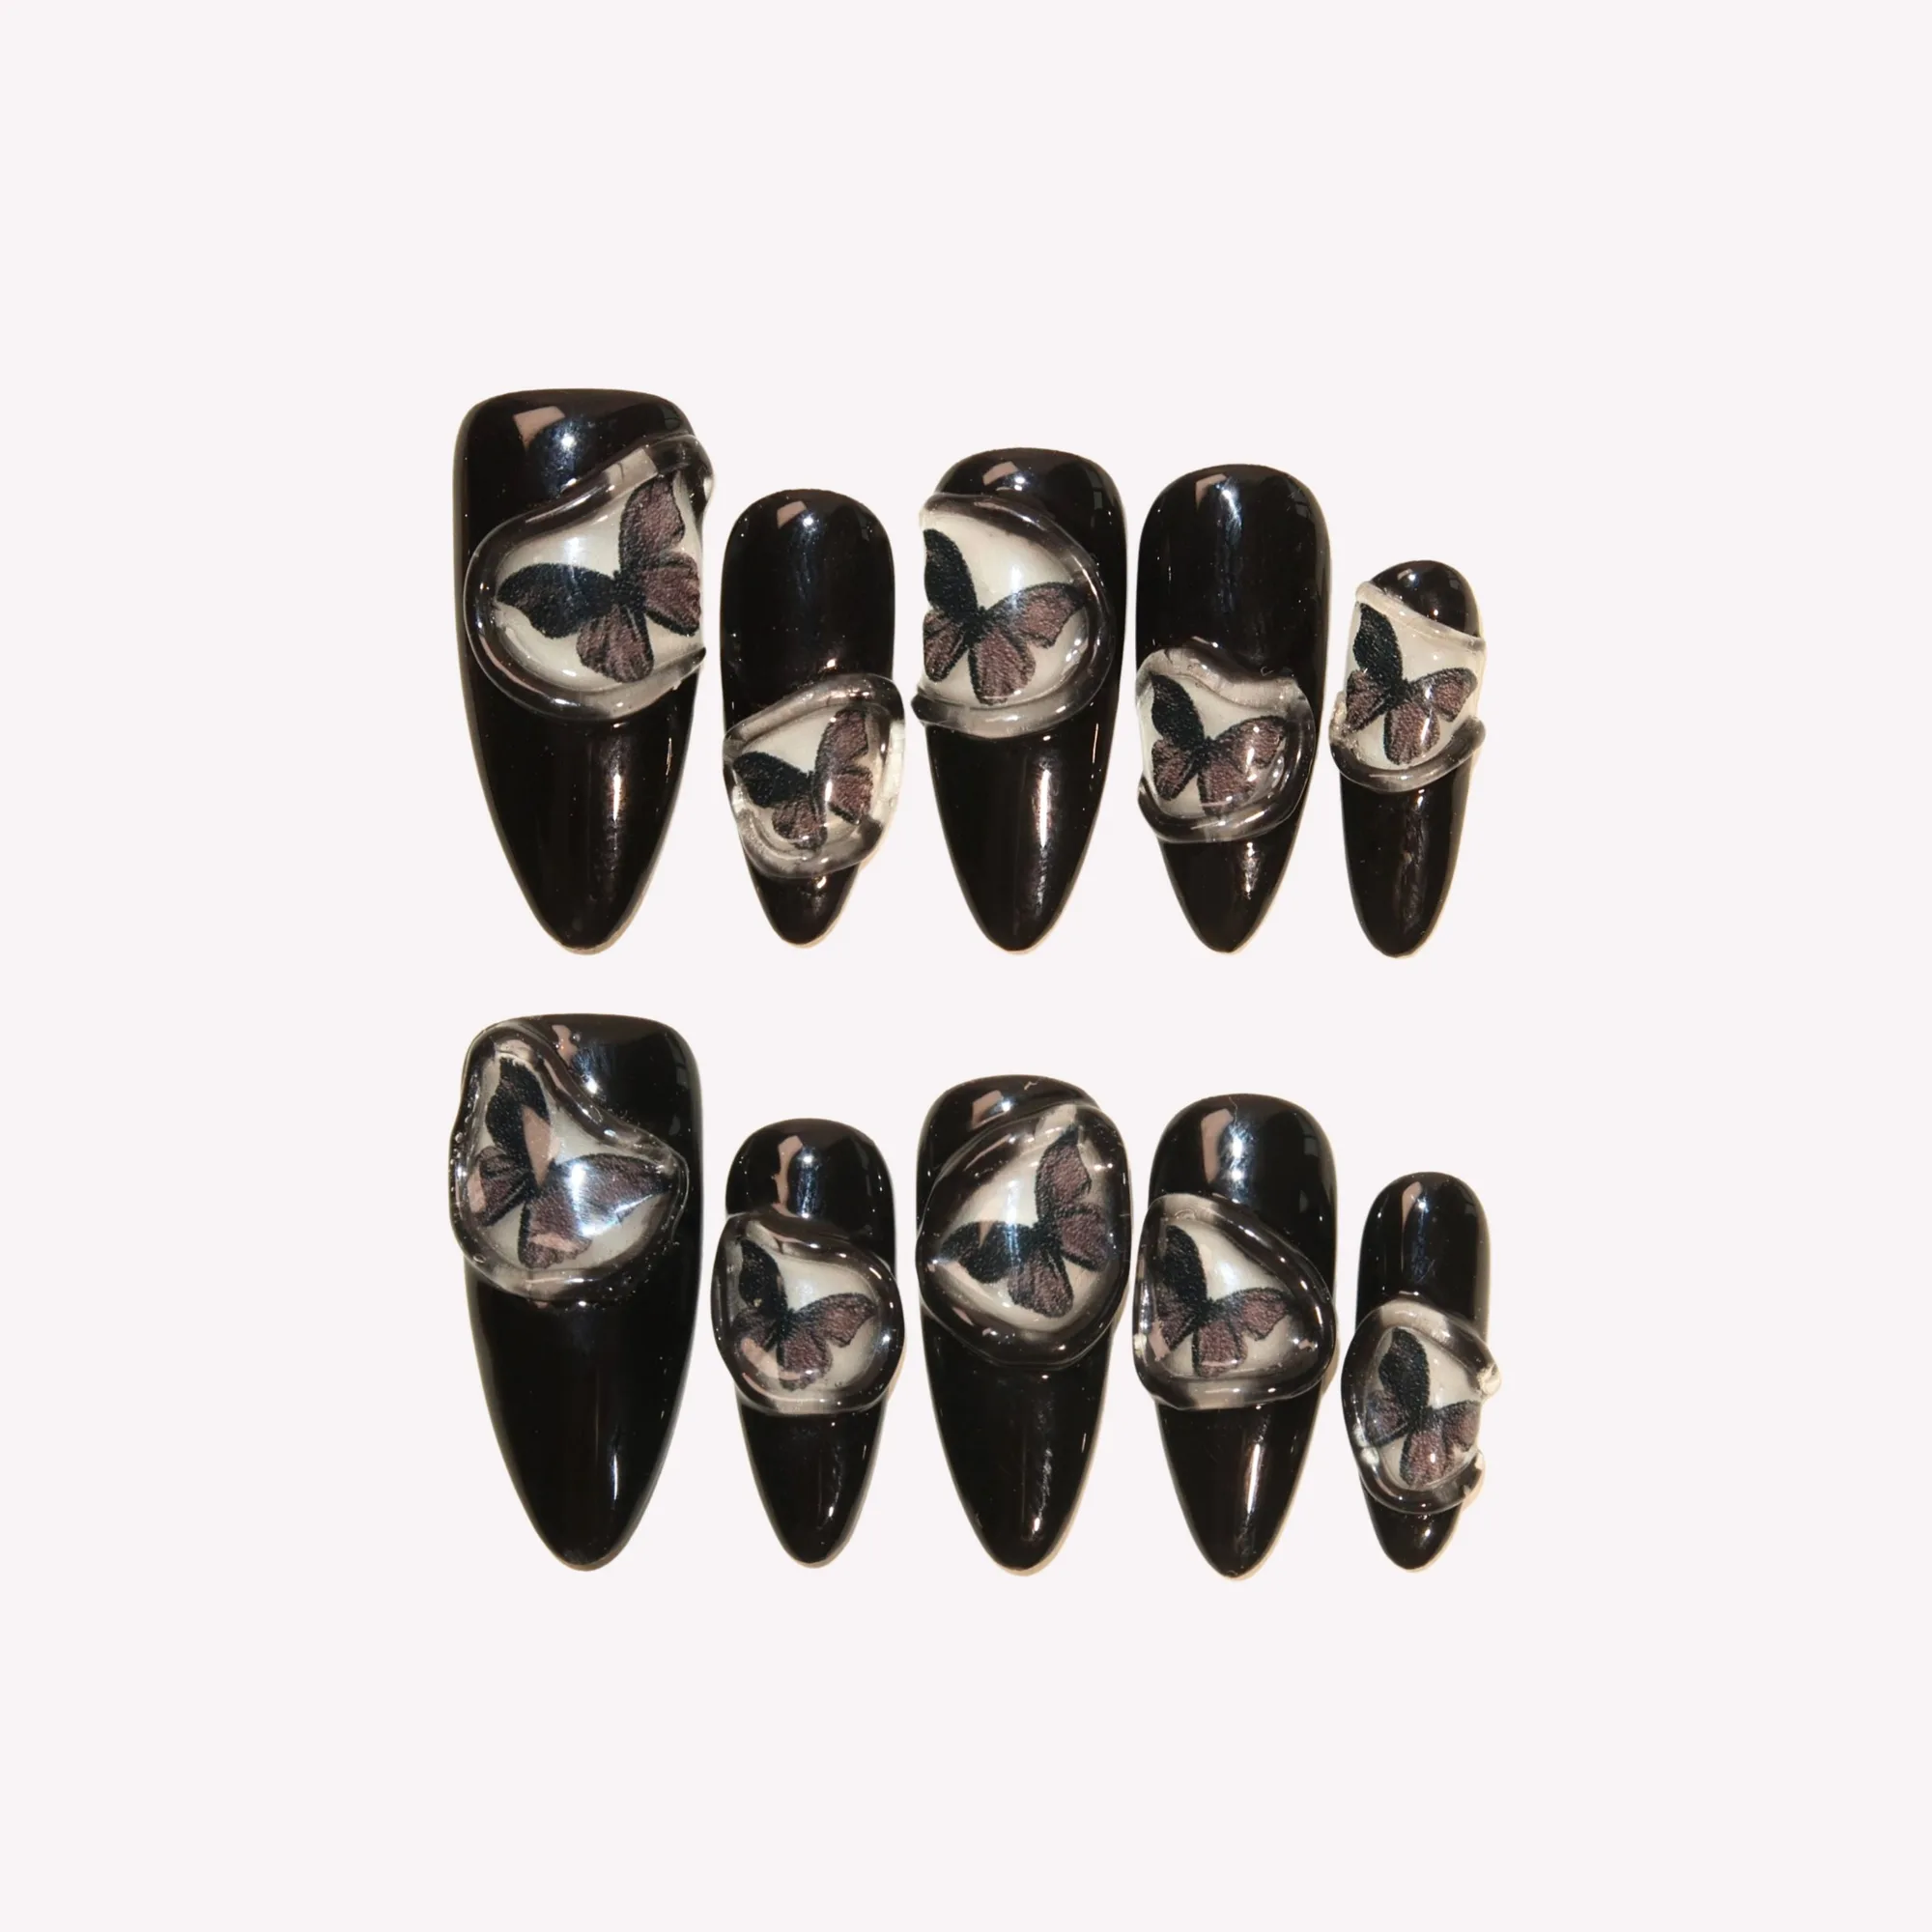
- Gold Drip: Gold Drip is a short square press-on set with a rich bronze-gold pearlescent shimmer and a warm metallic, candy-coated gold finish. The short square shape gives you a straight edge that is easy to file cleanly, while the pearlescent shimmer hides minor surface imperfections better than a flat chrome.
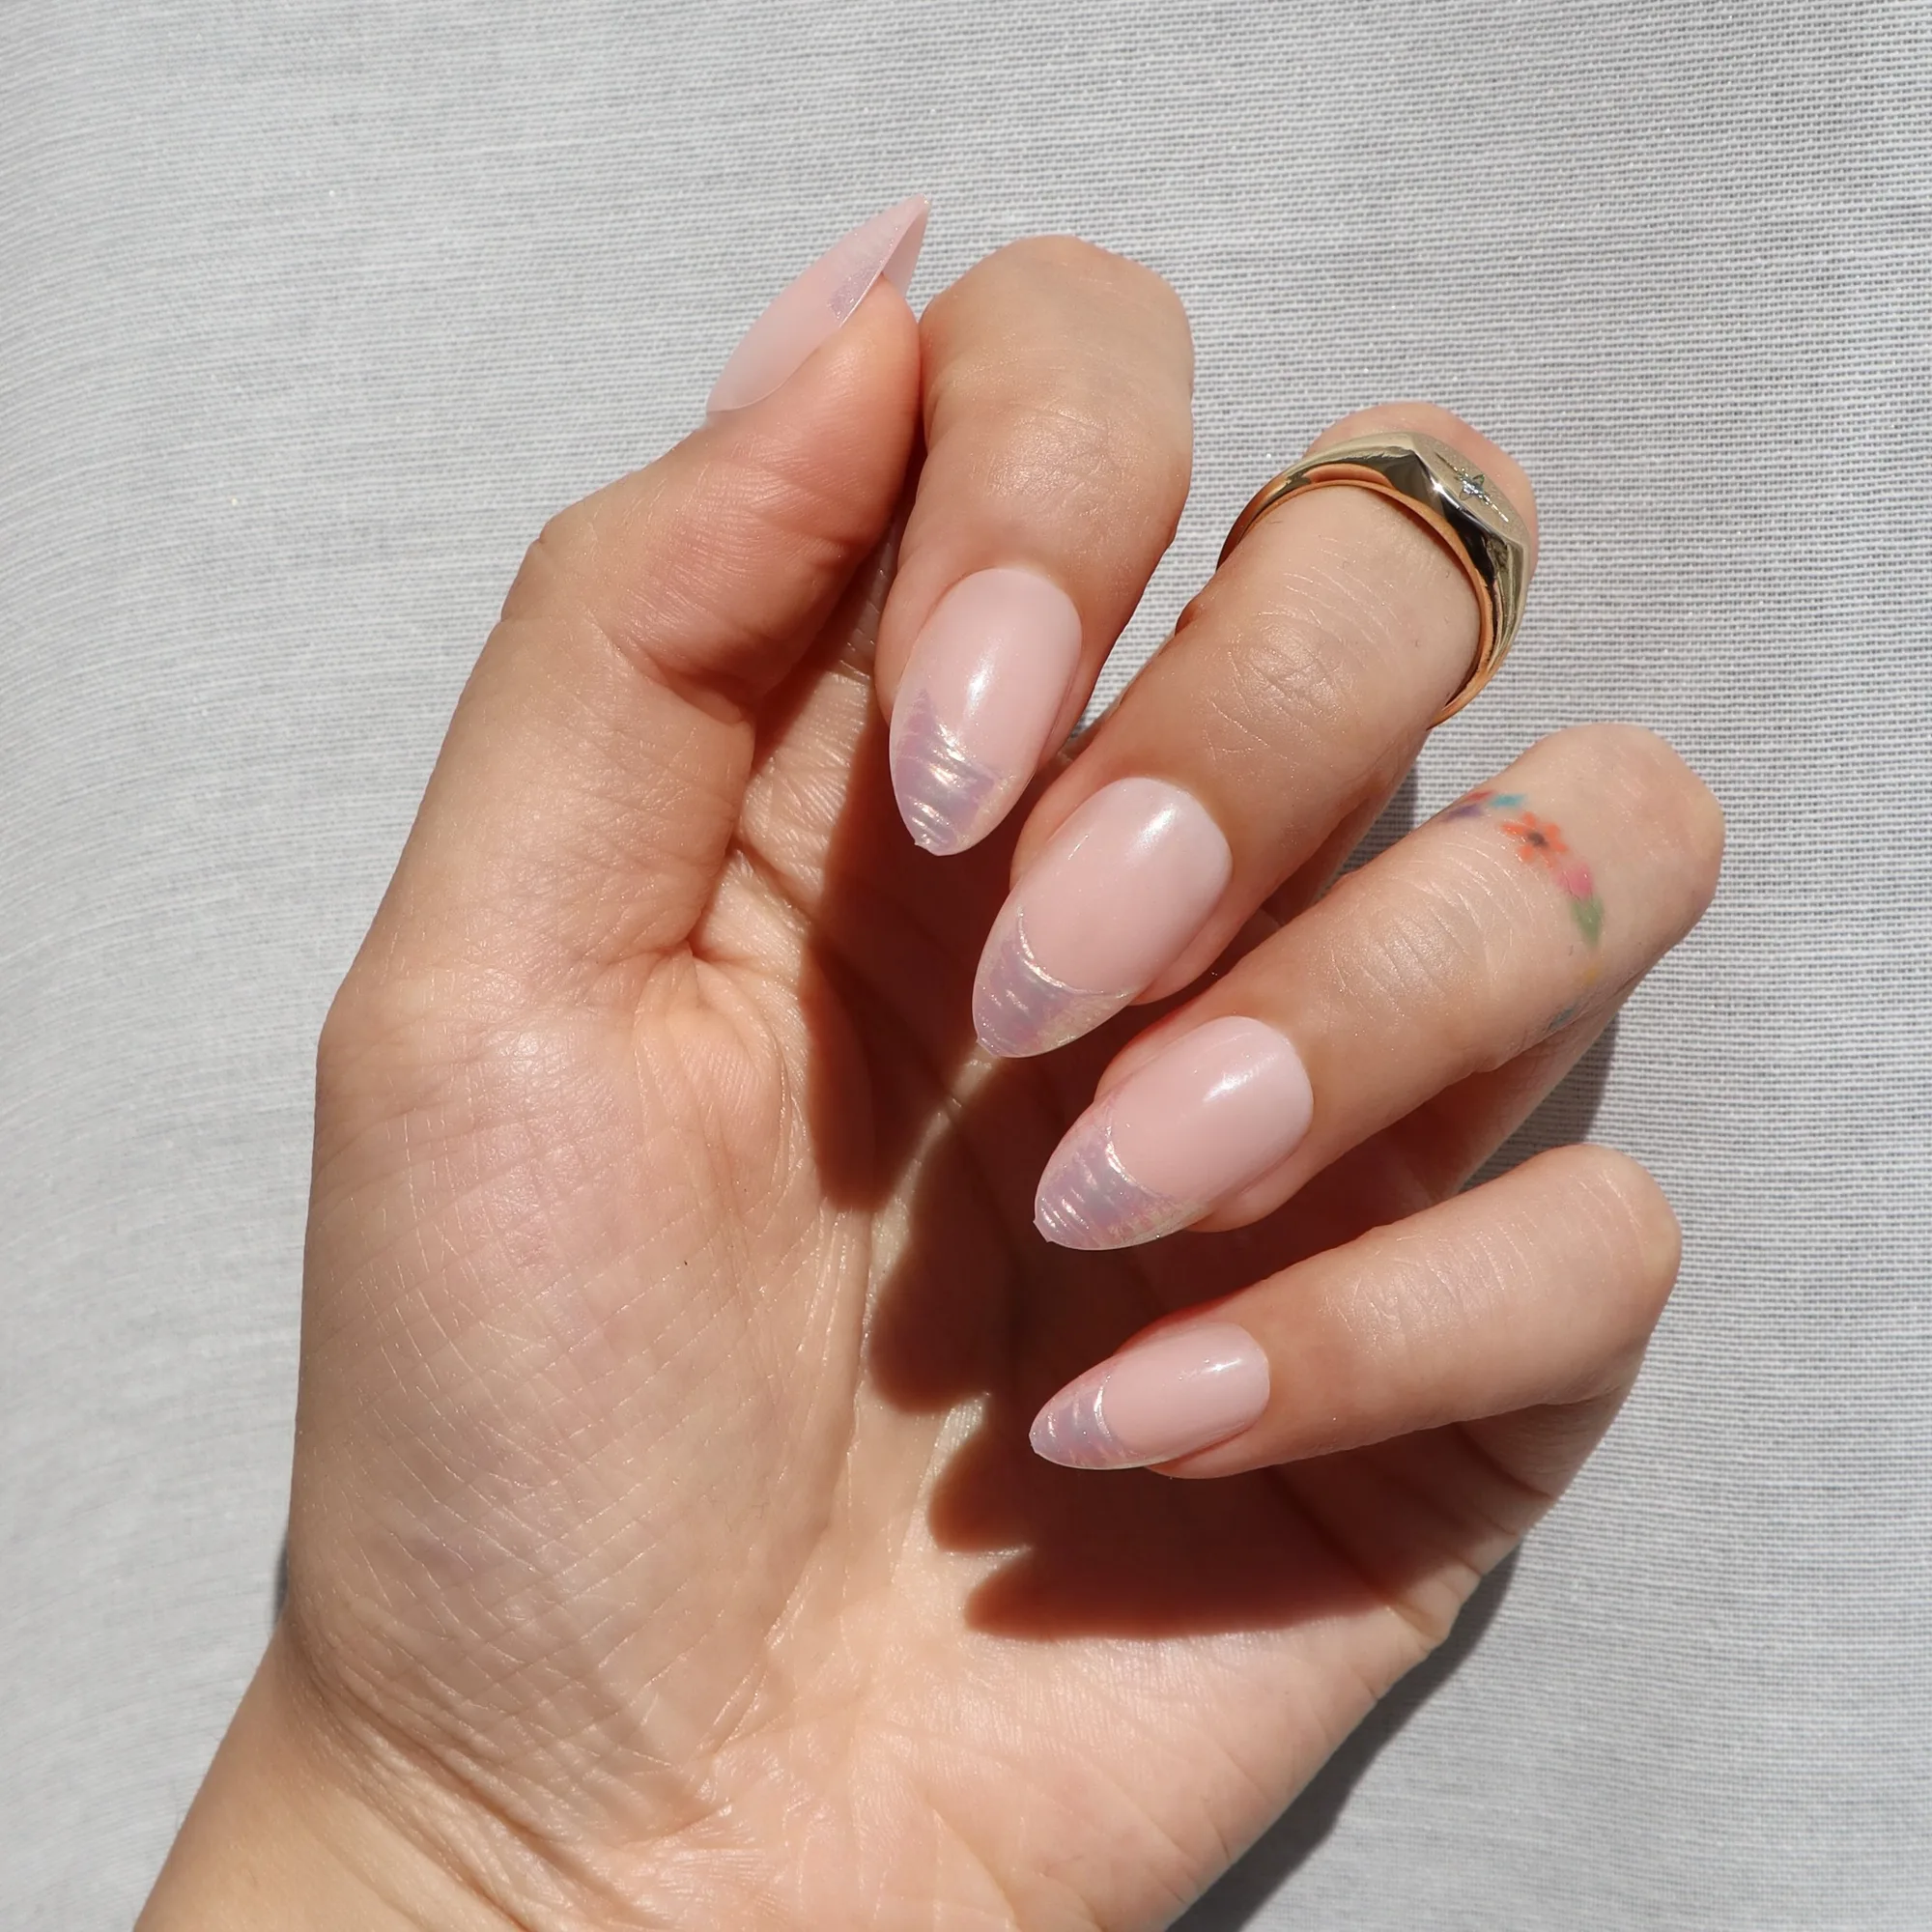
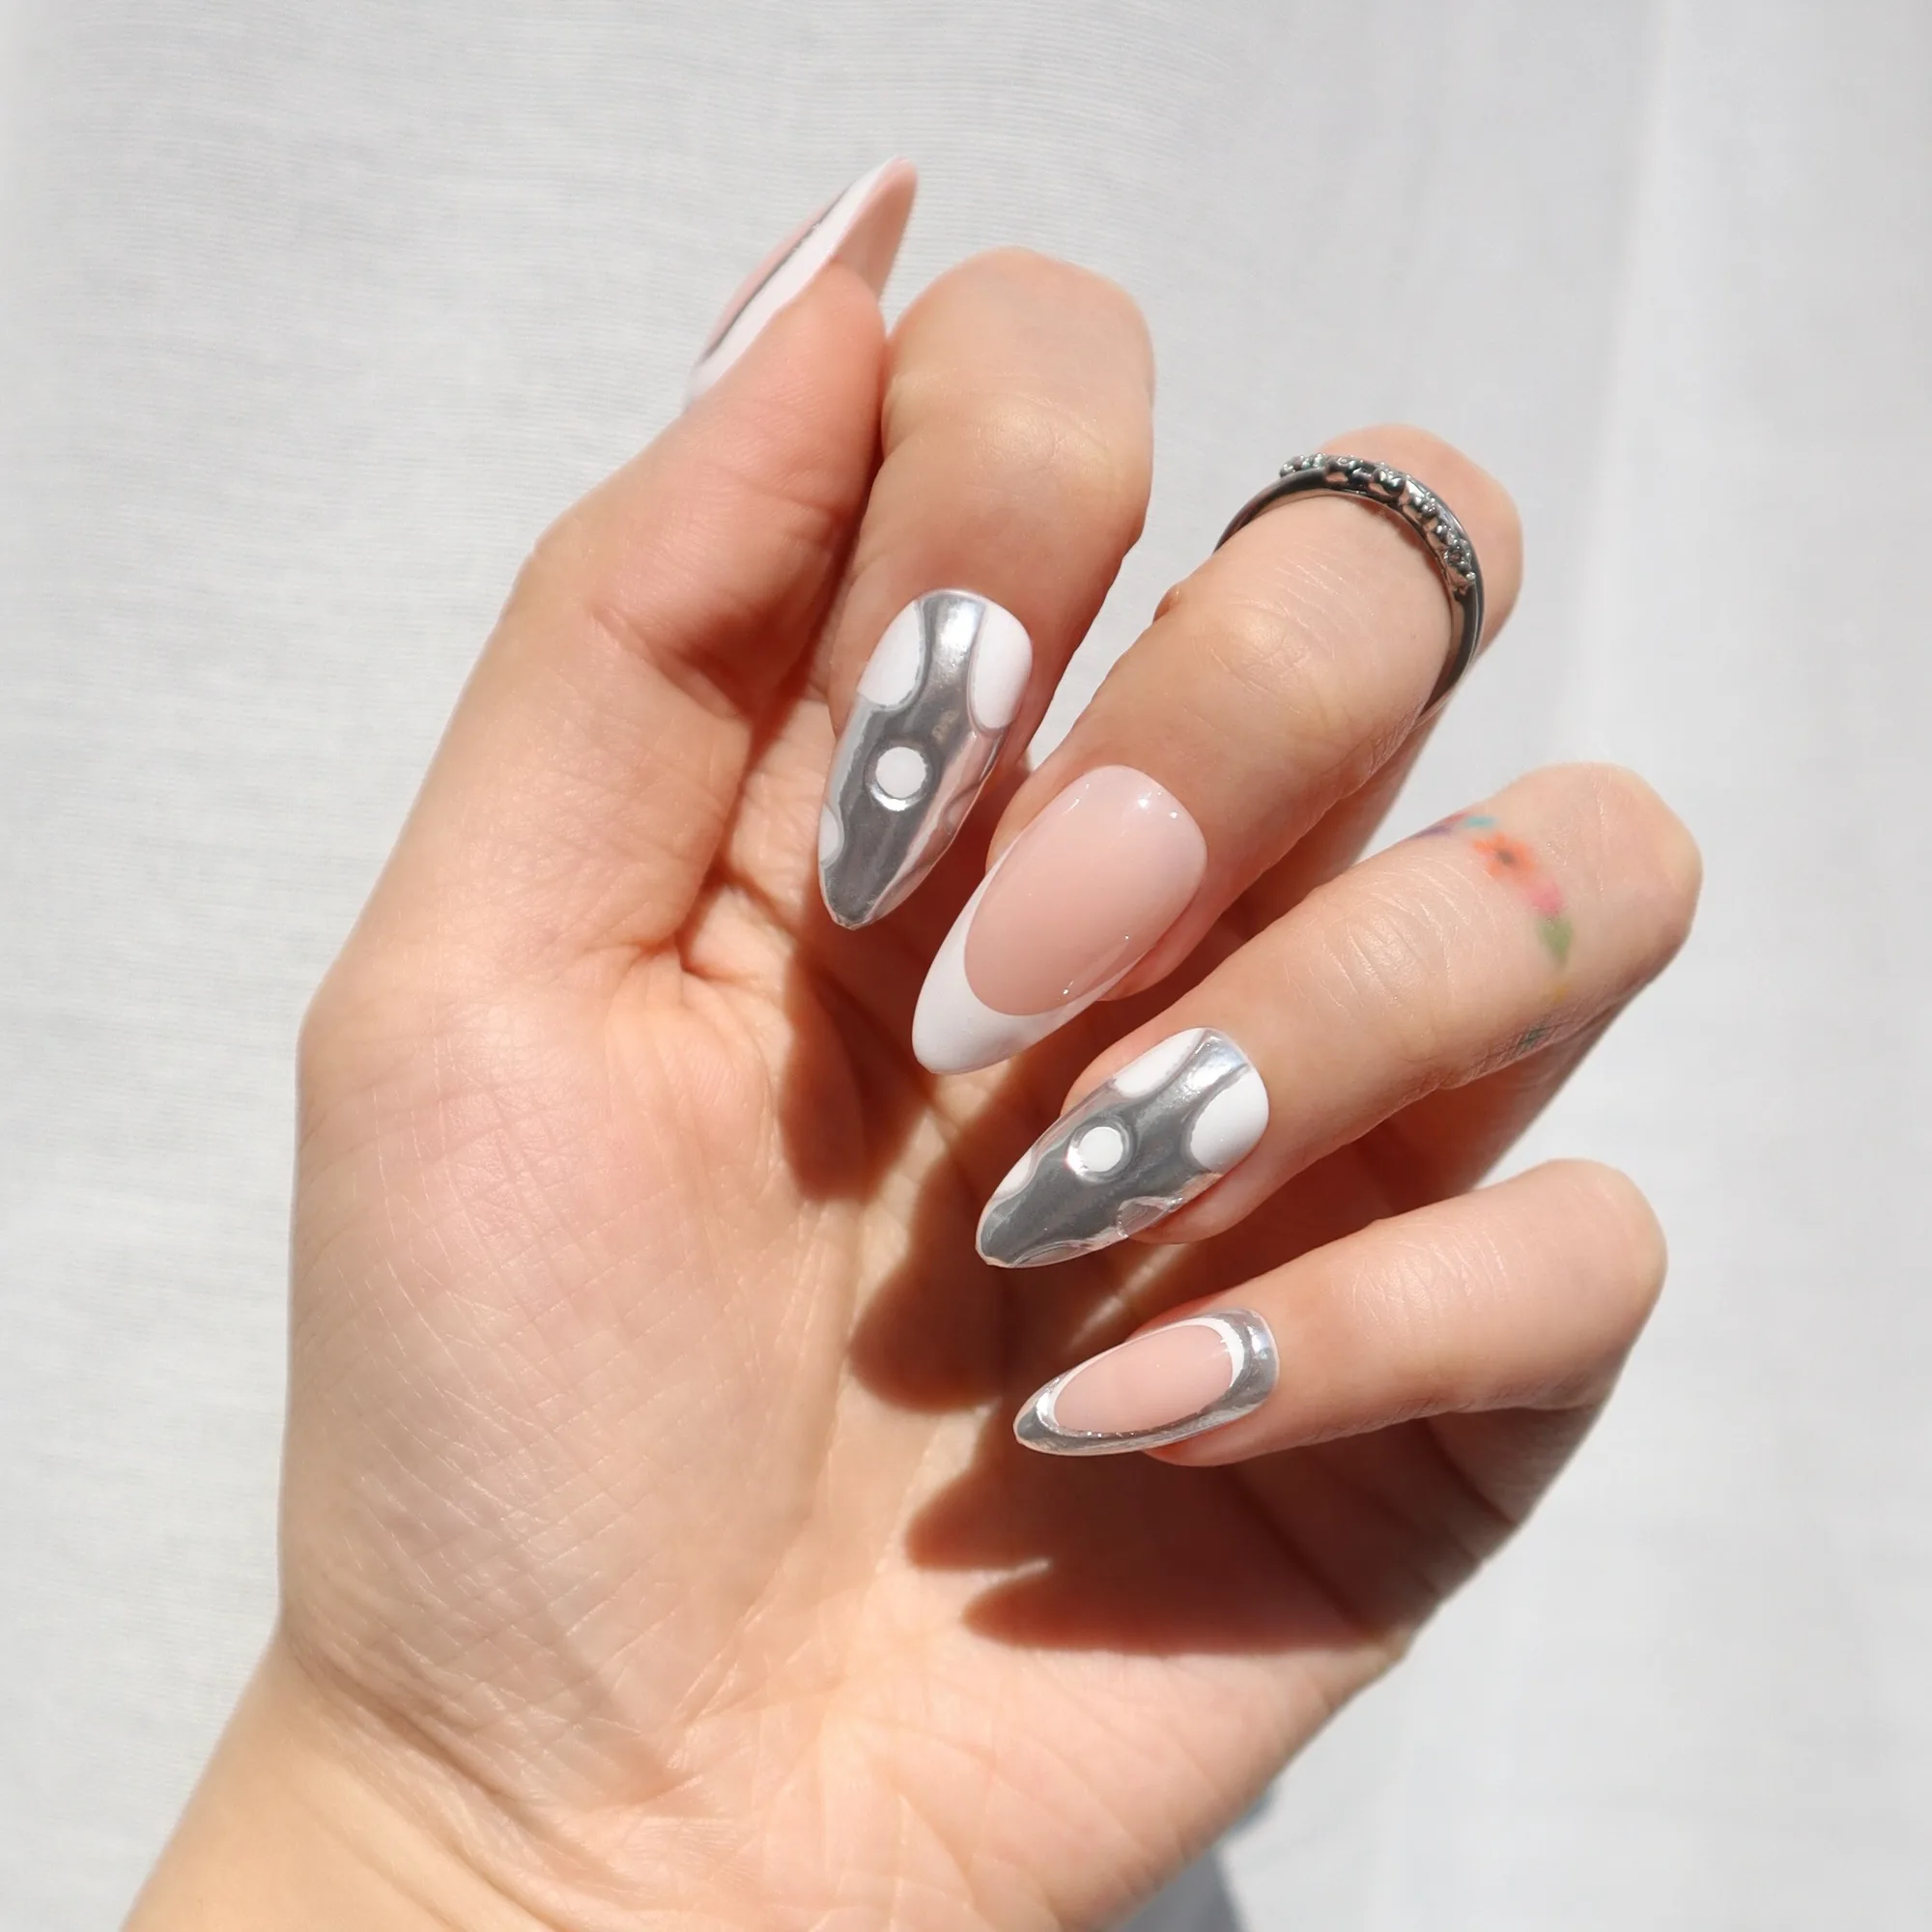
- Light Show: Light Show is a short almond press-on set with a sheer iridescent glow and a light-catching finish. If you want a metallic look that is less warm than Gold Drip, Light Show offers a cooler, quieter shine that still works with the same application steps.
- Moonstone: Moonstone press-on toenails have a champagne velvet finish with a magnetic cat-eye shift, and they are designed to pair with the Moonstone short almond version for a coordinated mani-pedi set. If you are applying Gold Drip on your hands, Moonstone gives you a matching metallic option for toes so your full set looks intentional.