Quick Answer
For a natural look, focus on thorough nail prep, choose the right size for each nail, and press on with even pressure—no gaps, no bulk.
Why Prep Matters More Than the Polish
A natural look starts with a clean, dry nail plate. Oils and moisture are the main reasons press-ons lift or look obvious at the cuticle. Take the extra minute to push back cuticles and wipe nails with alcohol or a dehydrator—this makes the adhesive grip better and the fit look seamless.
Choosing the Right Shape and Size
The shape of the press-on should mirror your natural nail shape as closely as possible. If your nails are squoval, a stiletto or almond will look less natural. Also, each nail should cover the entire natural nail without overhanging—otherwise, it catches on hair and looks fake. Take time to match each nail to its corresponding finger, as sizes can vary.
Step-by-Step Application for a Natural Look
- Prep Your Natural Nails: Remove old polish, push back cuticles, and gently buff the nail surface. Wipe each nail with alcohol or a dehydrator to remove oils and dust. Skipping this step is the #1 reason press-ons lift early.
- Select the Right Size for Each Nail: Match each press-on to your natural nail width. The press-on should cover the entire nail without touching the cuticle or skin on the sides. If a size is between two options, choose the slightly larger one and file the edge—never force a smaller size.
- Apply Adhesive or Glue: Apply a thin, even layer of glue to your natural nail or use the adhesive tab included. For tabs, press firmly for a few seconds to ensure full contact. Too much glue creates bumps and an unnatural look; less is more.
- Press On with Even Pressure: Place the press-on at a 45-degree angle starting at the cuticle, then press down and hold for 10-15 seconds. Apply gentle pressure across the entire nail to eliminate air bubbles. If you see air bubbles, gently lift and reposition before the adhesive sets.
- File and Shape the Edges: Use a fine-grit file to smooth the free edge and any rough spots. Blend the press-on with your natural nail shape for a seamless transition. Focus on the tip and sides—this is where a natural look is won or lost.
- Finish with a Top Coat (Optional): Apply a clear top coat over the entire nail to add shine and seal the edges. This helps the press-on blend with your natural nail and extends wear. A top coat also fills any tiny gaps at the cuticle for a more polished finish.
Products That Help Achieve a Natural Look
-
Gotti Press On Nails - #12P Vanilla Cream: Vanilla Cream is a creamy off-white press-on set with a smooth, clean finish and a flattering salon-ready shape. Its neutral tone mimics the look of a natural, healthy nail, making it ideal for everyday wear.
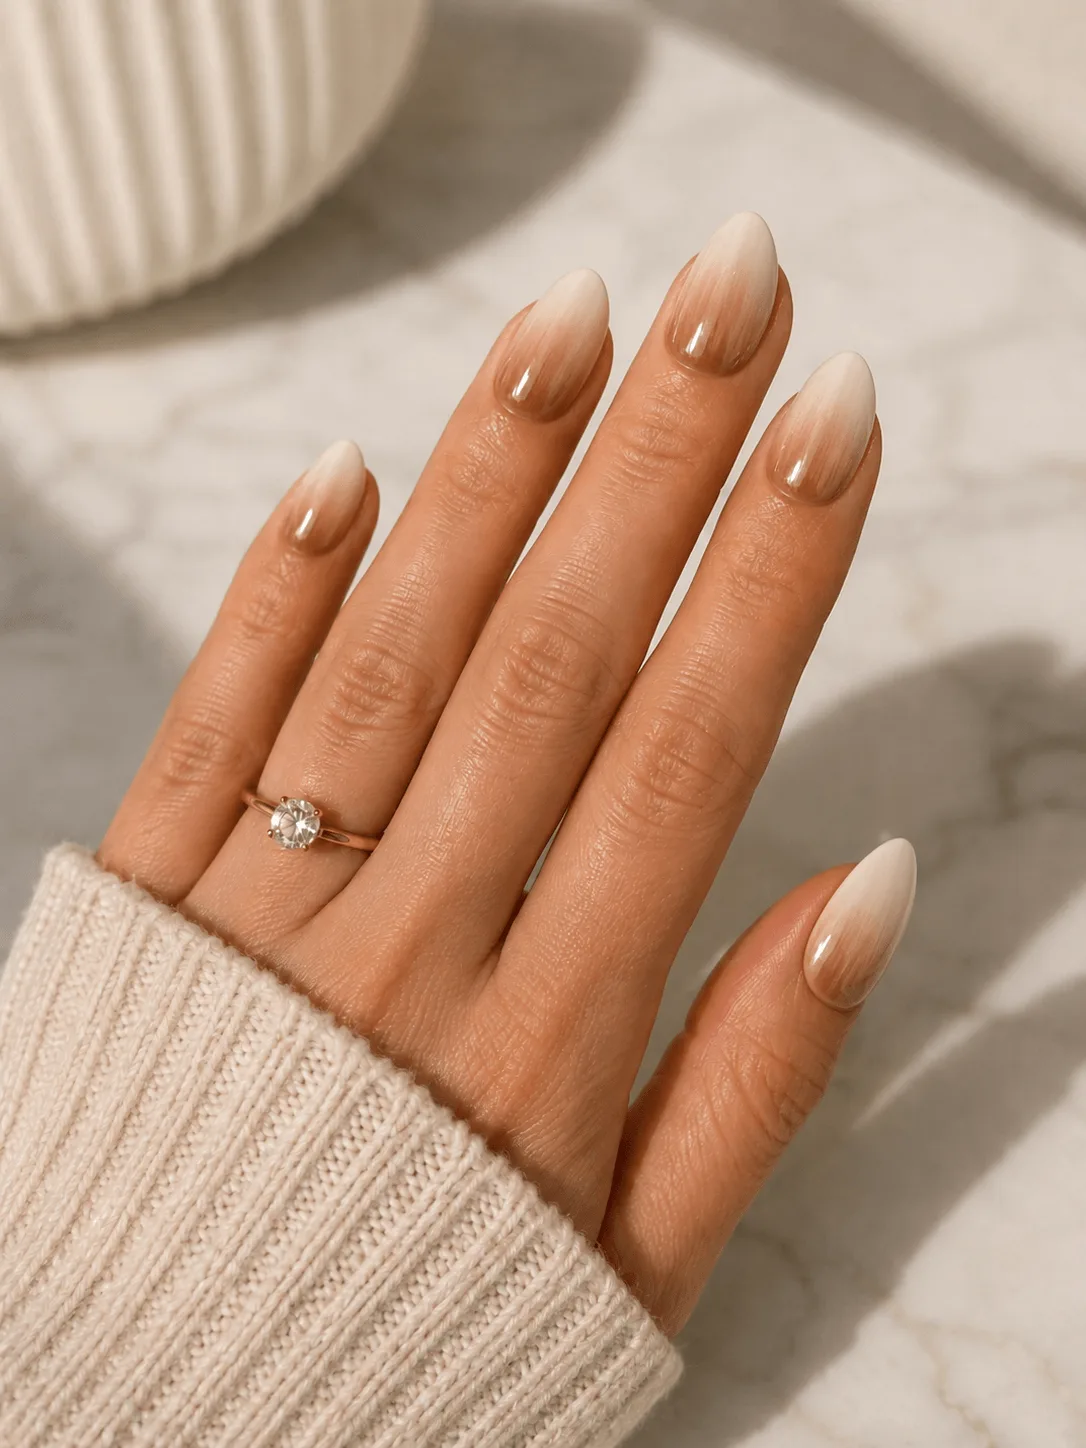
Gotti Press On Nails - #12P Vanilla Cream
-
Gotti Press On Nails - #10P Moonlit Babe: Moonlit Babe is a soft, luminous press-on set with a romantic finish and a flattering salon-ready shape. The subtle shimmer adds a natural glow that complements the skin without looking overdone.
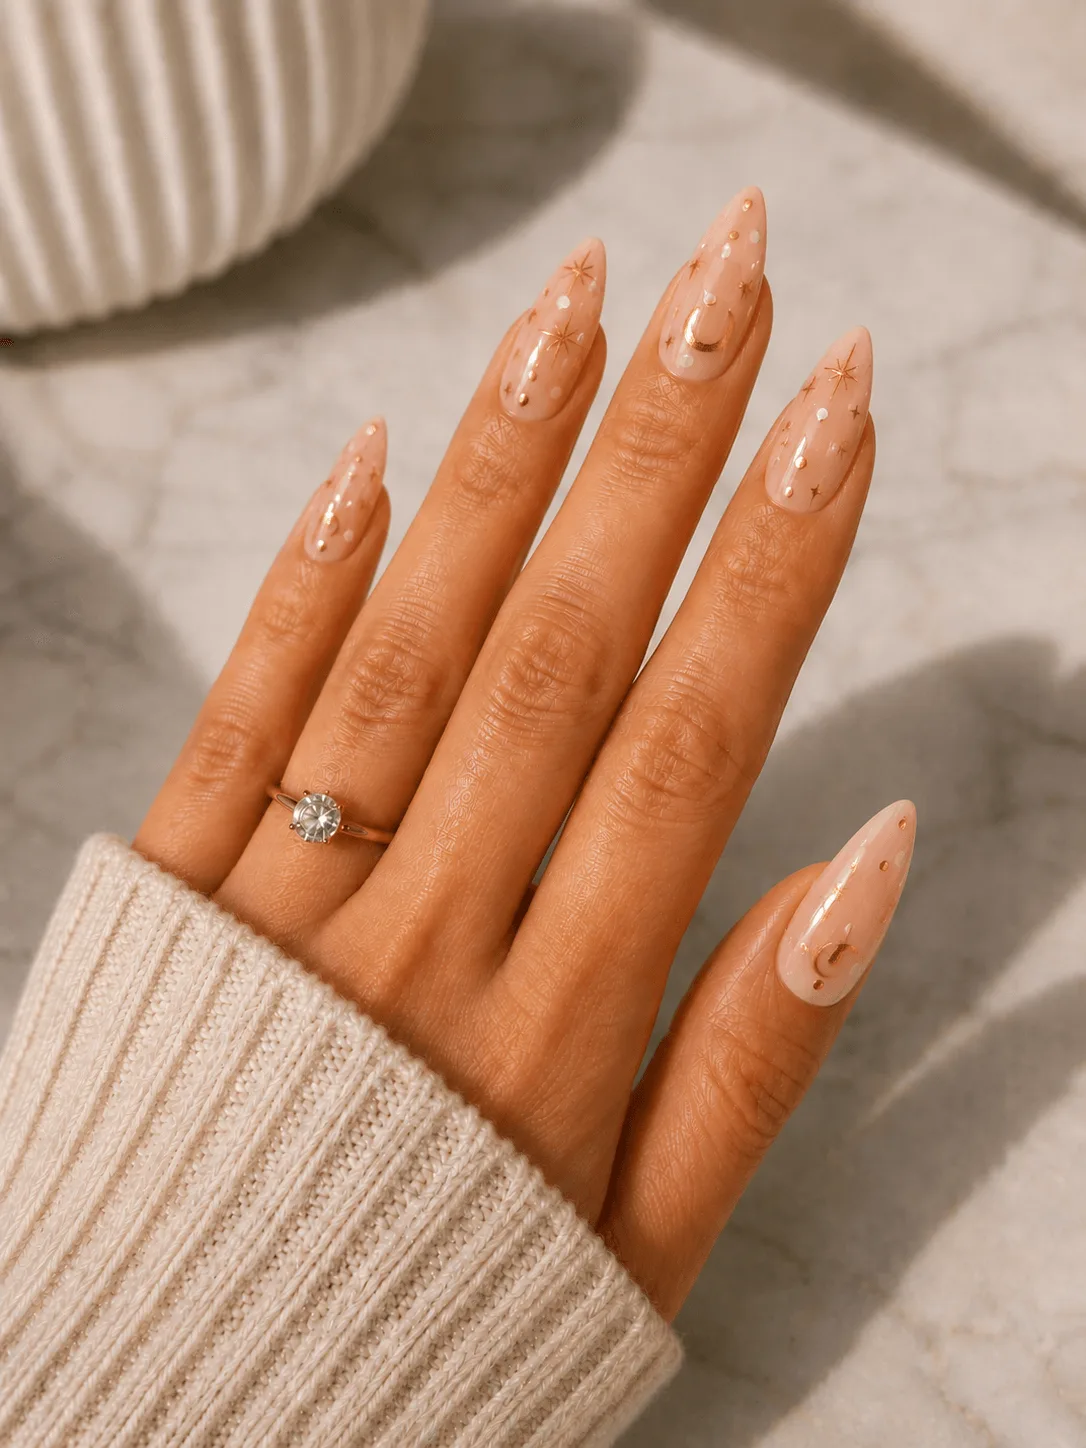
Gotti Press On Nails - #10P Moonlit Babe
-
Gotti Press On Nails - #5P Pretty But Dangerous: Pretty But Dangerous is a statement press-on set with a sultry, eye-catching finish and a confident salon-ready shape. For a bold yet natural-looking set, its shape and finish provide a polished look that still feels like your own nails.