Quick Answer
A dual-sided brush and spoolie is the essential tool for DIY lash extensions. Use the brush side to detangle and fluff, and the spoolie side to separate and blend. This guide walks you through each step to achieve a flawless, natural-looking lash application at home.
If you're new to DIY lash extensions, you might wonder why a dual-sided brush and spoolie is a must-have tool. This versatile tool helps you brush your lashes into place, separate any clumps, and keep them looking clean and styled between applications. Whether you're using individual lashes or a full lash kit, mastering this tool can make a huge difference in your final look.
In this guide, we'll walk you through the exact steps to use a dual-sided brush and spoolie effectively. From prepping your natural lashes to finishing touches, you'll learn how to achieve a professional-looking result right at home. Plus, we'll share common mistakes to avoid and tips to make your lash extensions last longer.
Why You Need a Dual-Sided Brush and Spoolie
A dual-sided brush and spoolie is a two-in-one tool that combines a small angled brush on one end and a spoolie (a mascara wand-like brush) on the other. The brush side is perfect for applying lash adhesive or removing excess product, while the spoolie is ideal for brushing through your lashes to separate and define them.
This tool is especially useful for DIY lash extension application because it gives you precision and control. The spoolie helps you blend your natural lashes with the extensions, creating a seamless look. The brush side can also be used to apply a thin layer of lash glue to your natural lashes without making a mess.
- Use the brush side to apply adhesive precisely and avoid clumping.
- Use the spoolie to brush through lashes and separate any that stick together.
- Keep your tool clean by wiping it with a lash cleanser after each use.
Step-by-Step: How to Use a Dual-Sided Brush and Spoolie
Now, let's dive into the step-by-step process. First, make sure your natural lashes are clean and free of any makeup or oil. This ensures the adhesive will bond properly. Then, use the spoolie side to brush your natural lashes upward. This helps you see the direction of your lash growth and prepares them for application.
Next, using the brush side, apply a thin layer of lash adhesive to the base of your natural lashes. Be careful not to apply too much, as this can cause clumping. Then, pick up an individual lash or a small cluster with your tweezers and place it onto your lash line. Use the spoolie to gently press the extension into place and blend it with your natural lashes.
After applying all your lashes, use the spoolie to brush through them from the base to the tips. This will separate any lashes that are stuck together and give your lashes a fluffy, voluminous look. You can also use the brush side to gently sweep away any excess adhesive or to fluff the ends of the lashes.
- Always brush your natural lashes before applying adhesive to ensure even coverage.
- When placing extensions, use the spoolie to guide them into place without disturbing the adhesive.
- After application, brush your lashes once more to ensure they are perfectly separated.
Common Mistakes to Avoid
One of the most common mistakes is using the brush side to apply too much adhesive, which can lead to clumping and a messy look. Another mistake is brushing your lashes too aggressively, which can cause them to fall out prematurely. Always use gentle, upward strokes.
Also, avoid using the spoolie on wet lashes or immediately after applying adhesive. Wait for the adhesive to dry slightly before brushing. This will prevent the lashes from moving out of place and ensure a secure bond.
- Don't apply adhesive directly from the tube; use the brush side for control.
- Don't brush your lashes while the adhesive is still wet.
- Don't pull or tug on the lashes with the spoolie; be gentle.
Step-by-Step Application Process
- Prep Your Lashes: Cleanse your natural lashes and remove any makeup or oil. Use the spoolie to brush them upward to see your lash line clearly. Clean lashes ensure better adhesive bond.
- Apply Adhesive with the Brush Side: Dip the brush side into your lash adhesive and apply a thin, even layer along your lash line. Avoid applying too much to prevent clumping. Thin layer = less mess and better hold.
- Place Your Extensions: Using tweezers, pick up an individual lash or cluster and place it onto your lash line. Gently press it into the adhesive. Work from outer corner to inner corner for a natural look.
- Blend with the Spoolie: After placing a few lashes, use the spoolie to brush through them, separating and blending with your natural lashes. This prevents clumping and creates a seamless look.
- Finish and Set: Once all lashes are applied, give your lashes a final brush with the spoolie to ensure they are perfectly separated and styled. Allow the adhesive to dry completely. Wait at least 5 minutes before touching your lashes.
Lilac St. Products to Enhance Your Lash Game
- Volume: A dense, dramatic lash. Volume is just that–a full-volume lash for an intense look. Perfect for when you want a bold, glamorous look, and the spoolie helps you fluff and separate these dense lashes for maximum impact.
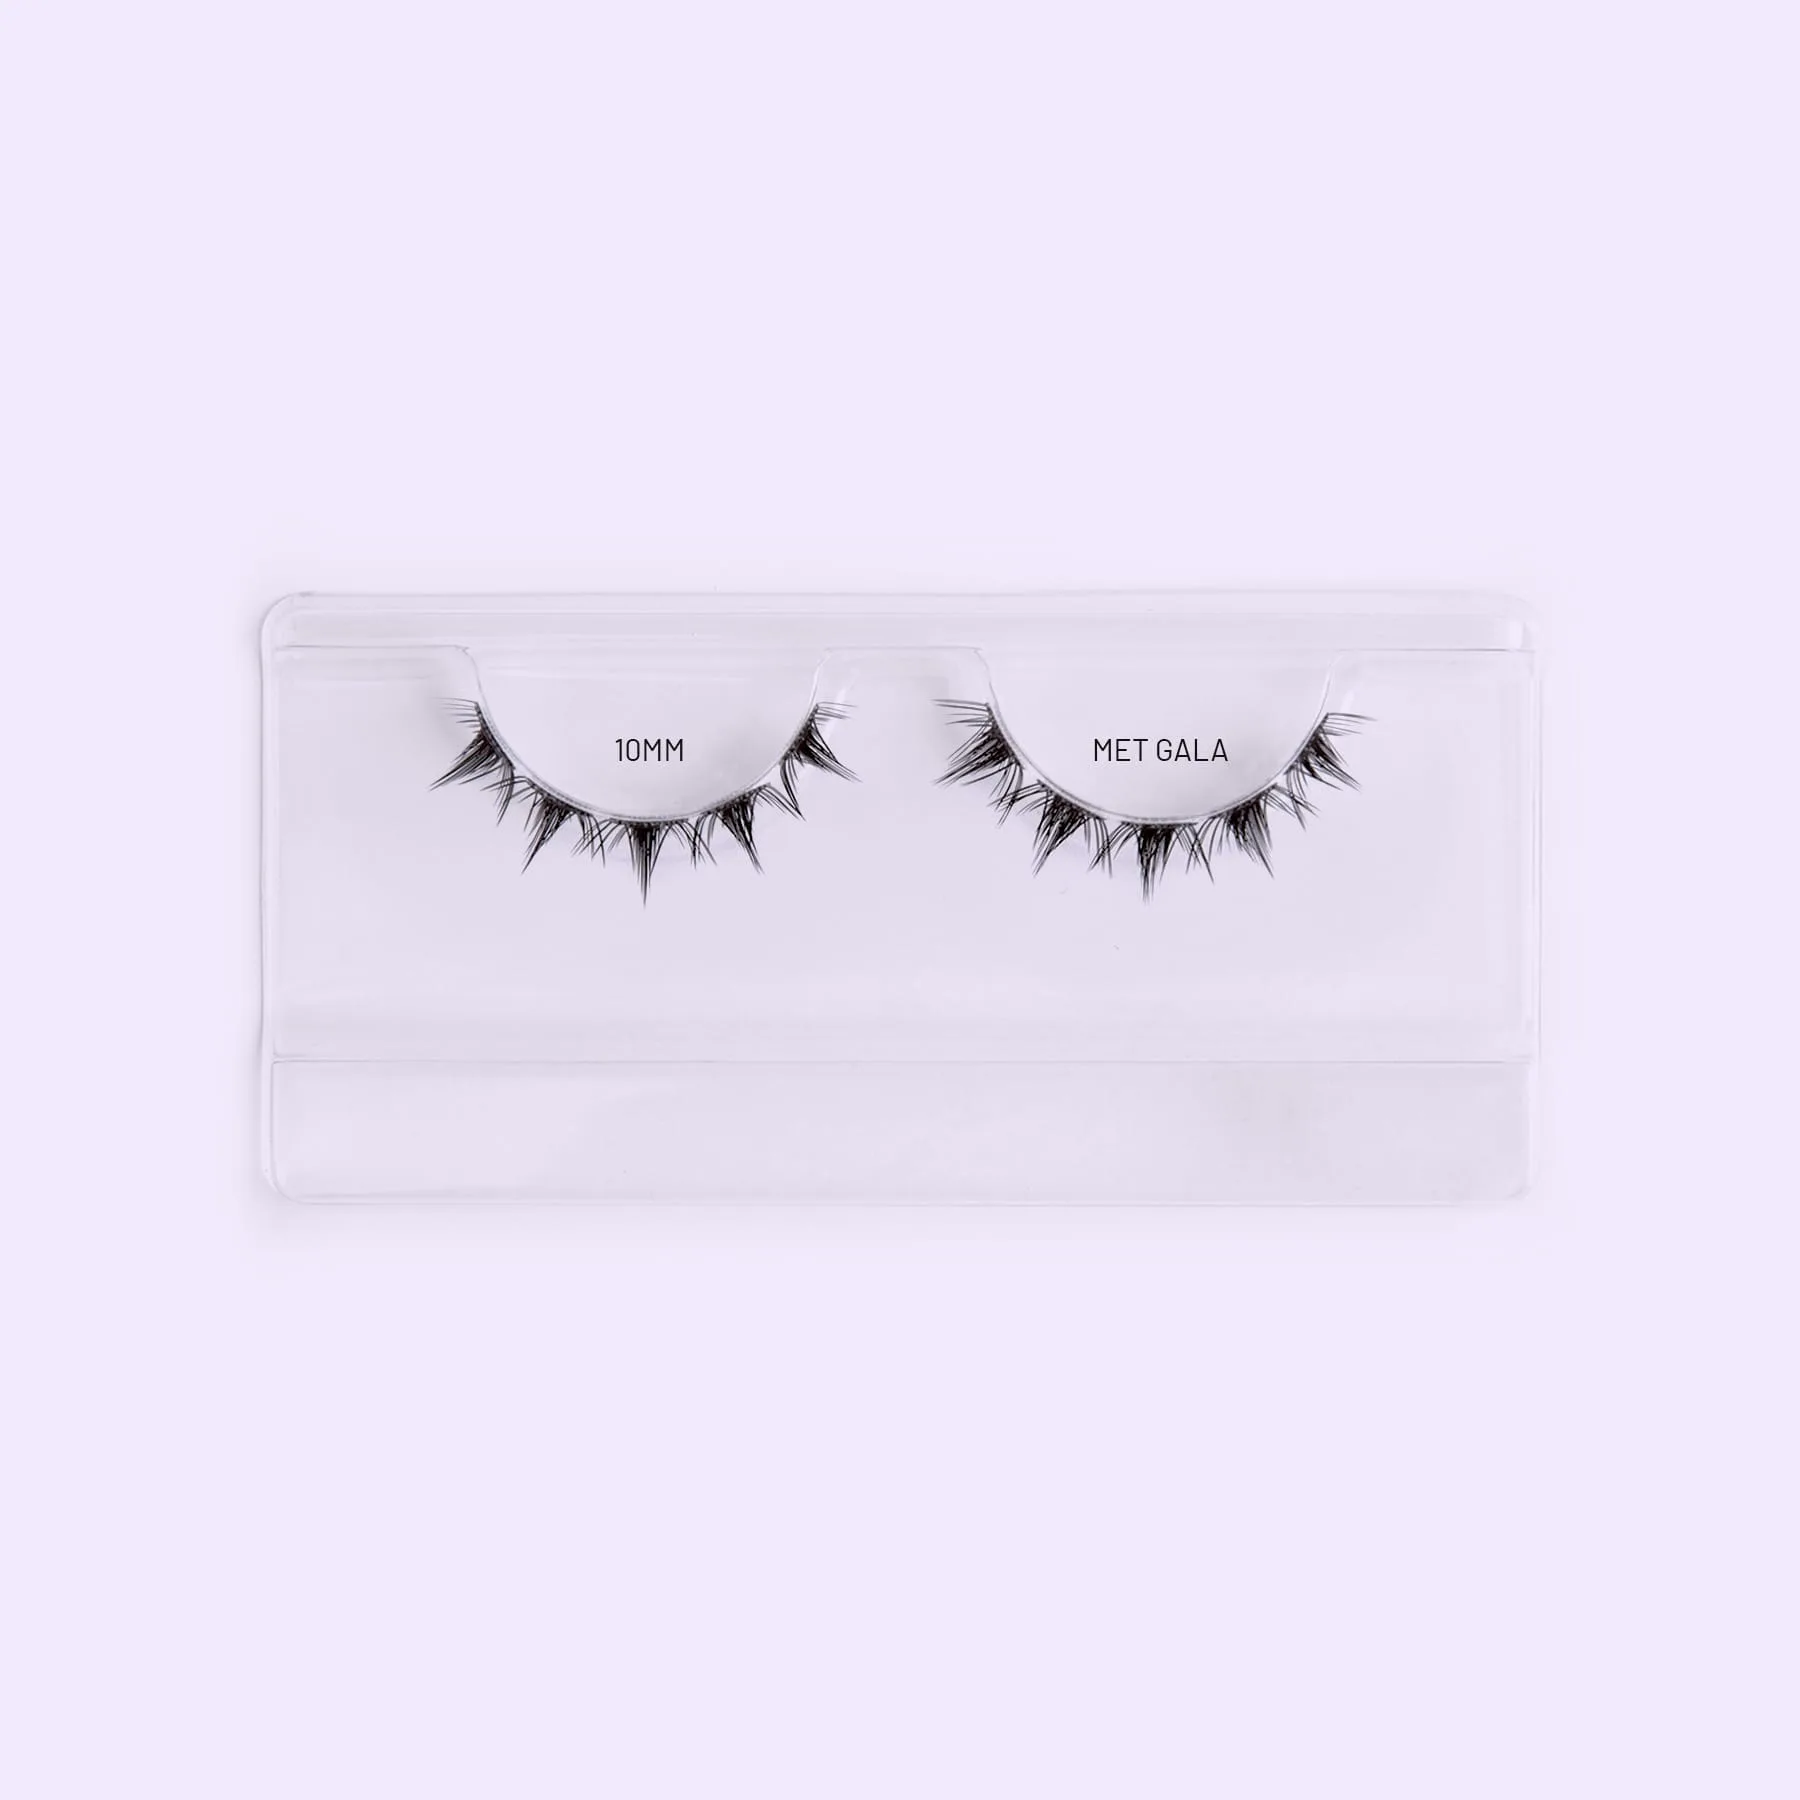
- Met Gala: Love at first spike. This single-spike, dramatic lash reminds you that you don't have to overdo it to make a statement. Ideal for a special occasion, and the brush side is great for applying adhesive precisely to these spiky lashes.
Mastering the dual-sided brush and spoolie is a game-changer for your DIY lash extension routine. With these steps, you can achieve a professional-looking result that lasts. Ready to elevate your lash game? Check out our Volume lashes for a full, dramatic look that pairs perfectly with your new brushing technique.