Quick Answer
To apply linseed oil paint, prepare the surface by cleaning and sanding, then apply thin coats with a brush, allowing each to dry thoroughly. For best results, use a high-quality linseed oil paint like Allbäck Old Blue Linseed Oil Paint, which provides a durable, breathable finish. Always work in a well-ventilated area and follow the manufacturer's instructions.
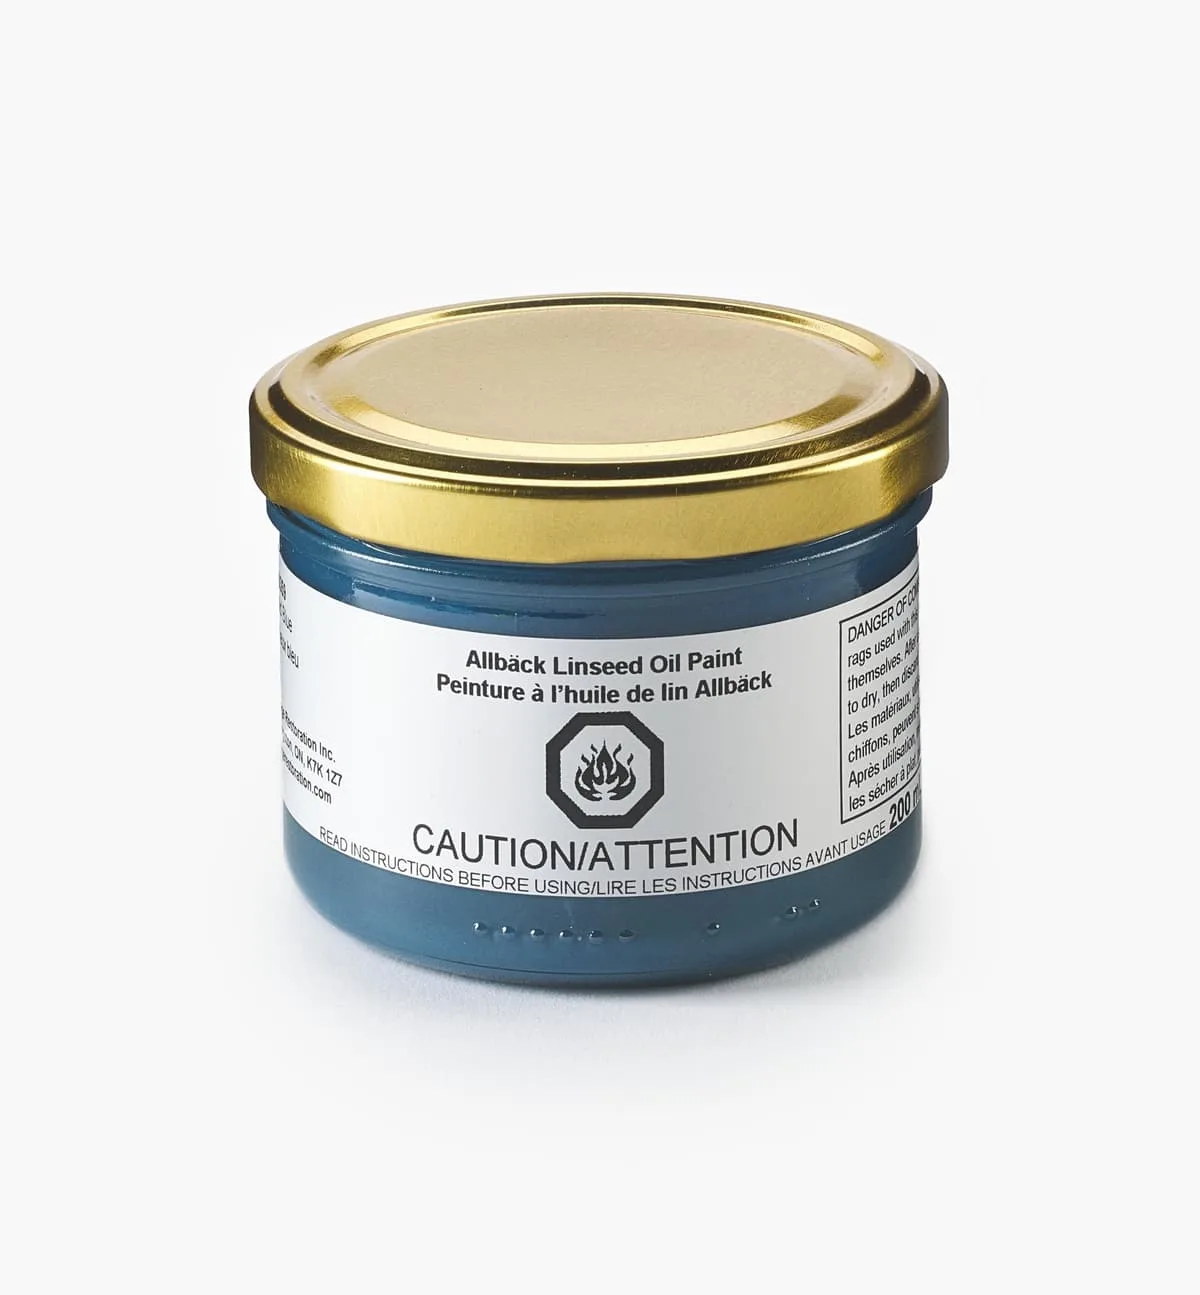
Allbäck Old Blue Linseed Oil Paint
Linseed oil paint has been trusted for centuries to protect and beautify wood. Its natural, breathable finish penetrates deep into the grain, offering long-lasting durability while allowing the wood to expand and contract with changes in humidity. Whether you're refinishing furniture, siding, or trim, learning how to apply linseed oil paint correctly ensures a professional-looking result that stands the test of time.
This guide walks you through each step, from surface preparation to the final coat, with practical tips to avoid common mistakes. We'll also highlight a top-quality product, the Allbäck Old Blue Linseed Oil Paint, which delivers a classic, deep blue hue and a tough, breathable coating.
Understanding Linseed Oil Paint
Linseed oil paint is made from boiled linseed oil, pigments, and natural fillers. Unlike modern synthetic paints, it penetrates the wood, forming a protective barrier from within. This results in a finish that is flexible, breathable, and resistant to cracking and peeling. It's ideal for exterior wood that is exposed to the elements, as well as interior projects where a natural, matte look is desired.
One of the key advantages of linseed oil paint is its self-priming nature. It adheres well to bare wood, and even to previously painted surfaces if they are properly prepared. However, it requires more coats than conventional paints, typically three to four, to achieve full protection. The drying time between coats is also longer, often 24 to 48 hours, depending on temperature and humidity.
- Use linseed oil paint on bare wood, previously painted surfaces, or metal (with proper primer).
- Avoid applying in direct sunlight or high humidity, as this can cause blistering or slow drying.
Tools and Materials You'll Need
Before you begin, gather the necessary supplies. You'll need high-quality linseed oil paint, a natural bristle brush (or a high-quality synthetic brush), sandpaper in various grits (80, 120, and 220), a tack cloth or lint-free rag, and a stir stick. For larger projects, a paint roller or sprayer may be used, but brushing is recommended for optimal penetration.
Also, consider having a solvent like mineral spirits or turpentine on hand for thinning the first coat, which helps the paint penetrate deeper. Protective gear such as gloves and safety glasses is essential, and work in a well-ventilated area to avoid inhaling fumes.
Step-by-Step Application Process
Now let's dive into the step-by-step process. Following these steps will ensure a smooth, durable finish.
Remember, patience is key. Rushing any stage can compromise the final result.
- Always test the paint on a small, inconspicuous area first to ensure color and adhesion.
- Keep a wet edge when painting to avoid lap marks.
Step-by-Step Application Guide
- Step 1: Surface Preparation: Clean the wood surface to remove dirt, grease, and old finishes. Sand with 80-grit to remove imperfections, then 120-grit for smoothness, and finally 220-grit for a fine finish. Wipe away dust with a tack cloth. A clean, smooth surface ensures better adhesion and a flawless finish.
- Step 2: Thin the First Coat: Mix the first coat with 10-20% mineral spirits or turpentine to help the paint penetrate deeper into the wood. Stir thoroughly. Thinning the first coat enhances penetration and durability.
- Step 3: Apply the First Coat: Use a natural bristle brush to apply a thin, even coat, working in the direction of the grain. Avoid over-brushing, which can create streaks. Allow to dry for 24-48 hours. A thin first coat is crucial; thick coats may wrinkle or crack.
- Step 4: Sand Between Coats: After the first coat dries, lightly sand with 220-grit sandpaper to remove any raised grain or imperfections. Wipe clean. Sanding between coats promotes adhesion and a smooth final surface.
- Step 5: Apply Subsequent Coats: Apply two to three more thin coats, without thinning, allowing each to dry completely. Sand lightly between coats. Multiple thin coats provide a durable, even finish.
- Step 6: Final Curing: Allow the final coat to cure for at least a week before heavy use. Avoid placing objects on the surface or exposing it to moisture during this time. Proper curing ensures maximum hardness and protection.
Product Highlights
- Allbäck Old Blue Linseed Oil Paint: This traditional oil-based paint brings a classic, time-honored look to woodworking and home projects, with a rich, deep blue color and durable, breathable finish. Its breathable finish allows wood to naturally expand and contract, reducing the risk of peeling and cracking, making it ideal for exterior projects.
- Walrus Oil Axe Oil: A conditioning treatment designed for axe handles and other wooden tool handles, helping maintain natural appearance and protect from elements. After painting, use this oil to condition and protect wooden handles, extending their lifespan and keeping them looking great.
Applying linseed oil paint is a rewarding process that yields a beautiful, durable finish. By following these steps and using high-quality materials like Allbäck Old Blue Linseed Oil Paint, you can achieve professional results on your woodworking projects. Remember to take your time, work in a well-ventilated area, and enjoy the natural beauty that linseed oil paint brings to your work.