Quick Answer
Applying Nail Addict Gel Nail Strips in Peony Dreams is a quick DIY process: prep your nails, select the right strip size, press and smooth, then file off the excess. No drying time or acetone removal needed.
Why Peony Dreams Works for Most Nail Shapes
The Peony Dreams design features a delicate floral pattern that suits both short and long nails. Because the strips are semi-cured, they are flexible enough to conform to natural nail curves without lifting at the edges.
One trade-off: the floral pattern may not align perfectly on every nail, especially if you have very wide or narrow nail beds. You can trim the strips slightly to fit, but doing so may cut through the design. For a seamless look, choose the strip that matches your nail width and center the pattern before pressing down.
What to Expect from the 14-Day Wear
Nail Addict Gel Strips are designed to last up to 14 days, but your actual wear time depends on your daily activities and how well you prep your nails. Oily nail beds, frequent hand washing, or using your nails as tools can shorten wear.
Unlike traditional gel polish, these strips do not require acetone or soaking to remove. That makes them a gentler option for natural nails, but it also means they are not as hard as a cured gel overlay. If you need maximum durability for heavy manual work, consider a professional gel service instead.
Step-by-Step Application Guide
- Prep your nails: Remove old polish, push back cuticles, and gently buff the nail surface with the file. Wipe each nail with a lint-free wipe and rubbing alcohol to remove oils. Checkpoint: the nail surface should look matte and feel slightly rough.
- Select the right strip size: Hold the strip over your nail to compare width. Choose the size that covers the nail from sidewall to sidewall without overlapping skin. Checkpoint: if the strip is too wide, it will wrinkle at the edges; if too narrow, it will leave gaps.
- Peel and position: Peel the strip from the backing, align the rounded edge at your cuticle, and press the center down first. Smooth outward toward the free edge to avoid bubbles. Checkpoint: avoid touching the adhesive side with your fingers, as oils can reduce stickiness.
- Press and smooth: Use gentle pressure with your thumb or the orange stick to mold the strip to your nail's curve. Work from the center to the edges to eliminate air bubbles. Checkpoint: if you see a bubble, lift the strip slightly and re-press; do not stretch it.
- File off the excess: Fold the strip over the free edge and file downward in one direction with the included file. Avoid sawing back and forth, which can lift the strip. Checkpoint: file until the edge is smooth and flush with your nail tip.
- Seal and finish: Press the strip firmly once more, especially at the edges, to ensure full adhesion. Optionally, apply a clear top coat for extra shine and protection. Checkpoint: wait at least 30 minutes before washing hands or applying lotion.
Product Spotlight
-
Nail Addict Gel Nail Strips - Peony Dreams: Each pack includes 16 gel nail strips, a mini dual-sided nail file, and an orange stick. You have everything you need for a full manicure in one box, and the orange stick helps push back cuticles and smooth the strips for a flawless finish.
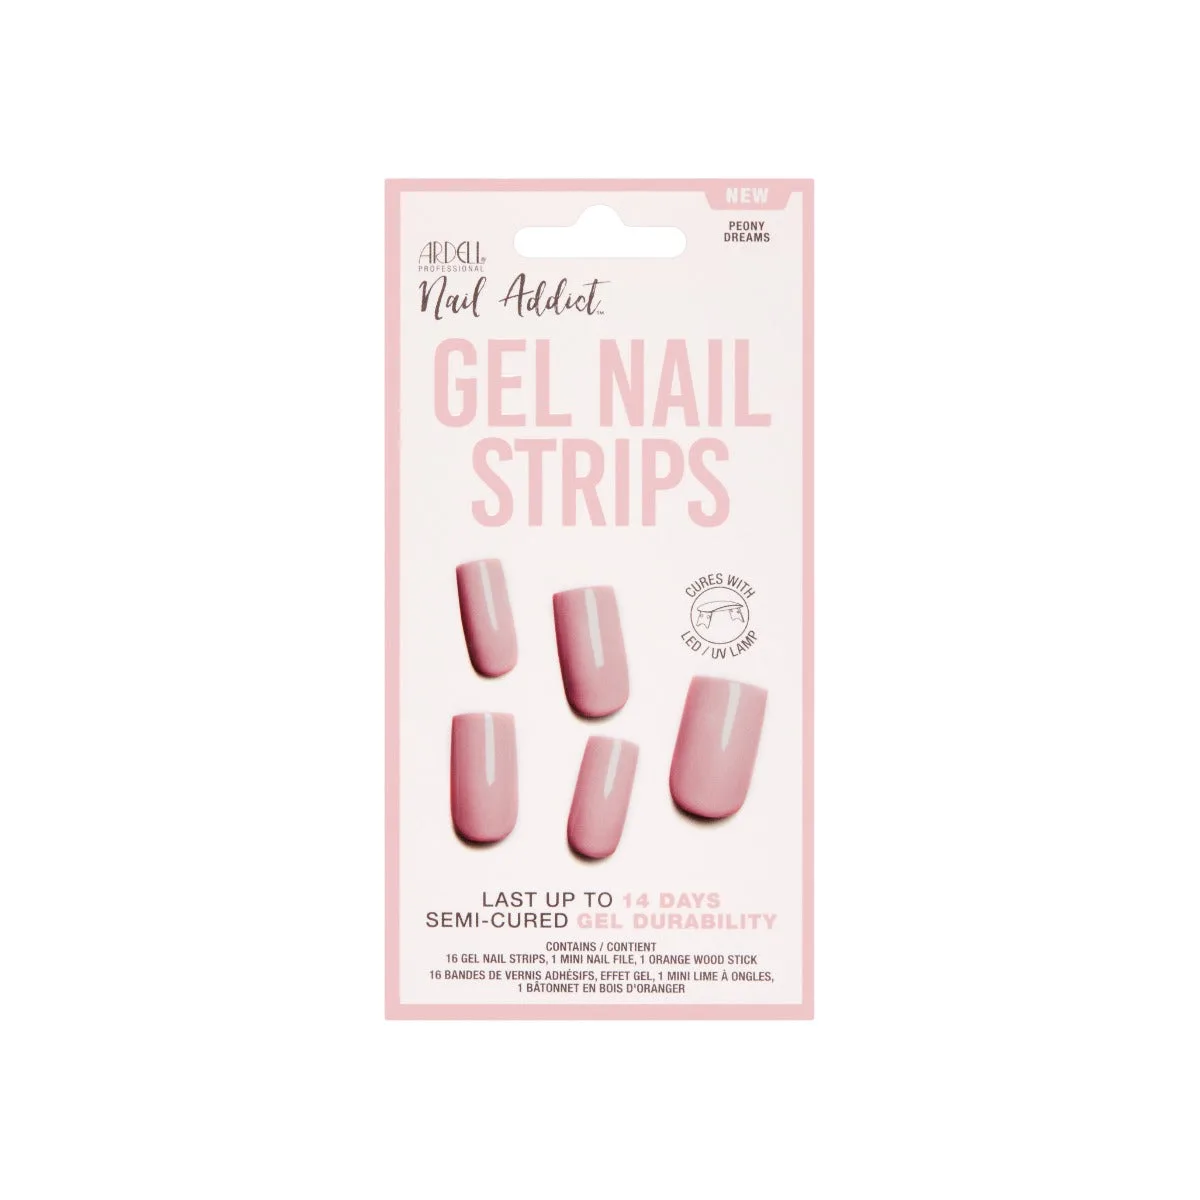
Nail Addict Gel Nail Strips - Peony Dreams