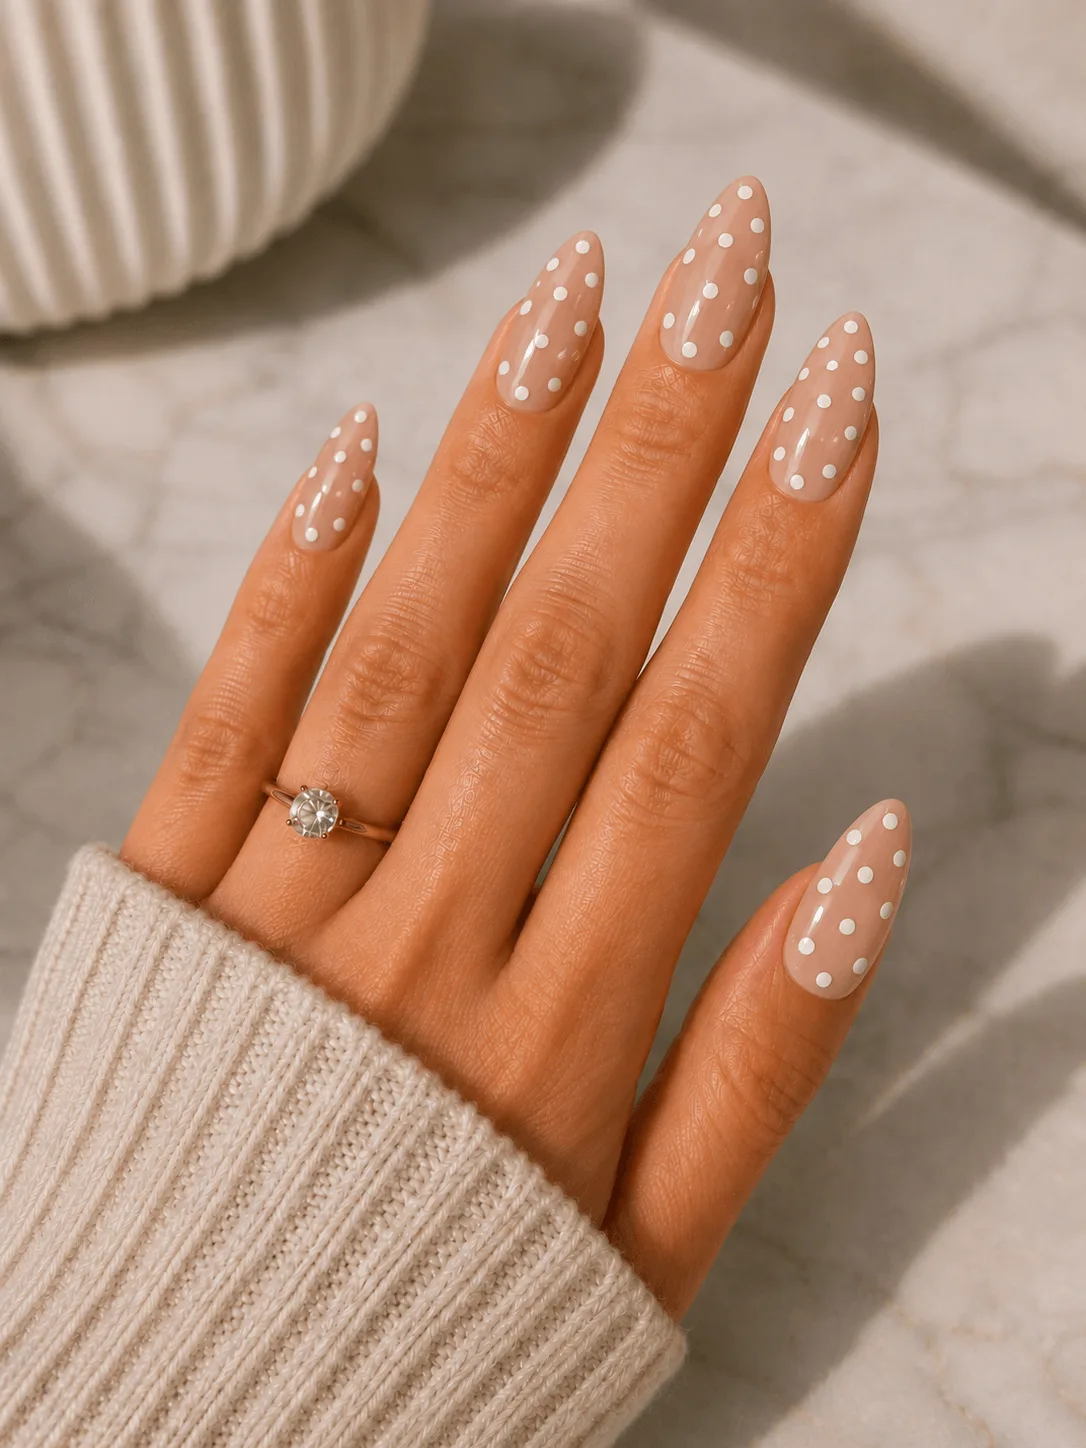
Quick answer
Apply oval press-on nails by matching each nail's width to your natural nail at the widest point, prepping the cuticle line, and pressing from the cuticle toward the tip at a slight downward angle. The oval shape reads as natural only when the base sits flush and the sidewalls follow your own nail curve.
Why oval nails show fit mistakes more than square shapes
An oval tip has no hard corner to hide a gap. If the press-on is even slightly wider than your natural nail, the sidewall lifts and the curve looks pasted on. If it is narrower, the natural nail peeks out at the edges and the oval looks pinched.
That is why sizing matters more here than on square or coffin shapes: the oval's curve should continue your own nail's curve, not sit on top of it as a separate layer.
When a natural look is not the right goal
If you want a dramatic length or a very rounded tip that extends well past your fingertip, a natural look is the wrong target. Oval press-ons look most natural when the tip ends near or just past your fingertip and the curve is moderate.
Also skip heavy filing on the surface of the press-on unless the manufacturer allows it; many oval sets have a sealed finish, and sanding it can dull the color or weaken the tip.
Oval press-on application steps
- Size every nail before you glue anything: Lay all ten press-ons out and match each one to its finger by width at the widest part of your natural nail. The press-on should cover the natural nail side to side without overlapping skin. If you are between sizes, choose the smaller one and check the curve, not the length. Do not size by length alone; an oval that is too wide will lift at the sidewalls within a day.
- Push back cuticles and buff the shine off: Push back cuticles gently, then lightly buff the top of each natural nail to remove shine. Wipe with a lint-free pad. Do not buff the press-on itself. Skipping the buff is the most common reason a press-on pops off at the cuticle line while the tip stays stuck.
- Dry-fit and mark the cuticle line: Place each press-on without adhesive and look from the side. The base should sit just in front of the cuticle, not on it. If the base overlaps the cuticle, file the base edge slightly, a little at a time, keeping the oval curve intact. A base that sits on the cuticle will lift first; a base that sits too far forward leaves a visible gap.
- Apply adhesive to the press-on, not the natural nail: Use the adhesive type your set specifies. For glue, place a small dot near the base and a thin line down the center. For tabs, choose a tab that fits inside the press-on without touching the edges. Too much glue pushes out at the cuticle and creates a ridge that catches light and looks unnatural.
- Press from cuticle to tip at a slight angle: Hold the press-on at a slight downward angle, touch the base to the natural nail just in front of the cuticle, then roll it toward the tip while pressing firmly for the time your adhesive instructions give. Keep pressure even across the width. Pressing straight down traps air at the base; the roll motion pushes it out toward the tip.
- Check the sidewalls and file only the free edge: Look at each nail from the front and the side. If a sidewall feels sharp or catches on clothing, smooth it with a fine file, but do not file into the surface finish. Shape the tip only if it extends past your comfort length. A natural oval should feel smooth where the press-on meets your skin, with no ledge you can feel with a fingertip.
Product facts
-
Signature Pink Oval Press-On Nails: Signature Pink Oval press-on nails use a calibrated signature pink on an oval shape described as flattering and timeless. A soft, classic pink shows cuticle gaps and lifted edges less harshly than a dark or high-contrast shade, so a careful press pays off visibly.
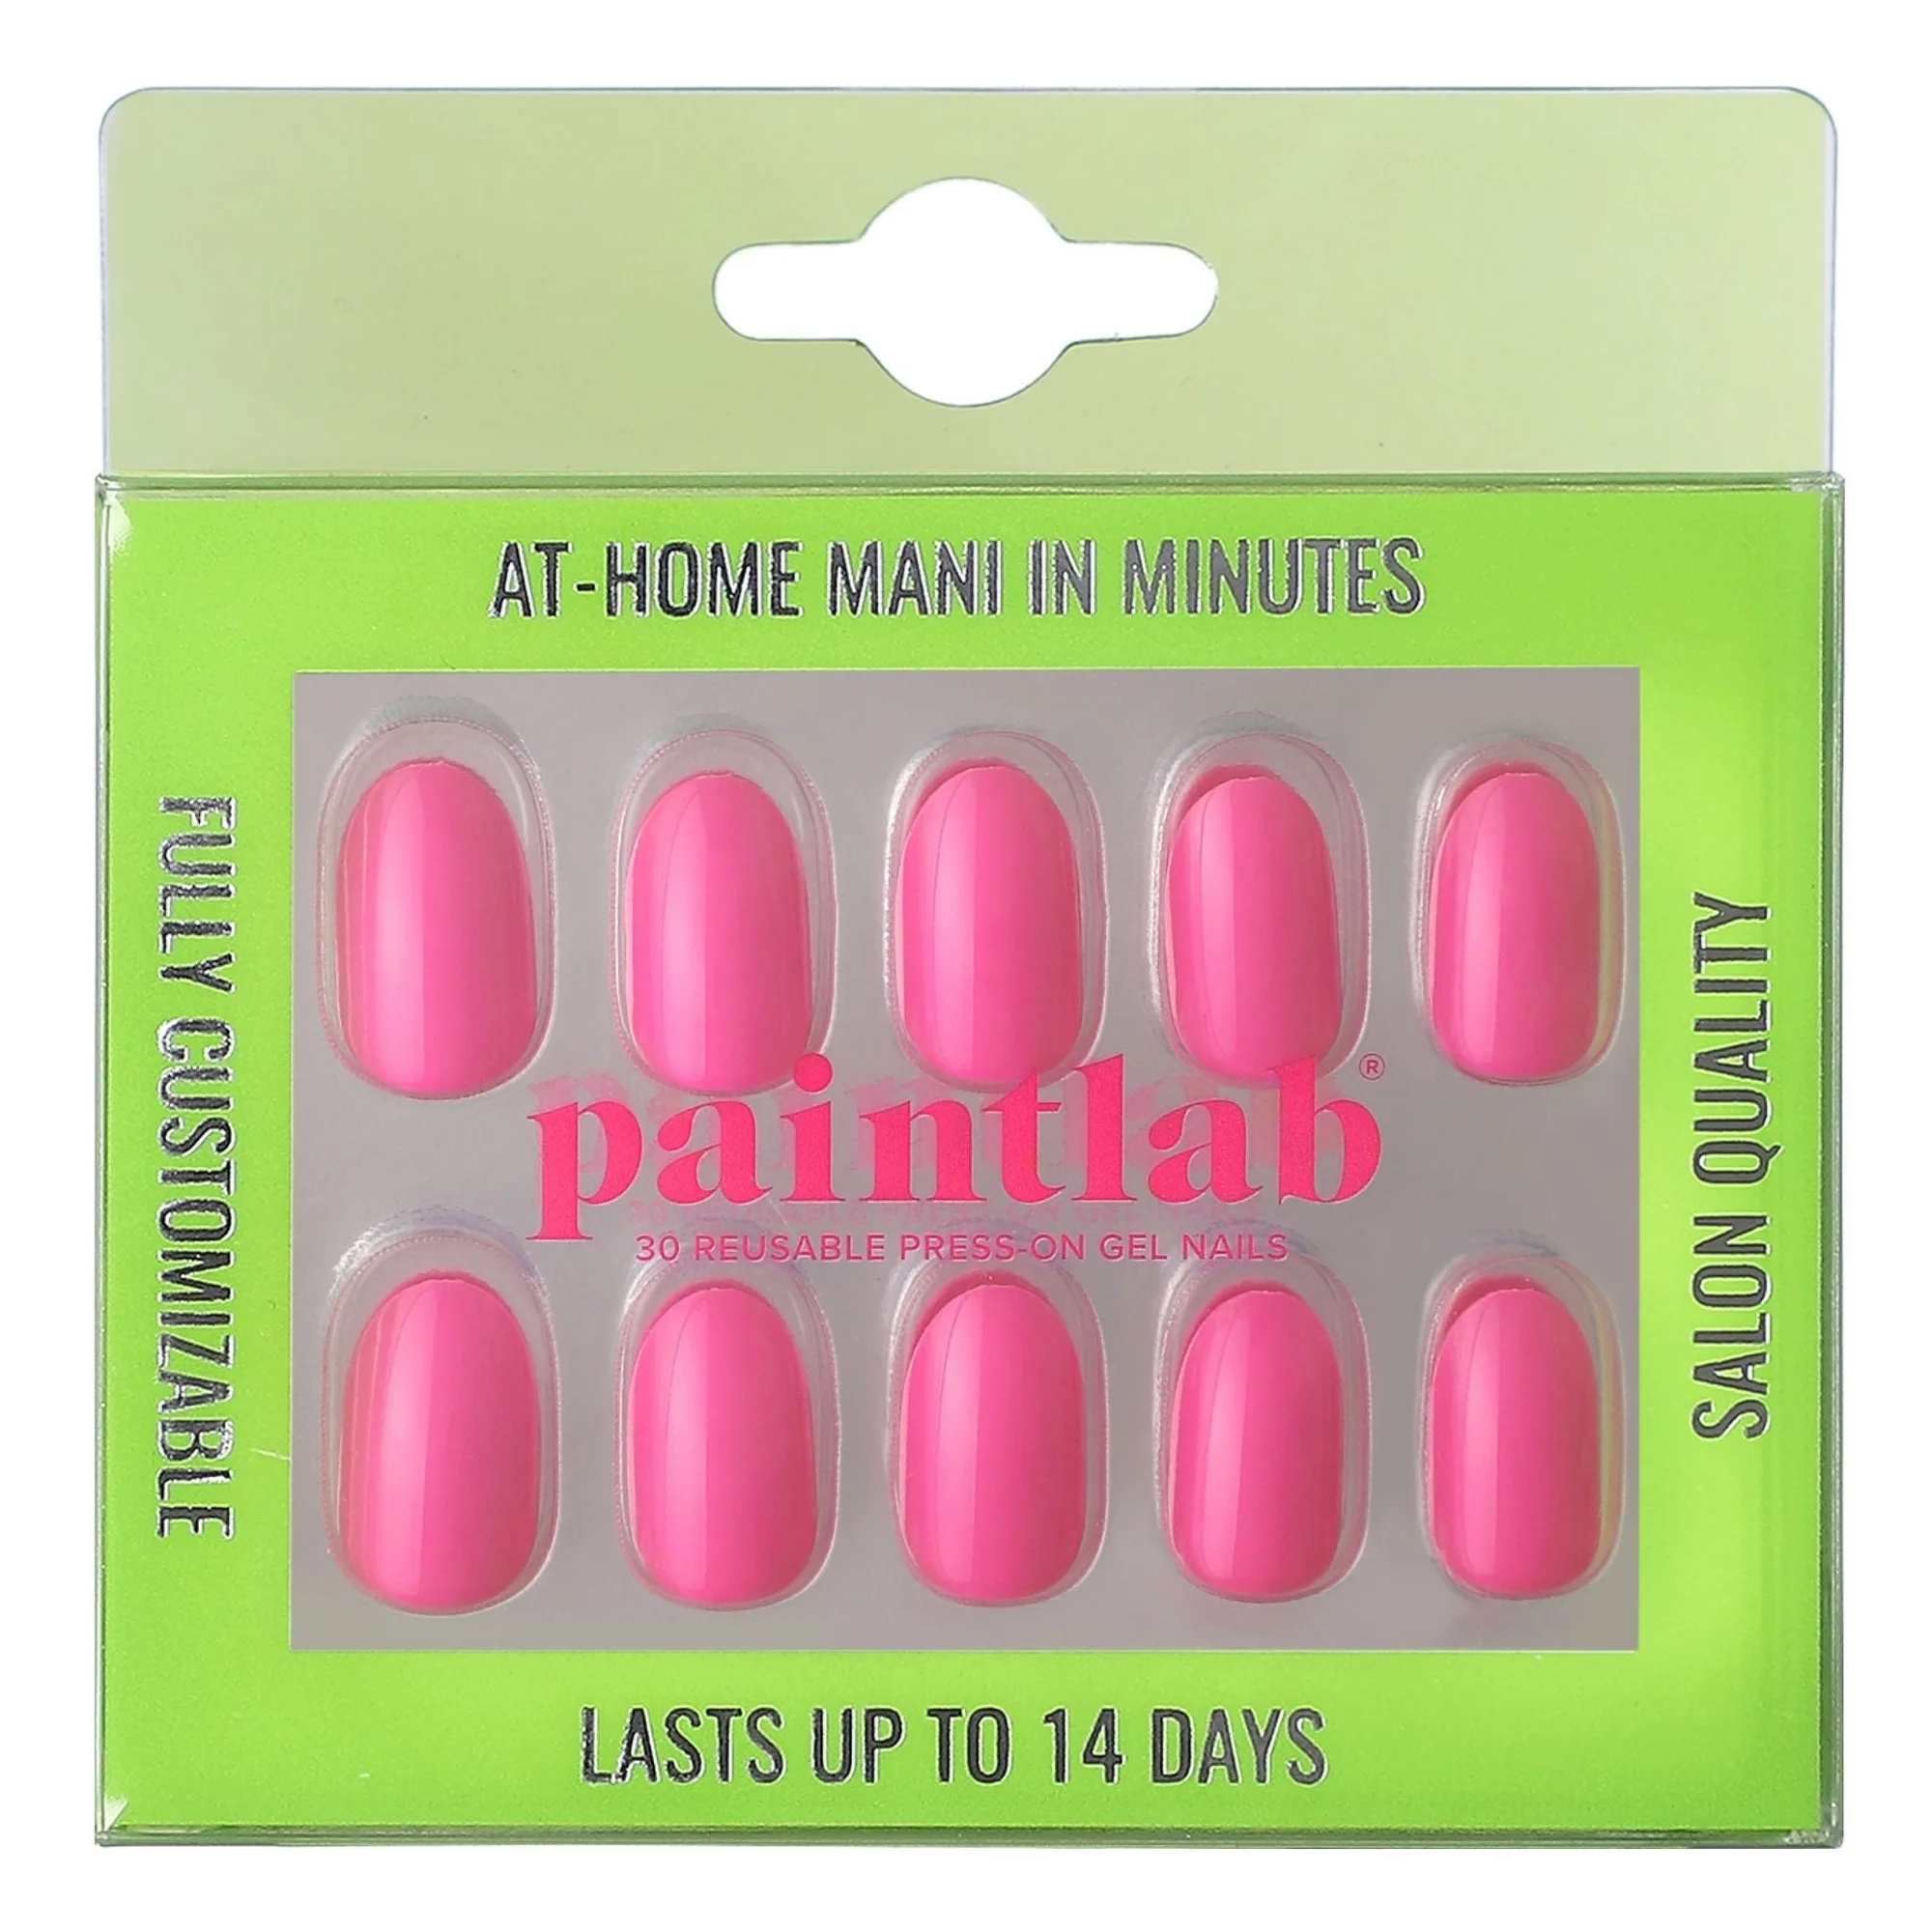
Signature Pink Oval Press-On Nails