Quick Answer
To apply pressed eye shadow like a pro, start with a primer, use a flat brush to pack color onto the lid, and a fluffy brush to blend the crease. Always blend in small circular motions and build color gradually to avoid harsh lines. For beginners, choose neutral shades like those from Lily Lolo's pressed eye shadow range for easy blending.
Pressed eye shadow is a staple in many makeup routines, offering pigmented color in a convenient, portable format. Whether you're aiming for a subtle everyday look or a more dramatic evening style, mastering the application technique is key to achieving a professional finish. This tutorial will guide you through each step, from prepping your eyelids to blending like a pro.
If you're new to eye makeup, you might feel overwhelmed by the variety of brushes and techniques. But with the right tools and a bit of practice, you can create beautiful looks effortlessly. We'll also highlight some excellent options from Lily Lolo, known for their mineral-based cosmetics, to help you get started.
Essential Tools and Products
Before you begin, gather the essentials: an eye primer, a flat shader brush, a fluffy blending brush, and your chosen pressed eye shadows. A primer is crucial as it creates a smooth base, enhances color payoff, and prevents creasing throughout the day. If you don't have a primer, a tiny bit of concealer can work as a substitute.
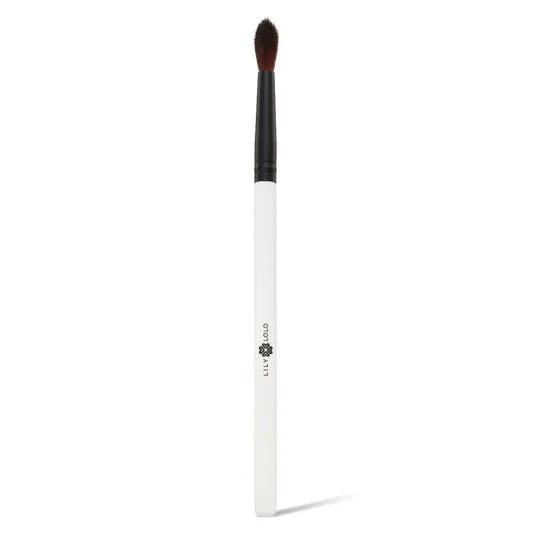
When selecting brushes, look for synthetic bristles that are soft and dense. A flat brush is perfect for packing color onto the lid, while a fluffy brush is ideal for blending in the crease. Having these two brushes will make the application process much easier.
- Invest in a good eye primer to ensure long-lasting wear.
- Use a flat shader brush for precise color application.
- A fluffy blending brush is essential for seamless blending.
Step-by-Step Application
Start by applying a thin layer of eye primer all over your eyelids, from lash line to brow bone. This will help the shadow adhere better and stay put. Allow the primer to set for a minute before moving on.
Next, pick up a neutral shade on your flat brush and gently press it onto your eyelid, starting from the lash line and working upward. Build the color gradually until you reach your desired intensity. For beginners, it's better to start with a light hand and add more product as needed.
Once the lid is covered, take a fluffy blending brush and apply a slightly darker shade to the crease. Use windshield wiper motions to blend the color, ensuring there are no harsh lines. This step adds depth and dimension to your eyes.
- Always tap off excess product from your brush to avoid fallout.
- Blend in small, circular motions for a seamless transition.
- Don't rush – building color slowly is the key to a professional look.
Common Mistakes and How to Avoid Them
One common mistake is using too much product at once, leading to a patchy or overly intense look. To avoid this, always start with a small amount and build up gradually. Another issue is not blending enough, which can result in harsh lines. Take your time and blend thoroughly.
Fallout is another frequent problem, especially with pressed shadows. To minimize it, tap your brush before applying and consider doing your eye makeup before your face makeup. You can also use a tissue under your eyes to catch any loose powder.
- Use a light hand and build color gradually.
- Blend, blend, blend – there's no such thing as too much blending.
- If fallout occurs, gently sweep it away with a clean brush or cotton swab.
Step-by-Step Tutorial
- Step 1: Prep Your Eyelids: Apply a thin layer of eye primer to your eyelids and let it set. This ensures your shadow stays in place and colors appear vibrant. Checkpoint: Your eyelids should feel smooth and slightly tacky before applying shadow.
- Step 2: Apply the Base Shade: Using a flat shader brush, pick up a neutral shade like https://lilylolostore.shop/products/lily-lolo-pressed-eye-shadow-in-for-a-penny-291522Lily Lolo Pressed Eye Shadow In For a Penny and press it onto your eyelid. Start from the lash line and blend upward. Checkpoint: The color should be even and not too intense – you can always add more.
- Step 3: Define the Crease: With a fluffy blending brush, apply a slightly darker shade to the crease using windshield wiper motions. Blend well to avoid harsh lines. Checkpoint: The crease color should seamlessly blend with the lid shade.
- Step 4: Highlight and Finish: Add a light, shimmery shade to the inner corner of your eye and under the brow bone to brighten and lift. Finish with mascara and eyeliner if desired. Checkpoint: Your eye look should appear cohesive and well-blended.
Product Facts
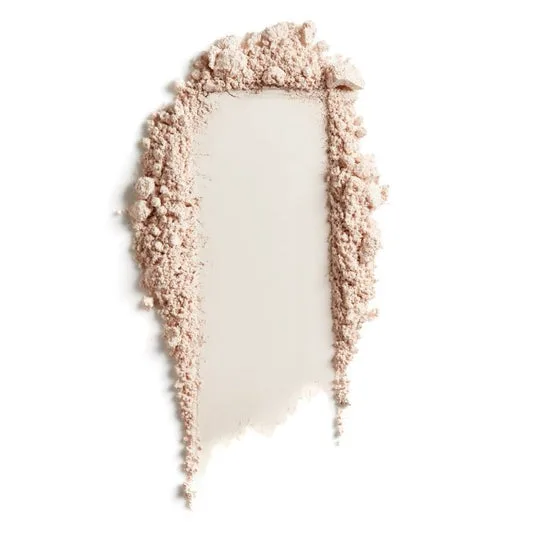
- Lily Lolo Pressed Eye Shadow In For a Penny: Lily Lolo Pressed Eye Shadow in For a Penny offers a versatile shade for everyday looks. This pressed eye shadow is designed for easy application and blendable color. Its warm, neutral tone is perfect for beginners, allowing you to create subtle or more defined eye looks with ease.
- Lily Lolo Pressed Eye Shadow Rolling Stone: Lily Lolo Pressed Eye Shadow in the shade Rolling Stone offers a versatile, everyday color for your makeup routine. This pressed eye shadow is designed for easy application and blendable coverage. This shade is ideal for creating a natural look or building intensity for a more dramatic effect, making it a great addition to any beginner's collection.
With these steps, you'll be able to apply pressed eye shadow with confidence. Remember, practice makes perfect, so don't be afraid to experiment with different shades and techniques. For high-quality pressed eye shadows that are easy to blend, check out Lily Lolo's range, like the Lily Lolo Pressed Eye Shadow Rolling Stone, which is perfect for everyday wear.