Quick answer
For a smooth shimmer finish, start with a ridge-filling base coat, apply two to three thin coats of shimmer polish with a light touch, and seal with a glossy top coat. Thin coats and a little extra drying time between layers prevent streaks and texture.
Why shimmer polish can look uneven
Shimmer particles are heavier than the polish base, so they can settle or clump if the bottle sits unused. Shaking distributes them, but it also creates air bubbles that show up as tiny pits in the finished coat. Rolling the bottle between your palms mixes the shimmer without introducing excess air.
The base coat matters more with shimmer than with cremes. A ridge-filling base smooths the natural texture of the nail so the shimmer reflects evenly. Without it, vertical ridges catch light differently and make the polish look streaky even when the application is fine.
Choosing the right shimmer polish for your routine
Indie shimmer polishes vary in particle size and base opacity. A sheer shimmer may need three or four coats to look even, while a denser shimmer can cover in two. Check the recommended coat count on the bottle before you start, and adjust your base coat choice accordingly: a sheer shimmer benefits from a tinted base, while a dense shimmer works over a clear ridge filler.
If you are new to shimmer, start with a shade that has a brown or copper base, which tends to hide minor streaks better than pale or pastel shimmers. Pale shimmers show every application flaw, so save them for when you have practiced the thin-coat technique.
When to skip the top coat (and when not to)
A glossy top coat seals the shimmer and adds depth, but it can also dull textured or reflective finishes. For a smooth shimmer, a thin layer of glossy top coat is usually the right call because it fills the microscopic gaps between particles. If you want a matte look, use a matte top coat instead, but expect the shimmer to appear softer and less sparkly.
Avoid quick-dry drops directly on wet shimmer polish; they can drag the particles and create bald patches. Apply drops only after the top coat has set for a minute or two.
Step-by-step shimmer polish application
- Prep and roll the bottle: Clean nails with alcohol, push back cuticles, and lightly buff ridges. Roll the shimmer bottle between your palms for 30 seconds instead of shaking it. Shaking creates bubbles that show through shimmer; rolling mixes without air.
- Apply a ridge-filling base coat: Brush on one thin layer of ridge-filling base coat and let it dry completely (about 2 minutes). Do not skip this step even if your nails look smooth. A smooth base is the difference between even shimmer and a streaky finish.
- Load the brush lightly: Wipe one side of the brush against the bottle neck and use the other side to apply. Start with a thin coat down the center of the nail, then fill in the sides. A heavy brush load floods the cuticle and causes pooling and streaks.
- Apply two to three thin coats: Apply the first thin coat and let it dry for 2-3 minutes. Repeat with a second and, if needed, a third coat, always keeping the layers thin and even. Thin coats dry faster and prevent the shimmer from dragging or clumping.
- Seal with a glossy top coat: Once the final shimmer coat is touch-dry, apply a thin layer of glossy top coat, wrapping the tip of each nail. Let it dry for 10 minutes before using quick-dry drops. Wrapping the tip prevents shrinkage and extends wear without dulling the shimmer.
Product facts
-
Dingle Berries - Brown Shimmer Nail Polish - Polish of the Month - Dec 2022: Brown base with shimmer that shifts red-orange to bronze; recommended 2-3 coats. The shifting shimmer needs thin, even layers to show the color transition without looking muddy, so plan for two to three coats rather than one thick pass.
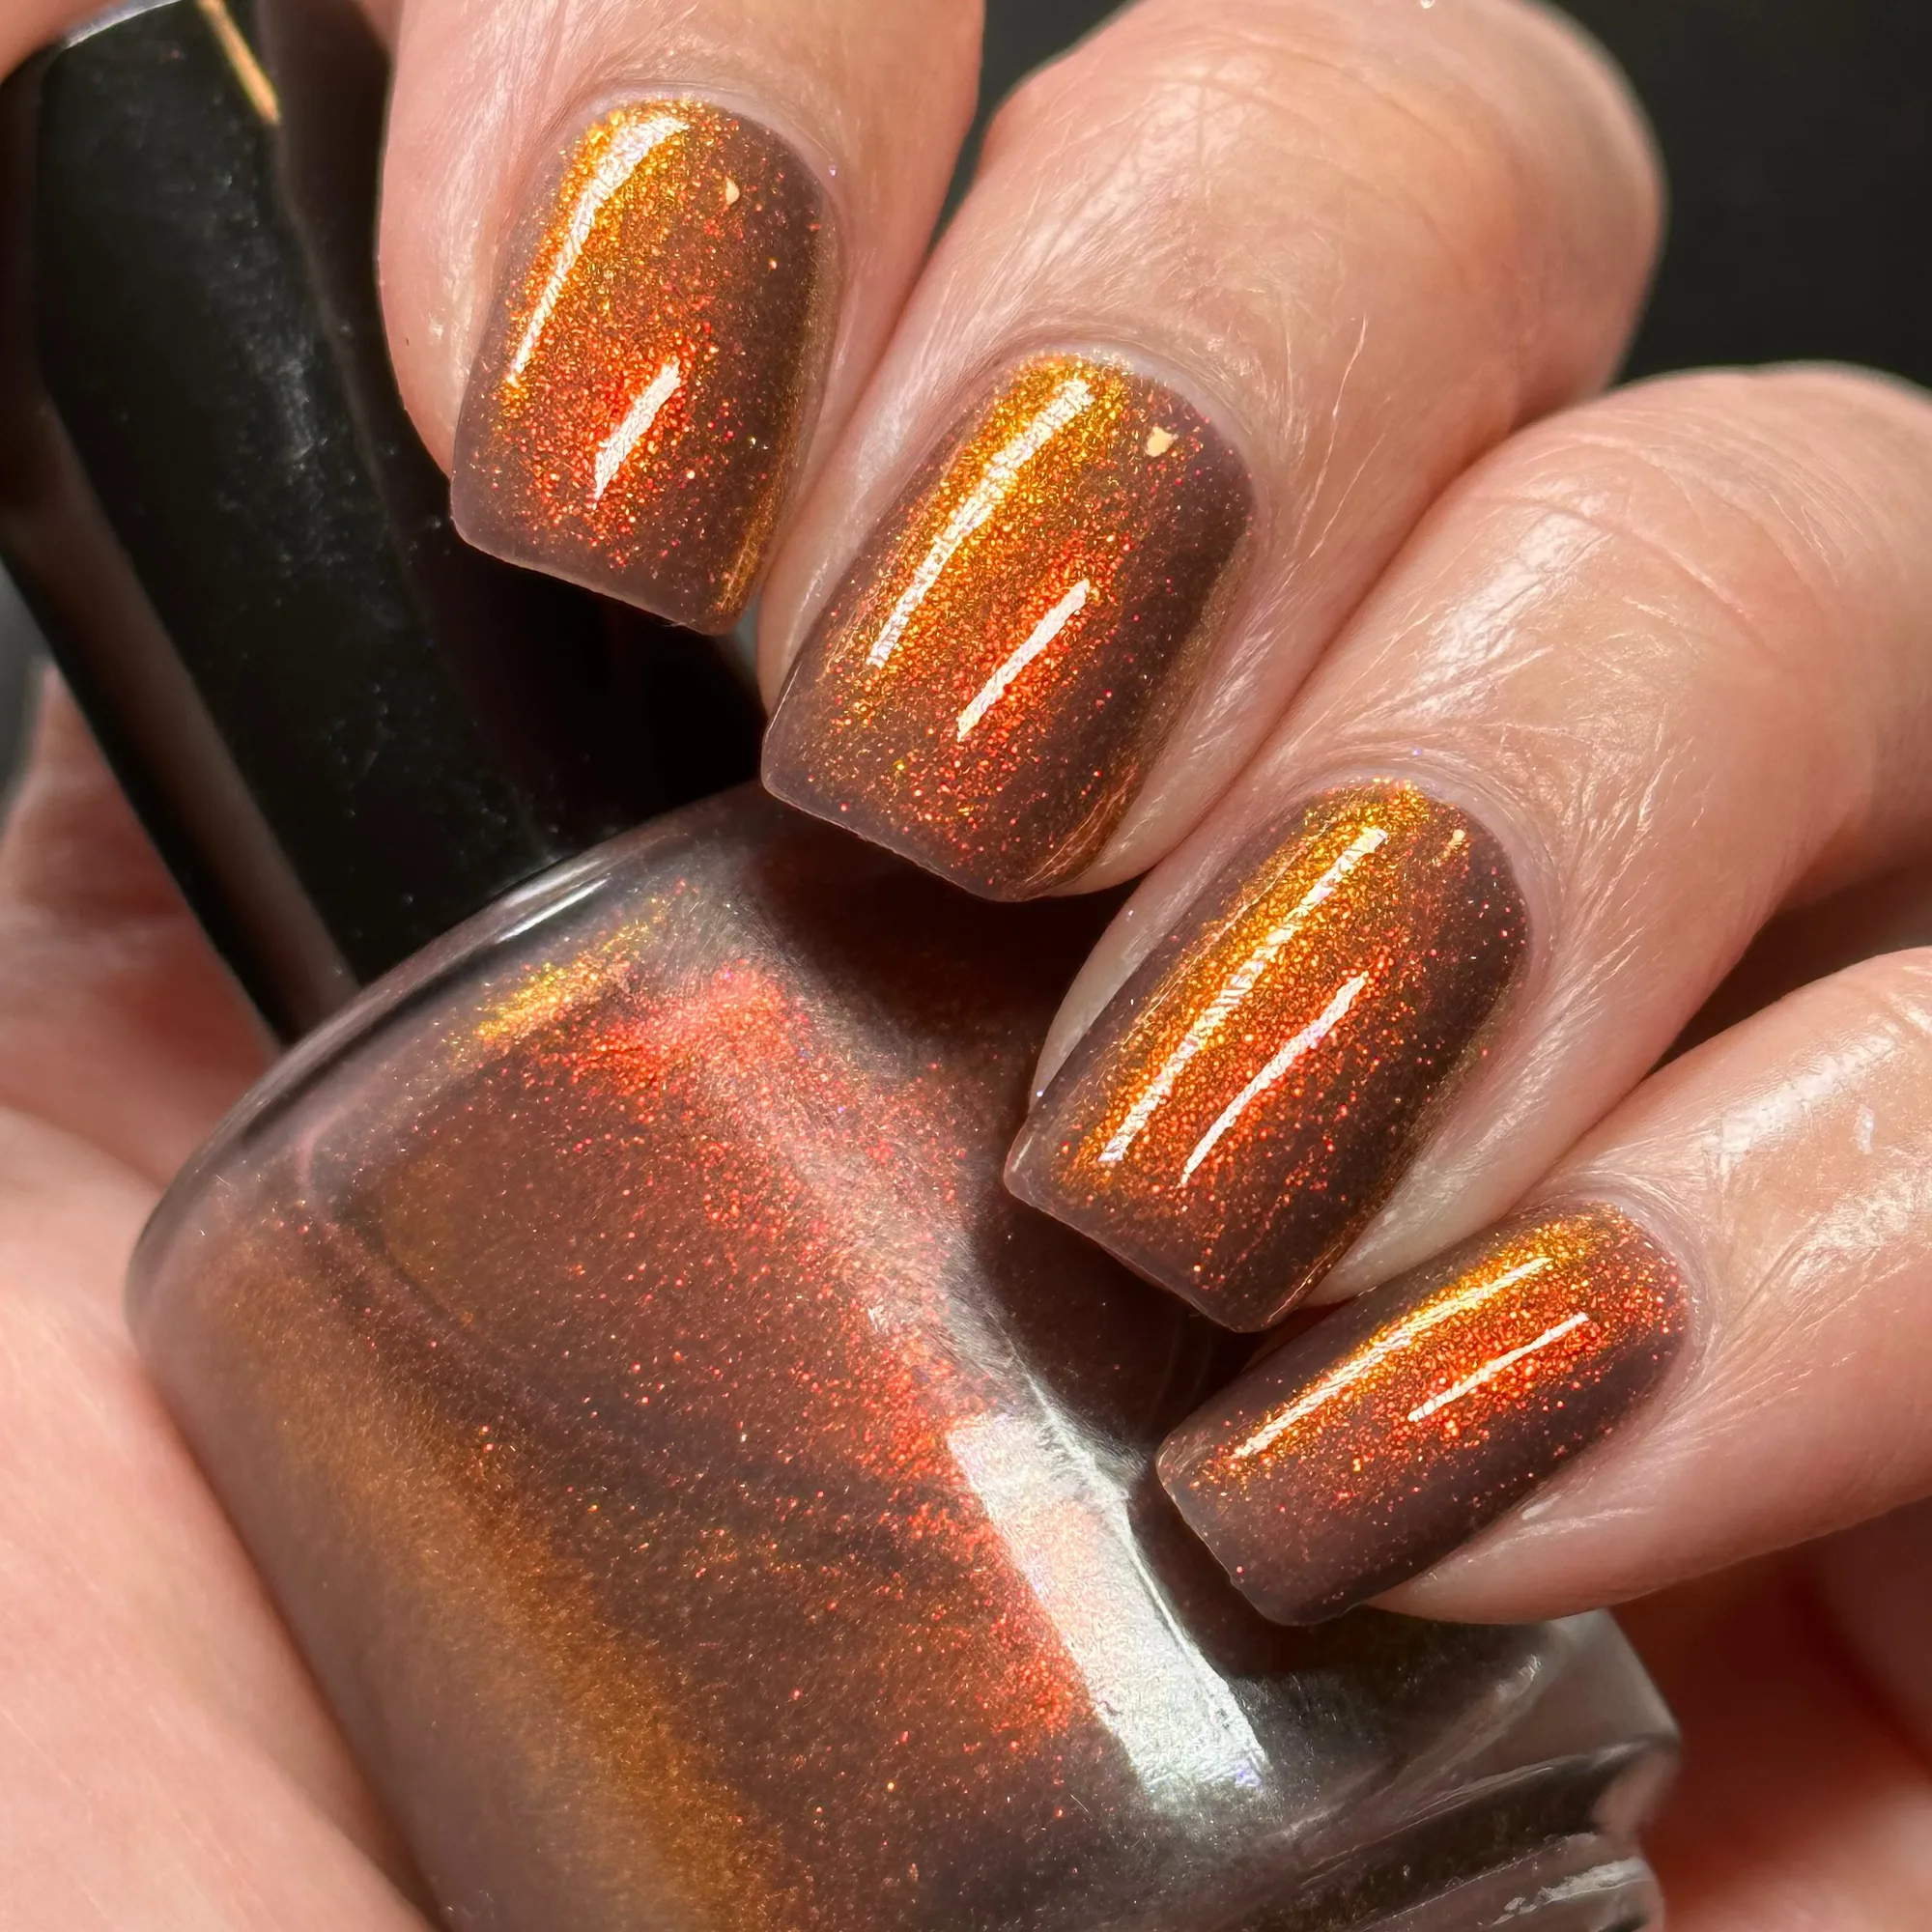
Dingle Berries - Brown Shimmer Nail Polish - Polish of the Month - Dec 2022