Quick answer
Apply silicone scar tape to clean, completely dry, hair-free skin, trim it to sit about 1 cm past the scar edges, and press it down for 10–20 seconds without stretching. Most peeling happens because of lotion, sweat, or body oil left on the skin, not because the tape is weak. If the tape lifts at the edges, dry the area, warm the tape in your hands, and re-press before adding a new strip.
Prep the scar before any tape goes on
Wash the area with a mild, fragrance-free cleanser and lukewarm water, then rinse well. Soap residue is a hidden cause of lifting, so rinse longer than feels necessary. Pat dry with a clean towel and wait a few minutes so the skin is not just dry to the touch but fully dry. If there is hair around the scar, trim it with small scissors rather than shaving, because shaving can irritate healing skin. Do not apply lotion, oil, sunscreen, or ointment under the tape; those products stop silicone from making proper contact.
- Checkpoint: wait at least 10 minutes after a shower or bath before applying.
- Mistake to avoid: applying tape to warm, damp skin because it feels dry on the surface.
Trim the tape for a flat, low-lift fit
Cut a piece that covers the scar and extends roughly 1 cm beyond each edge. Rounded corners are worth the extra snip: square corners catch on clothing and begin peeling first. On curved areas such as a shoulder or knee, cut the strip into shorter segments or make small relief cuts along one side so it can follow the contour without creasing. Avoid overlapping strips unless the scar is wider than the roll, and if you do overlap, keep the overlap narrow and press it down firmly.
- Checkpoint: the tape should lie flat with no wrinkles or trapped air.
- Mistake to avoid: cutting the tape exactly to the scar line, which leaves no margin to seal against the skin.
Press and hold instead of stretching
Peel the backing a little at a time and place the tape on the scar, then press the whole strip down with clean, dry fingers for 10–20 seconds. Warmth from your hand helps the silicone gel grip, so a slow press works better than a quick tap. Do not pull or stretch the tape while applying it; tension creates a springy edge that lifts within hours. For hard-to-reach areas, ask someone to press the edges while you hold the center.
- Checkpoint: run a fingertip along all four edges before you get dressed.
- Mistake to avoid: smoothing the tape from the middle outward in one fast swipe, which leaves the edges unsealed.
Build wear time gradually
Start with a few hours a day and add an hour or two each day as your skin tolerates it. Many people work up to wearing the tape for most of the day and night, but there is no single schedule that suits every scar. If the tape lifts during sleep, it may be rubbing against bedding or your skin may be producing more oil overnight. Remove the tape for a few hours if the area becomes itchy, red, or irritated, and let the skin rest before reapplying.
- Checkpoint: if the tape is floating by morning, change when you apply it rather than pressing harder.
- Mistake to avoid: forcing a full 24-hour schedule in the first week.
Wash the tape and the skin between wears
Silicone gel tape can be reused, but only if you clean it. Rinse the tape with lukewarm water and a drop of mild soap, rub the sticky side gently with your fingertips, and let it air dry on a clean, non-porous surface. Meanwhile, wash and dry the scar area again before the next application. When the tape stops feeling tacky after washing, or the edges curl even after a fresh press, it is time to replace it. Keep the backing film so you can store the tape flat between uses.
- Checkpoint: air-dry the tape completely before it touches skin again.
- Mistake to avoid: using hot water, alcohol, or harsh cleaners that break down the gel surface.
Remove slowly and support the skin
Peel the tape back at a low angle while pressing the skin near the edge with your other hand. Slow, steady removal is kinder to fragile scar tissue than a quick pull. If the tape is stuck firmly, warm it with a damp washcloth for a minute before continuing. After removal, rinse the area and let it breathe. If you notice increasing redness, swelling, pain, or any open area, stop using the tape and speak with a healthcare professional.
- Checkpoint: no tugging, no ripping, no pulling the scar tissue upward.
- Mistake to avoid: removing the tape in the shower with hot water, which can irritate healing skin.
Application steps at a glance
- Clean and dry the scar: Wash with a mild cleanser, rinse thoroughly, and wait at least 10 minutes so the skin is completely dry. Checkpoint: no lotion, oil, or ointment under the tape.
- Cut with a margin: Trim a strip that extends about 1 cm past the scar on every side, and round the corners to stop edge lift. Checkpoint: the tape lies flat with no wrinkles.
- Press, do not stretch: Apply the tape and press firmly with clean, dry fingers for 10–20 seconds, especially along the edges. Checkpoint: seal all four edges before dressing.
- Wear it gradually: Begin with a few hours a day and add time as your skin tolerates it; remove and rest the area if it becomes irritated. Checkpoint: morning lift usually means oil or friction, not weak tape.
- Wash and reuse with care: Rinse the tape with lukewarm water and mild soap, air-dry it fully, and wash the scar area before the next wear. Checkpoint: replace the tape when it no longer feels tacky after washing.
- Remove slowly: Peel back at a low angle while supporting the skin, warming the tape with a damp cloth if it resists. Checkpoint: stop and seek advice if redness, swelling, or pain increases.
Product facts
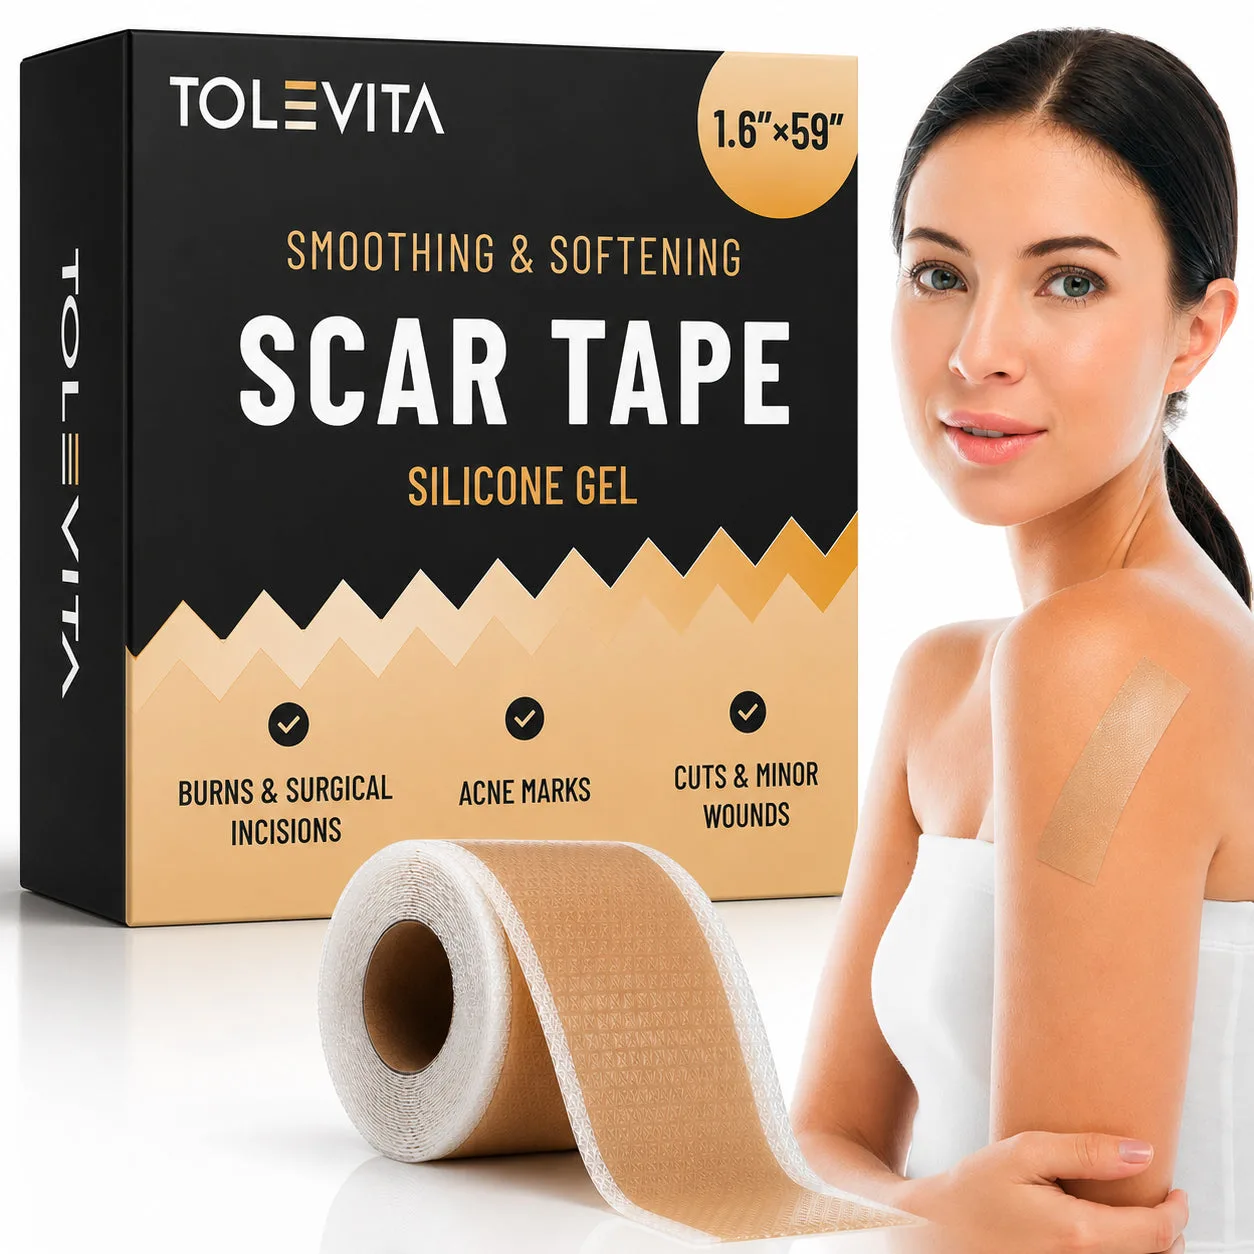
- Silicone Scar Tape, Smoothing & Softening Silicone Gel Tape for Surgical Scars, Burns, Acne Marks & Minor Wounds, 4 cm × 1.5 m Roll: TOLEVITA Silicone Scar Tape is a 4 cm × 1.5 m roll of medical-grade silicone gel tape for surgical scars, burns, acne marks, and minor wounds. The 4 cm width covers most linear scars with room to extend past the edges, and the roll format lets you cut rounded, custom lengths for curved areas.