Quick Answer
To apply a sticker to a car bumper without bubbles, clean the surface thoroughly, use the wet method for flexibility, and press from the center outward with a squeegee.
Why Car Bumpers Are Tricky for Sticker Application
Car bumpers are curved and often have textured or slightly rough surfaces, which makes it harder to get a smooth, bubble-free application compared to flat windows or laptops. The curvature can cause the sticker to wrinkle or lift if you press it down too quickly.
Temperature also plays a role. Cold weather makes vinyl stiffer and more prone to cracking, while extreme heat can make the adhesive too aggressive and cause bubbles. Aim for a mild, dry day between 60°F and 80°F.
Wet vs. Dry Application: Which Method Works Best?
For flat surfaces, the dry method works fine. But for bumpers, the wet method is your friend. A light mist of soapy water lets you slide the sticker into position and work out bubbles before the adhesive sets. Once you're happy, you squeegee out the water and let it dry.
The wet method is especially helpful on curved bumpers because it gives you extra time to adjust the sticker around the contours without worrying about it sticking prematurely.
Step-by-Step: Bubble-Free Bumper Sticker Application
- Clean and dry the bumper: Wash the area with mild soap and water, then wipe with rubbing alcohol to remove any wax or grease. Let it dry completely. Any residue left behind will prevent the adhesive from bonding and can cause bubbles later.
- Prepare your tools and the sticker: Gather a squeegee or credit card, masking tape, and a spray bottle with a few drops of dish soap in water. Peel the backing off the sticker, but if it's large, tape the top edge to the bumper first to keep it in place. Taping the top edge helps you position the sticker accurately before it touches the surface.
- Mist the bumper with soapy water: Lightly spray the bumper where the sticker will go. This allows you to slide the sticker into the perfect position and prevents it from sticking immediately. Don't soak the area; a light mist is enough. Too much water can dilute the adhesive and cause it to slide too much.
- Apply the sticker from the center outward: Place the sticker on the wet surface and use your squeegee to press from the center toward the edges, pushing out air and water bubbles. Work slowly, especially around curves. Always work from the center outward; pressing from the edges can trap air in the middle.
- Smooth out curves and edges: Use a heat gun or hairdryer on low heat to soften the vinyl slightly, which helps it conform to the bumper's curves. Press the edges firmly with the squeegee. Be careful not to overheat; too much heat can warp the sticker or damage the bumper's paint.
- Let it dry and check for bubbles: Allow the sticker to dry for at least 24 hours before washing the car or driving at high speeds. If any small bubbles remain, use a pin to prick them and press down with your finger. Pricking bubbles is a quick fix, but avoid doing it on the printed area if possible, as it can create a tiny hole.
Product Spotlight
-
Rise And Shine Porcupine Sticker: This 3-inch vinyl die-cut sticker has a matte finish and is weatherproof and dishwasher safe. Its weatherproof construction and matte finish make it a great choice for car bumpers, where it will face sun, rain, and road grime without fading or peeling.
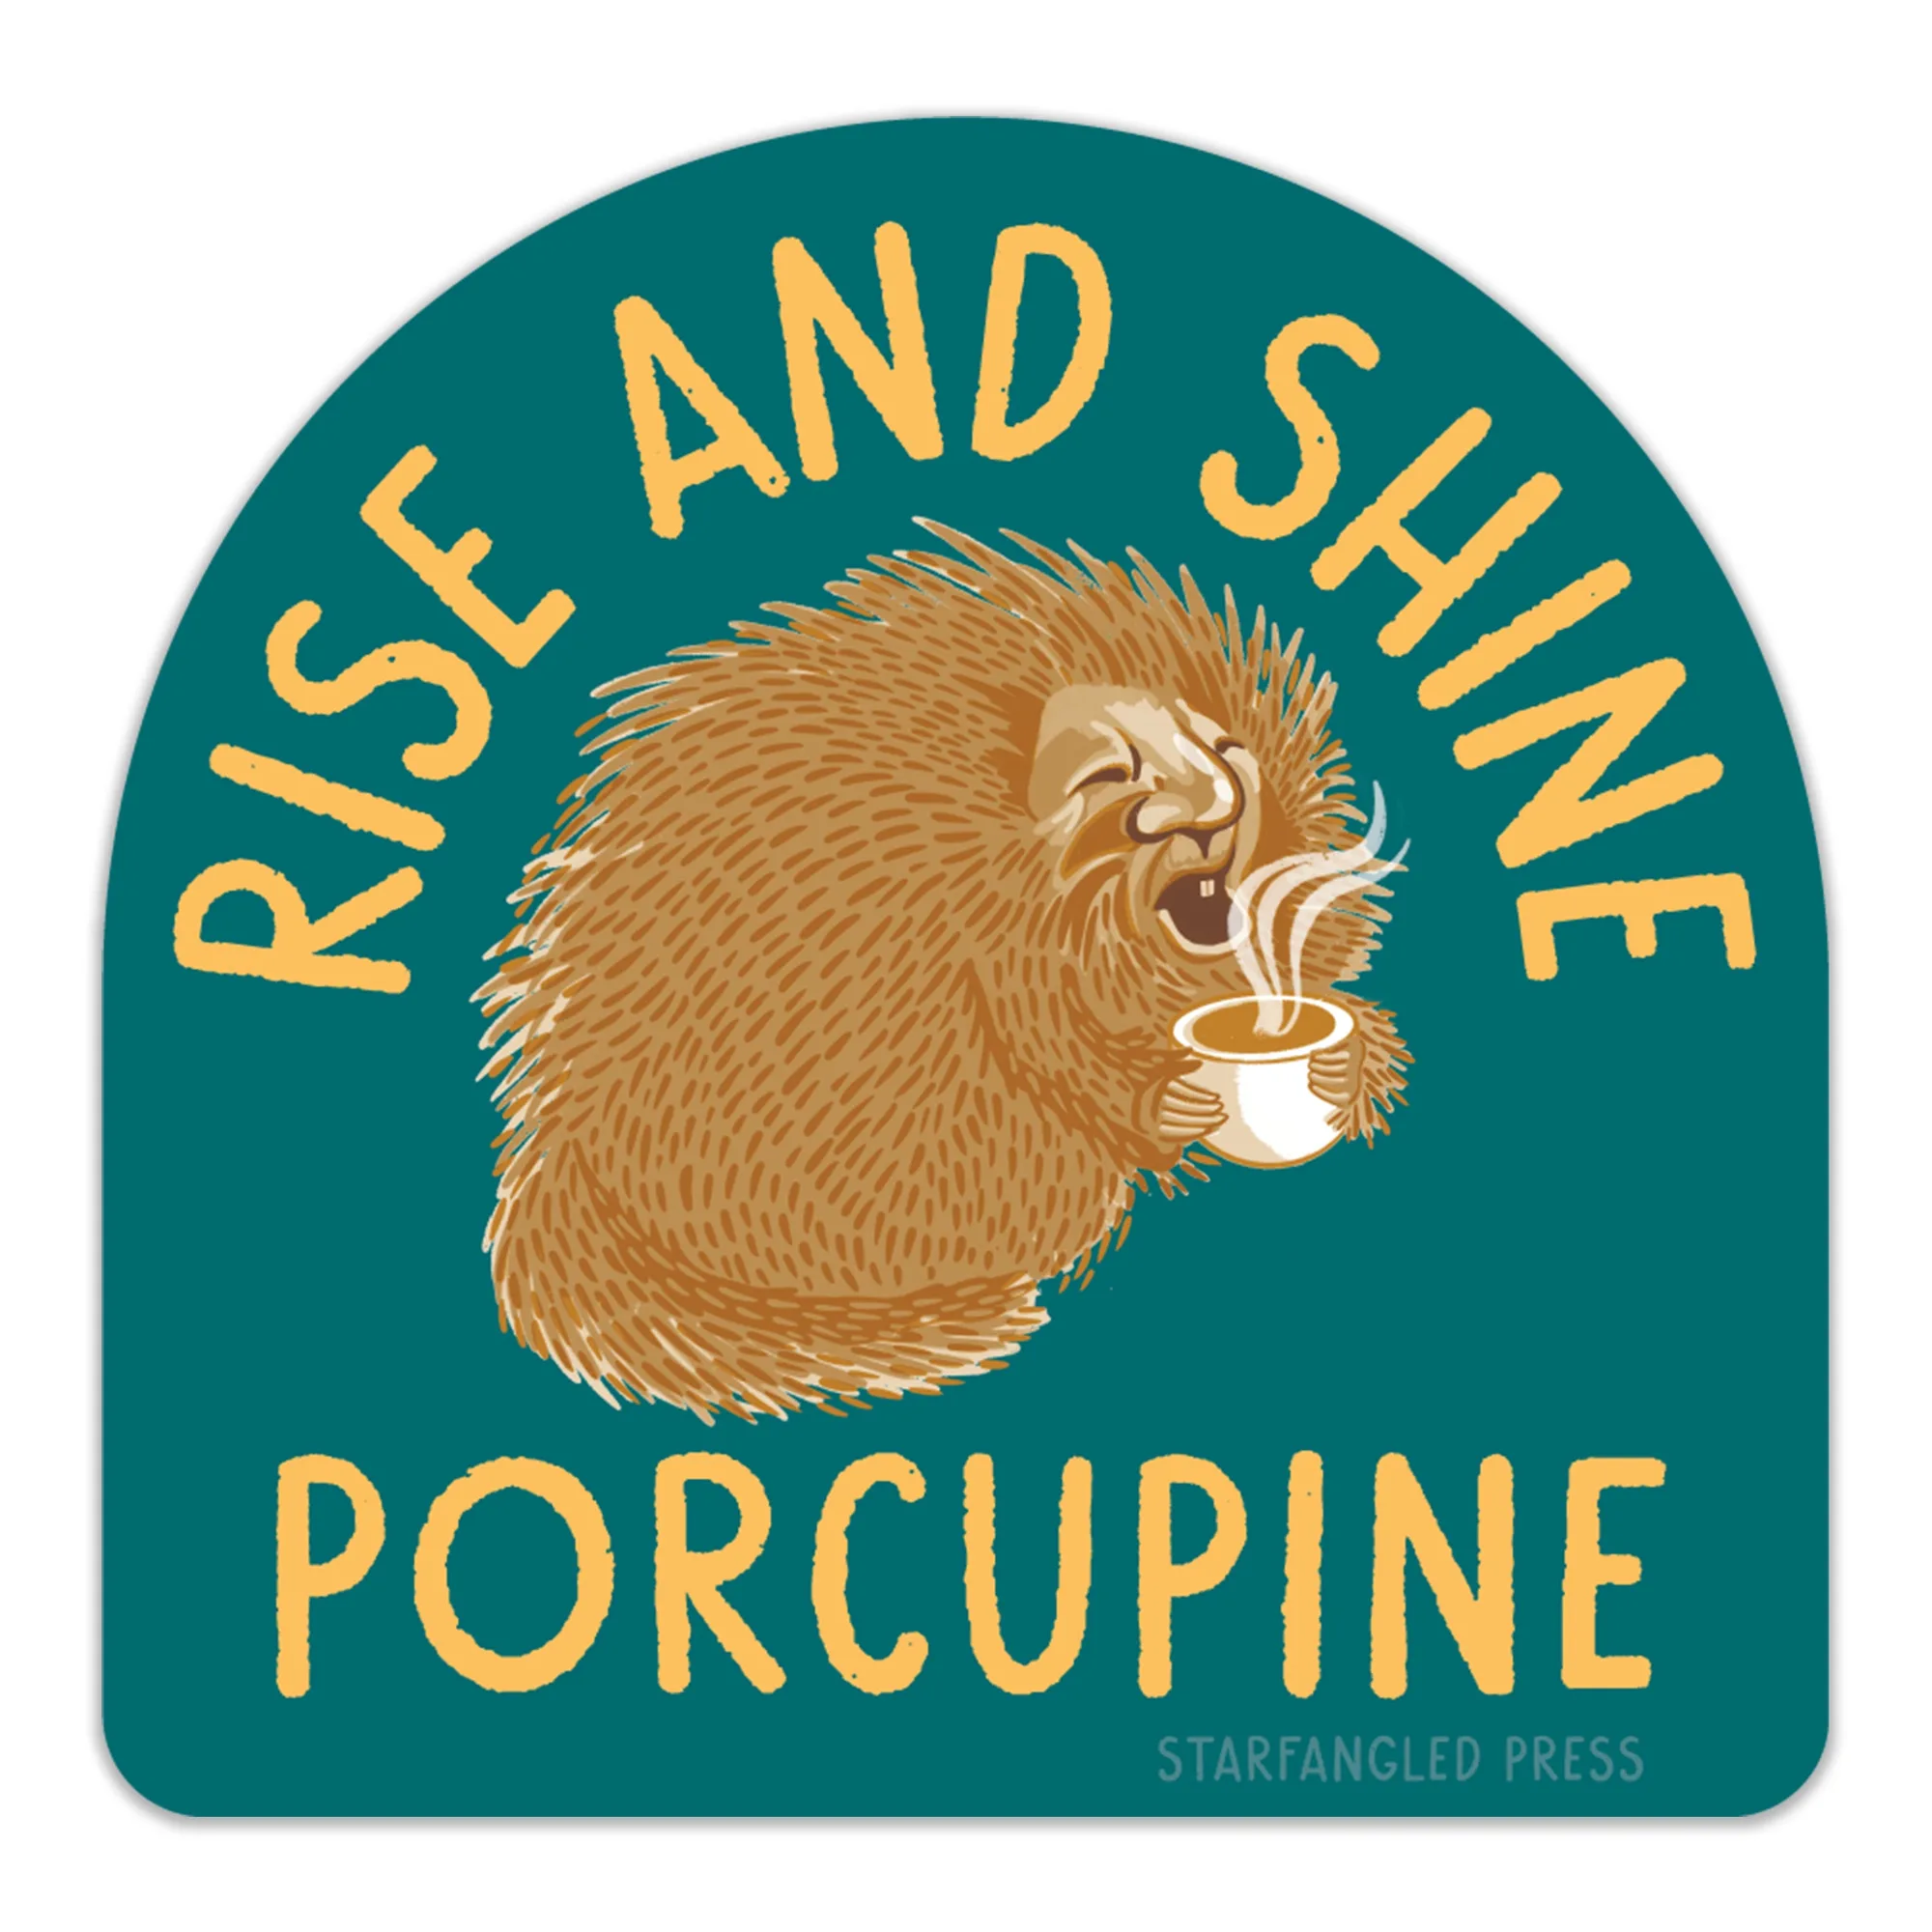
Rise And Shine Porcupine Sticker