When it comes to painting realistic aircraft models, choosing the right shade of grey can make or break your camouflage scheme. Tamiya XF-25 Light Sea Grey is a versatile and popular choice among modelers for its accuracy and ease of use. Whether you're building a WWII naval aircraft or a modern jet, this color fits perfectly into many camouflage patterns.
In this guide, we'll walk you through the entire process of applying Tamiya XF-25 Light Sea Grey, from surface preparation to final sealing. You'll learn the best practices for thinning, airbrushing, and masking to achieve crisp, realistic lines. By the end, you'll be confident in using this paint to elevate your next build.
Why Choose Tamiya XF-25 Light Sea Grey?
Tamiya's acrylic paints are renowned for their smooth flow and excellent adhesion, and XF-25 Light Sea Grey is no exception. This color is a staple for many aircraft schemes, including Royal Navy and Fleet Air Arm aircraft from WWII, as well as modern naval aircraft. Its light, neutral tone provides a perfect base for weathering and panel line accentuation.
One of the key advantages of Tamiya acrylics is their water-based formula, which makes them easy to thin and clean up. When properly thinned, XF-25 sprays beautifully through an airbrush, allowing for fine control over opacity and coverage. This is essential for achieving the soft edges typical of many camouflage patterns.
- Versatile shade suitable for multiple eras and aircraft types
- Water-based acrylic – easy to thin and clean up
- Excellent adhesion to properly primed surfaces
Preparing Your Model for Painting
Before you even open the bottle of XF-25, ensure your model is clean and free of dust, grease, and mold release agents. Wash the parts in warm soapy water, rinse thoroughly, and let them dry completely. After assembly, lightly sand the surfaces with fine grit sandpaper (800-1000) to give the paint a good key.
Next, apply a primer. A good primer will not only help the paint adhere but also reveal any surface imperfections that need fixing. For most aircraft models, a grey or white primer works well. Once the primer is dry, you can start planning your camouflage pattern. Use reference photos or scale plans to map out the areas where XF-25 will be applied.
- Clean parts with soap and water to remove release agents
- Lightly sand to improve paint adhesion
- Apply a primer and let it cure fully
Thinning Tamiya XF-25 for Airbrushing
Tamiya acrylics are quite thick straight from the bottle, so thinning is essential for airbrushing. A common ratio is 1:1 with Tamiya's own acrylic thinner or isopropyl alcohol. However, you may need to adjust based on your airbrush setup and desired consistency. The paint should have a milky consistency, similar to skim milk, and flow easily without clogging.
If you're using a smaller needle (0.2mm or 0.3mm), you might need to thin slightly more. Test on a piece of scrap plastic first to ensure the paint atomizes well and doesn't spider or pool. Remember, it's better to apply multiple thin coats than one thick coat, which can obscure details and cause runs.
- Start with a 1:1 ratio of paint to thinner
- Adjust consistency to skim milk
- Test spray on scrap before touching the model
Airbrushing Techniques for Camouflage
When applying XF-25, set your air pressure between 15-20 psi. Hold the airbrush about 2-3 inches from the surface and use smooth, even passes. For hard-edged camouflage, use masking tape or putty to define the areas. For soft-edged schemes, you can freehand with a fine needle, or use a low-pressure technique with a slightly thicker paint consistency to create feathered edges.
Start by spraying the lightest color first – in this case, XF-25. Once that's dry, mask it off and apply the darker colors. This order prevents overspray from ruining your light base. Always allow each coat to dry completely before masking over it to avoid paint lifting.
- Use 15-20 psi for general spraying
- Spray light colors first, then mask and apply darker shades
- Practice soft-edge techniques on scrap for freehand control
Masking for Clean Lines
Masking is crucial for achieving sharp, professional-looking camouflage. Use high-quality masking tape designed for modeling, such as Tamiya's own tape, and press down the edges firmly to prevent paint bleed. For curved patterns, consider using putty or liquid mask that can be shaped and peeled off.
When masking over XF-25, ensure the paint is fully cured – ideally 24 hours. Press the tape down gently, and when removing it, pull it back at a sharp angle to avoid lifting the paint. If you notice any bleeding, you can touch up with a fine brush and a little thinned paint.
- Use quality masking tape and press edges down
- Allow paint to cure 24 hours before masking
- Remove tape at a sharp angle to prevent lifting
Sealing and Final Touches
Once your camouflage is complete and you're happy with the result, it's time to protect it with a clear coat. A gloss coat is recommended before applying decals and panel line washes, as it provides a smooth surface and protects the paint. After decals and weathering, finish with a matte clear coat to seal everything and reduce gloss.
For a durable finish, consider using Tamiya's clear coats or a premium clear like the Aqueous - H102 Premium Clear Semi Gloss, which offers a nice satin sheen. This step not only protects your hard work but also unifies the overall look of the model.
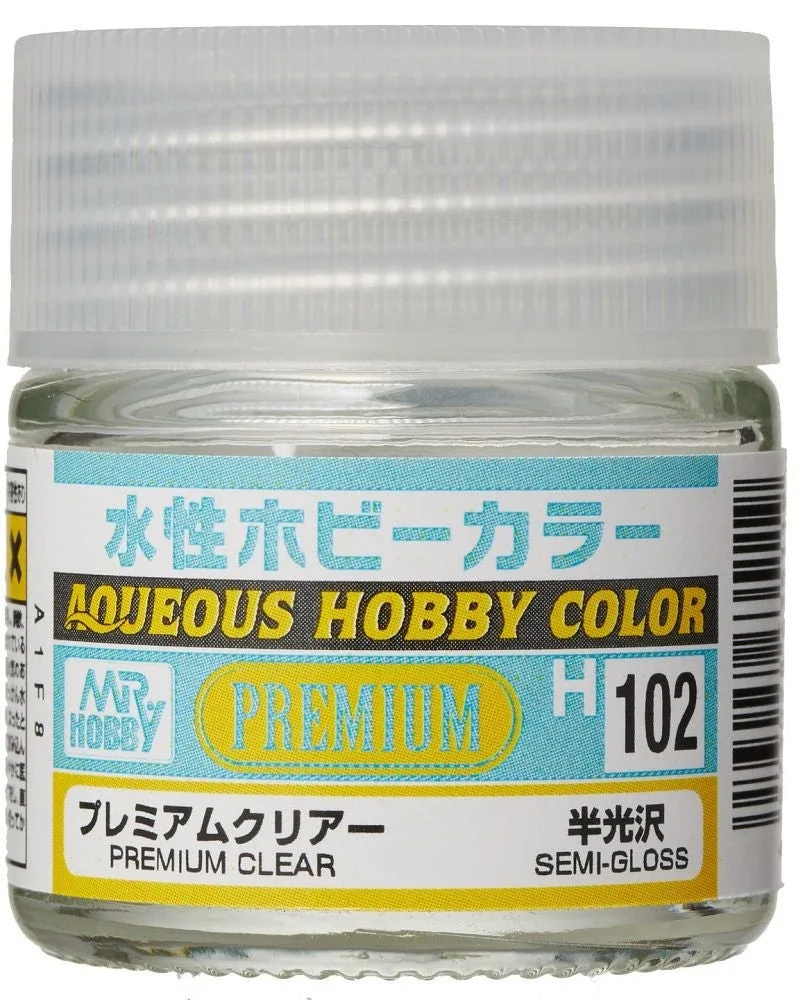
Aqueous - H102 Premium Clear Semi Gloss
- Apply gloss coat before decals and washes
- Finish with matte or semi-gloss coat after weathering
- Use high-quality clear coats for protection
Applying Tamiya XF-25 Light Sea Grey doesn't have to be intimidating. With proper preparation, thinning, and technique, you can achieve realistic camouflage that will make your aircraft model stand out. Remember to practice on scrap and take your time – the results are worth it. Happy modeling!