Quick answer
Start with one focal point near the center of the glass, place the largest clings first, then fill outward with smaller pieces from the GelGems® bag (small: autumn days). Keep gaps between shapes and check the view from outside before you commit.
Why a focal point beats scattering clings evenly
A fall window decor arrangement reads better when one area draws the eye. Without a focal point, small gel shapes can look like confetti and lose their autumn theme. Pick a single anchor shape or tight cluster, then let the rest of the design support it.
The small autumn days bag gives you a finite set of pieces, so deciding the anchor first prevents you from using the strongest shapes in low-visibility corners. It also makes a reusable gel clings layout easier to rebuild later because you remember the starting point.
Glass condition and placement limits
Gel clings need a smooth glass surface to stay put. Textured, frosted, or dirty panes can weaken adhesion, and direct sun or heat may make the gel softer. Test one cling in a less prominent spot before building the full display.
The catalog does not list a recommended temperature range or outdoor lifespan, so treat exterior use as a trial rather than a guarantee. Indoors, keep clings away from curious pets and very young children who might peel them off.
Six steps to arrange your autumn window display
- Map the focal point on paper: Sketch the window shape and mark one anchor area, such as the lower center or a corner visible from the room. Common mistake: starting with the smallest clings and ending up with a scattered look. Decide the anchor before opening the bag.
- Clean and dry the glass: Wipe the pane with a lint-free cloth and let it dry fully. Check for dust at the edges where clings will sit. Common mistake: applying clings to a warm, recently cleaned window while it is still damp. A dry, cool pane holds gel clings more reliably.
- Place the largest shapes first: Position the biggest autumn pieces around your focal point, leaving a finger-width gap between them. Check the spacing from both inside and outside. Common mistake: pressing down hard before you have checked the overall balance. Largest first, press lightly until the layout is set.
- Fill outward with smaller clings: Use the smaller pieces to lead the eye away from the anchor, keeping clusters loose rather than crowded. Common mistake: filling every empty space, which flattens the arrangement. Leave some glass bare so the autumn shapes stand out.
- Review from outside and inside: Step outdoors and look back through the window, then repeat from inside the room. Adjust any shape that blocks a sightline or looks off-balance. Common mistake: judging only from one side of the glass. The display should work from both viewpoints.
- Remove, rinse, and store for reuse: Peel the clings off gently, rinse them, and let them dry before returning them to the bag. Common mistake: stacking wet clings, which can make them stick together. Rinse and dry before storage keeps the set reusable.
Product facts
-
GelGems® bag (small: autumn days): The small autumn days bag contains vibrant gel window stickers that stick to glass and rinse clean without leaving a trace. You can rearrange the layout repeatedly through the season without adhesive residue or damage to the pane.
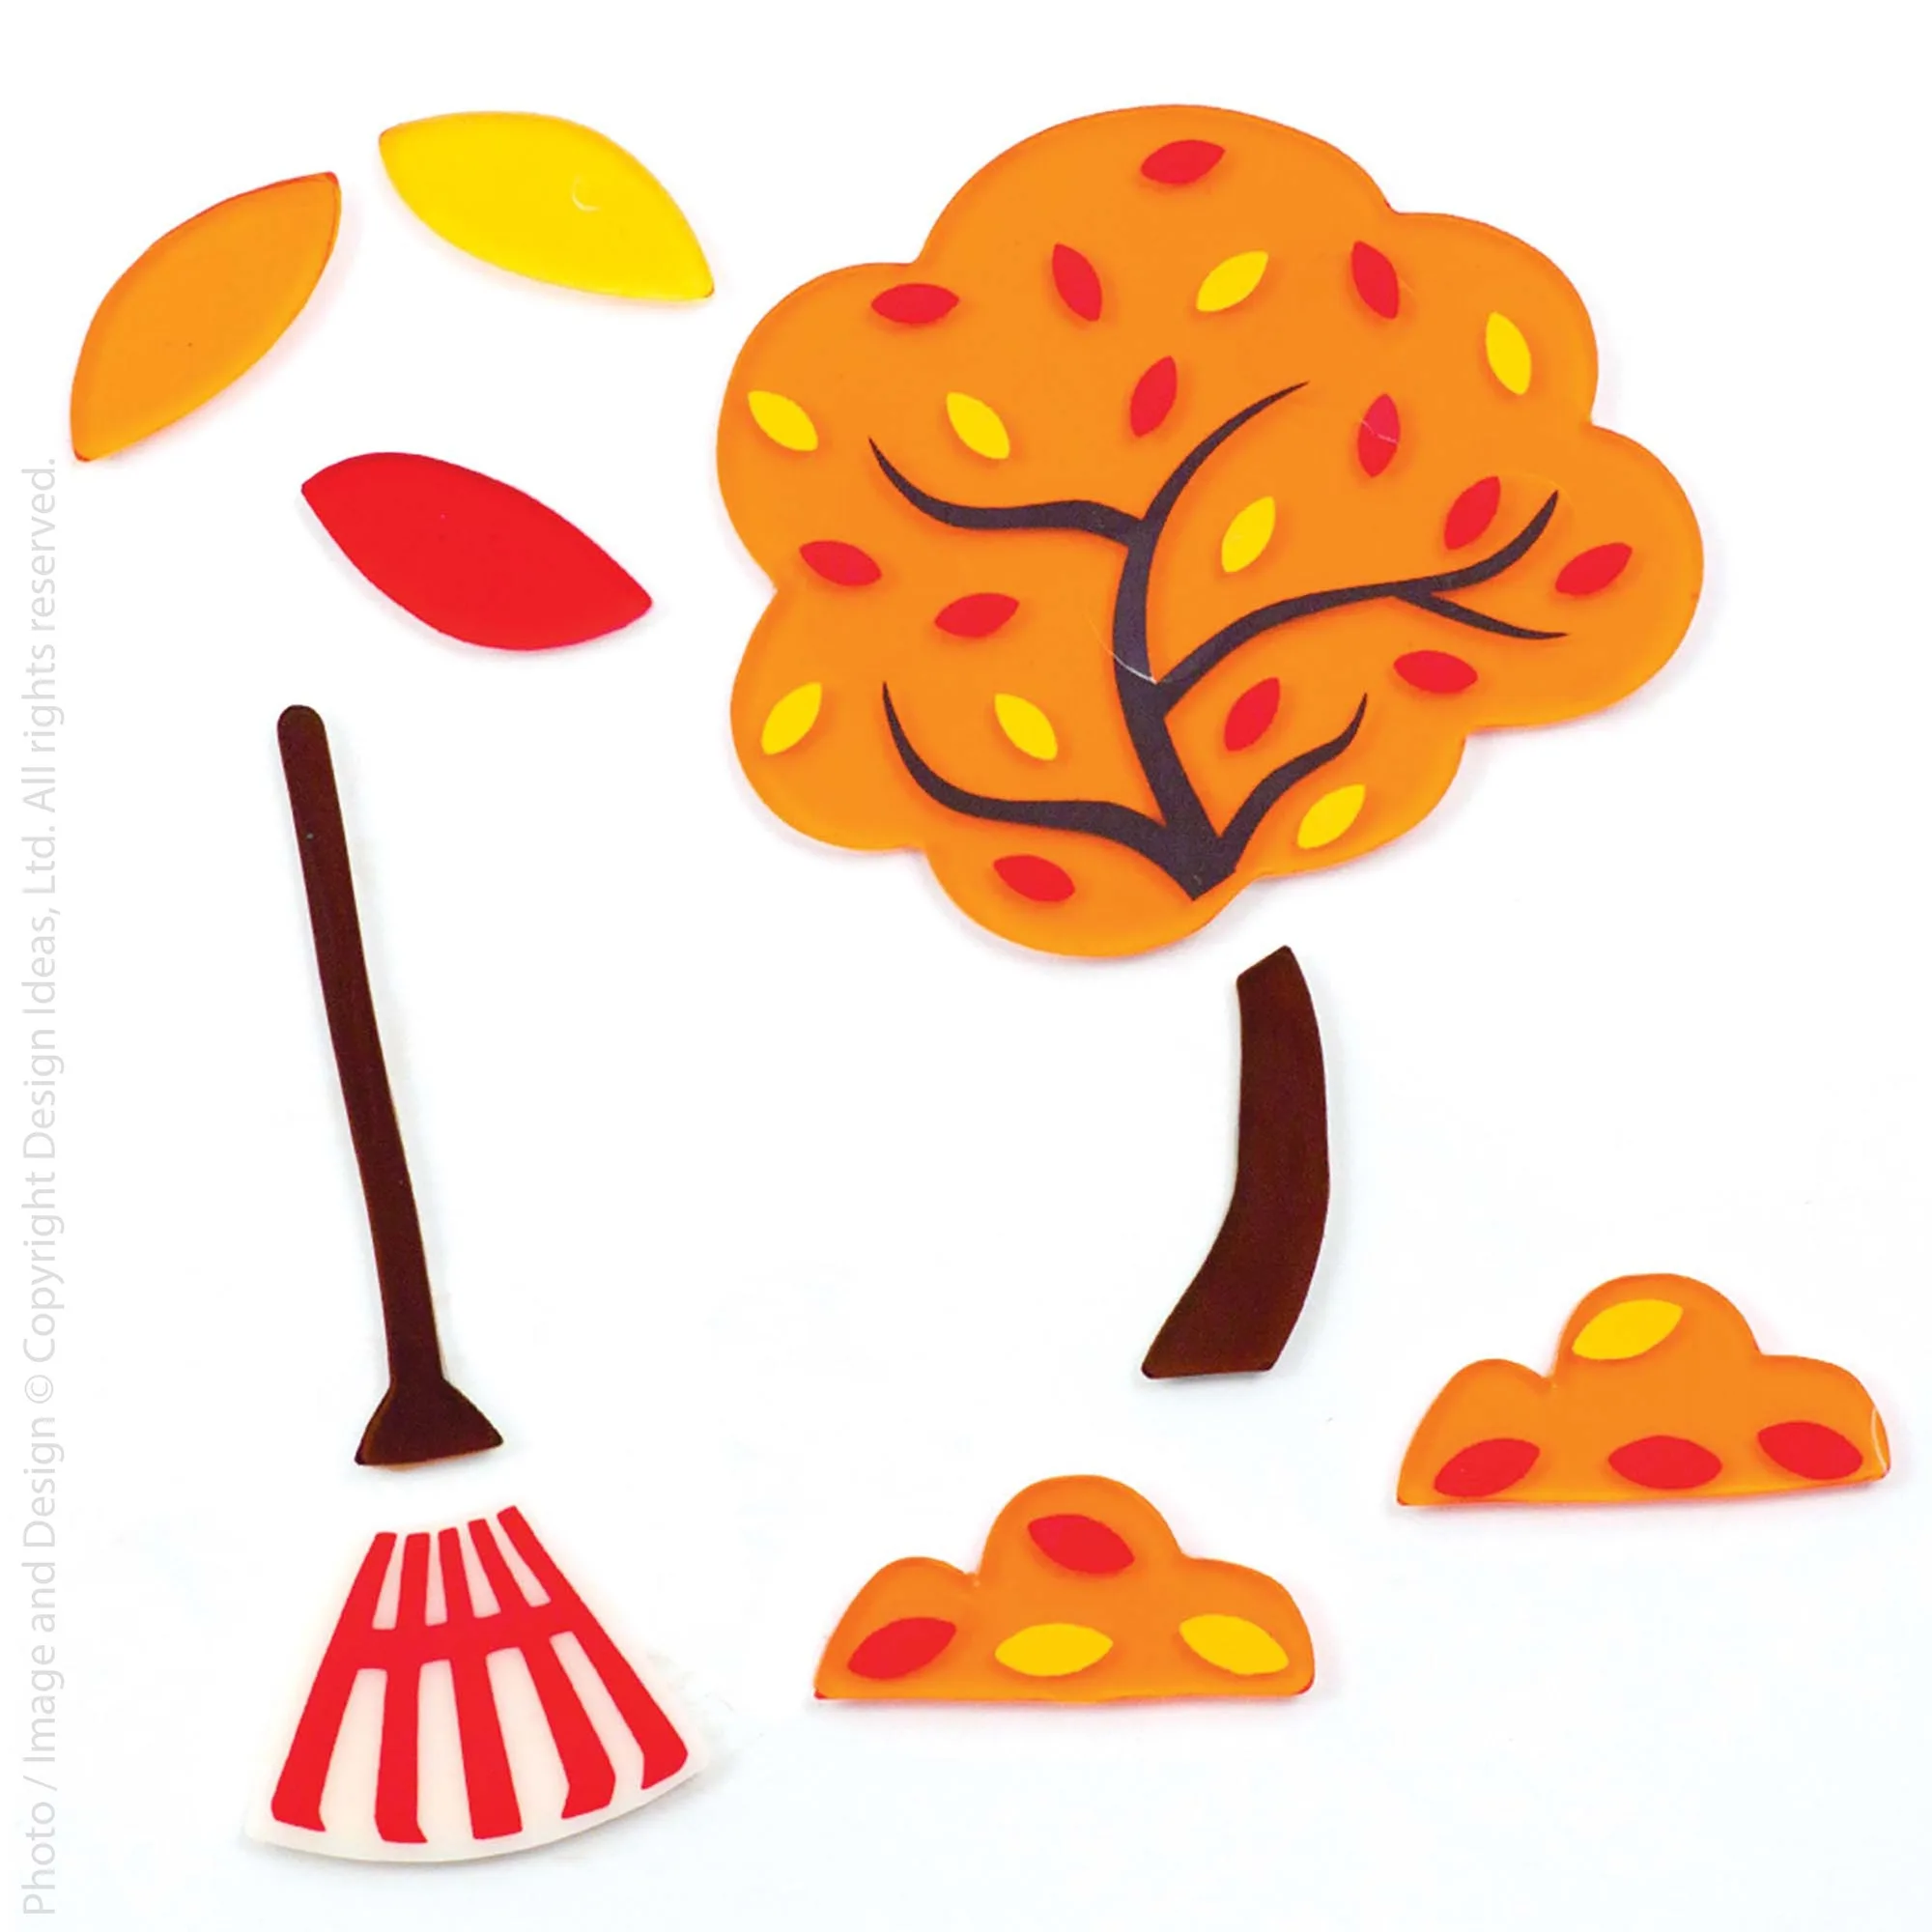
GelGems® bag (small: autumn days)