Quick Answer
Assemble the Compound Fence Pack by dry-fitting each panel, gluing with PVA, and reinforcing joints with a square to keep the fence straight and sturdy.
Why Assembly Order Matters
The Compound Fence Pack is supplied unassembled in kit form with full instructions. Because the fence sections are long and straight, the order you glue them affects how square the final runs are. If you attach posts before the rails are fully aligned, you can lock in a slight twist that is hard to correct later.
Dry-fitting the whole run before any glue is applied lets you see how the panels interlock and where you might need to clamp or hold pieces while the adhesive sets.
Choosing the Right Glue
PVA wood glue is the standard choice for MDF kits because it is strong, dries clear, and is easy to clean up with water. Super glue works faster but is less forgiving and can leave white residue if you make a mistake.
For long fence runs, PVA gives you working time to adjust alignment. If you want a faster bond on small joints, a thick super glue can be used, but keep it away from visible surfaces.
Step-by-Step Assembly
- Dry-fit the fence panels: Lay out all the fence panels and posts on a flat surface without glue. Connect the pieces to see how they fit and identify which ends are top and bottom. Check that the posts sit flush against the panels. Check that all tabs and slots align before applying any glue.
- Glue the first section: Apply a thin, even layer of PVA glue to the tabs and slots of the first panel and post. Press together and hold for 30 seconds. Use a small square to verify the post is at a right angle to the panel. Wipe off excess glue with a damp cloth before it dries.
- Build the fence in sections: Assemble the fence in manageable sections of two or three panels at a time. This keeps the glue from drying before you align the next piece and prevents the assembly from becoming too unwieldy. Let each section dry completely before adding the next to avoid shifting.
- Reinforce the joints: Once the main structure is dry, apply a small fillet of glue along the inside corners where posts meet panels. This adds strength without affecting the exterior look. Use a toothpick to apply glue precisely without smearing.
- Let it cure fully: Leave the assembled fence to cure for at least 24 hours before handling or painting. This ensures the joints are fully set and the fence will not twist or pull apart later. Place the fence on a flat surface while curing to keep it straight.
About the Kit
-
Compound Fence Pack (28mm): Supplied with approximately 3 metres (10ft) of fence posts, this Compound Fence Pack is the perfect way to enclose buildings and areas of land such as military facilities, factories, prisons or even ranches. This gives you enough material to surround a typical 28mm building or create a perimeter for a compound on your wargaming table.
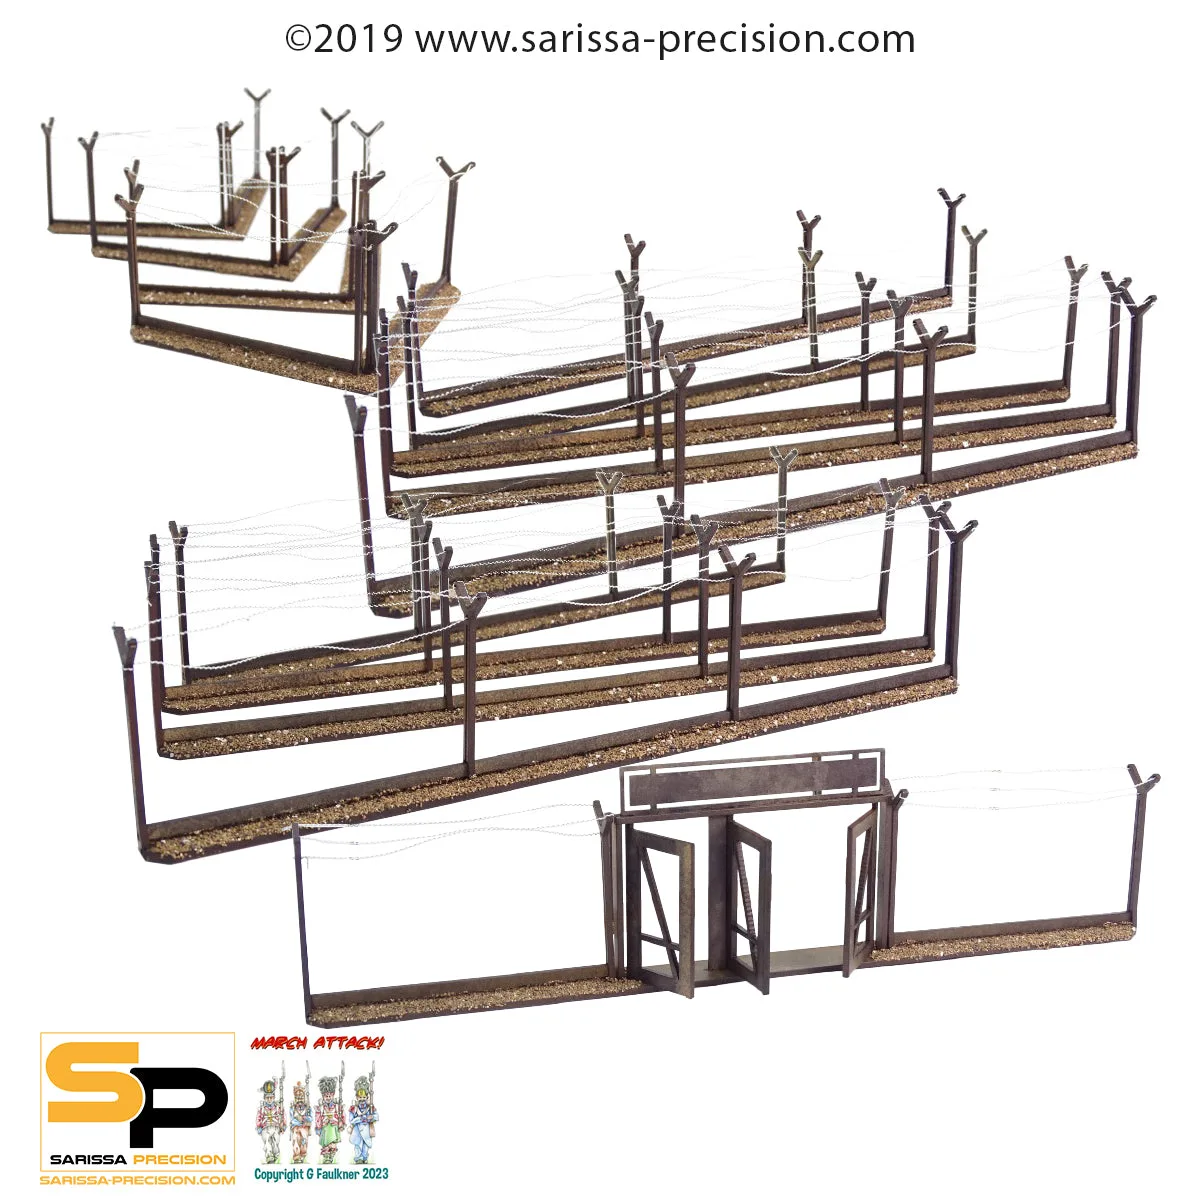
Compound Fence Pack (28mm)