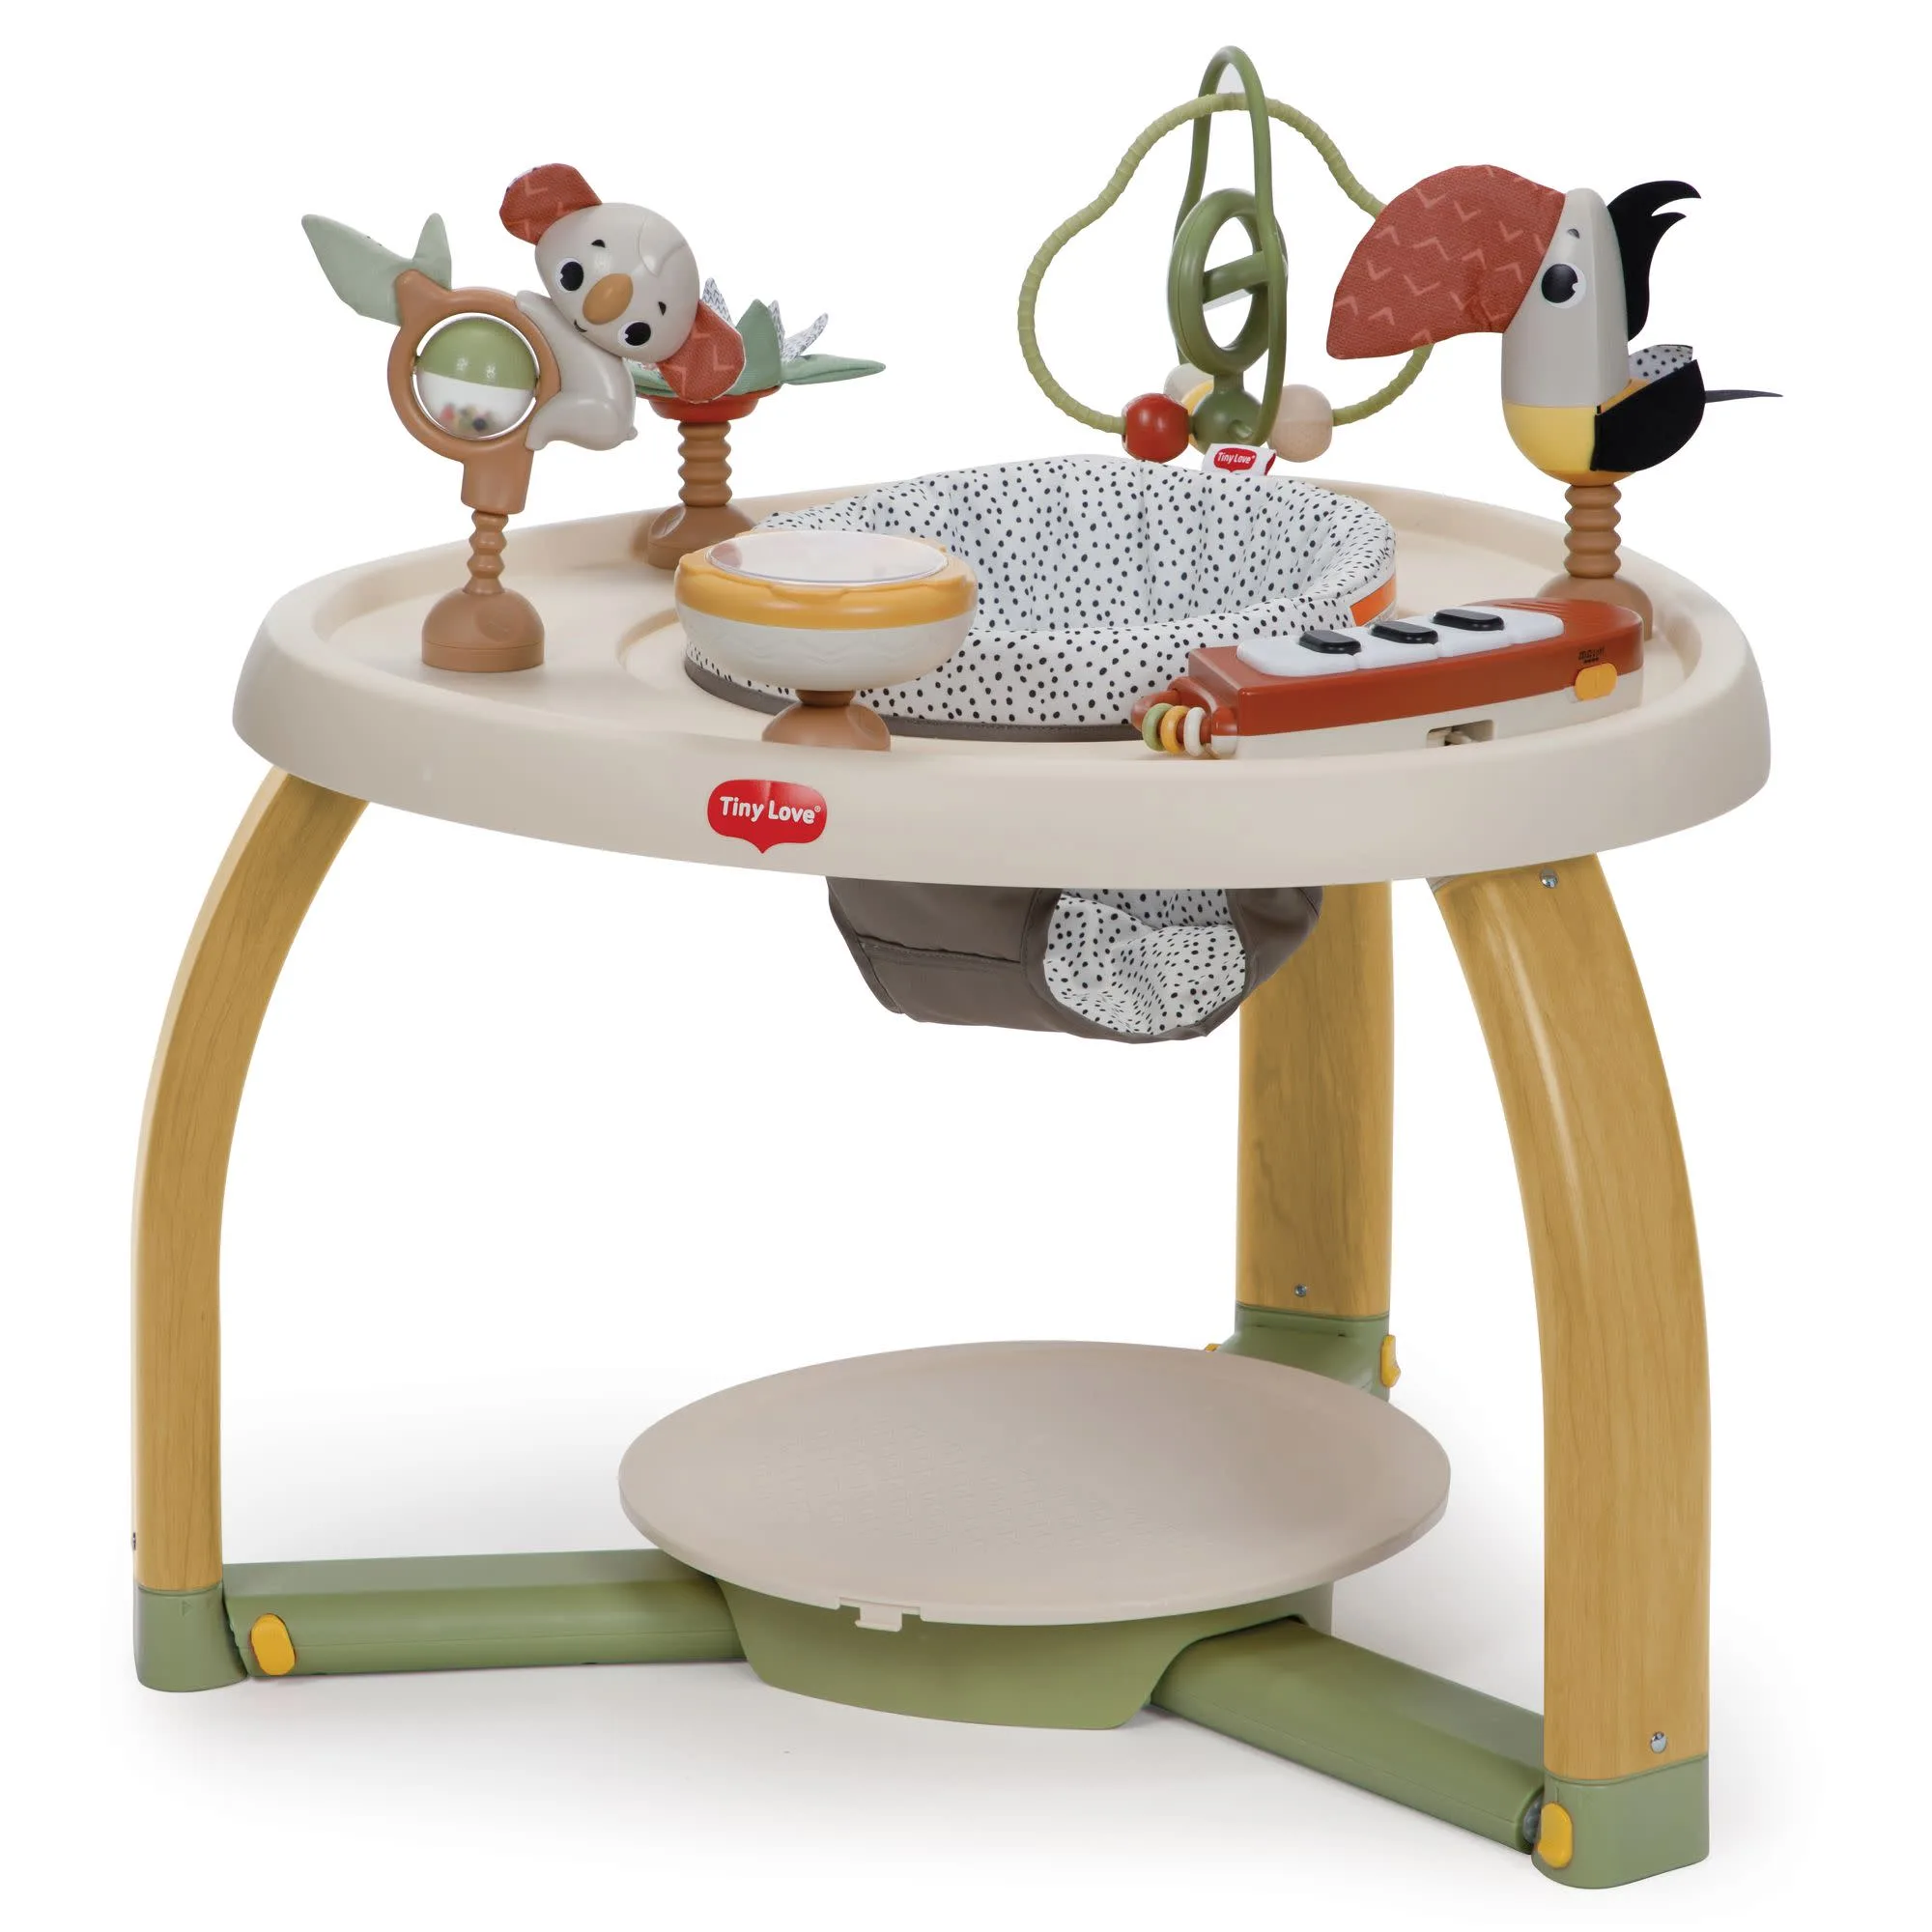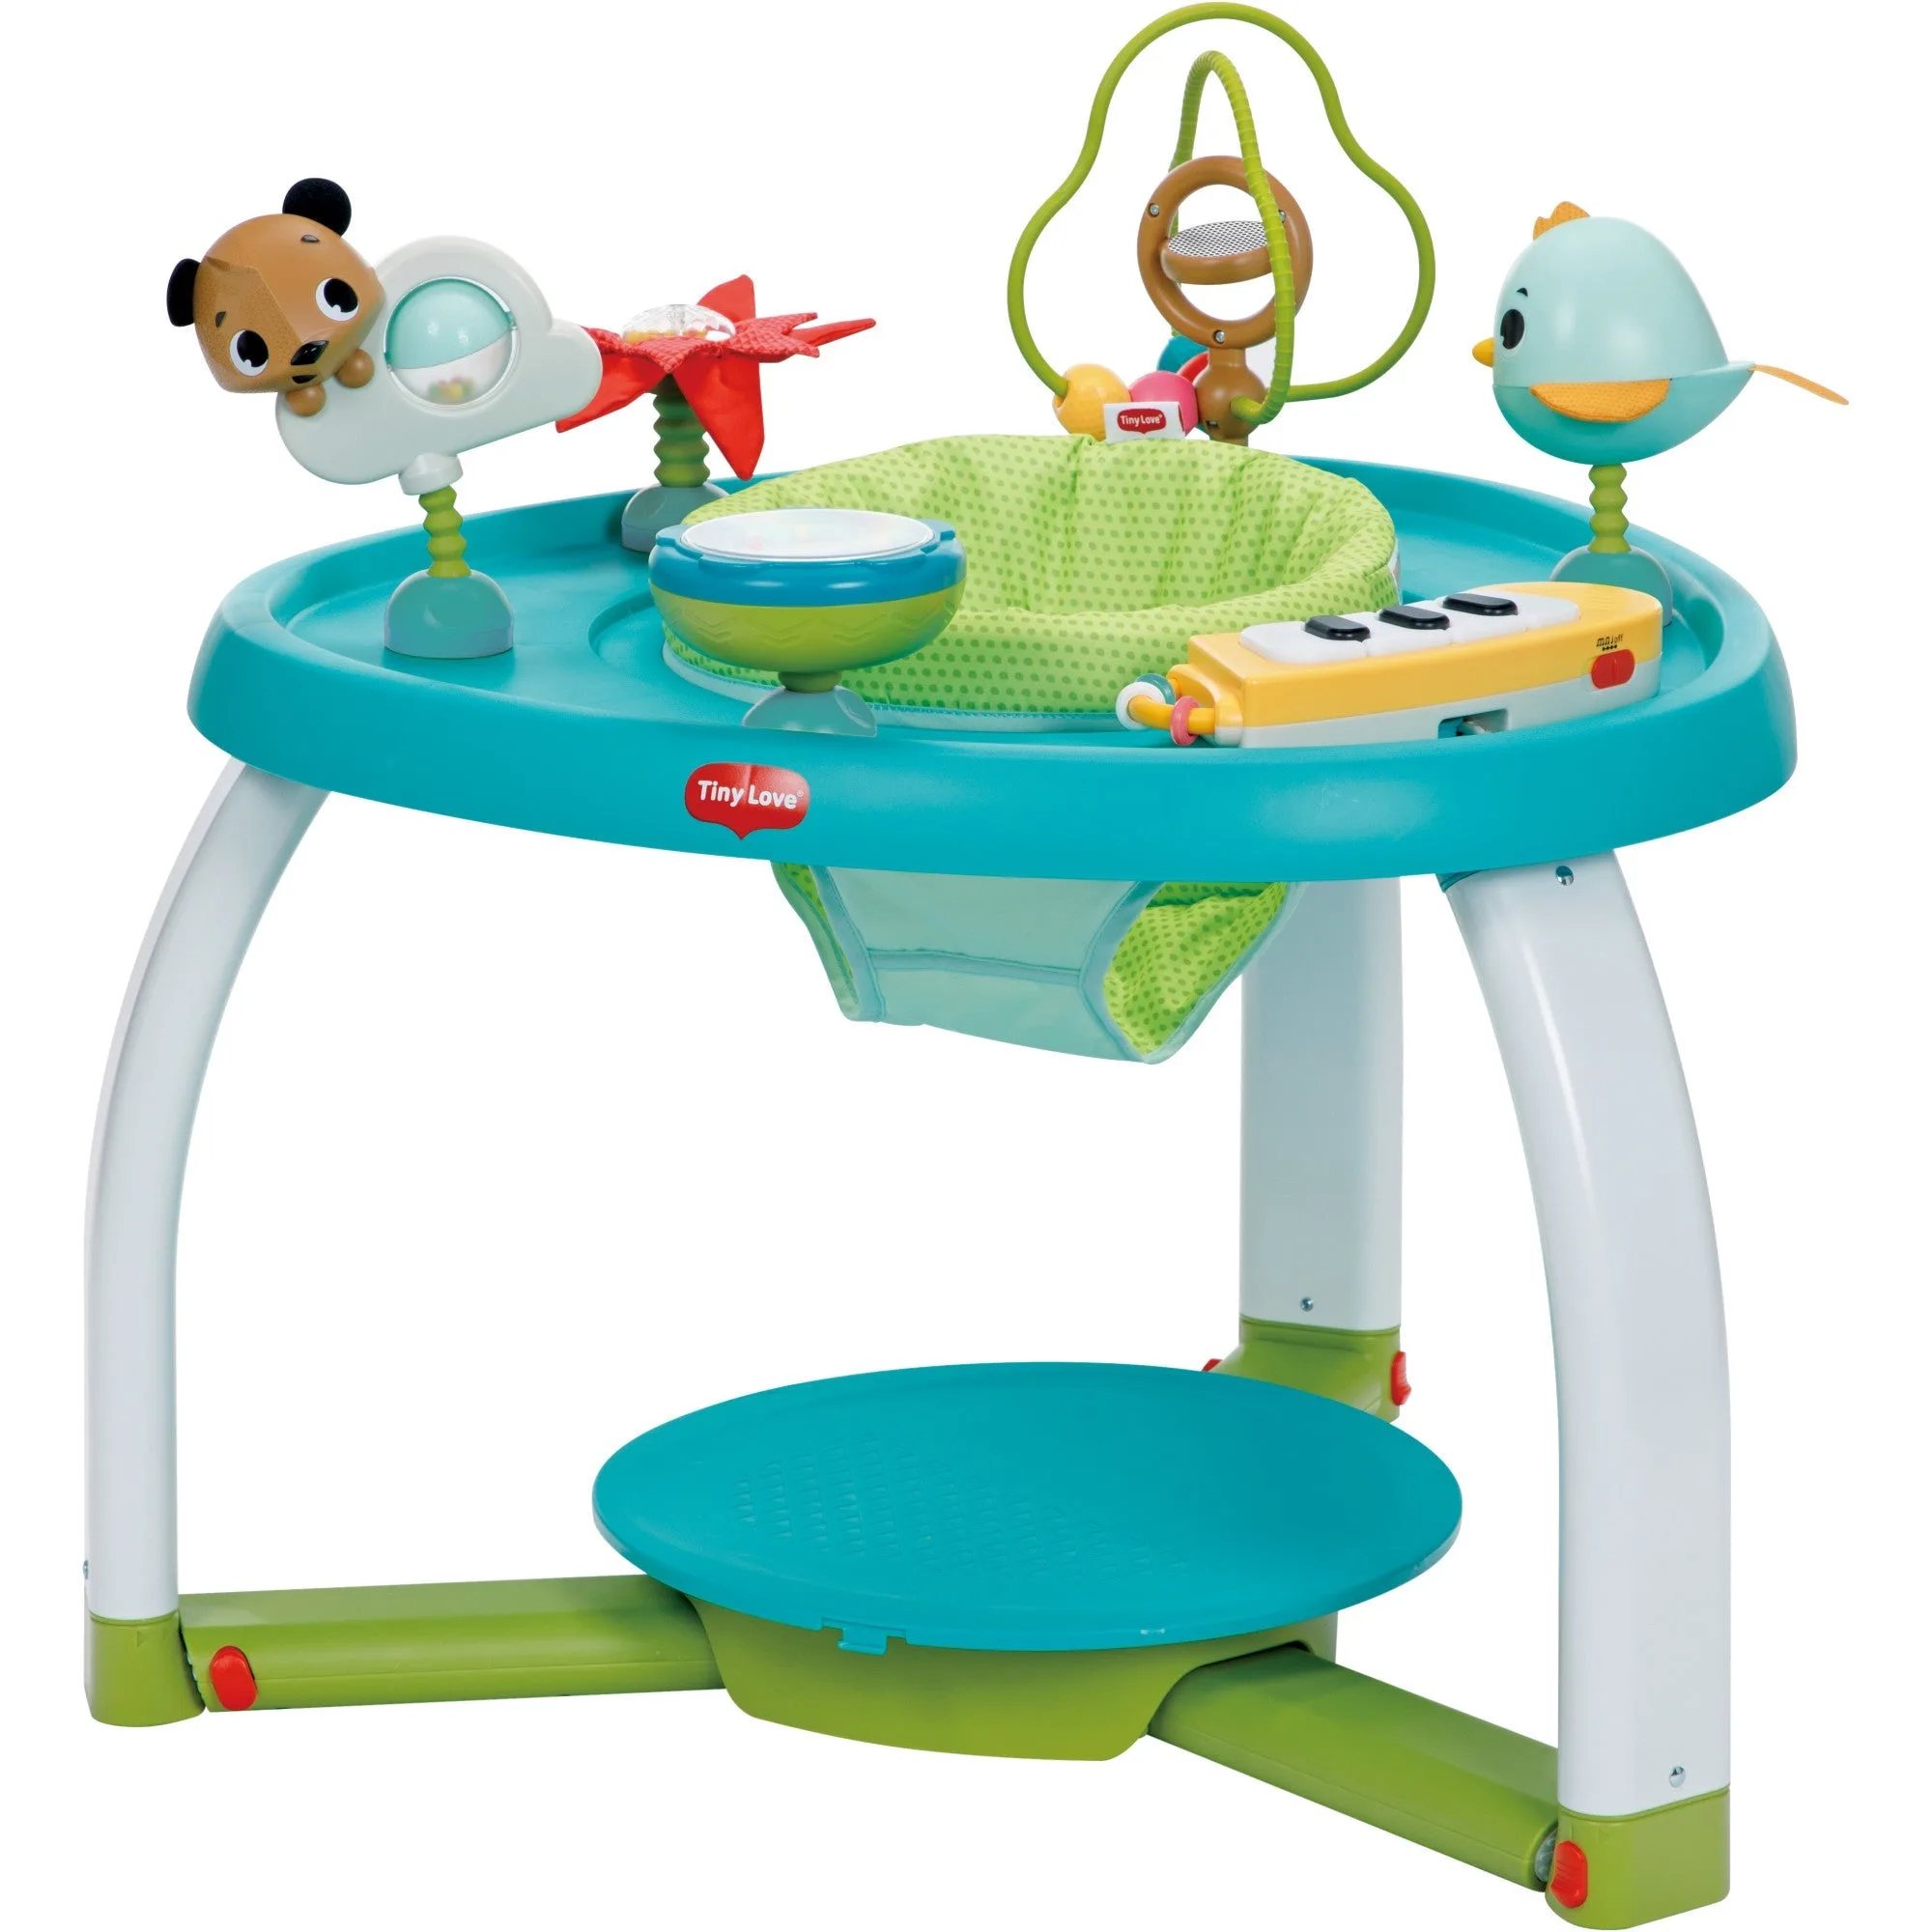
A 4-in-1 activity center is one of the most versatile developmental toys you can own. It grows with your baby from newborn tummy time to active toddler play, offering multiple ways to engage, learn, and have fun. But before your little one can enjoy all the benefits, you need to set it up correctly. This step-by-step guide will walk you through assembling and using a 4-in-1 Play and Go activity center, with practical tips to get the most out of every stage.
Whether you have the Tiny Bugs 4-in-1 Jump & Play Activity Center or the Meadow Days 5-in-1 Here I Grow Stationary Activity Center, the assembly process is similar. These centers are designed for easy setup and conversion, so you can quickly switch between modes as your baby reaches new milestones. Let’s get started.
Unboxing and Checking All Parts
Before you begin assembly, lay out all the parts on a clean, flat surface. Your 4-in-1 activity center typically includes a base frame, a seat pad, a toy bar with detachable toys, a play mat, and support legs. Check the instruction manual for a complete list. Make sure nothing is missing or damaged. If you have the Tiny Bugs 4-in-1 Jump & Play Activity Center, you will also find a spring mechanism for the jump mode and a few interactive toys like rattles and mirrors.
Take a moment to inspect each piece. The plastic parts should be free of sharp edges, and the fabric components should be securely stitched. If anything looks off, contact customer support before proceeding. A quick initial check saves time and ensures safety.
- Lay out all parts and compare with the manual's diagram.
- Inspect for damage or missing screws, clips, or fabric pieces.
- Keep small parts like screws away from children during assembly.
Step 1: Assemble the Base Frame
The base frame provides stability for the entire activity center. Start by connecting the two main support legs. Most models use a click-lock mechanism or simple screw system. Align the legs with the central hub and press firmly until you hear a click. For screw-based models, use the provided Allen key or screwdriver to tighten each connection. Ensure the frame sits flat on the floor.
If your activity center includes a stationary mode, the base will have a wide, sturdy footprint. For the Tiny Bugs 4-in-1 Jump & Play Activity Center, the base includes a spring-loaded platform that allows bouncing. Make sure the springs are properly attached and not twisted. Test the stability by gently pressing down on the center.
Step 2: Attach the Seat Pad and Safety Harness
The seat pad is where your baby will sit during the stationary and jump modes. Slide the seat pad over the central hub and secure it with the provided straps or Velcro. Most pads are machine washable, so handle them with clean hands. Next, attach the safety harness. The harness usually has a waist belt and a crotch strap that buckle together. Adjust the straps to fit your baby snugly but comfortably.
For the Meadow Days 5-in-1 Here I Grow Stationary Activity Center, the seat pad is designed to rotate 360 degrees, allowing your baby to reach toys from all sides. Make sure the harness clips are not twisted and that the buckle clicks securely. Always test the harness by gently pulling on it after fastening.
- Check that the seat pad is centered and level.
- Adjust harness straps so they are snug but not tight.
- Ensure the buckle is fully engaged and cannot be easily undone by a baby.
Step 3: Install the Toy Bar and Interactive Toys
The toy bar is the heart of the activity center. It typically arches over the seat and holds several detachable toys. Insert the toy bar into the designated slots on the base frame. Some models require you to slide the bar into a bracket and twist to lock it in place. Once secure, attach the toys. Common toys include rattles, mirrors, teethers, and crinkle fabrics.
Position the toys so they are within your baby's reach but not too close to their face. For the Tiny Bugs 4-in-1 Jump & Play Activity Center, the toy bar includes a musical module and a spinning ball. Make sure batteries are installed if needed. Test each toy to ensure it moves freely and makes sounds as expected.
- Attach toys in a variety of positions to encourage reaching and grasping.
- Check that all toy attachments are secure and cannot be pulled off.
- If using battery-operated toys, install batteries before attaching.
Step 4: Convert Between Modes (Tummy Time, Stationary, Jump, and Take-Along)
One of the best features of a 4-in-1 activity center is its ability to transform. For tummy time, remove the seat pad and lay your baby on the play mat under the toy bar. For stationary mode, keep the seat pad attached and adjust the height so your baby's feet touch the floor or base. For jump mode, engage the spring mechanism (if available) and let your baby bounce. For take-along mode, detach the toy bar and use it as a standalone play tray.
Always follow the manufacturer's instructions for mode changes. For example, the Meadow Days 5-in-1 Here I Grow Stationary Activity Center includes a height adjustment knob that lets you raise or lower the seat as your baby grows. Make sure all locking mechanisms are engaged before placing your baby in any mode.
- Practice switching modes a few times before using with your baby.
- Keep the instruction manual nearby for quick reference.
- Use the tummy time mode daily to strengthen neck and shoulder muscles.
Safety Checks Before Each Use
Before placing your baby in the activity center, perform a quick safety check. Ensure the base is stable and not wobbling. Verify that all screws, clips, and locks are tight. Check the harness for wear and tear. Make sure the toy bar is securely attached and that no small parts can be removed and swallowed. Also, inspect the play mat for any loose threads or damage.
Never leave your baby unattended in the activity center, especially during jump mode. Place the center on a flat, non-slip surface away from stairs, furniture edges, and heat sources. Limit usage to 20–30 minutes per session to avoid overstimulation. Following these safety tips will keep your baby happy and secure.
- Wipe down the seat pad and toys with a damp cloth after each use.
- Store the activity center in a dry area when not in use.
- Replace any damaged parts immediately.
Tips for Maximizing Developmental Benefits
A 4-in-1 activity center is more than just a play station; it's a tool for growth. Use the tummy time mode to build neck and upper body strength. In stationary mode, encourage your baby to reach for toys to develop hand-eye coordination. The jump mode strengthens leg muscles and helps with balance. The take-along mode is perfect for travel or outdoor play, keeping your baby engaged while you're on the go.
Rotate the toys every few days to maintain novelty. Sing songs or make sounds to encourage auditory tracking. Use the mirror toy to promote self-recognition. For babies who are learning to sit, the stationary mode provides a safe environment to practice. Remember, every baby develops at their own pace, so follow their cues and have fun.
- Place the activity center in a well-lit room with minimal distractions.
- Join your baby during playtime to interact and encourage exploration.
- Use the center as part of a daily routine, such as after naps or meals.
Assembling and using a 4-in-1 activity center is straightforward when you follow these steps. From unboxing to mode conversion, each stage is designed with your baby's safety and development in mind. The Tiny Bugs 4-in-1 Jump & Play Activity Center and the Meadow Days 5-in-1 Here I Grow Stationary Activity Center are excellent choices that offer long-lasting value. Start exploring all the modes today and watch your baby reach new milestones with joy and confidence.