Quick answer
To assemble a MakerWall workshop set, start by planning the layout, then mount the pegboard securely to wall studs, attach accessories like the Mason Jar Rack, and add the desk if included. Use the wall-mounted design to create a dedicated, accessible workspace that encourages independence and organization for kids.
A MakerWall workshop set transforms any wall into a versatile workspace for kids, whether for homework, art, or STEM projects. With the right assembly and organization, you can create a Montessori-inspired environment that fosters independence and creativity. This guide walks you through the process step by step, from planning to final touches.
We'll cover how to mount the pegboard, attach accessories like the Mason Jar Rack, and set up the desk for optimal use. You'll also learn practical tips for customizing the space to suit your child's needs and keeping it tidy.
Planning Your MakerWall Workshop Layout
Before you start drilling holes, take time to plan where your MakerWall will live. Choose a wall with enough clear space for the pegboard and any accessories you plan to attach. Consider the child's height and reach—items used frequently should be at arm's level, while less-used or potentially hazardous items can go higher.
Think about the activities your child will do. A dedicated homework desk might need a mounted desk set, while a craft area could benefit from extra shelves and jars. Sketch a rough layout on paper, marking where each component will go. This prevents mistakes and ensures a balanced, functional design.
- Measure the wall area and mark stud locations before mounting.
- Plan for future adjustments—leave room to add more accessories later.
Mounting the MakerWall Pegboard Securely
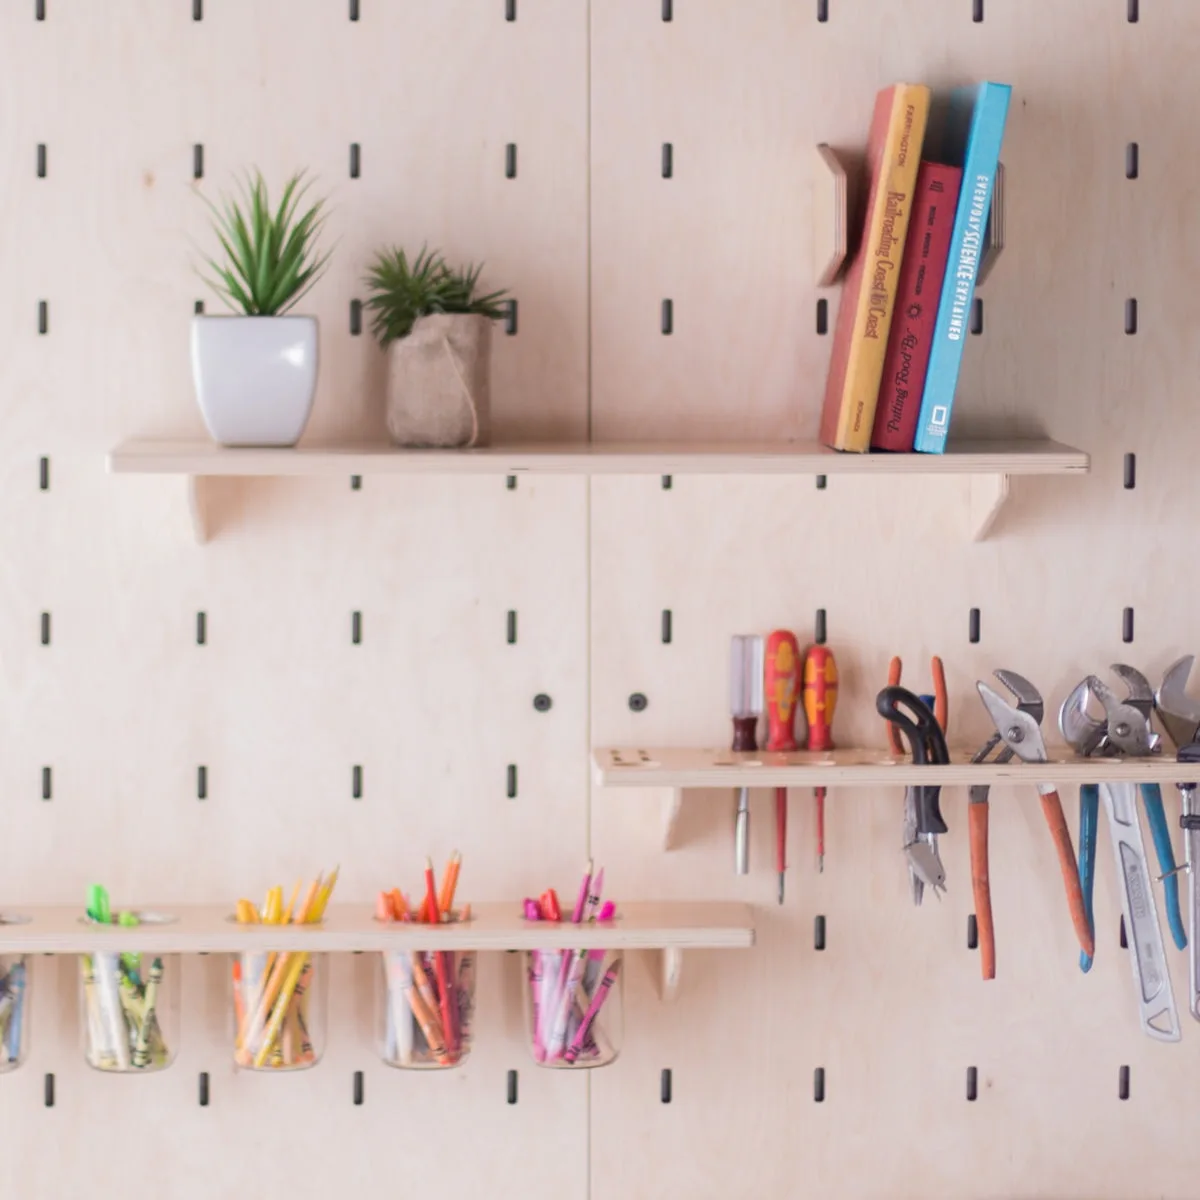
MakerWall Pegboard
The pegboard is the backbone of your workshop. It comes in various sizes and orientations, so choose one that fits your space and needs. Mount it directly to wall studs for maximum stability, especially if you'll be hanging heavier items or using it as a desk support.
Use a level to ensure the pegboard is straight, and pre-drill pilot holes to avoid splitting the wood. Secure with appropriate screws and anchors if you can't hit studs. Double-check that it's firmly attached before adding any accessories—safety first.
- Always use a stud finder to locate wall studs for a secure mount.
- If mounting on drywall without studs, use heavy-duty anchors rated for the weight.
Attaching Accessories and Organizing Tools
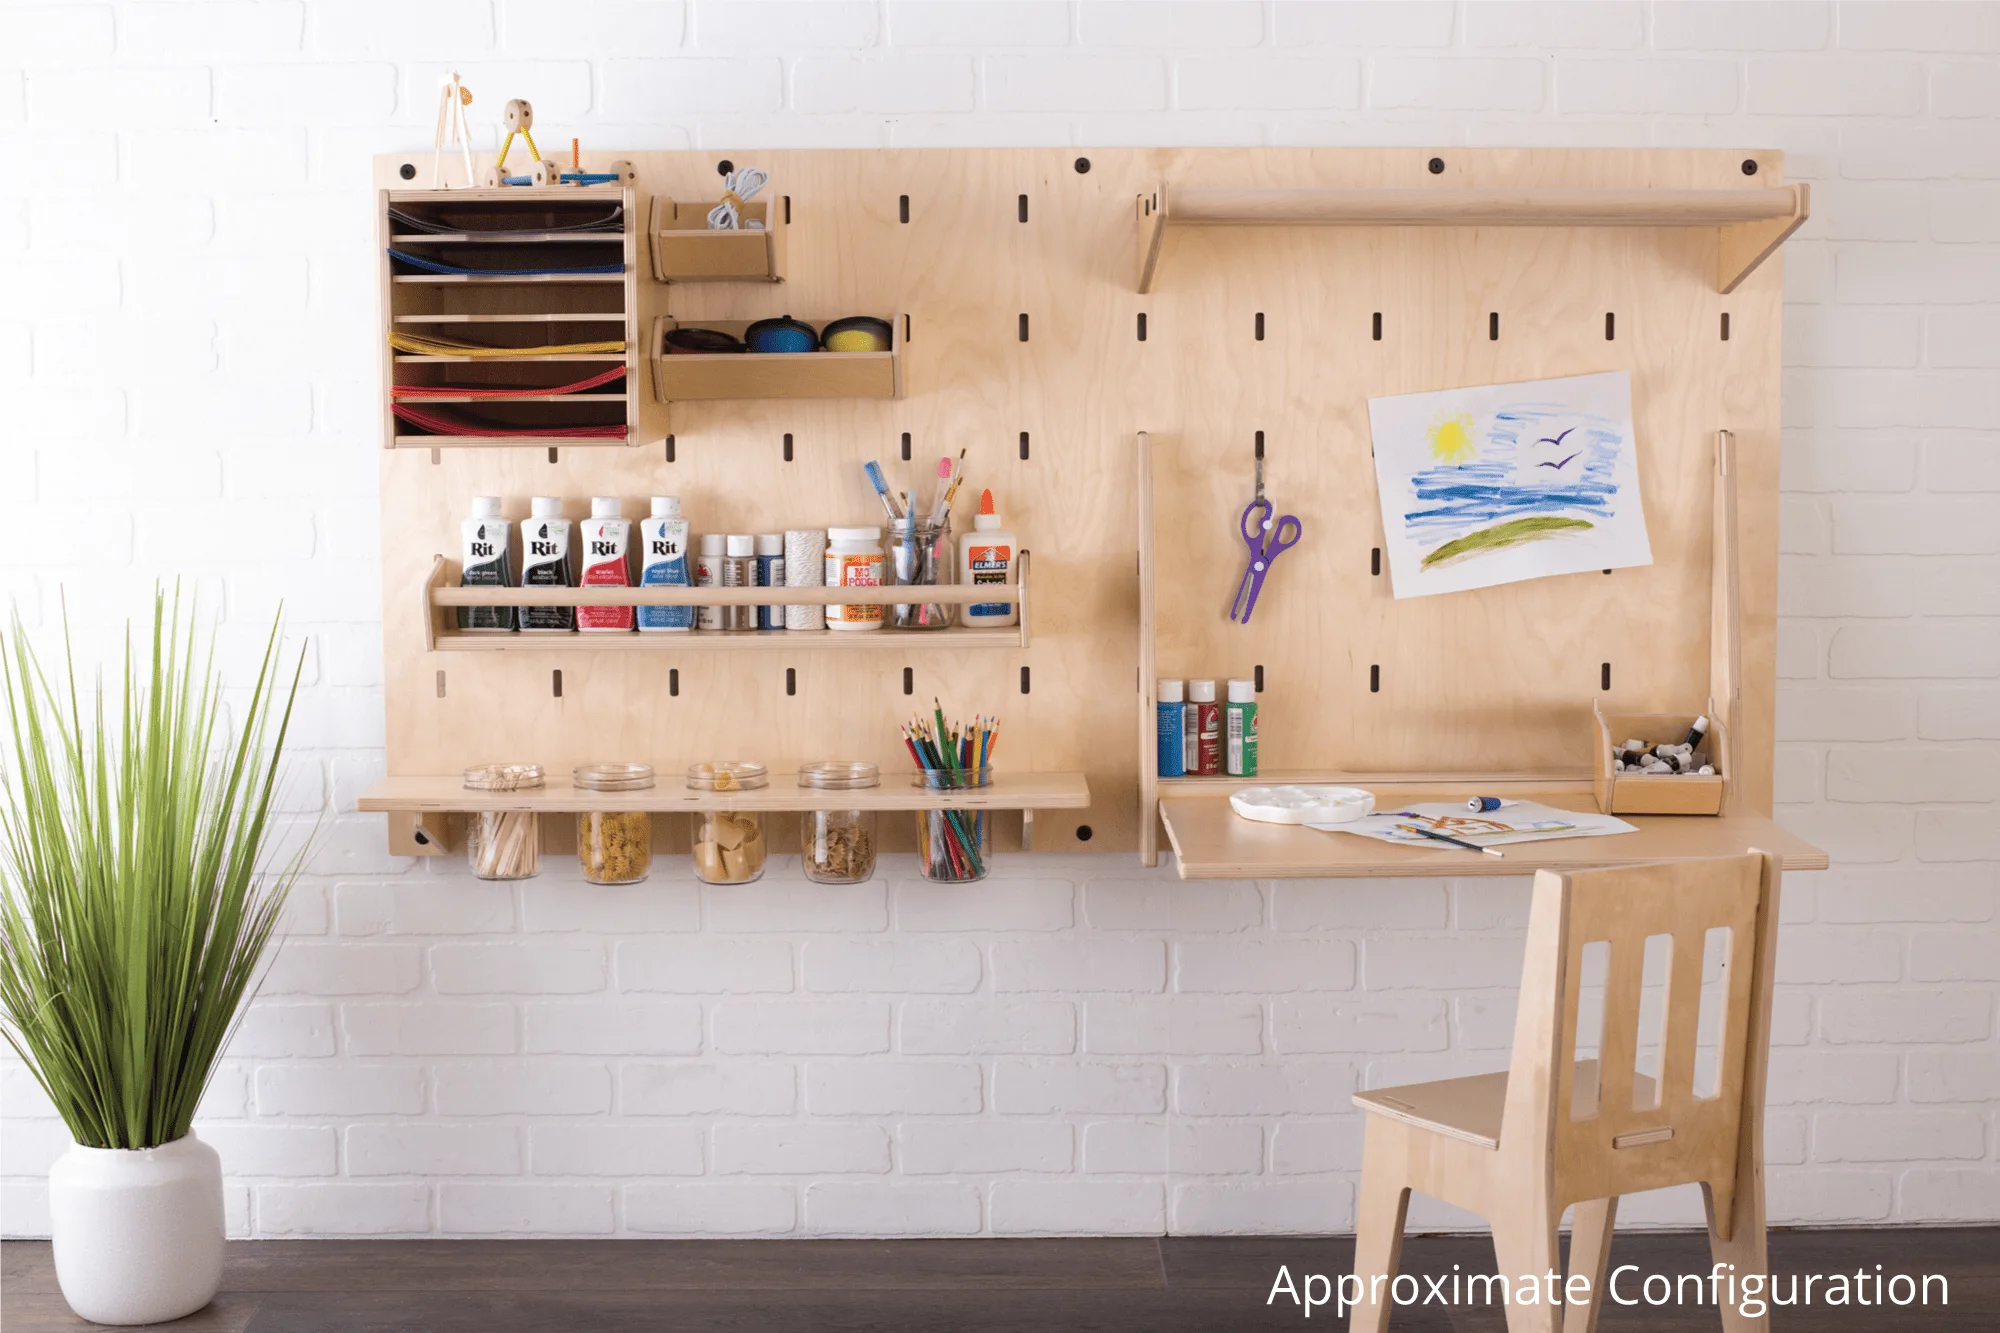
Once the pegboard is up, you can attach accessories like the MakerWall Mason Jar Rack. This rack is perfect for storing craft supplies, pantry staples, or small treasures. Jars screw in from underneath for permanent storage or sit on top for quick access. Place it at a height where your child can easily reach and replace jars.
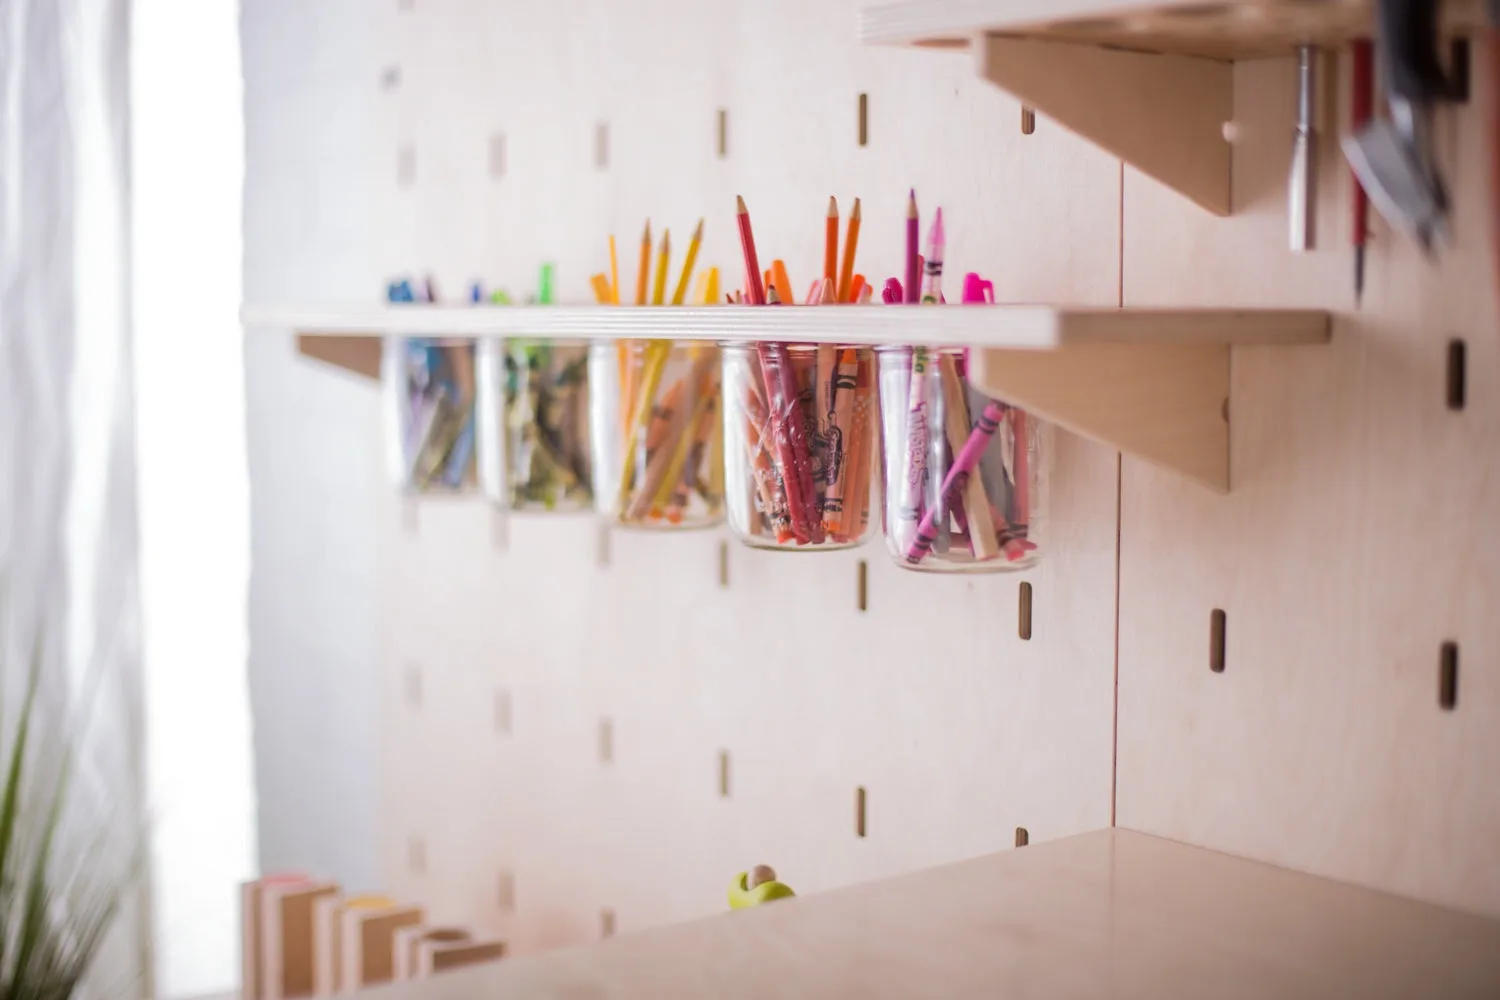
MakerWall Mason Jar Rack
For a complete workshop, consider adding the MakerWall Mounted Desk Set. This wall-mounted pegboard and desk accommodates any family member's needs, with adjustable accessories for storage and easy access to essentials. Arrange the desk at the right height for your child, ensuring their feet rest flat on the floor and elbows are at a 90-degree angle.
- Use the Mason Jar Rack to keep small items visible and within reach.
- Adjust desk accessories to suit different activities, from homework to art.
Step-by-Step Assembly Guide
- Step 1: Plan and Measure: Choose the wall location, measure the area, and mark stud locations. Sketch your layout, considering the child's height and reach. Checkpoint: Ensure the planned layout leaves enough space for the pegboard and accessories without crowding.
- Step 2: Mount the Pegboard: Use a level to mark screw holes, pre-drill pilot holes, and attach the pegboard securely to wall studs with appropriate screws. Checkpoint: Give the pegboard a firm tug to confirm it's solidly mounted before proceeding.
- Step 3: Attach Accessories: Install the Mason Jar Rack and other accessories at desired heights. For the desk, attach the mounted desk set according to the manufacturer's instructions. Checkpoint: Verify all accessories are level and securely fastened.
- Step 4: Organize and Customize: Arrange tools, supplies, and jars in a logical order. Adjust the desk height and accessory positions to suit your child's needs. Checkpoint: Test the setup by having your child use it—make adjustments for comfort and accessibility.
Key Products for Your MakerWall Workshop
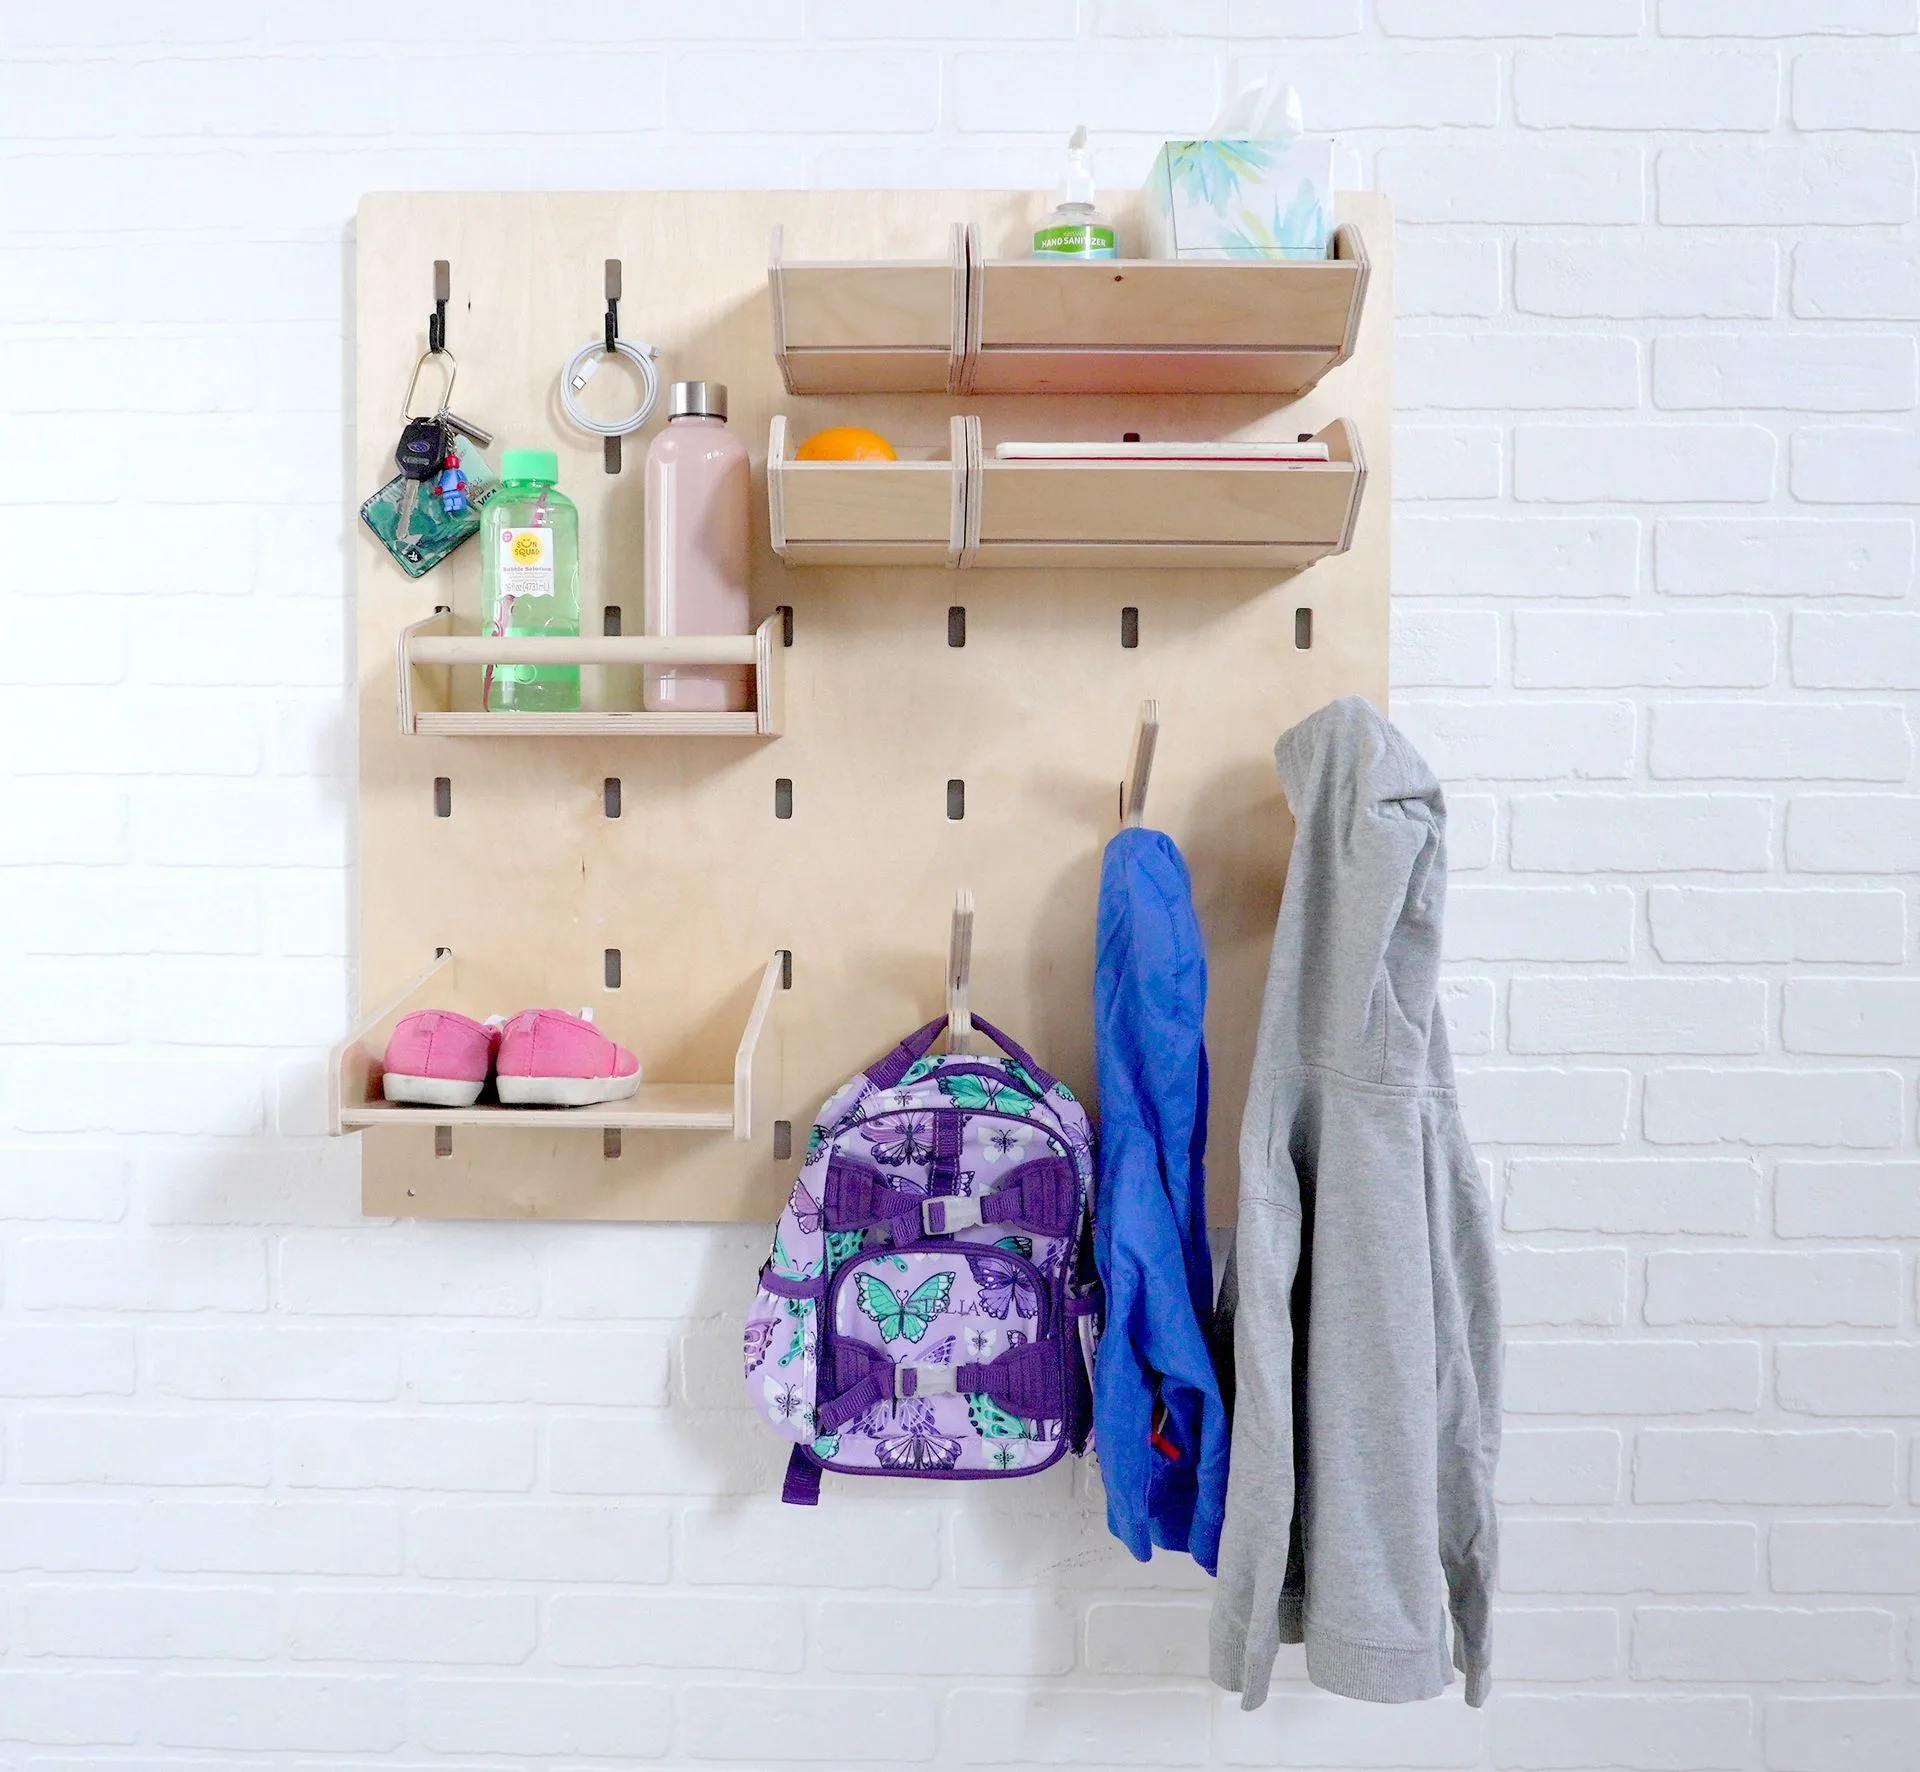
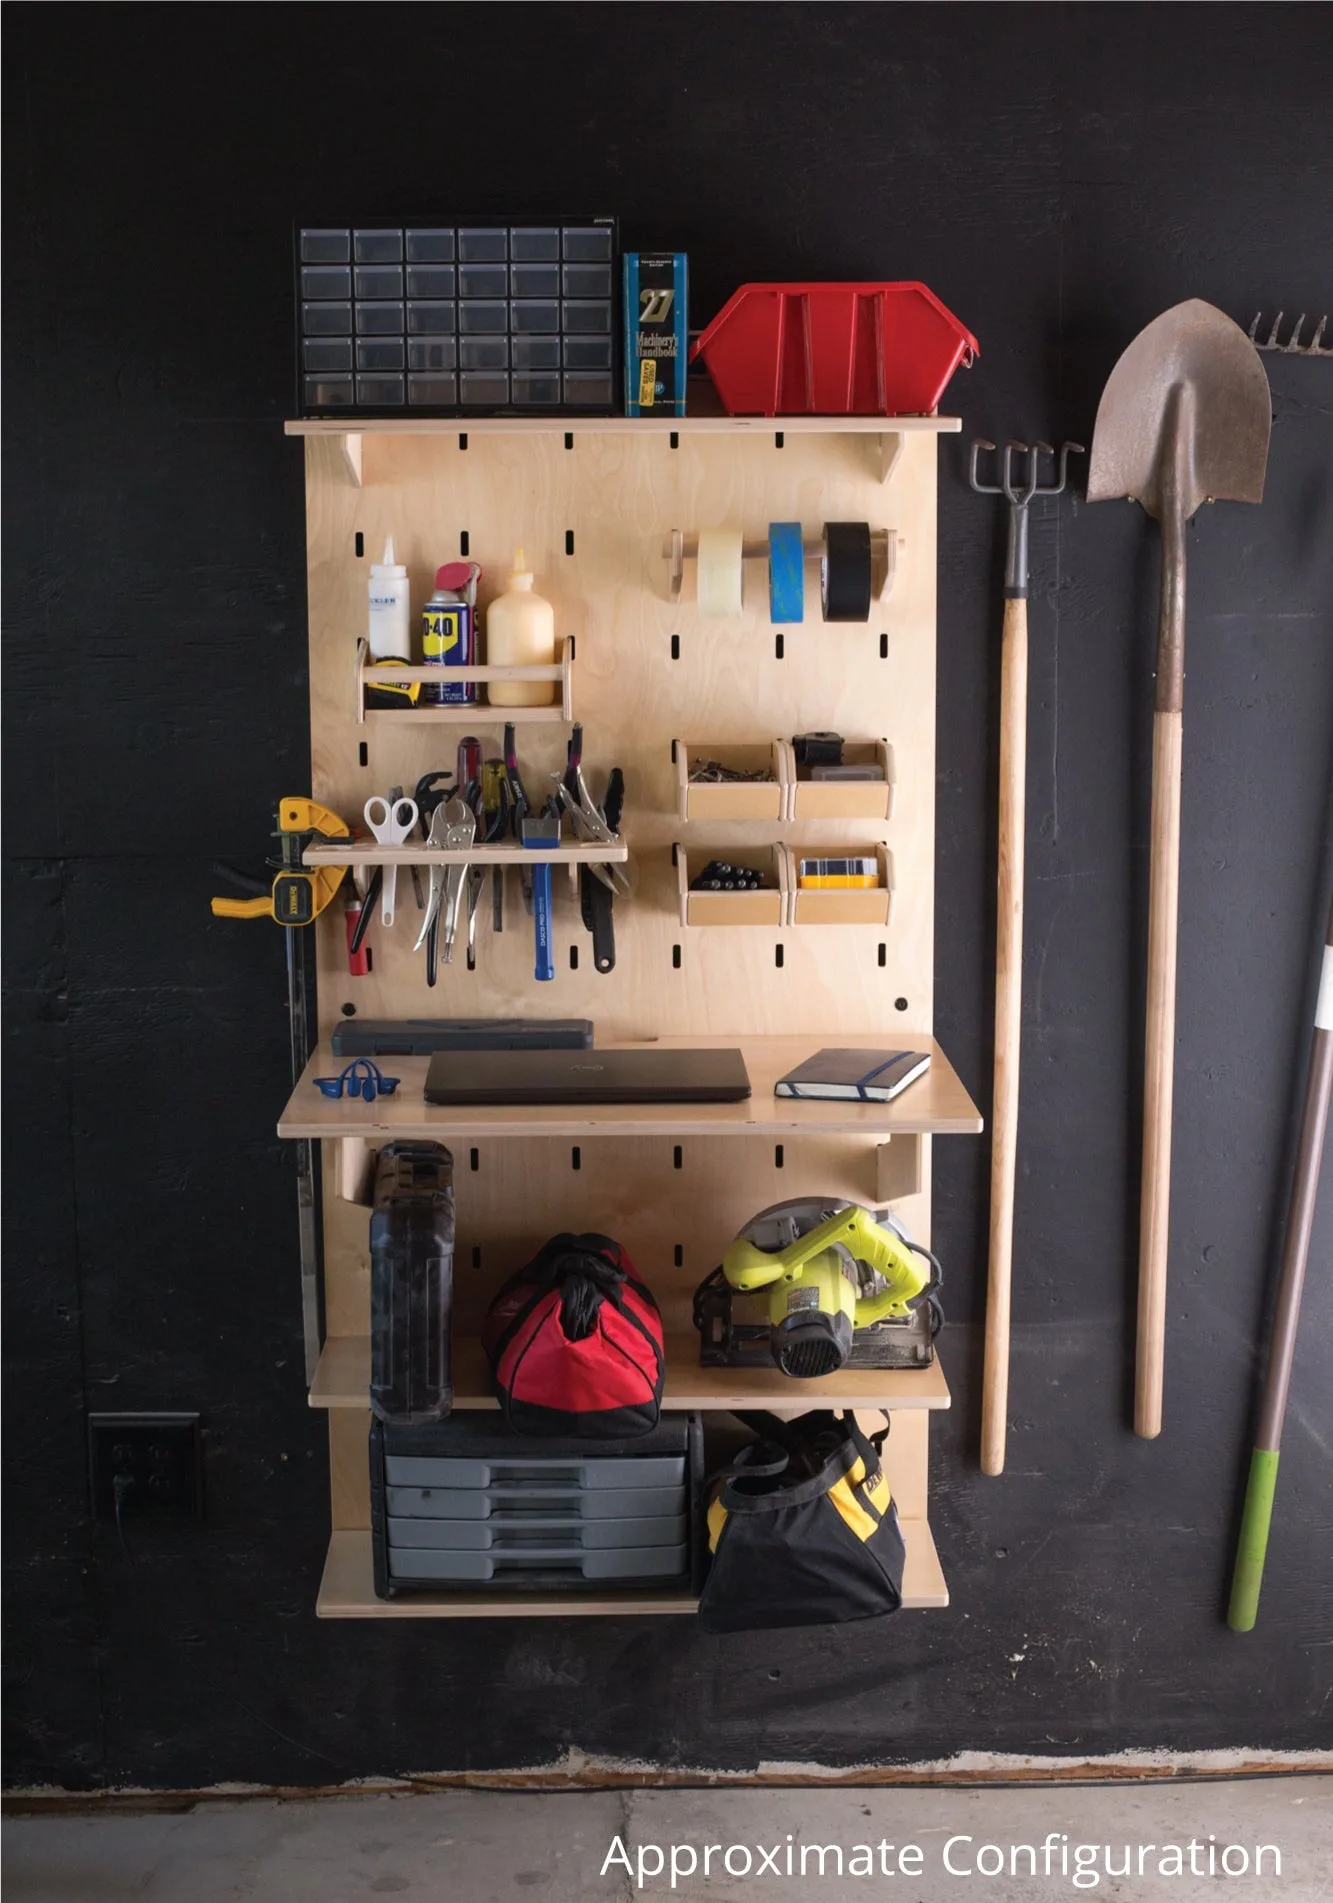
- MakerWall Pegboard: MakerWall Pegboards come in a variety of sizes to fit your space, with both vertical and horizontal orientations. By design, they can be placed directly above/below/to the side of each other to fill all the possibilities of your vision. This flexibility lets you expand your workshop over time, adding more pegboards as your child's interests grow.
- MakerWall Mason Jar Rack: Designed for creative spaces, kitchens, or playrooms, this shelf is perfect for storing craft supplies, pantry staples, or small treasures. Compatible with wide-mouth Mason jars (3.38-inch diameter), jars can be securely screwed in from underneath for permanent storage or placed in from the top for quick and easy removal. It keeps small items organized and visible, encouraging kids to put things back in their place.
- MakerWall Mounted Desk Set: Create a space for learning and new ideas. This wall-mounted pegboard and desk can accommodate the needs of any member of your family. Arrange the accessories to your preference for storage and easy access to all essential items within your learning environment. A dedicated desk area helps establish a routine for homework or projects, with everything within arm's reach.
With your MakerWall workshop set assembled and organized, your child gains a dedicated space that promotes independence and creativity. Remember to periodically reassess the layout as your child grows and their interests change. Enjoy watching them thrive in their new workspace!