Quick Answer
Assemble the Cliffbrook Playhouse by organizing your parts, building the base and lower level, then the upper story, and finishing with the roof and accessories. Work with a helper and follow the manual's order to avoid rework.
Why Preparation Matters
Before you open the boxes, clear a flat area in your yard large enough for the playhouse footprint and room to move around. The Cliffbrook's two-story design goes up instead of out, so it takes less ground space than a single-story playhouse of similar interior volume. Still, you need a few feet of clearance on all sides for tools and for lifting panels into place.
Check that you have all the parts listed in the manual before starting. Missing pieces are easier to resolve before assembly than after you've partially built the structure. Also, confirm you have the recommended tools—usually a cordless drill, a rubber mallet, and a level—so you don't stop mid-build.
The Importance of a Solid Base
A level base is critical for any wooden playhouse. If the ground is uneven, the structure can twist, making doors and windows stick and stressing the joints. Use a level to check the base frame in both directions before securing it. For a permanent setup, consider a gravel or paver base to improve drainage and reduce wood contact with damp soil.
The Cliffbrook's half doors on the bottom level provide two entry/exit points, so make sure the base is square. A square base ensures the doors align with their frames and operate smoothly.
Assembly Steps
- Step 1: Organize Parts and Tools: Lay out all boxes and check parts against the manual's parts list. Sort hardware into small containers by size. Have a cordless drill, screwdriver, rubber mallet, level, and a stepladder ready. Take a photo of the parts list for quick reference.
- Step 2: Prepare the Ground: Clear a flat area and remove grass or debris. Use a level to ensure the ground is even. If needed, add a gravel or paver base for stability and drainage. A level base prevents doors from sticking later.
- Step 3: Build the Base Frame: Assemble the base frame according to the manual. Ensure corners are square by measuring diagonally—they should be equal. Secure the frame to the ground if your manual recommends anchors. Check diagonal measurements before tightening all bolts.
- Step 4: Assemble the Lower Walls and Half Doors: Attach the lower wall panels, including the front and back half doors. Use a helper to hold panels upright while you fasten them. Check that doors swing freely before moving on. Adjust hinges now to avoid misalignment later.
- Step 5: Install the Upper Floor and Walls: Lift the upper floor panel into place and secure it to the lower walls. Then attach the upper wall panels. Use a stepladder and have a helper support the panels to prevent accidents. Tighten all bolts, but don't over-tighten to avoid splitting wood.
- Step 6: Add the Roof and Finishing Touches: Install the roof panels and any trim pieces. Finally, attach the benches and other accessories. Walk around the playhouse to check for any loose parts or sharp edges. Inspect all screws and bolts after assembly; retighten any that are loose.
Product Facts
-
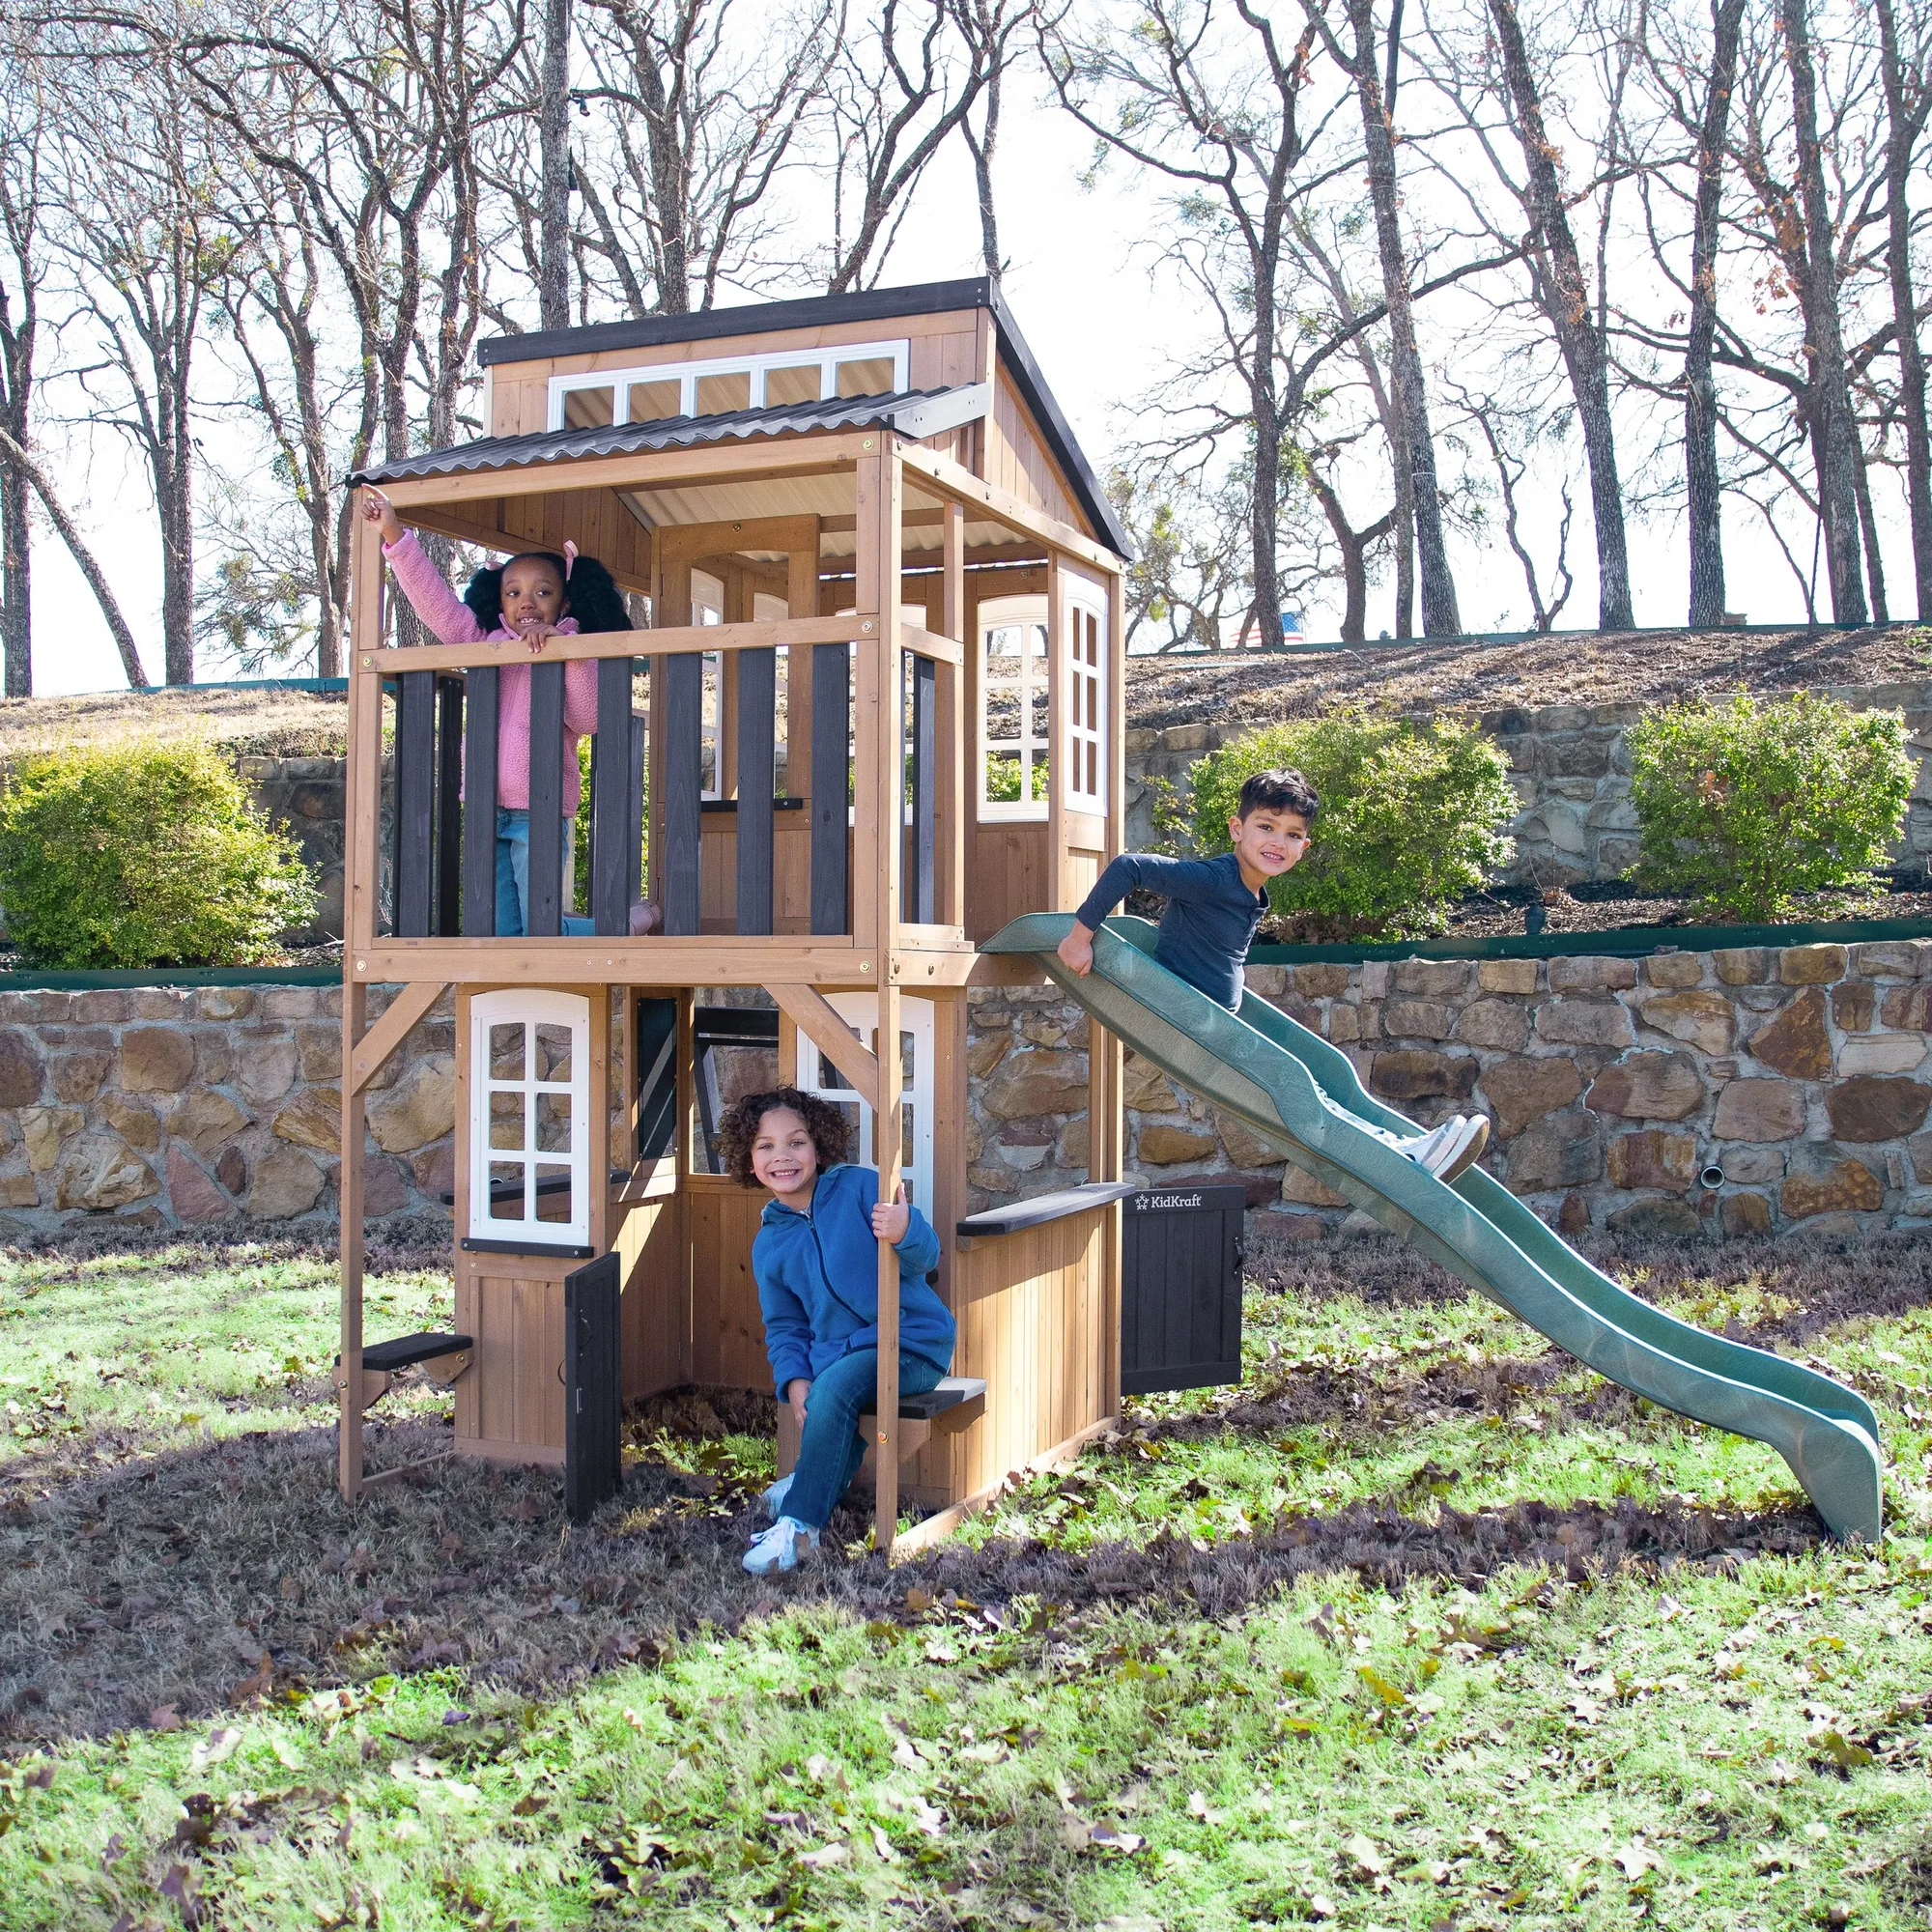
Cliffbrook Playhouse: The KidKraft Cliffbrook Playhouse is a two-story wooden house with a footprint that goes up instead of out, taking up less grass space in the yard. This compact footprint makes it a good choice for smaller backyards, but also means you'll be working with taller panels during assembly, so plan for two people.
Cliffbrook Playhouse