A well-organized entryway or mudroom can make mornings smoother and afternoons less chaotic—especially when kids can reach everything themselves. The MakerWall system gives you a flexible foundation to build a custom organizer that grows with your family. In this guide, we’ll cover assembly basics and show you how to personalize the setup with hooks, shelves, and baskets for a functional, kid-friendly landing zone.
Whether you’re starting from scratch or adding to an existing MakerWall, the modular design means you can adapt the layout to your space. We’ll walk through the essential steps and share practical ways to add storage for backpacks, shoes, and outdoor gear using real MakerWall accessories.
Planning Your MakerWall Entryway Layout
Before you start assembling, take a few minutes to measure your wall space and decide which activities happen at your entryway. Think about how many kids will use the organizer, what items they need to store (coats, hats, shoes, school papers), and whether you want a dedicated spot for wet or muddy gear. Mark the stud locations—MakerWall rails need to be anchored securely.
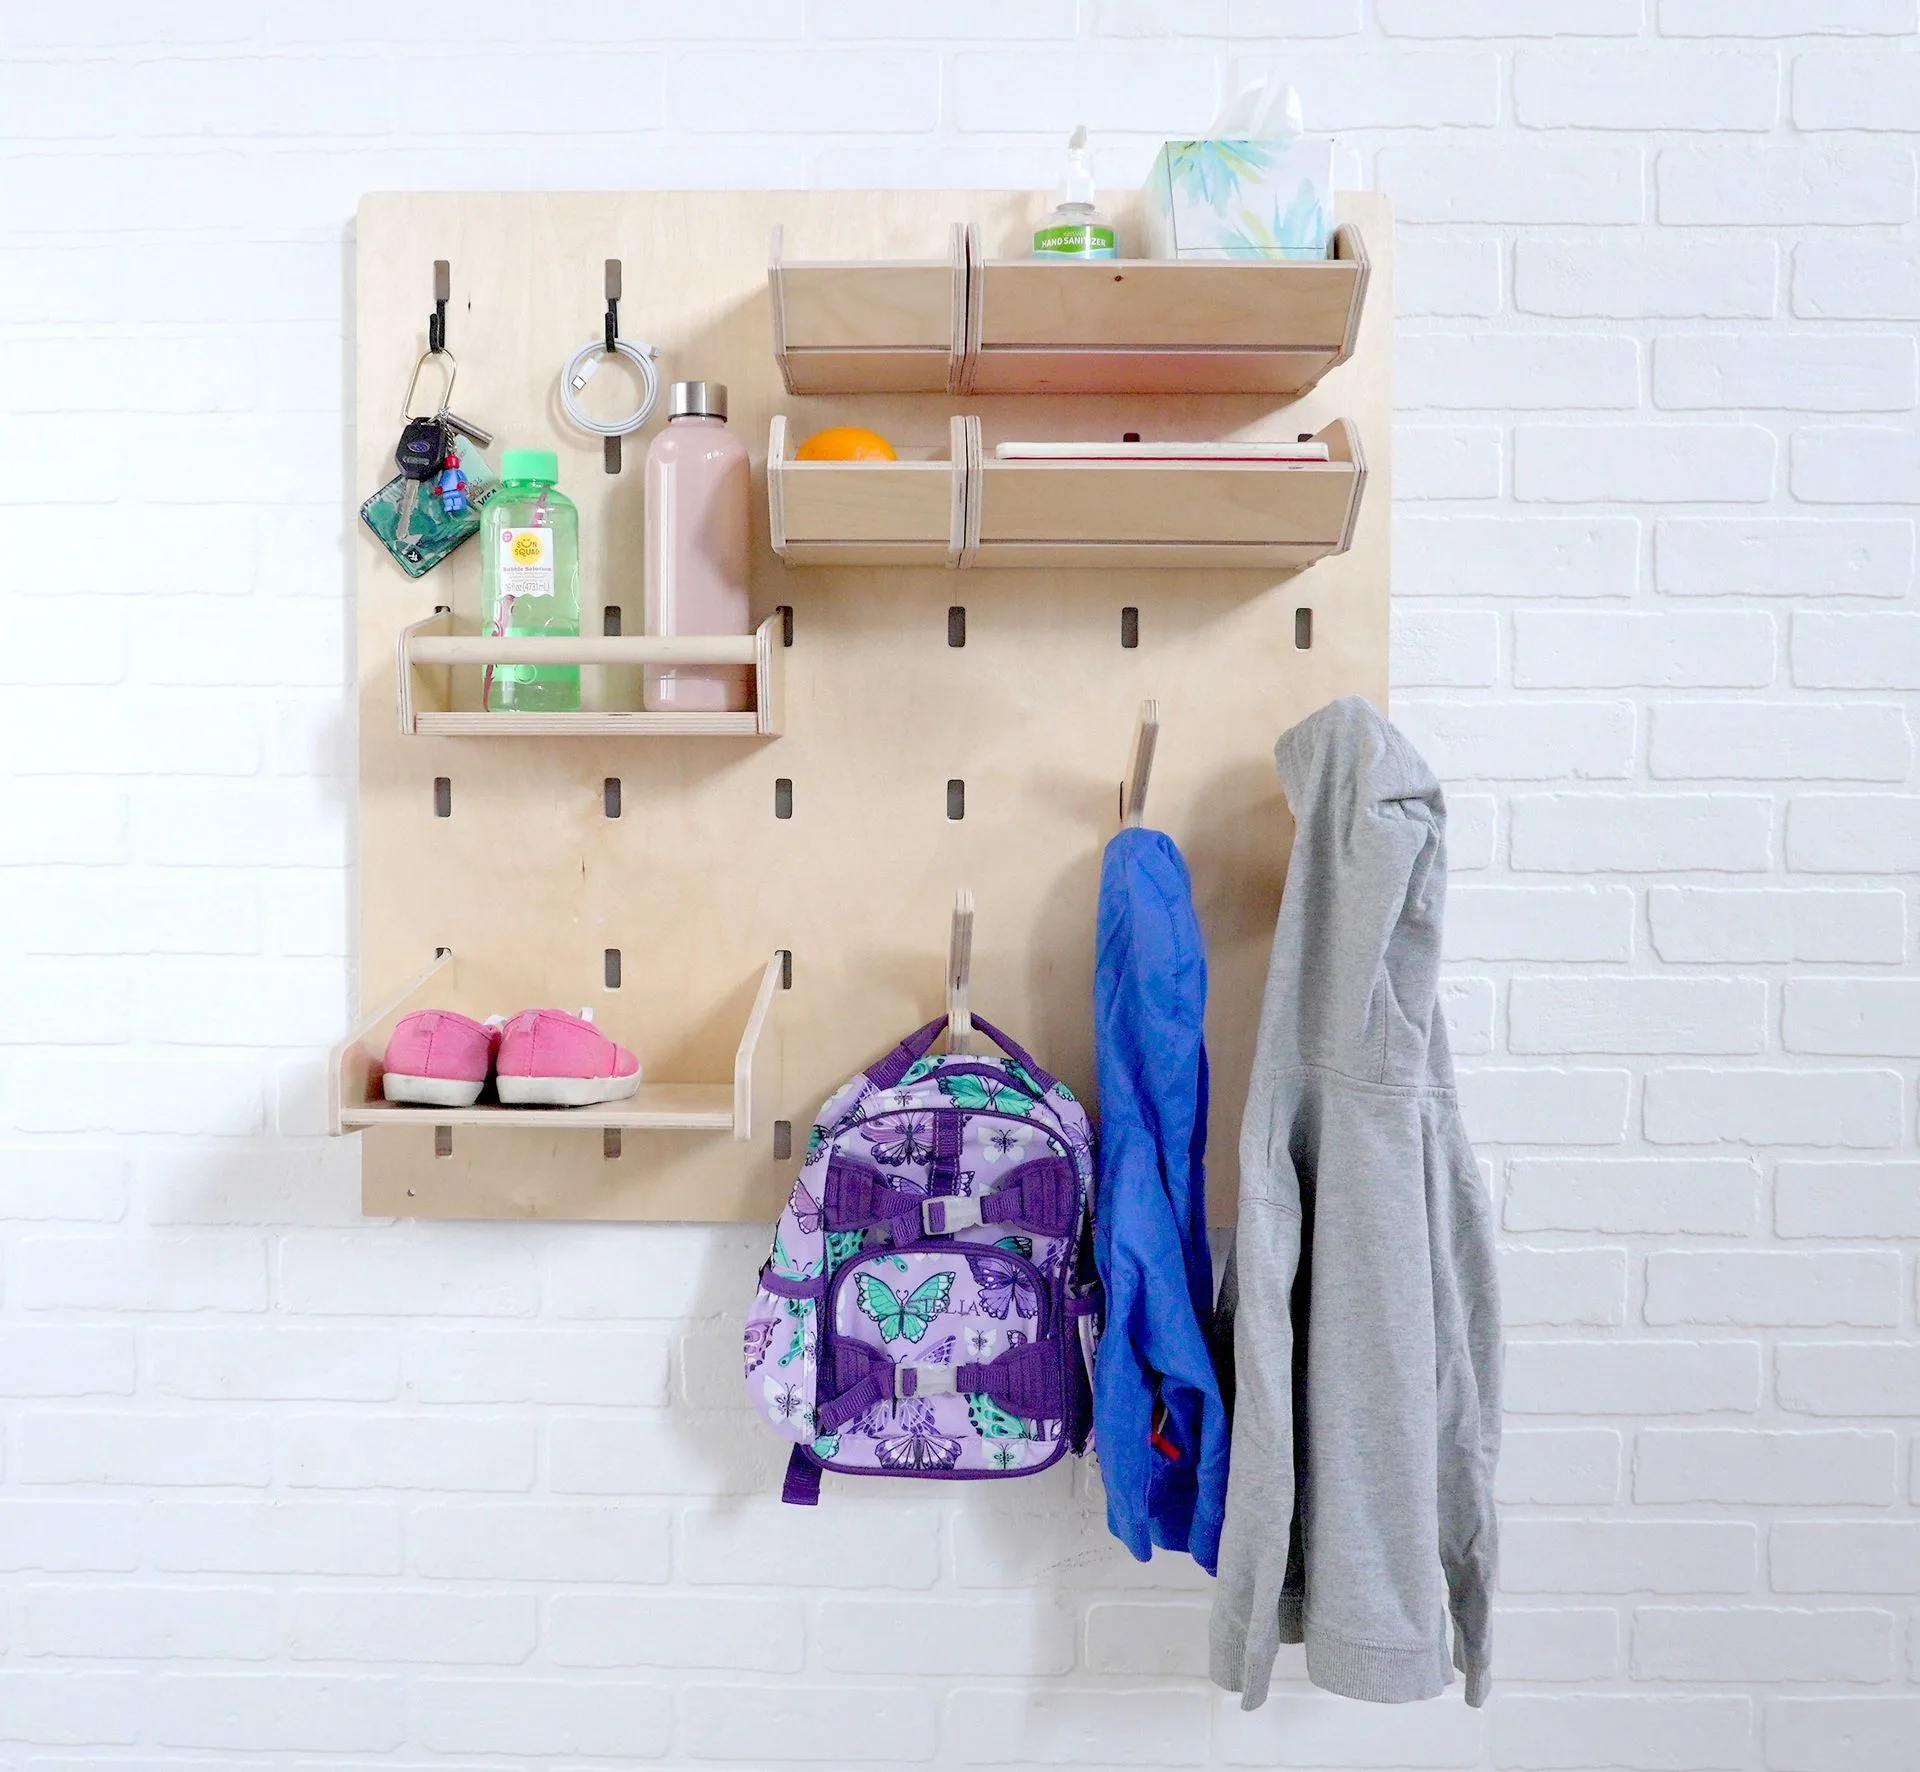
The beauty of the MakerWall system is that you can start with a single rail and add components later. For a basic entryway, you might want a rail at child height (around 36–48 inches from the floor depending on your child’s height) with a few hooks for outerwear, plus a lower shelf for shoes or baskets. Sketch a simple layout to guide your assembly.
- Measure the wall width and height available for mounting.
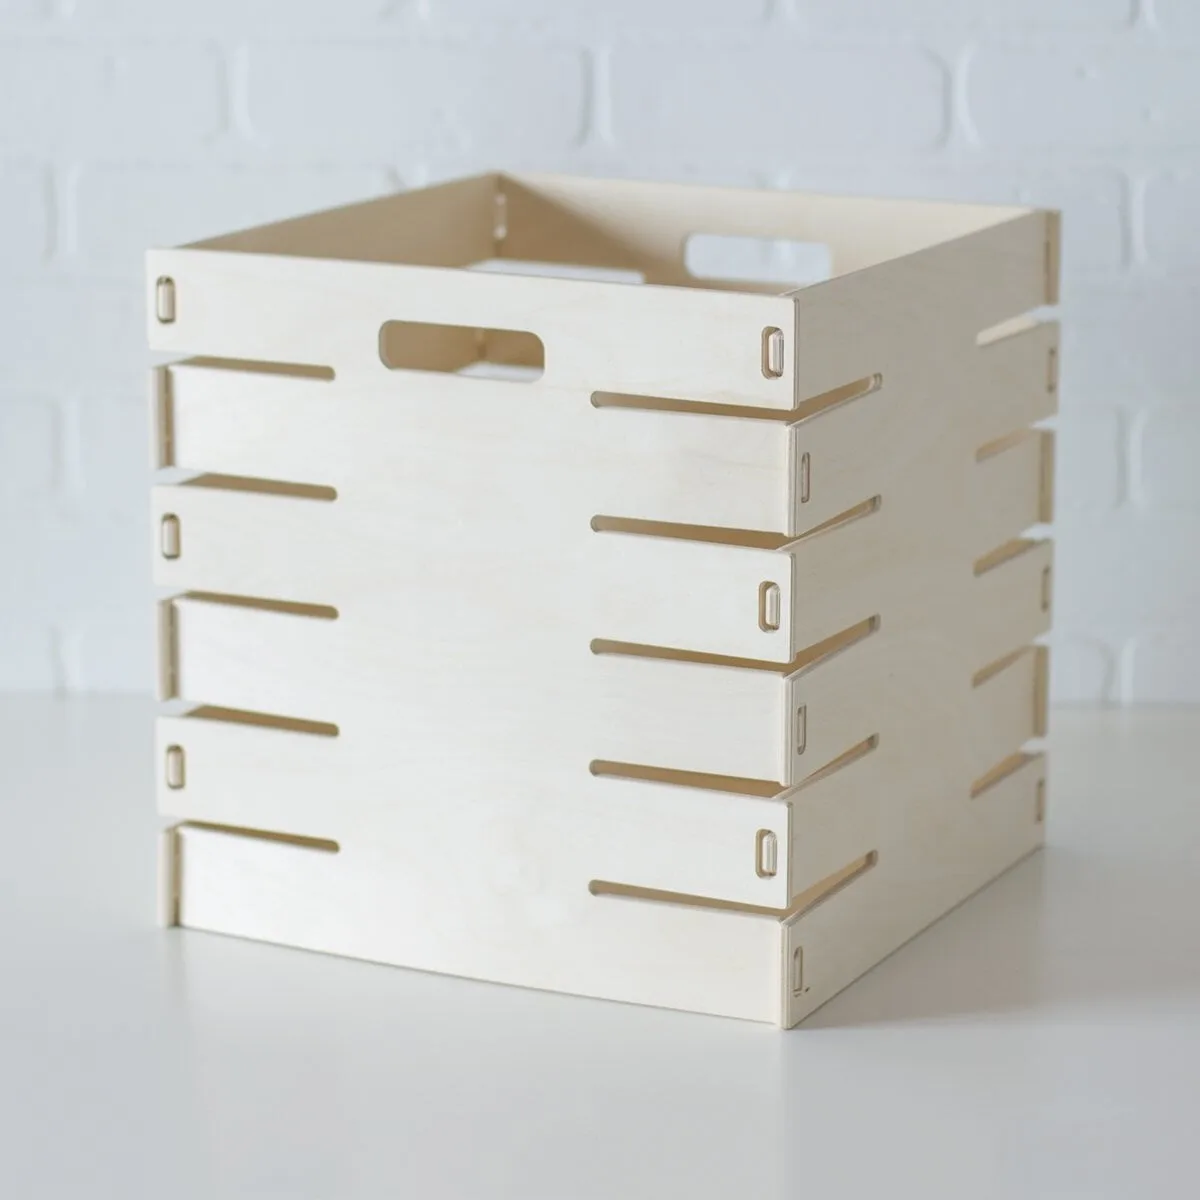
- Consider adding a small cube shelf or bench below for seating and shoe storage.
- Leave enough space between hooks for bulky winter jackets.
Step-by-Step Assembly of the MakerWall Rail
Start by attaching the MakerWall rail to the wall studs using the included hardware. Use a level to ensure the rail is straight. If you’re mounting it at a lower height for toddlers, double-check that the rail is securely fastened into studs or use appropriate drywall anchors for lighter loads. Once the rail is up, the rest of the components simply slide onto the track without tools.
After the rail is installed, you can begin adding accessories. Slide the hooks, shelves, and storage bins into the track groove—most MakerWall add-ons are designed to lock in place with a gentle push. For an entryway, start with a few hooks for coats and backpacks, then add a narrow shelf for keys, mail, or small toys.
- Always mount into studs for heavy loads like baskets filled with gear.
- Use a level and a pencil to mark stud locations before drilling.
- Test each component by gently pulling after locking it into the rail.
Customizing with MakerWall Hooks, Shelves, and Baskets
Once the rail is up, the real fun begins: customizing. For everyday coats and backpacks, use standard MakerWall hooks. For smaller items like hats and gloves, add a shelf that can hold Wovewood Baskets—these woven baskets are lightweight and easy for kids to pull off and put back. To keep school papers organized, attach a MakerWall Bookend (Single) to hold mail or art projects upright.
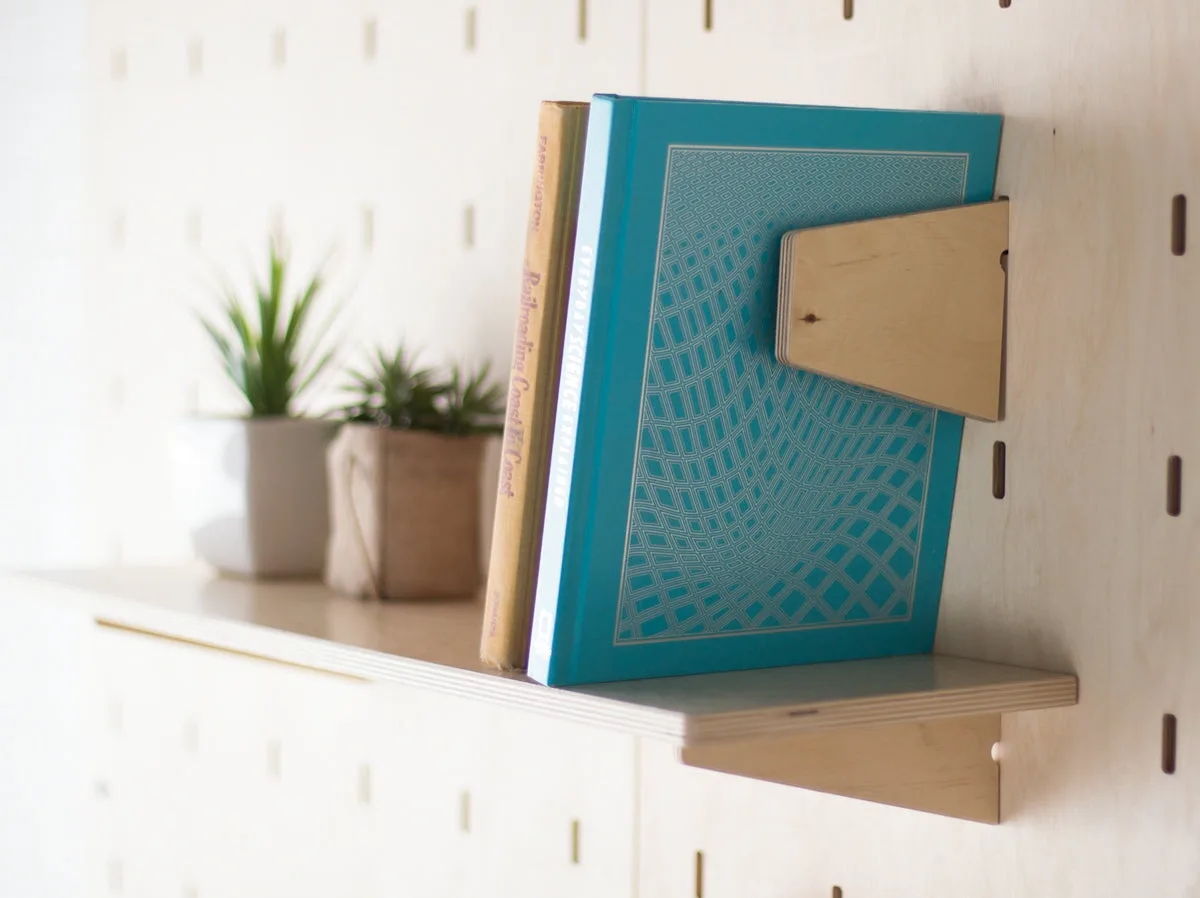
MakerWall Bookend (Single)
If your entryway handles wet weather gear like raincoats or mud boots, consider adding a MakerWall Wet Storage / Drying Rack. This accessory lets wet items drip into a tray rather than onto the floor. You can also mount additional rails at different heights to create a multi-zone organizer: one zone for outerwear, another for backpacks and lunch bags, and a third for boots and shoes.
- Pair a MakerWall Bookend (Single) with a small shelf for a tidy mail station.
- Use the MakerWall Wet Storage / Drying Rack for snowy mittens and wet hats.
- Add Wovewood Baskets on lower shelves for shoe storage that kids can access.
Tips for Long-Lasting Entryway Organization
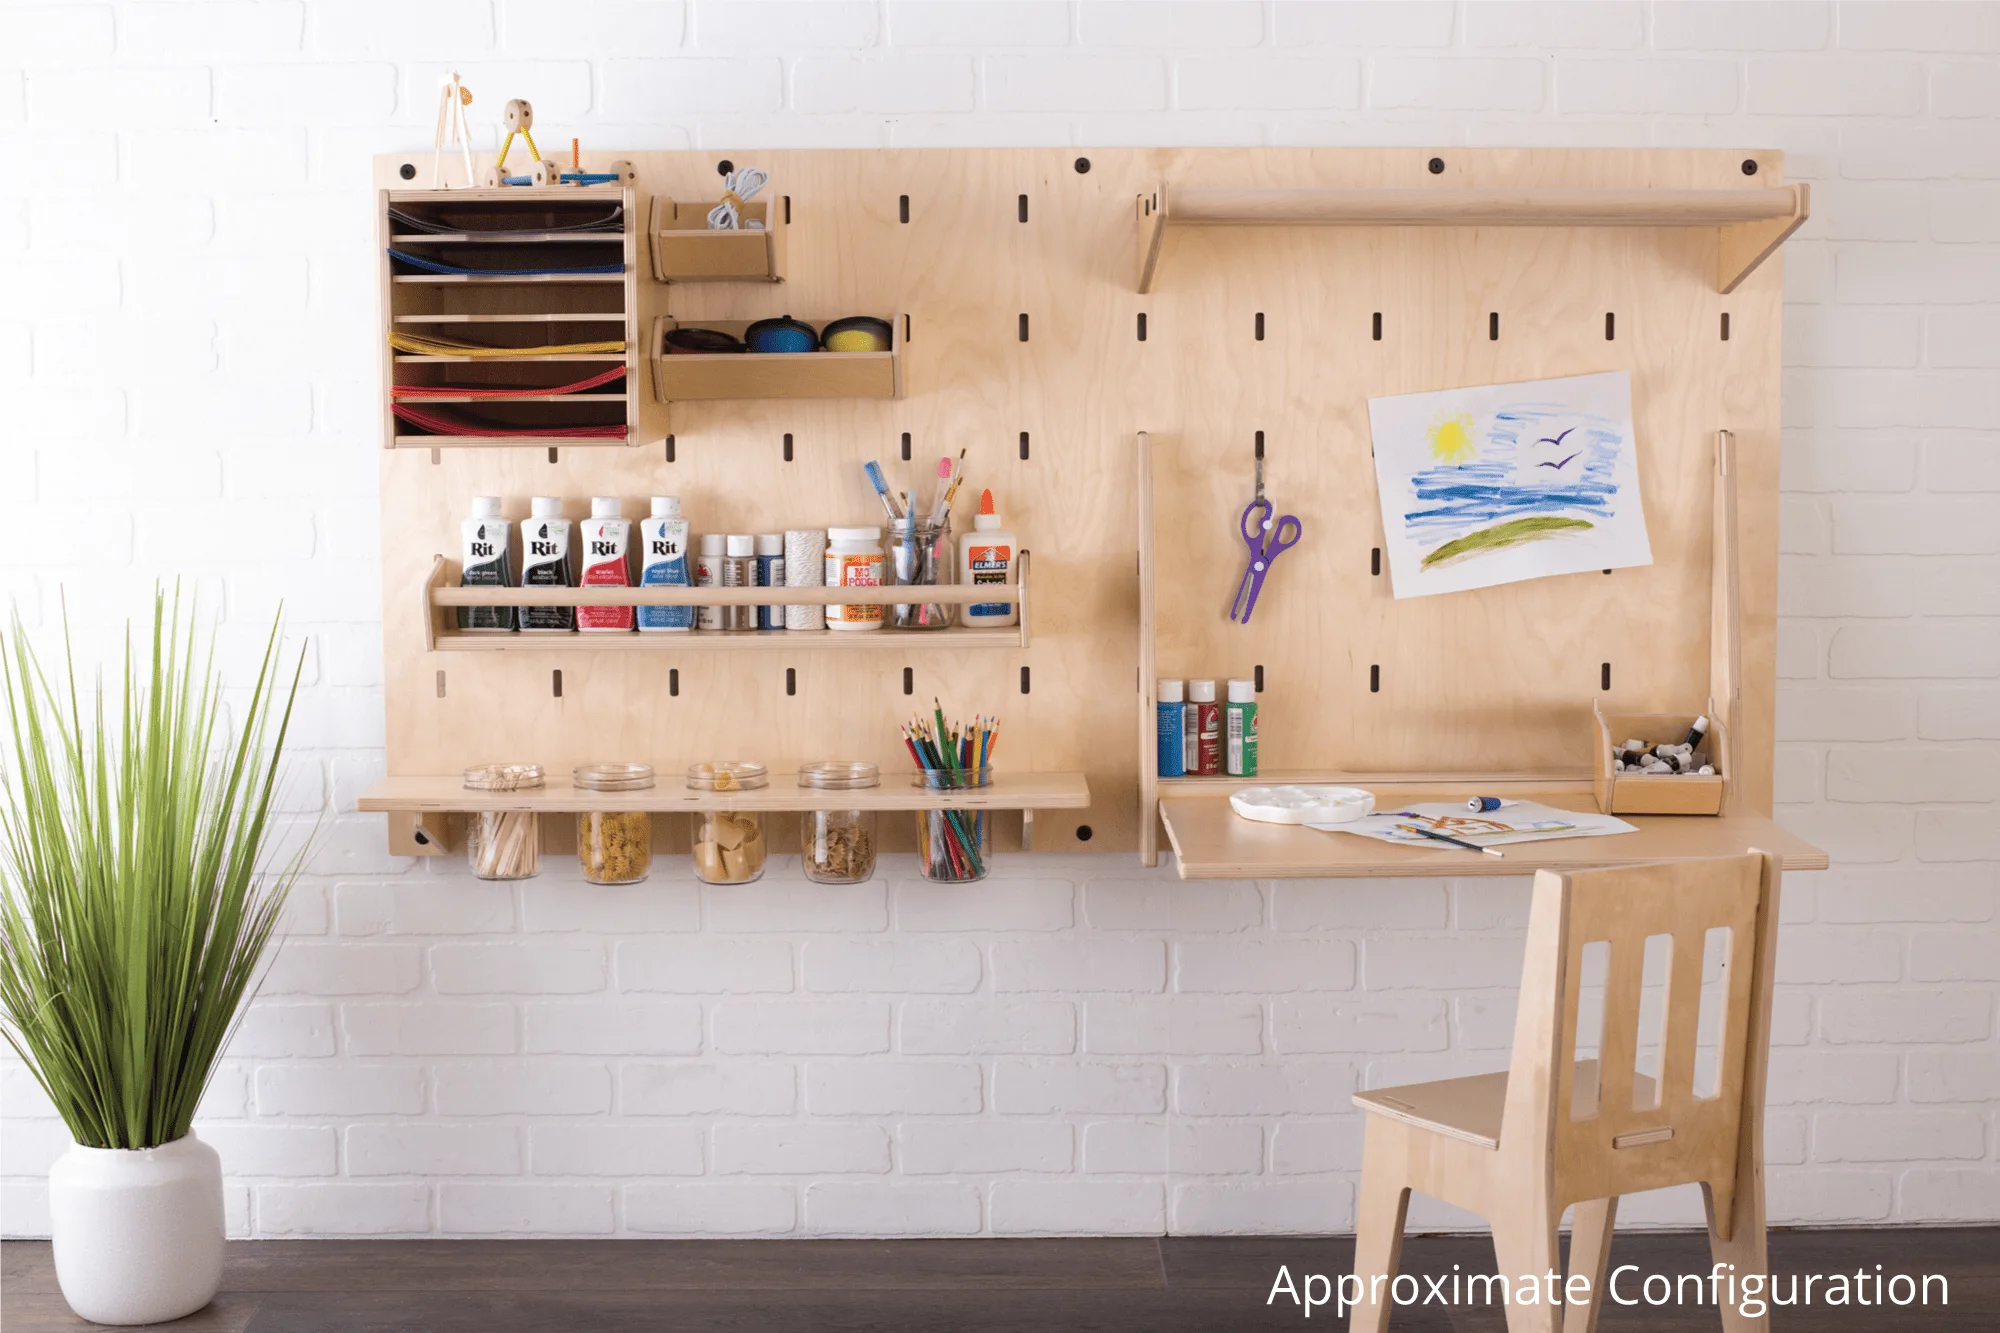
Kids' entryway storage works best when it’s easy to maintain. Label baskets or hooks with pictures for younger children so they know where each item goes. Rotate seasonal gear: store rain boots in the summer and snow pants in the winter. The modular MakerWall system makes it simple to swap components as needs change—you can move hooks, add shelves, or even integrate a small folding desk for last-minute homework.
Another long-term strategy is to keep the area clutter-free by limiting what goes on the hooks. Designate one hook per child and family member. Use baskets for everything else. The MakerWall system’s clean, minimal look encourages tidiness because there’s no room for piles. If you need extra storage, consider mounting a second rail above the first for less-used items like seasonal hats.
- Create a daily routine: kids hang their coat and put shoes in the basket as soon as they walk in.
- Use clear hooks or labels so even non-readers can help with organization.
- Check and tighten screws every few months to keep the rail secure.
Assembling a MakerWall entryway organizer is a weekend project that pays off every day. With a few basic tools and a bit of planning, you can create a mudroom system that grows with your children and makes independent cleanup a natural part of their routine. Start with a simple rail and hooks, then add shelves and baskets as your needs evolve—the MakerWall is designed to change with you.