Quick answer
Assemble the eitech bowling game animals by sorting every part first, then building each pin on a flat surface with the base plate seated before you tighten anything. Set the lane on a hard, level floor, roll a test ball before you play, and re-check screw tension on any pin that wobbles. Most assembly problems are loose bases, not missing parts.
The eitech bowling game animals look simple until you build them on a carpeted floor and watch the first pin tip over on its own. The assembly itself is short, but the order you do things in decides whether the set stands up and rolls straight or turns into a frustration session.
This guide walks through the whole build in sequence, from sorting the parts to testing your first roll. If you have already read our beginner's guide to eitech accessories, treat this as the next step: the same habits apply, just aimed at one specific model.
Before you build: sort parts and pick a surface
Empty the bag onto a tray or shallow box so small pieces cannot roll away. Group parts by type: plates, bars, screws, and any animal-shaped pieces. Count each group against the parts list before you start, because discovering a shortage halfway through a pin is far more annoying than checking first.
Build on a hard, flat table rather than a bed or rug. A soft surface lets parts sink slightly, so you tighten screws at an angle without noticing. That single habit causes most of the wobble people blame on the model itself.
- Keep screws in a small dish; loose screws on the floor are the number one cause of a stalled build.
- If a part is genuinely missing, check our guide on identifying and replacing eitech components before ordering.
Build one animal pin at a time
Assemble the first pin completely, then use it as a reference for the rest. Working pin by pin is faster than building all the bases and then all the bodies, because you catch a mistake on pin one instead of repeating it six times.
Seat the base plate flat against the table, add the body pieces, and only then tighten the screws. Tighten in a cross pattern, the same way you would on any eitech model, so the frame stays square instead of pulling to one side.
- Leave screws finger-tight until the whole pin is together, then do a final pass.
- A pin that rocks on the table before you tighten anything will still rock afterward. Fix the seating, not the screw.
Set up the lane and the standing order
Place the pins on a hard, level floor or a low table with clear space behind them. Spacing matters more than exact measurements: leave enough room between pins that a hit can transfer to a neighbor, but not so much that every pin stands alone.
Arrange the animals in a triangle with the front pin closest to you. If your floor slopes even slightly, rotate the whole setup 90 degrees and test again, because a gentle slope will bias every roll in the same direction.
- Mark the lane edges with tape if you want repeatable practice rolls.
- Keep the lane away from doorways and table legs; a bumped pin mid-roll is not a real result.
Test the roll and adjust
Roll the ball gently at the front pin before you play a real game. Watch whether the ball tracks straight or drifts. Drift usually means the lane is not level or a pin base is sitting on a seam in the floor, not that the ball is faulty.
If a pin falls over from a light touch, check its base screws and whether the bottom plate is bent. Straighten or reseat it, then retest. Only after three or four clean rolls should you start keeping score.
- Roll at half speed first; full-speed rolls hide small alignment problems.
- Re-check screw tension after the first ten rolls, since new builds settle slightly.
Assembly steps at a glance
- Step 1: Sort and count: Empty the parts onto a tray, group them by type, and check them against the parts list before building anything. Checkpoint: every group matches the list. If not, stop and identify the missing part now.
- Step 2: Build pin one: Assemble a single animal pin on a hard, flat table, seating the base plate flat before tightening any screw. Mistake to avoid: tightening screws as you go, which pulls the frame out of square.
- Step 3: Copy the reference pin: Build the remaining pins to match pin one, keeping screws finger-tight until each pin is complete. Checkpoint: every finished pin sits flat and does not rock when you press one corner.
- Step 4: Set the lane: Place the pins in a triangle on a hard, level surface with clear space behind them and consistent gaps between pins. Mistake to avoid: building on carpet, which hides a tilted base until the first roll.
- Step 5: Test and adjust: Roll gently at the front pin, watch for drift, and re-check base screws and floor level before playing a real game. Checkpoint: three clean, straight rolls in a row before you keep score.
Parts that help with this build
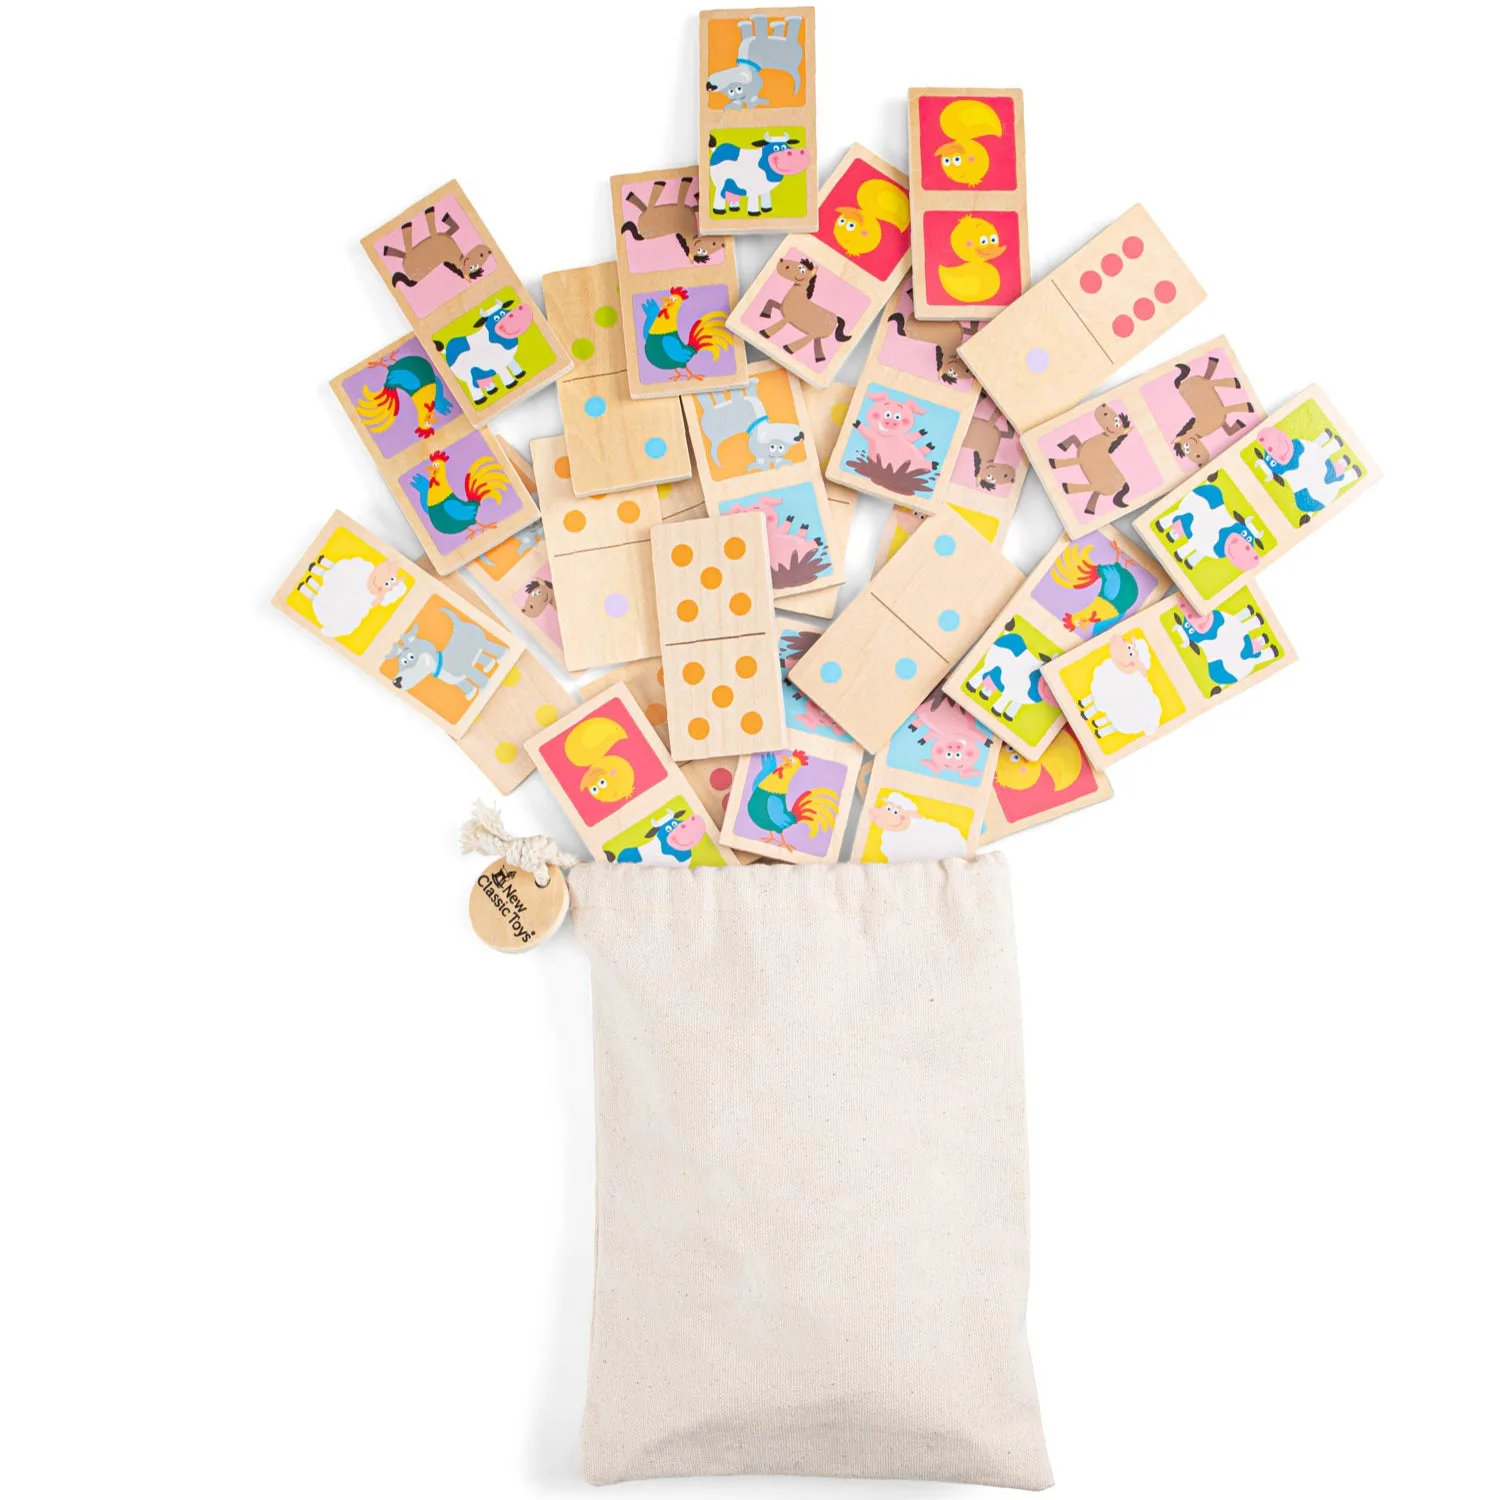
- Domino - Animals - 29 pieces: This New Classic Toys wooden domino game includes 28 double-sided dominoes with friendly farm animals on one side and dots on the other. If your child likes the animal theme of the bowling pins, this is an easy companion game that uses the same recognition and matching skills, and it stores flat.
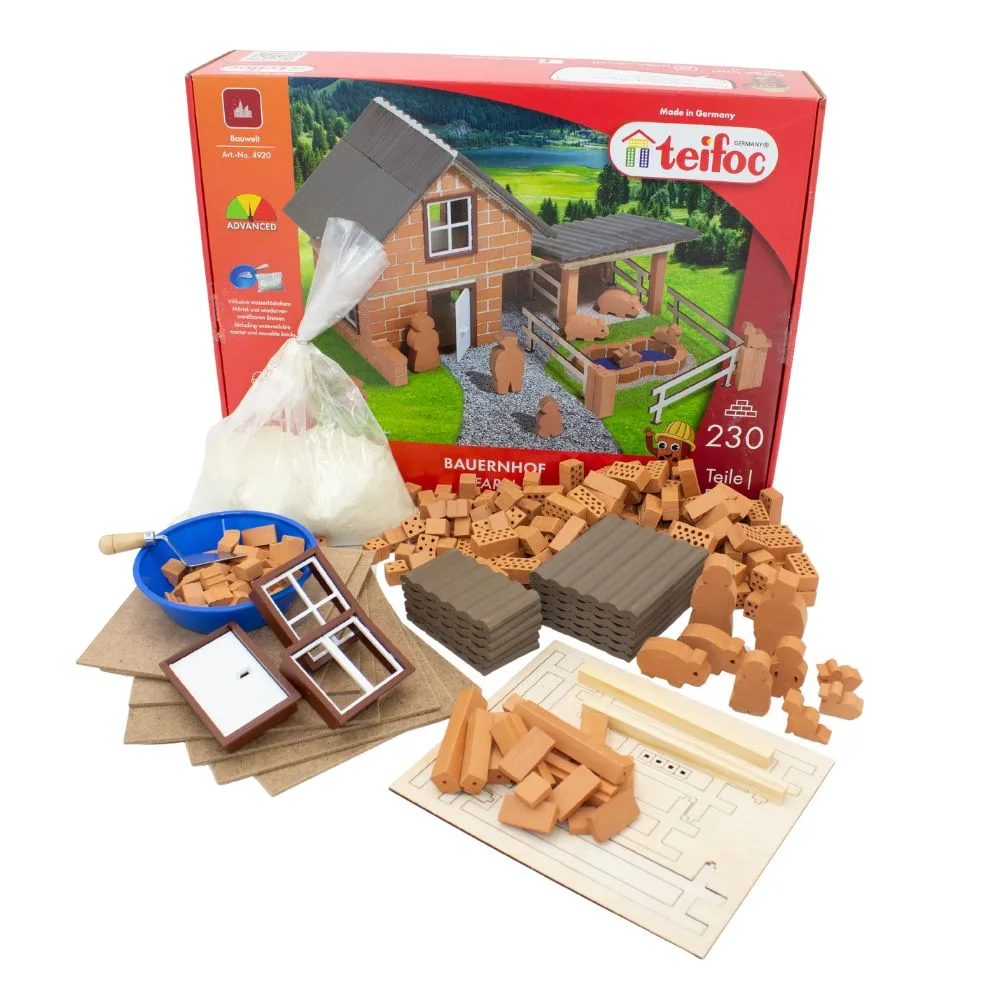
farm
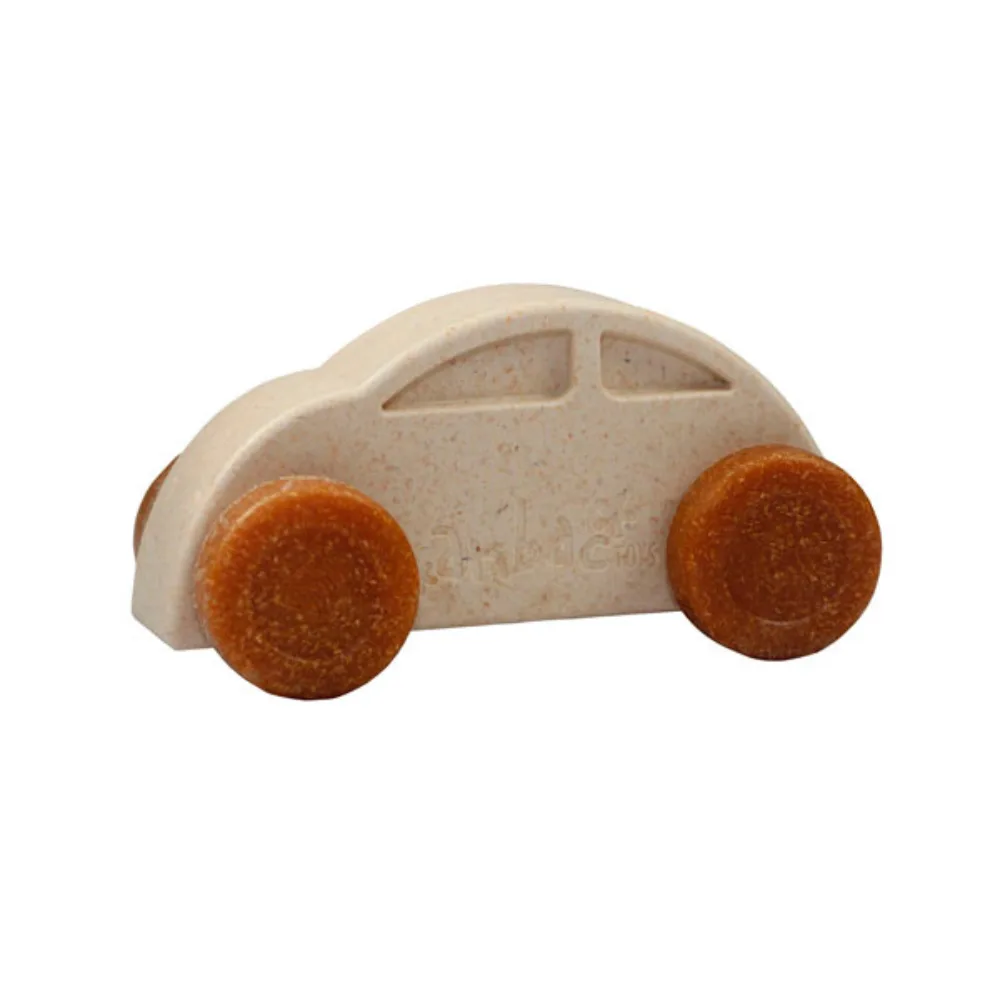
- anbac car - toy car: The anbac car has four rotating wheels and a material mix of plastic and pine wood that the maker describes as naturally antibacterial. A rolling toy is the simplest way to test whether your bowling lane is level before you blame the pins; if the car curves, the floor is the problem.
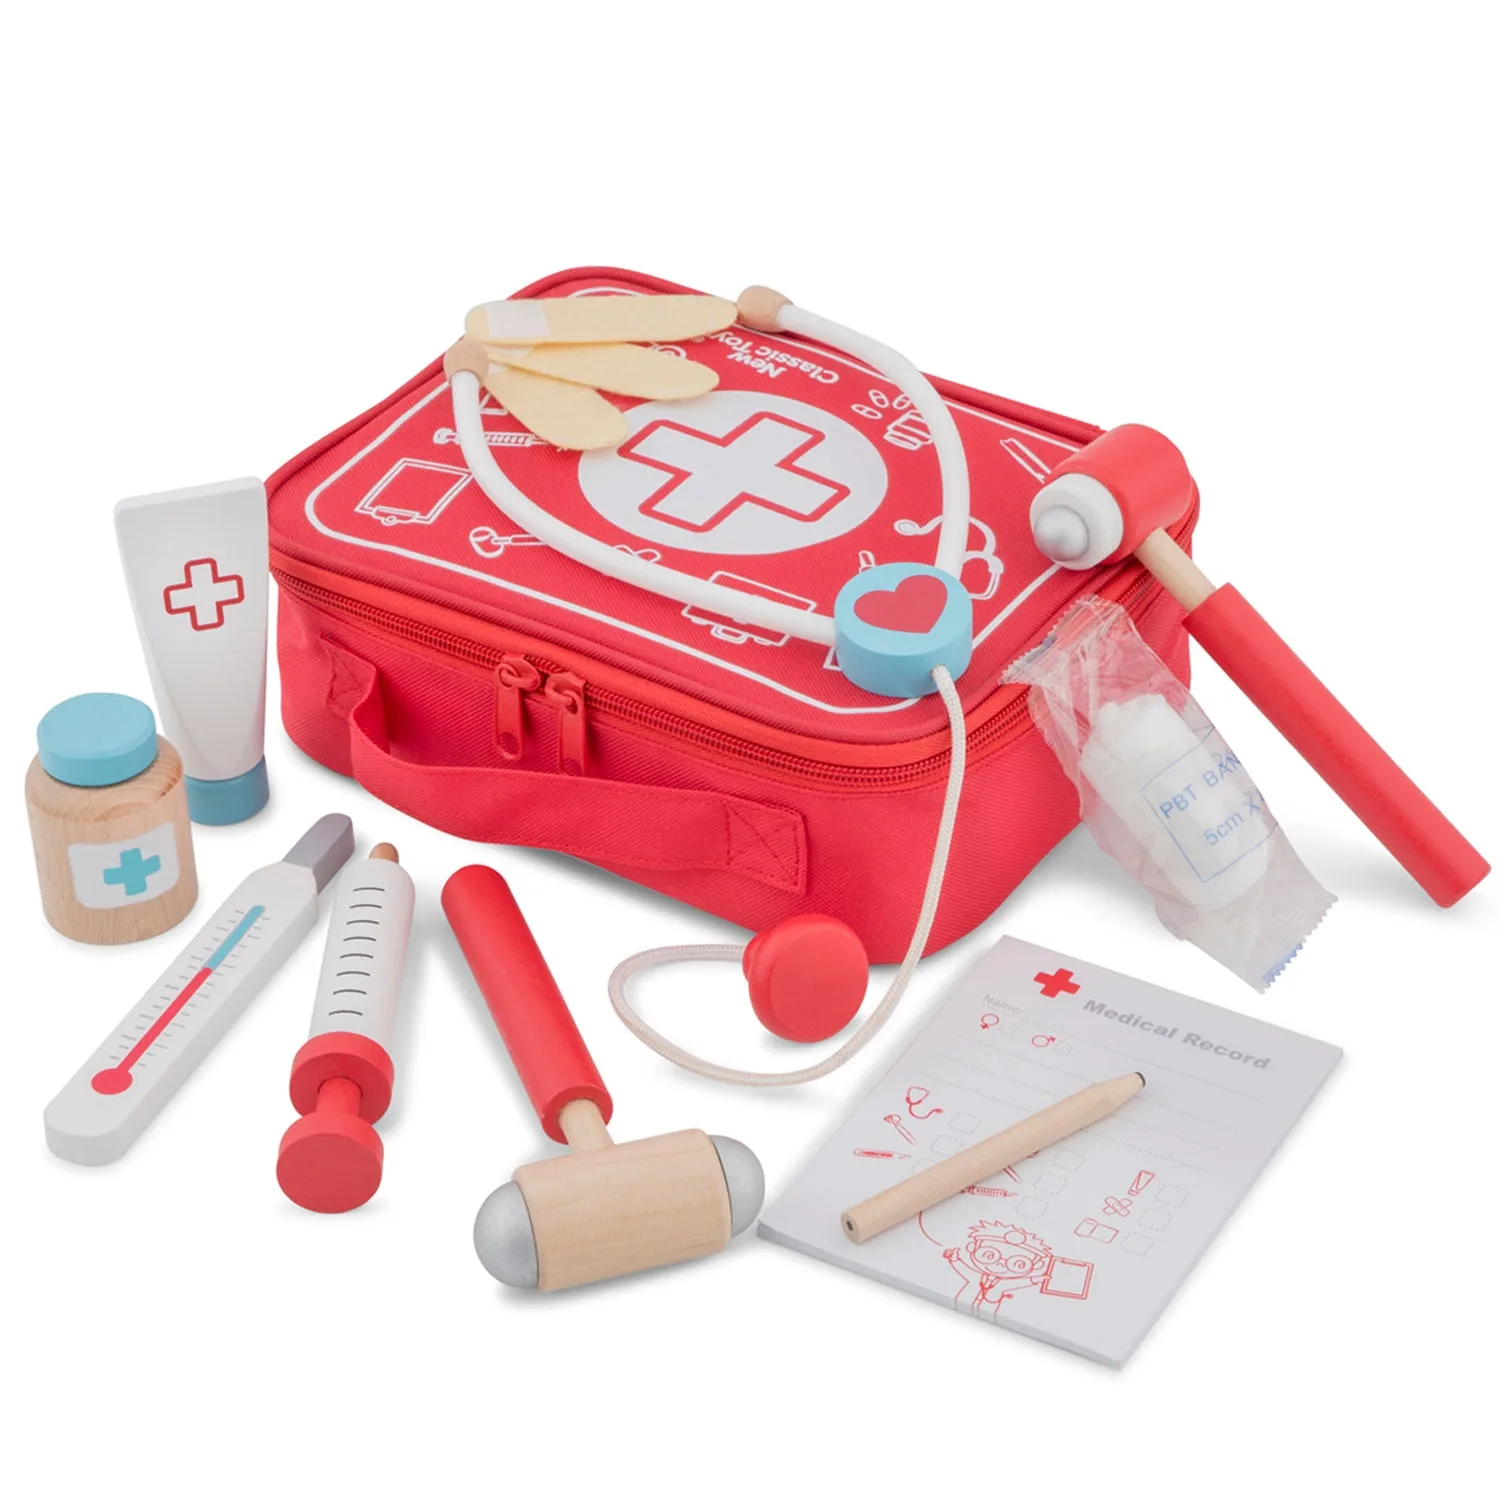
- Play Set - Doctor: The 12-piece doctor's bag from New Classic Toys includes a stethoscope, otoscope, thermometer, and reflex hammer in a soft carry bag. Useful if the bowling set is a gift: it is a compact, easy-to-carry option for the same age range when you want a second quiet-play toy.
Build one pin carefully, copy it, and set the lane on a hard floor, and the eitech bowling game animals will stand and roll the way they should. If something still tips, check the base seating and the floor level before you touch another screw.