What to Expect from the Scholar's Bookstore Kit
The Hands Craft Scholar's Bookstore is a miniature book nook kit designed to recreate a cozy corner bookshop. Inside the box, you'll find laser-cut wood pieces, fabric, paper components, and LED lights that bring the scene to life. The kit includes everything needed to build a detailed storefront with shelves of books, an open door, and a warm glow from the included lights.
This kit is suitable for builders of various skill levels, from beginners to experienced modelers. The assembly process is rewarding and unique to each builder, so expect a satisfying, hands-on project.
Key Kit Facts at a Glance
-
Hands Craft | The Scholar's Bookstore: 2 AAA batteries required; batteries are not included. You'll need to have AAA batteries on hand to power the LED lights that illuminate the book nook. Plan ahead so you can test the lights during assembly.
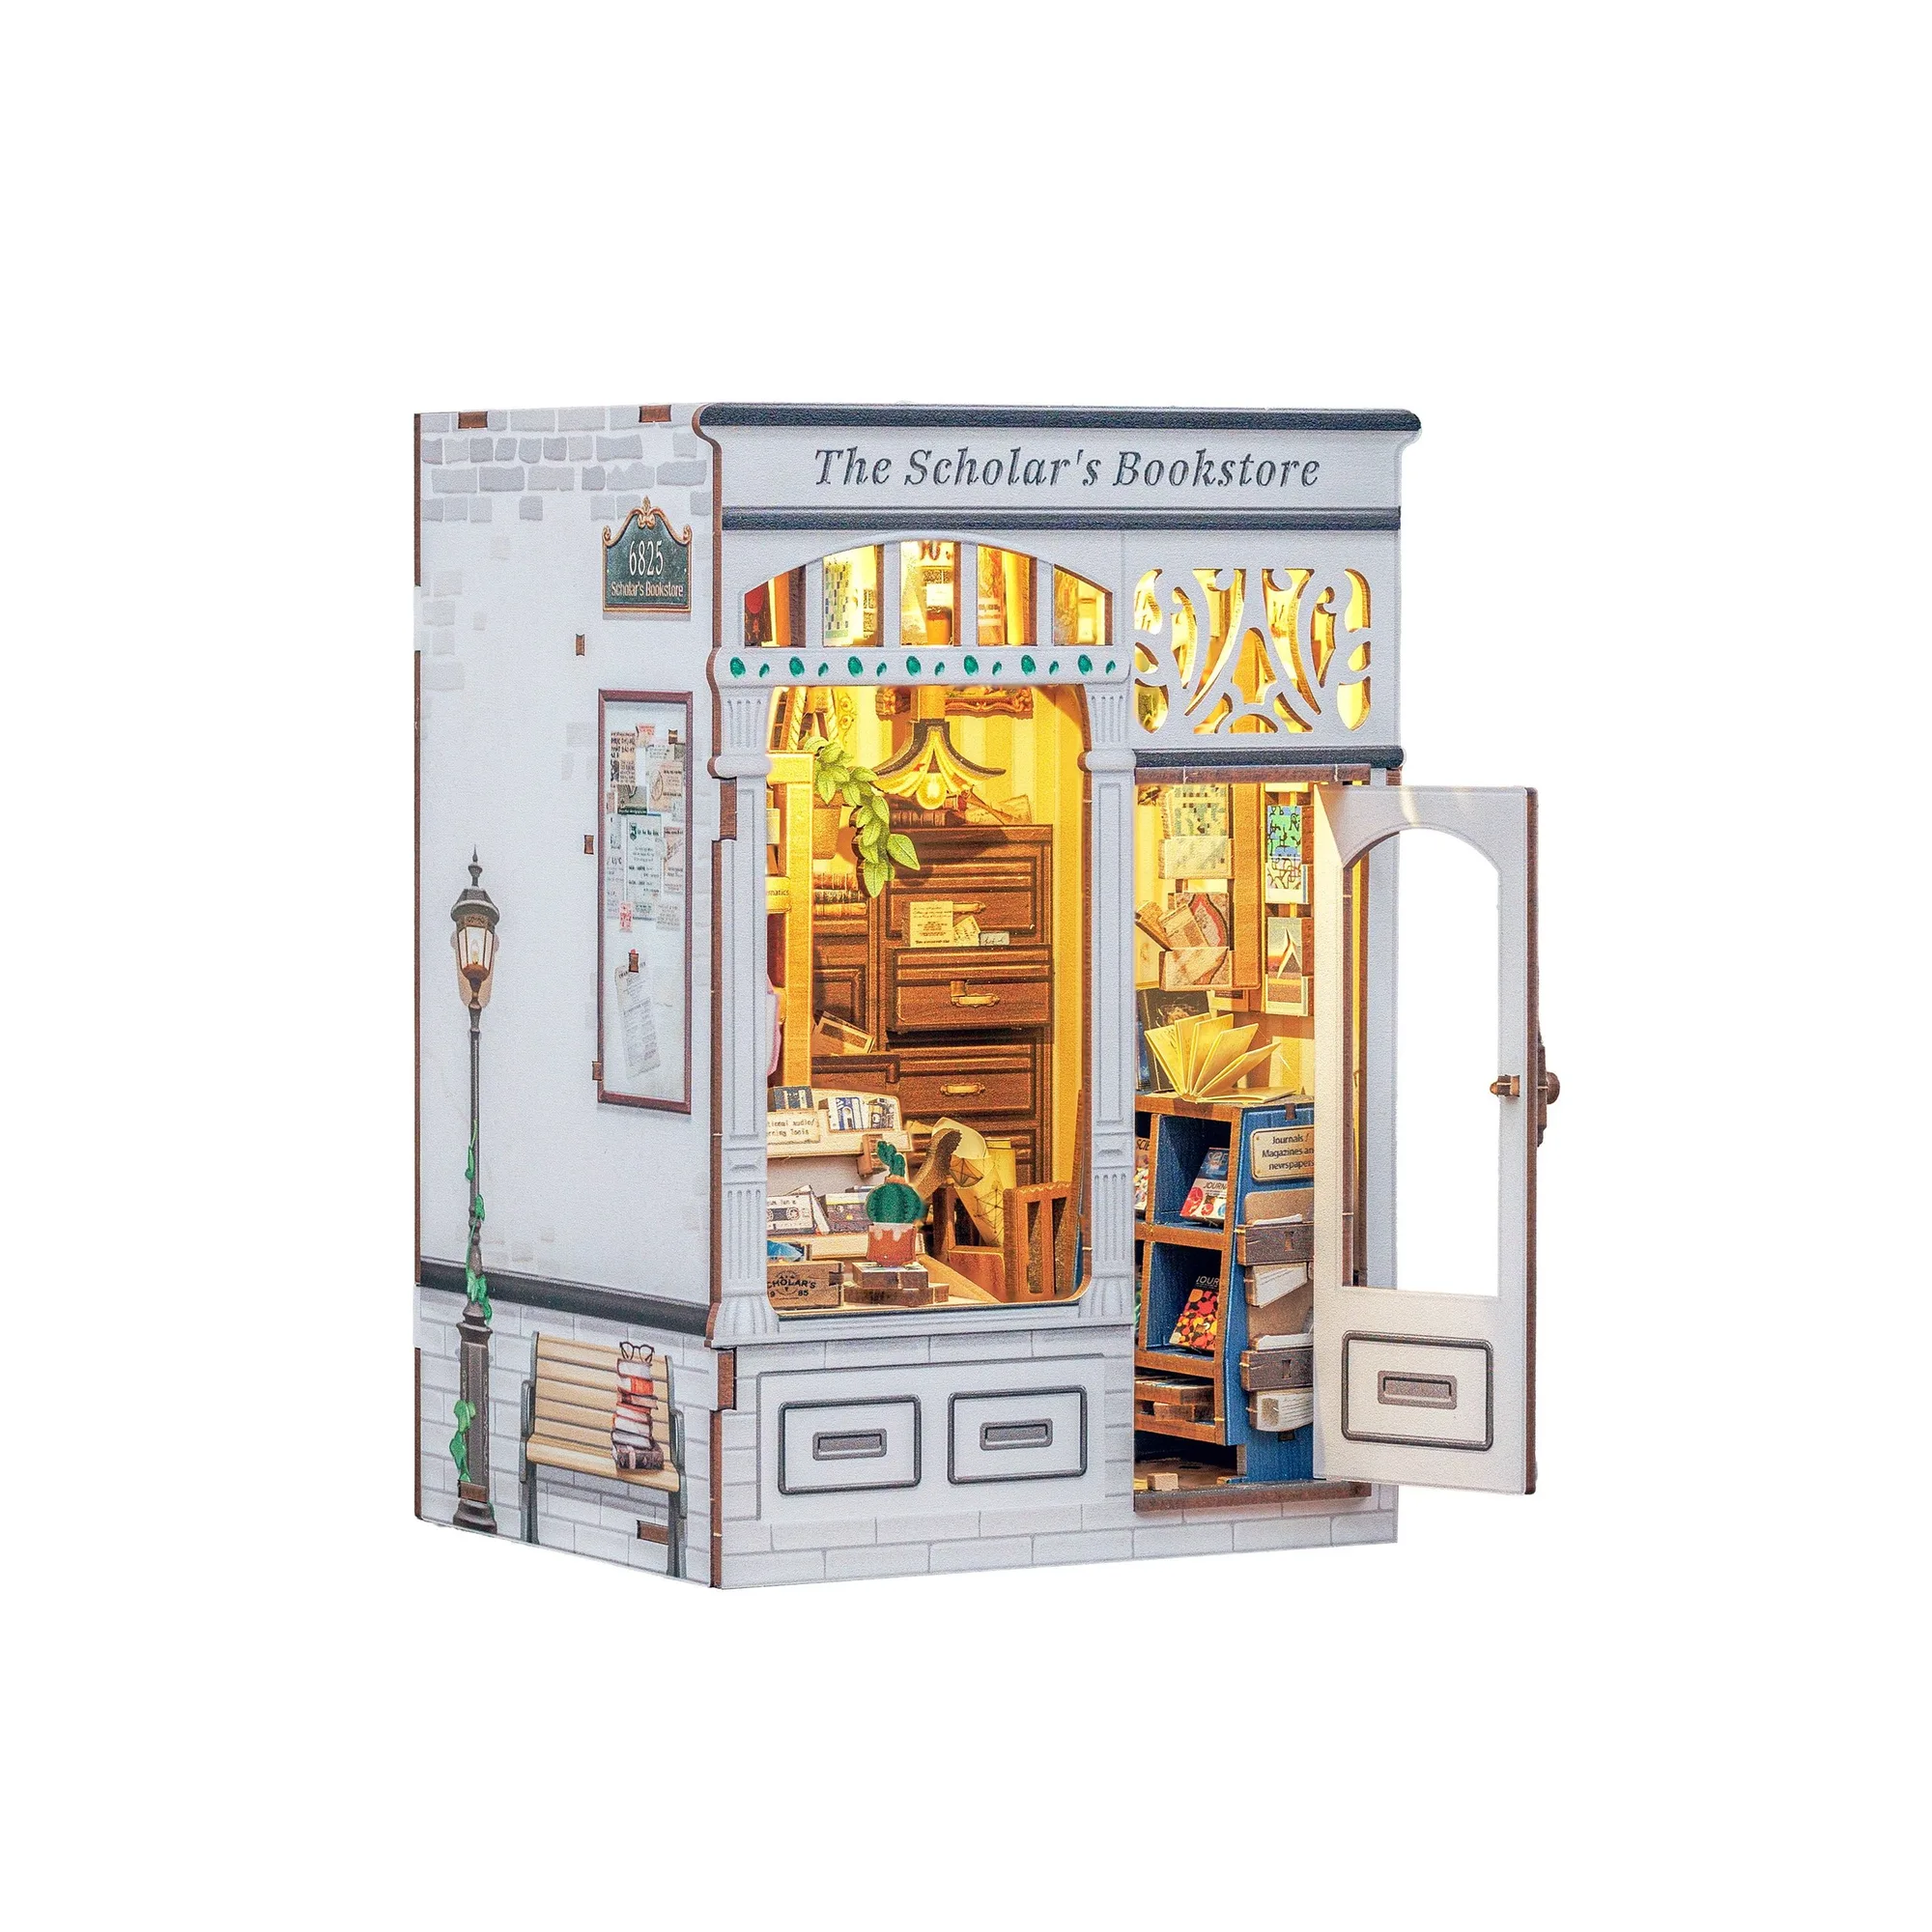
Hands Craft | The Scholar's Bookstore
-
Hands Craft | The Scholar's Bookstore: This beautifully detailed miniature recreates the inviting warmth of a cozy corner bookshop—complete with shelves brimming with books, a welcoming open door, and a soft, golden glow from the LED lights. The lighting is a key feature that transforms the build from a static model into a warm, inviting display piece. Proper battery installation ensures the effect works as intended.
Assembly Steps for a Smooth Build
Follow these general steps to assemble your Scholar's Bookstore book nook. The exact order may vary slightly based on your kit's instructions, but these tips will help you stay organized.
- Unbox and Organize: Lay out all parts: laser-cut wood sheets, fabric, paper elements, LED light strip, and any adhesive or tools included. Sort pieces by size or by the numbered sheets if provided. This prevents confusion later.
- Prepare the Base and Walls: Assemble the base of the book nook first. Fit the side walls and back panel into the base slots. Use the included adhesive (if any) or a small amount of white glue for a secure fit. Let it dry before moving on.
- Install the LED Lights: Thread the LED light strip through the designated channels or holes in the back wall. Insert 2 AAA batteries into the battery pack (not included) and test the lights before securing the wiring. This step ensures the lights work before the structure is fully enclosed.
- Add Interior Details: Attach the miniature books, posters, plants, and reading materials to the shelves and walls. Use tweezers or a small tool for precision. Arrange them as shown in the instructions or personalize the layout.
- Attach the Front Facade: Fit the front storefront piece, including the open door and window frames, onto the assembled walls. Ensure the door aligns properly. Press firmly but gently to avoid bending the wood.
- Final Touches and Display: Once all pieces are in place, turn on the LED lights to check the effect. Place your completed Scholar's Bookstore on a bookshelf, desk, or mantel. The soft glow will highlight the intricate details.
Tips for a Successful Build
Work in a well-lit area with a clean, flat surface. Dry-fit parts before applying glue to ensure correct alignment. If you're new to miniature kits, take your time and enjoy the process—the kit is designed to be forgiving and rewarding. Remember, no two builds are exactly alike, so embrace the unique journey of creation.
Display and Care
Once assembled, keep your Scholar's Bookstore away from direct sunlight and moisture to preserve the paper and wood components. Dust gently with a soft brush or compressed air. To save battery life, turn off the LED lights when not on display. The kit is a charming addition to any room and makes a thoughtful gift for book lovers.