What You Get in the Tamiya 1/35 Sherman Easy Eight Kit
The Tamiya 1/35 U.S. Medium Tank M4A3E8 Sherman "Easy Eight" European Theater (product ID 590344) is a plastic model assembly kit at 1/35 scale. It represents the late-war variant with the 76mm main gun, Horizontal Volute Spring Suspension (HVSS), and wider tracks that gave the tank its nickname. The kit includes slide-molded parts for the cast turret and welded hull panels, belt-type T66 tracks, clear parts for headlight lenses and cupola vision blocks, plus detailed engine grille and tool parts.
Kit Specifications at a Glance
-
1/35 U.S. Medium Tank M4A3E8 Sherman "Easy Eight" European Theater (Tamiya 1/35 Military Miniature Series 346): Length: 214mm, width: 86mm. This gives you the finished model's footprint, useful for planning display space or diorama base size.
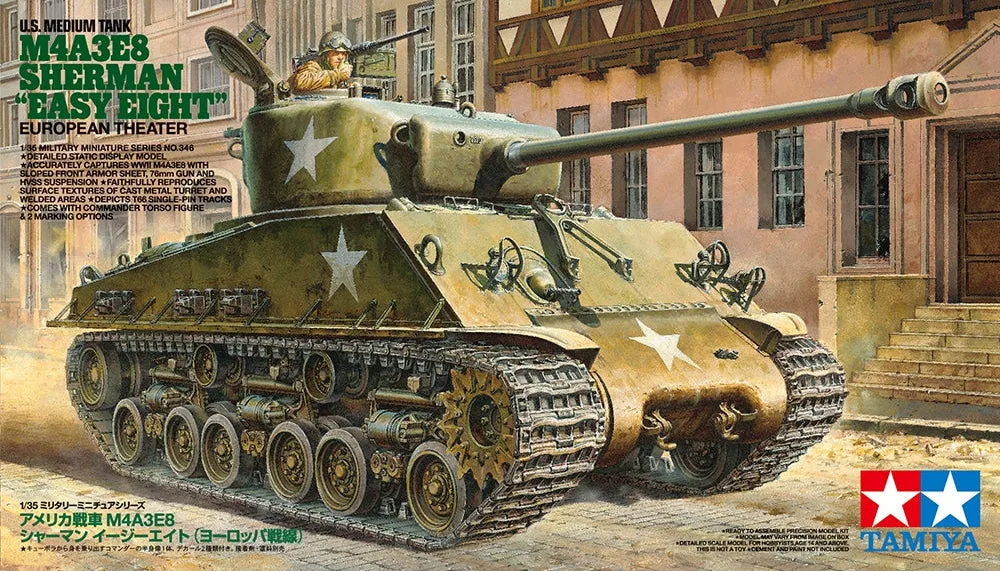
1/35 U.S. Medium Tank M4A3E8 Sherman "Easy Eight" European Theater (Tamiya 1/35 Military Miniature Series 346)
-
1/35 U.S. Medium Tank M4A3E8 Sherman "Easy Eight" European Theater (Tamiya 1/35 Military Miniature Series 346): Slide molded parts artfully capture surface textures of cast turret and welded upper hull panels. No aftermarket texture plates are needed; the kit's own molding provides realistic cast and welded surfaces.
-
1/35 U.S. Medium Tank M4A3E8 Sherman "Easy Eight" European Theater (Tamiya 1/35 Military Miniature Series 346): Wide, single-pin T66 tracks are realistically depicted using belt type parts. Belt tracks simplify assembly compared to individual link tracks, while still looking accurate.
-
1/35 U.S. Medium Tank M4A3E8 Sherman "Easy Eight" European Theater (Tamiya 1/35 Military Miniature Series 346): Drive sprockets feature precisely molded holes. This detail saves you from having to drill out sprocket holes yourself, reducing cleanup time.
Step-by-Step Assembly Sequence
Follow the kit's instruction sheet order for best results. The steps below are based on typical Tamiya 1/35 tank kit logic and the specific features of this model.
- 1. Prepare the lower hull and suspension: Assemble the HVSS units and attach them to the lower hull. The kit's HVSS parts are engineered for a snug fit; test-fit before gluing. Use plastic cement for a strong bond.
- 2. Build the upper hull and turret: Glue the welded hull panels and cast turret halves. The slide molding creates realistic texture, so avoid sanding the outer surfaces. Clean up seam lines carefully with a sharp blade.
- 3. Attach the 76mm main gun and turret details: The 76mm gun barrel is a single part; no seam filling is needed. Add the clear cupola vision blocks and headlight lenses after painting the interior surfaces.
- 4. Install the belt tracks: The T66 tracks are flexible belt parts. Wrap them around the drive sprockets and return rollers, then glue the ends together. Ensure the track sag looks natural.
- 5. Add the small parts and final assembly: Attach the engine grille, rear deflector, and tool parts. These add realism and are best painted separately before final glue-up.
Painting and Finishing Advice
The kit's molded textures (cast turret, welded hull, engine grille) are excellent for drybrushing and washes. Use a base coat of olive drab or U.S. Army green, then apply a dark brown wash to bring out the cast texture. The clear parts should be masked or painted from the inside for a realistic look. The belt tracks can be painted with a mix of dark grey and rust tones, then drybrushed with silver for wear.