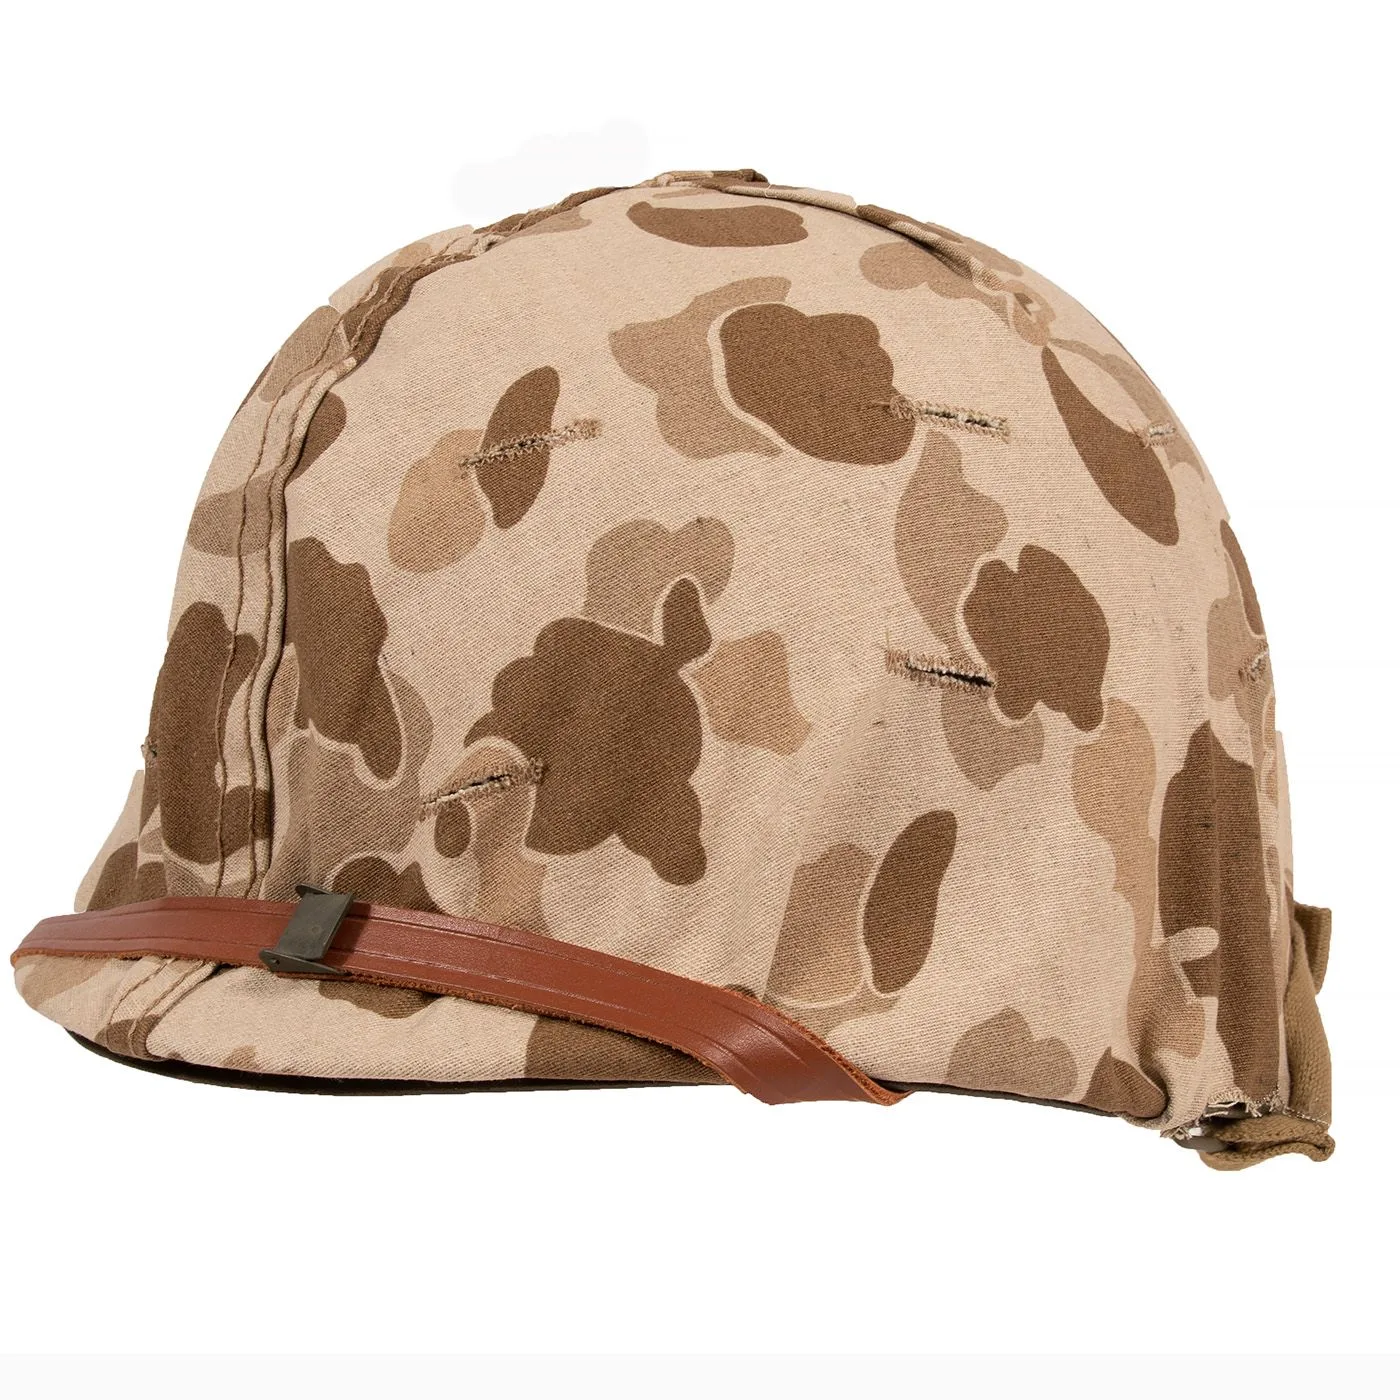
For WWII reenactors and collectors, the Marsh helmet cover is an iconic piece of USMC gear. Originally developed for the M1 helmet, this cover featured a distinctive camouflage pattern and a unique attachment system that set it apart from later designs. Properly attaching a Marsh cover not only enhances the authenticity of your impression but also ensures the cover stays secure during field use.
In this guide, we'll walk you through the step-by-step process of attaching a Marsh helmet cover to a USMC helmet. Whether you're new to reenacting or a seasoned veteran, these tips will help you achieve a correct and functional setup. We'll also cover common mistakes to avoid and how to pair the cover with other essential WWII gear like the M43 Oakleaf Helmet Cover or the Helmet Split Pin Set for added realism.
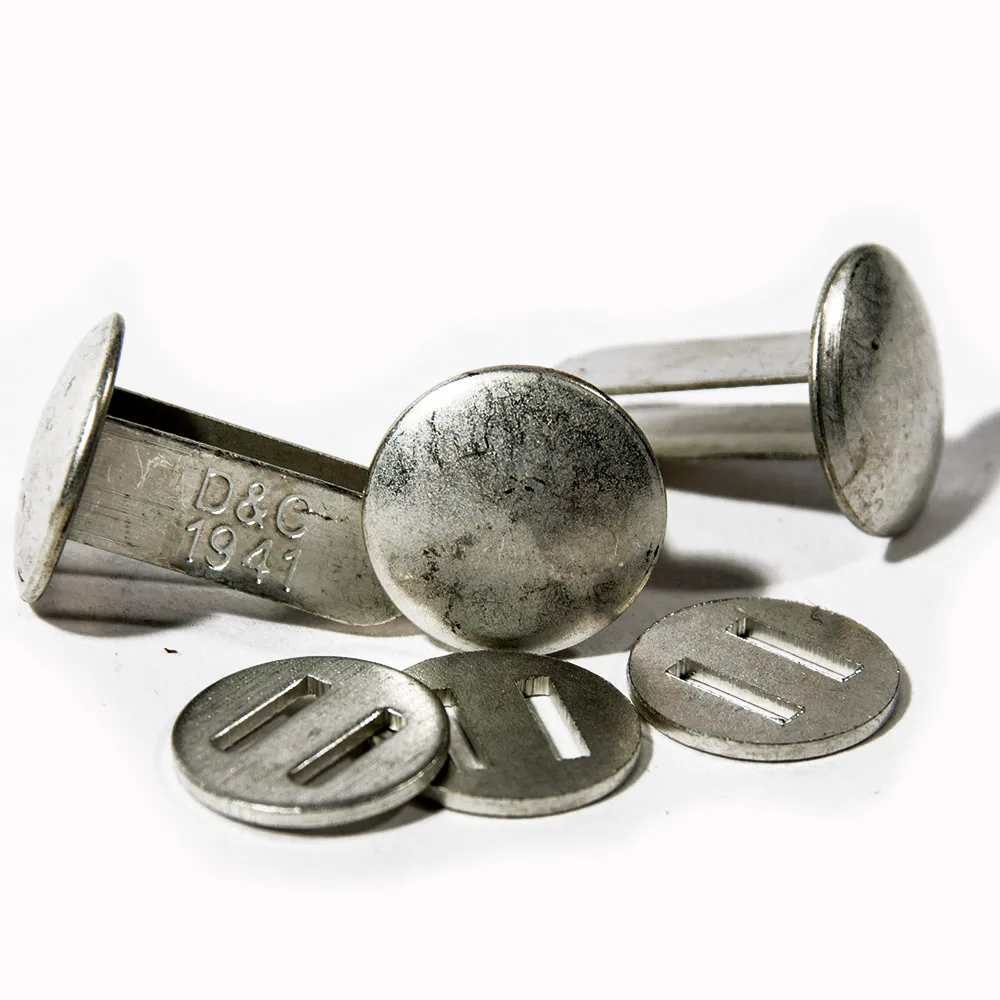
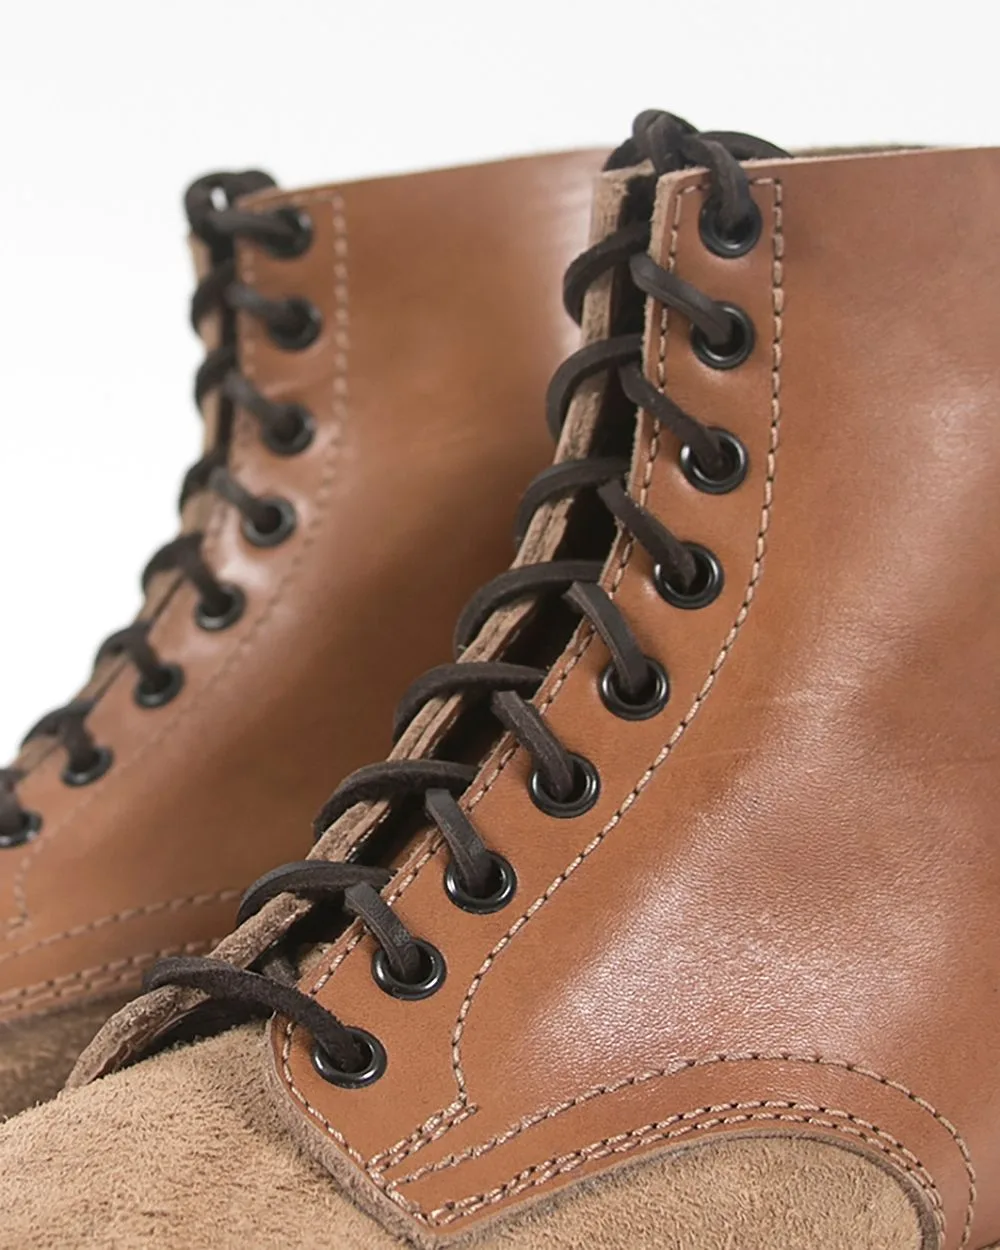
Helmet Split Pin Set
Understanding the Marsh Helmet Cover Design
The Marsh helmet cover, officially designated as the Cover, Helmet, Camouflage, M1, was introduced in late 1942 for the US Marine Corps. Unlike later covers that used elastic bands or hooks, the Marsh cover relied on a series of grommets and tie-down cords that wrapped around the helmet's rim. This design allowed for a snug fit but required careful adjustment to prevent sagging or bunching.
Key features of the Marsh cover include a reversible two-color pattern (often green/brown on one side and tan/brown on the other), a cloth loop at the front for attaching foliage, and a series of tie-down loops around the perimeter. The cover is typically made from a heavy cotton duck material that holds up well to field conditions. For reenactors, using a reproduction cover that matches the original specifications is crucial for authenticity.
- Always check that your cover is the correct size for your M1 helmet (standard or swivel-bale).
- If you have a swivel-bale helmet, ensure the cover's grommets align with the bales to avoid interference.
- For a more authentic look, consider pairing the cover with a matching M43 Oakleaf Helmet Cover for a different camouflage effect.
Step 1: Prepare Your Helmet and Cover
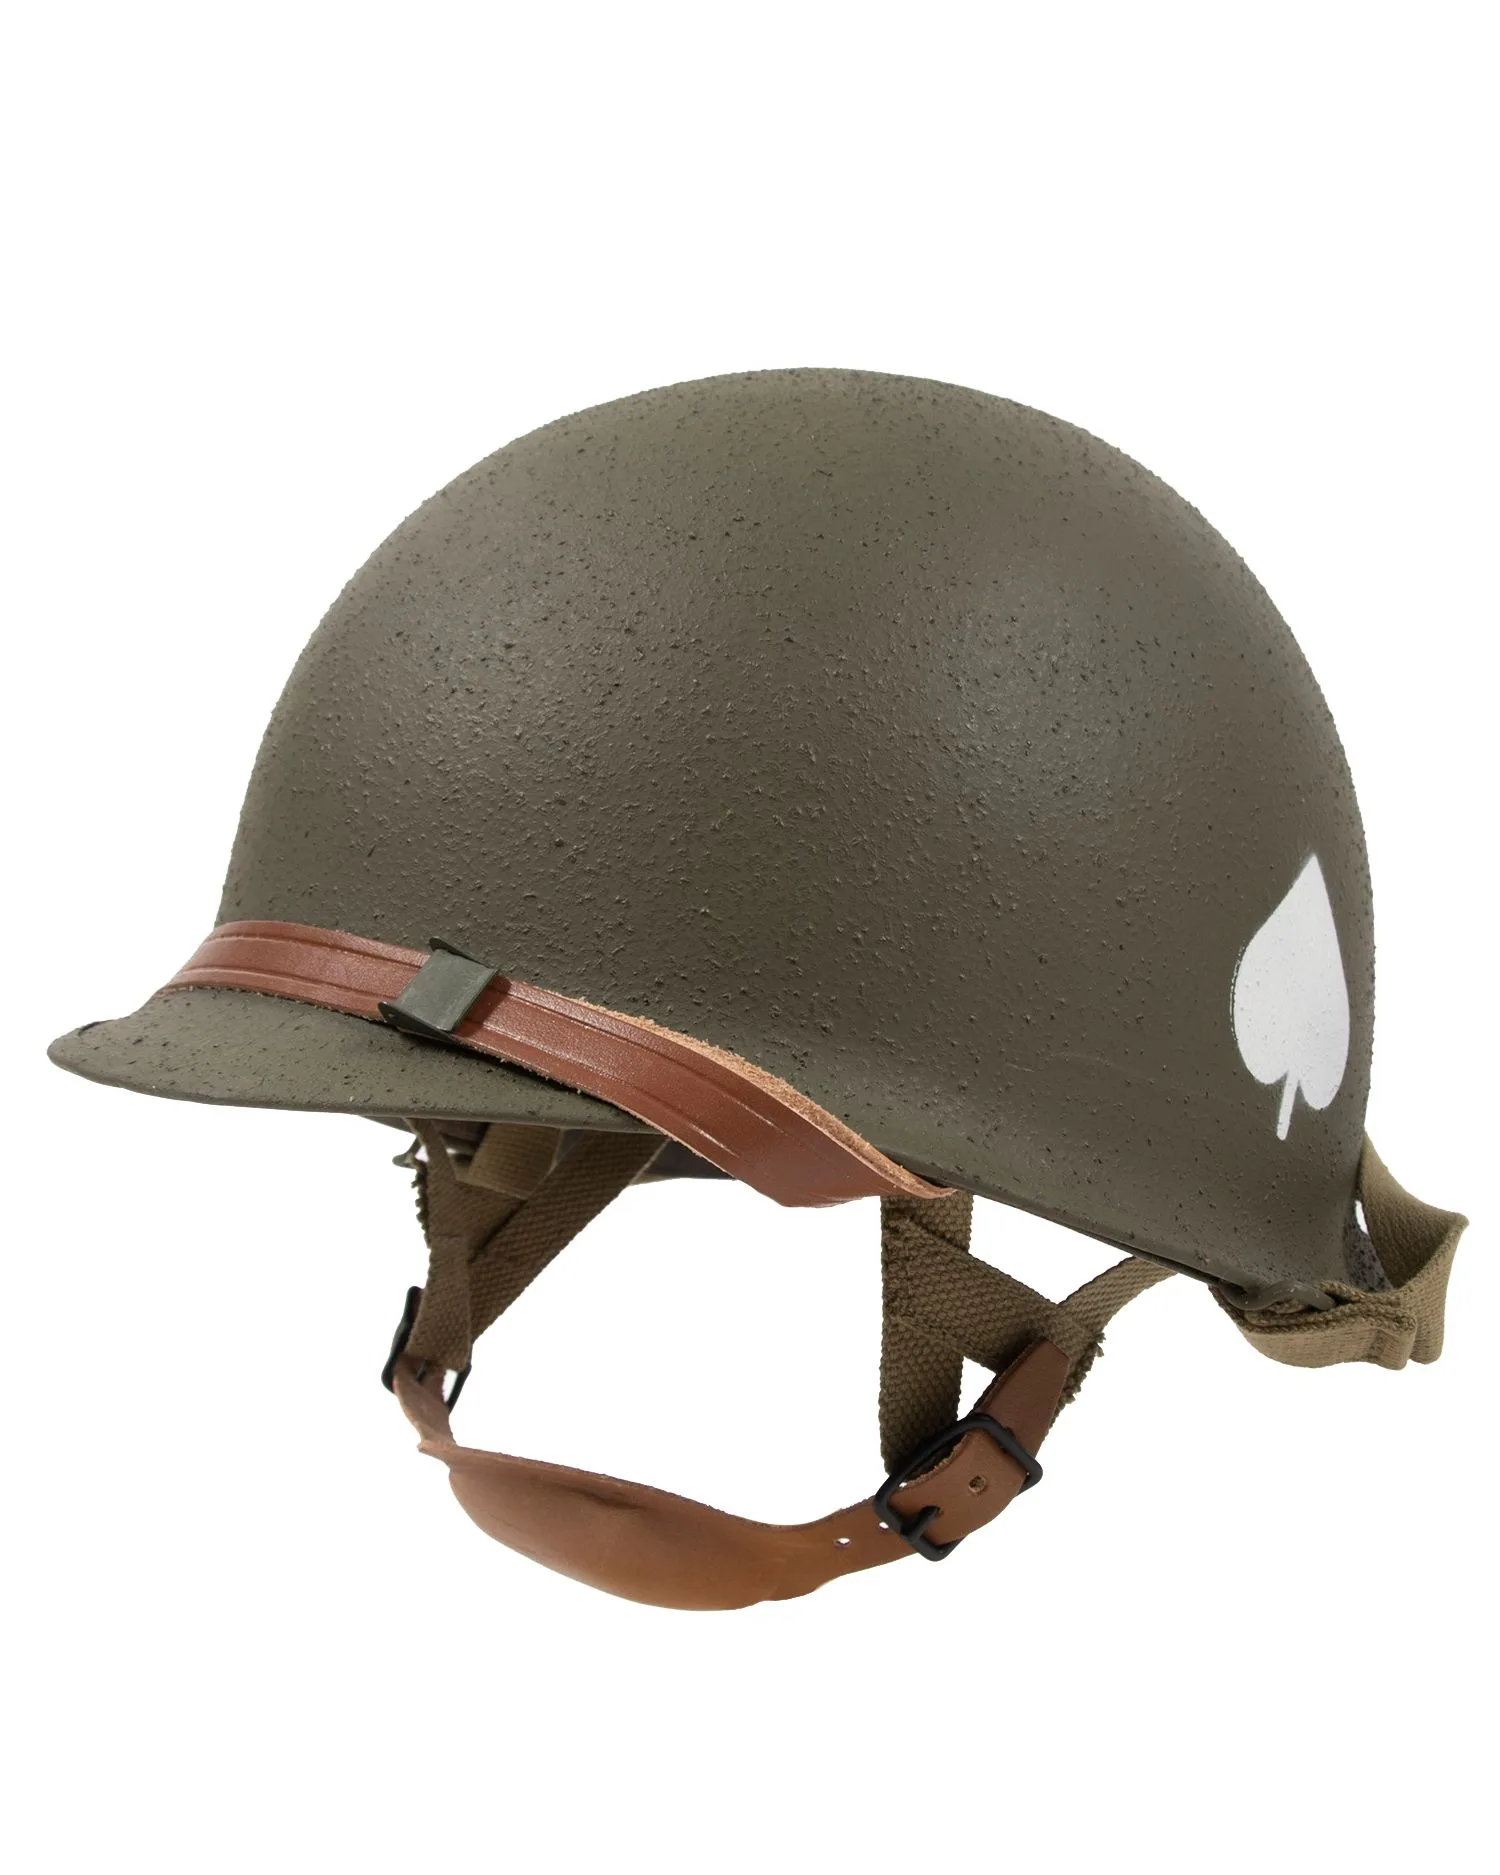
Before attaching the cover, make sure your M1 helmet is clean and free of debris. Remove any existing covers or accessories, such as a Helmet Split Pin Set if you have one installed. Lay the Marsh cover flat and locate the front and back: the front typically has a small cloth loop for foliage, while the back has a larger opening for the helmet's nape strap.
Next, identify the tie-down cords attached to the grommets. These cords are usually made from cotton or nylon and should be untangled. If your cover is new, you may need to soften the material by lightly dampening it with water—this makes it easier to stretch over the helmet. Avoid using excessive force, as this can tear the grommets.
- Work in a well-lit area to avoid missing any tie-down loops.
- If your cover has stiff tie-down cords, soak them in warm water for 10 minutes to increase flexibility.
- For a more secure fit, consider replacing the original cords with a reproduction set from a reliable supplier.
Step 2: Position the Cover on the Helmet
Place the helmet upside down on a flat surface. Drape the Marsh cover over the helmet, ensuring the front loop aligns with the front of the helmet. The cover should extend evenly around the brim. If your helmet has a swivel-bale, make sure the bales protrude through the corresponding grommets—this is a common point of confusion for new reenactors.
Once the cover is positioned, begin pulling it down over the sides. Use your fingers to smooth out any wrinkles, working from the crown outward. The cover should fit snugly but not be stretched to the point of distorting the camouflage pattern. For helmets with a liner, you may need to adjust the cover slightly to accommodate the liner's shape.
- If the cover is too tight, try rotating it 90 degrees to see if the grommets align better.
- For a more authentic USMC look, pair the cover with a properly fitted M1 helmet liner.
- Avoid using adhesive or tape to hold the cover in place—this can damage the helmet's finish.
Step 3: Secure the Tie-Down Cords
With the cover in place, start tying the cords around the helmet's rim. Begin at the front and work your way to the back, alternating sides to maintain even tension. Each cord should be tied in a simple square knot or a bow knot for easy removal. Trim any excess cord length to prevent snagging, but leave enough to untie if needed.
Pay special attention to the area around the nape strap: the cover should tuck neatly behind the strap without bunching. If your helmet has a Helmet Split Pin Set installed, ensure the pins do not catch on the cover's grommets. For a more secure fit, you can use a second set of cords (not included with most reproductions) to reinforce the sides.
- Use a small flathead screwdriver to help push the cords through tight grommets.
- If you plan to wear the helmet in the field, double-knot the cords to prevent them from coming undone.
- For a more authentic look, consider aging the cords with a light application of dirt or tea stain.
Step 4: Final Adjustments and Camouflage
Once all cords are tied, inspect the cover for any loose areas. Gently tug on the cover at various points to ensure it is taut. If you notice sagging, re-tie the corresponding cords. The cover should not shift when you move your head. For reenactors, this is also the time to add foliage to the front loop—use natural vegetation like leaves or small branches for a realistic field look.
Finally, consider the camouflage pattern orientation. The Marsh cover is reversible, so choose the side that best matches your environment. For woodland settings, the green side is preferred; for arid or urban terrain, the tan side works better. Remember that the cover is not a substitute for a helmet net—if you need additional camouflage, you can layer a net over the cover, but this was not standard for USMC use in the early war period.
- Avoid overloading the front loop with heavy foliage that could obstruct your vision.
- For a more accurate impression, pair the cover with a USMC HBT uniform or a https://wildernessworks.shop/products/standard-m1942-paratrooper-jacket-99166Standard M1942 Paratrooper Jacket.
- Store the cover flat when not in use to prevent creases and prolong its lifespan.
Attaching a Marsh helmet cover to your USMC helmet is a straightforward process that greatly enhances the authenticity of your WWII reenactment kit. By following these steps—preparing the cover, positioning it correctly, securing the tie-down cords, and making final adjustments—you can achieve a professional-looking setup that will stand up to field use. For a complete and historically accurate impression, explore our selection of USMC gear, including the M43 Oakleaf Helmet Cover and other accessories that complement your Marsh cover perfectly.