Confirm your harness is a Muse or Bomber
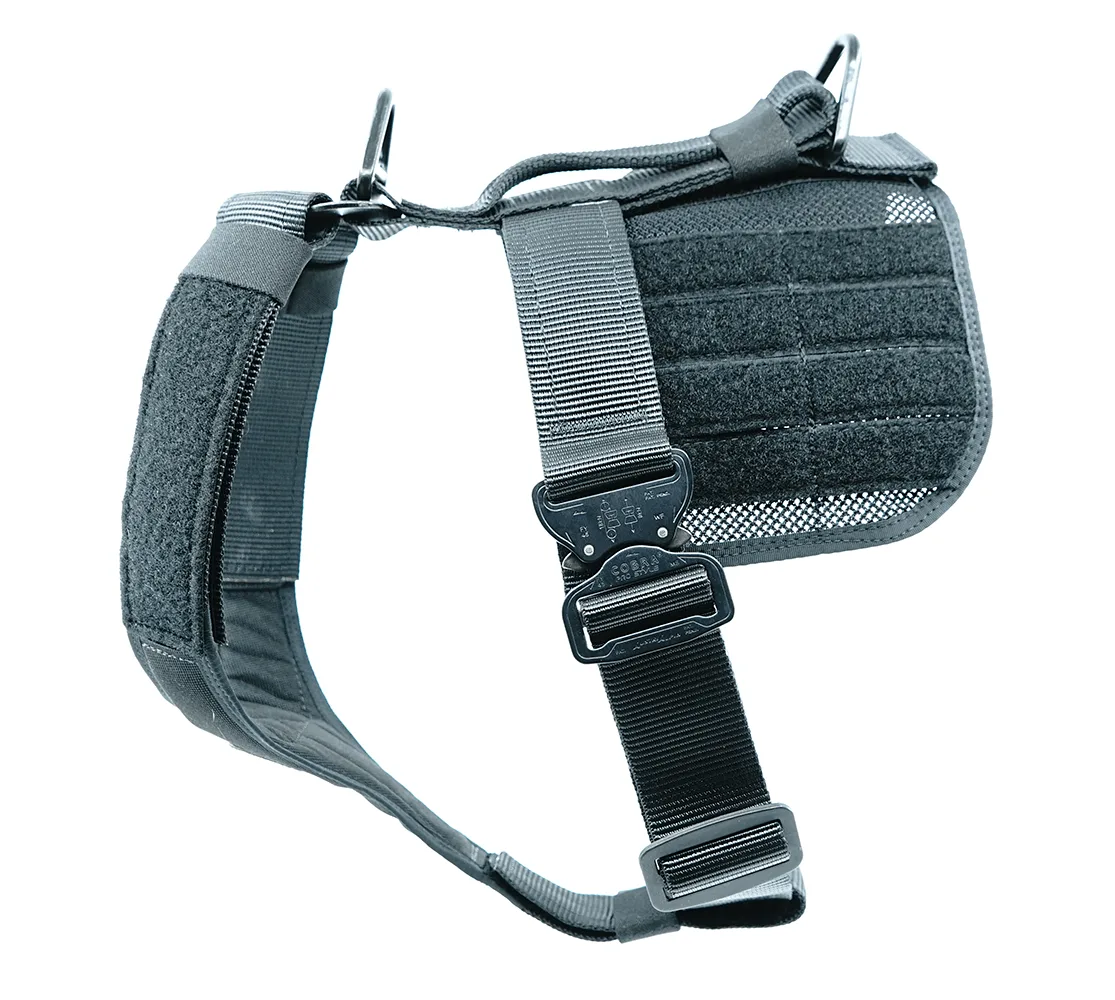
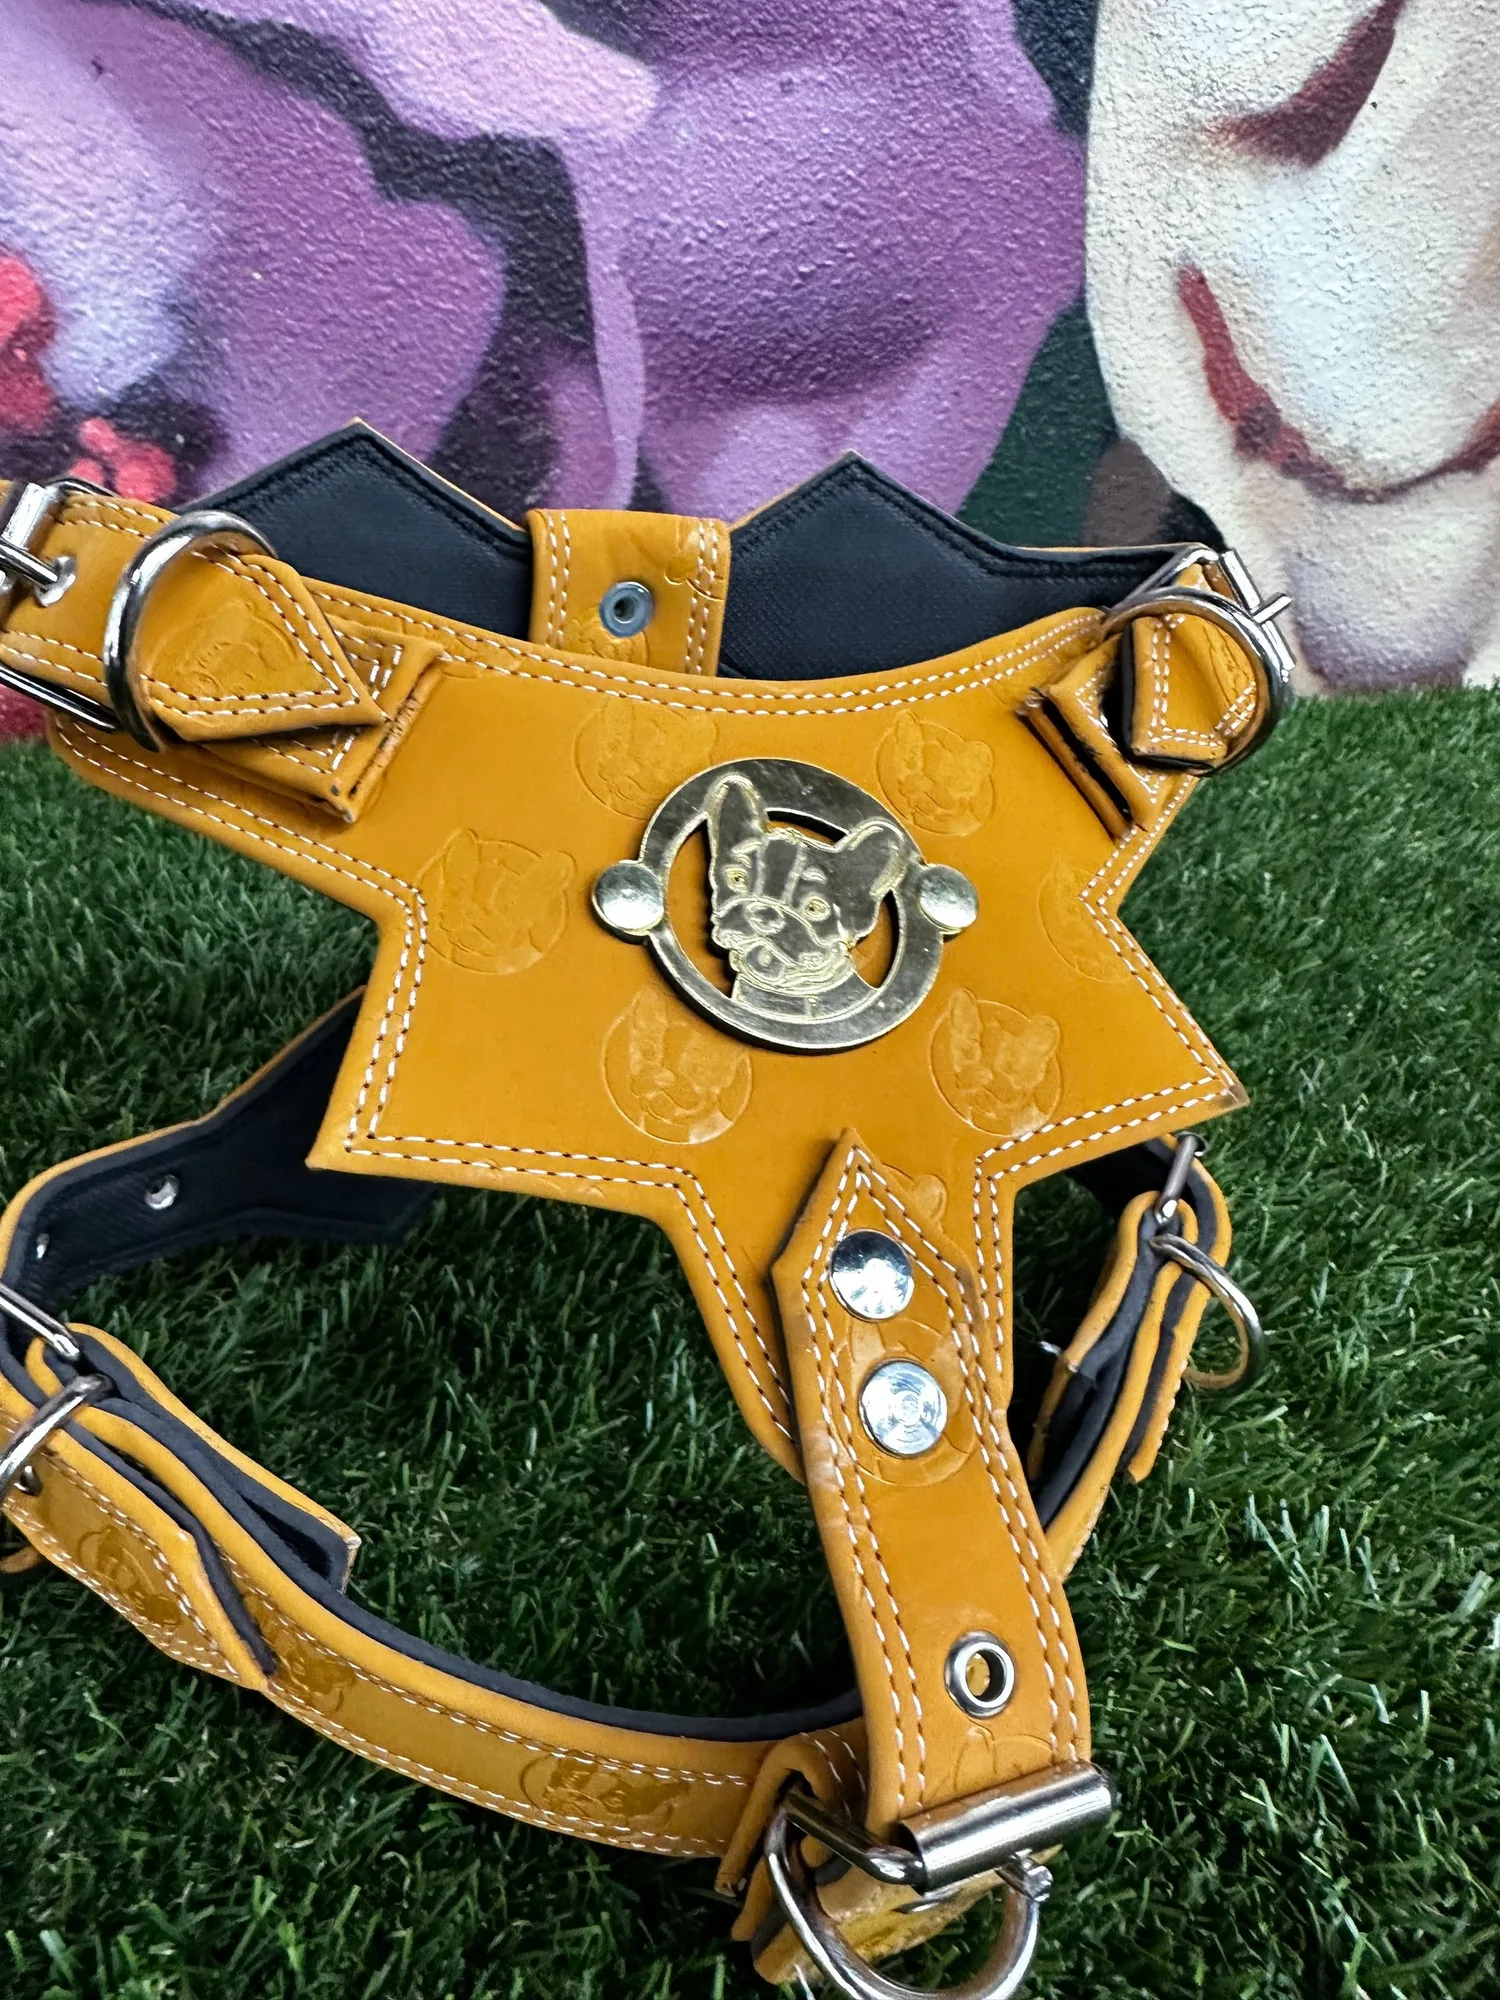
Before you plan any mounting, check the harness itself. Pouches 001 are built as an add-on for the Muse or Bomber harness, and the supplied product record lists that pairing as a requirement. If your dog wears a different harness model, the pouches are not confirmed to fit, so treat this as a stop point rather than a workaround.
Once you have confirmed the harness model, the rest of the setup is about size and placement. The pouches ship as a pair, so you are fitting two units, not one.
What the Pouches 001 record confirms
-
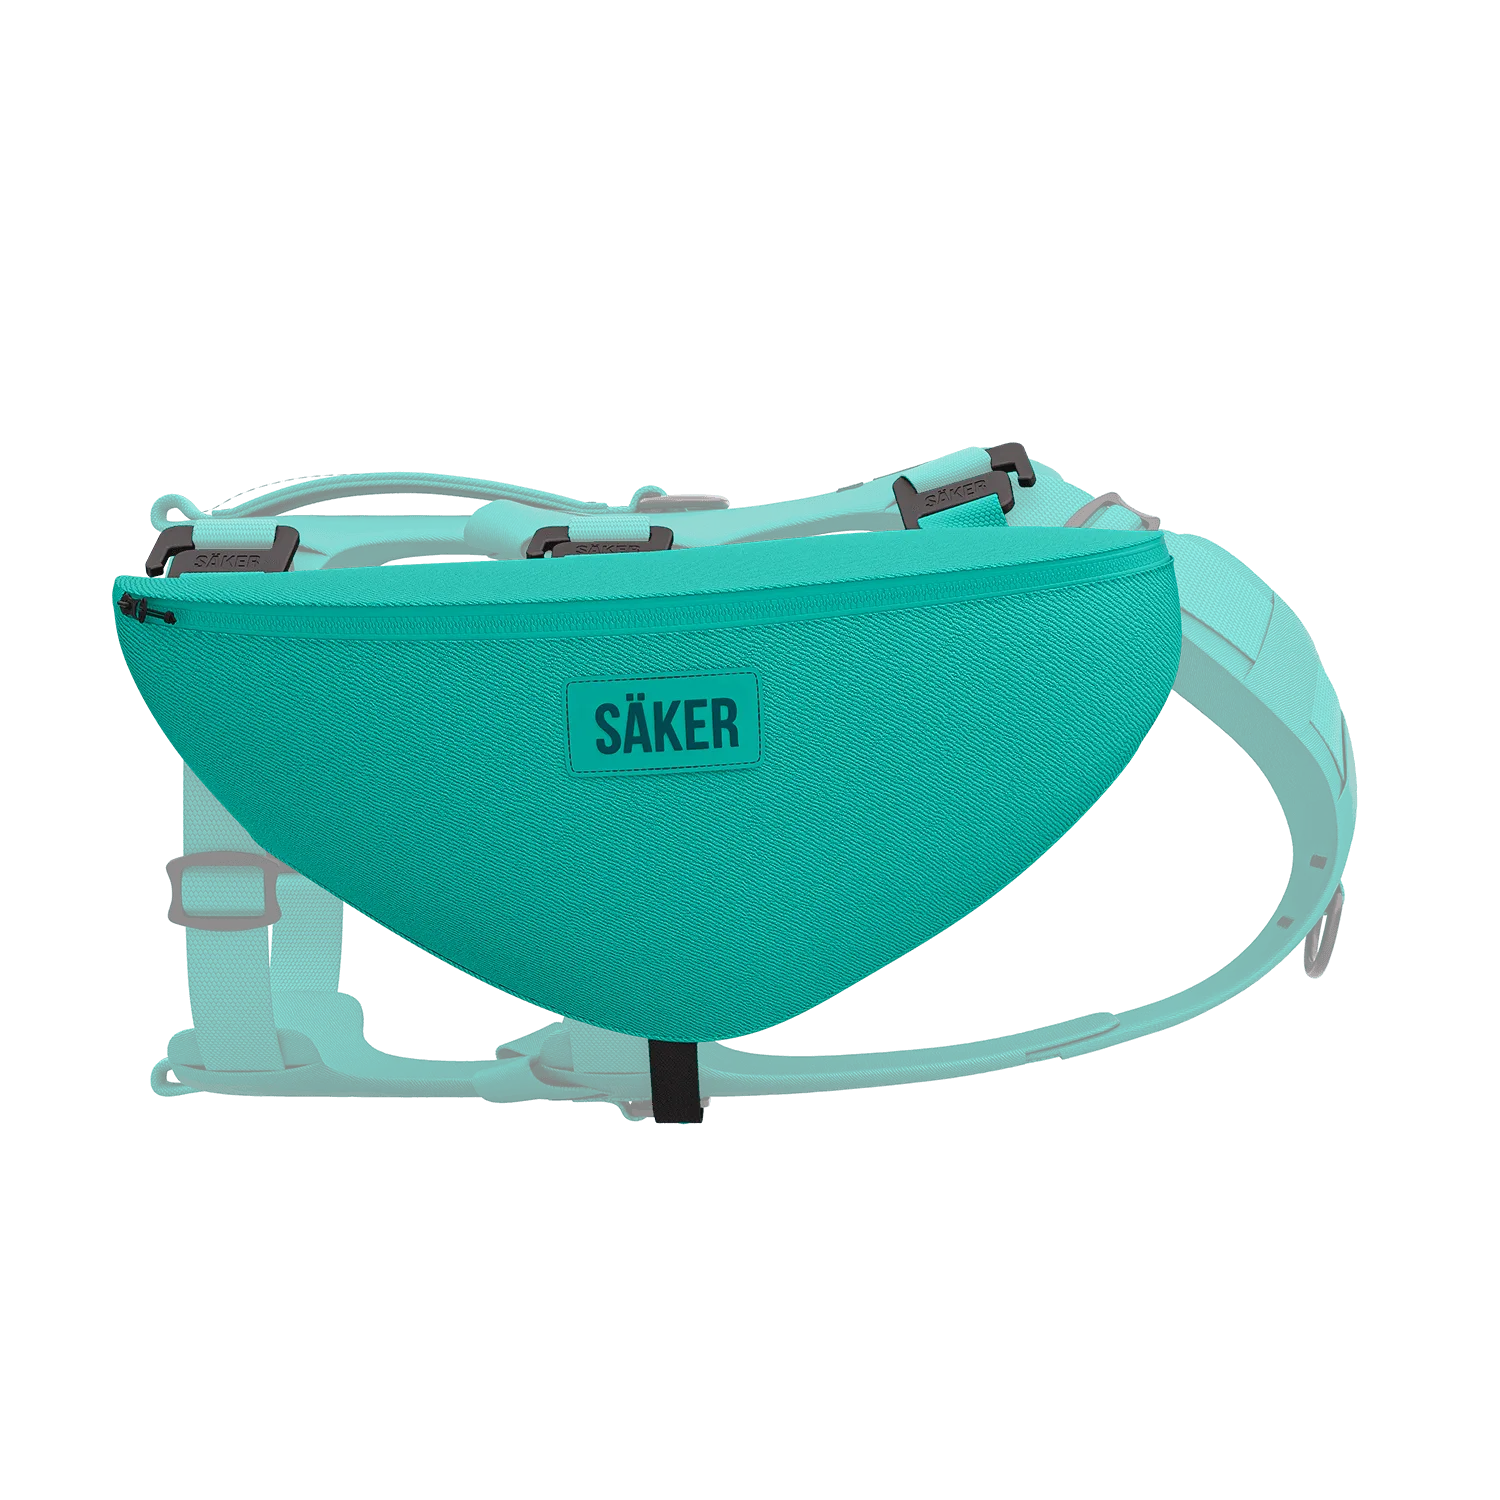
Pouches 001: Requires: Muse or Bomber harness. This is the compatibility gate for the whole job. Check it before anything else.
Pouches 001
-
Pouches 001: Pouches 001 come in a pair. You are mounting two pouches, which is why balanced placement matters more than with a single add-on.
-
Pouches 001: Use the size chart on the harness page to determine the required pouch size. Sizing is tied to the harness page chart, not to a standalone pouch chart, so use that source.
A practical attachment sequence
The supplied record does not include step-by-step mounting instructions, so the sequence below focuses on the decisions the record does support: compatibility, size, and pairing. Follow any fitting guidance that comes with your harness where it overlaps.
- 1. Verify the harness model: Confirm you have a Muse or Bomber harness. This is the stated requirement for Pouches 001.
- 2. Find your pouch size on the harness page: The record directs you to the size chart on the harness page to determine the required pouch size. Use that chart rather than guessing from your dog's weight or breed.
- 3. Match the size to the available options: Pouches 001 are offered in XS, S, M and L in Skeena Teal. Compare the chart result with those sizes before ordering.
- 4. Plan for both pouches: Because the product comes as a pair, decide where each pouch will sit on the harness before you start adjusting straps.
- 5. Check the fit with the harness on: Once mounted, put the harness on your dog and look at how the pair sits. The record does not specify torque values, strap routing or clearance measurements, so rely on the harness's own fitting guidance for those details.
Placement tips for a paired pouch setup
The record does not prescribe a specific mounting position, so these are general placement principles for a two-pouch add-on rather than manufacturer instructions.
- Keep the pair balanced: With two pouches, spreading load evenly left and right helps the harness sit straight. Avoid loading one side heavily while the other stays empty.
- Respect the harness's existing fit: Adding pouches changes how the harness sits. Recheck the harness straps after mounting rather than assuming the previous adjustment still works.
- Match pouch size to the harness chart: The record ties pouch size to the harness page chart. A pouch that does not match that chart is the wrong size, even if it looks close.
- Think about what the pouches are for: The product is described for carrying essentials on day trips and multi-day backcountry treks. Decide what your dog will carry before you finalize placement, since a loaded pouch sits differently from an empty one.
What the supplied information does not cover
The record confirms compatibility, pack quantity and the sizing source, but it does not include mounting steps, strap routing, weight limits, or care instructions. If you need those details, check the harness page and any documentation that ships with the product rather than assuming a standard method.
That gap is a limitation of the supplied information, not a sign that the pouches are hard to fit. The key decisions, harness model and pouch size, are both documented, and those are the ones that determine whether the setup works.