Quick answer
Break in Reebok training shoes by wearing them in short, low-impact sessions first, then adding one variable at a time: duration, then intensity, then load. Most hot spots show up in the first two or three sessions, so fix pressure early with thinner socks, a different lacing pattern, or a heel-lock tie. If pain, numbness, or a blister forms in the first 20 minutes, the size or fit is the problem, not the break-in.
New training shoes rarely hurt because the materials are bad. They hurt because your foot and the shoe have not agreed yet on where pressure belongs. A fresh upper, a stiff heel counter, and a midsole that has not flexed to your stride all push in slightly different places than your old pair did.
The fix is not to wear them around the house for a week and hope. It is a short, structured ramp: easy sessions first, one change at a time, and a clear rule for when a hot spot means adjust and when it means return. The plan below works for any Reebok training shoe, including the Nano line, and it takes about a week of normal training.
Why new training shoes cause blisters in the first place
Blisters come from friction plus moisture plus repetition. A new shoe has a fresh interior with no softened flex points, so the upper, tongue, and collar press on skin that has not built up tolerance. Add sweat from a first hard session and the shoe's lining grabs instead of glides.
Training shoes make this worse than running shoes because they are built for lateral movement and heavy loads. A stable heel counter and a snug midfoot hold are features, not flaws, but they concentrate pressure in the first few wears. That is why a shoe can feel perfect in the store and rub on day two.
- Moisture is the multiplier: dry friction is annoying, wet friction blisters.
- A snug heel is supposed to feel locked, not pinched. Pinching is a fit signal, not a break-in signal.
Set up the first wear correctly
Before the first session, loosen the laces all the way down and re-lace from the bottom. This resets the tongue and lets the upper sit where it should instead of where it was packed. Pull the laces snug from the midfoot up, not tight from the top down.
Wear the socks you actually train in. Thin synthetic socks reduce volume and friction; thick cotton socks add bulk and hold sweat. If you are between sizes or the shoe feels roomy, a slightly thicker sock can be the difference, but change one thing at a time so you know what worked.
- Check the heel: your heel should not slide up when you push off.
- Check the toe: you want about a thumb's width of space in front of your longest toe.
Ramp up in three stages instead of one long day
Stage one is 20 to 30 minutes of walking or a light warm-up. Stage two is a normal session at reduced intensity, skipping the heaviest lifts and the sharpest cuts. Stage three is your regular training, but keep an eye on the same spots for another week.
The common mistake is going straight into a PR day because the shoe felt fine in the store. Store floors are flat and carpeted, and you were not sweating. Give the upper a chance to flex before you ask it to handle max effort.
- If a session ends with a hot spot, repeat that stage once before moving on.
- Rotate with your old pair for the first week so one bad session does not derail training.
Fix hot spots before they become blisters
A hot spot is a warning, not a normal part of breaking in shoes. Stop, re-tie, and check where the pressure is coming from. If it is on top of the foot, the laces are too tight across the instep. If it is at the heel, your heel is sliding. If it is on the side of the big toe, the shoe is too narrow or your foot is shifting forward.
Small changes solve most of it: thinner socks, a heel-lock lacing pattern, or skipping the top eyelet pair. If a hot spot returns in the same place three sessions in a row, stop adjusting and start questioning the size.
- Never push through a hot spot to finish a workout. You will trade one session for a week off.
- Keep a spare pair of thin socks in your bag so you can swap mid-session if your feet get soaked.
Know when it is a fit problem, not a break-in problem
Break-in pain fades as the shoe softens. Fit pain does not. If your toes go numb, if your heel lifts no matter how you lace, or if you feel a sharp pinch on the first step, the shoe is the wrong size or the wrong shape for your foot. No amount of wearing will fix that.
This is also where a sizing kit helps. If you are ordering online and unsure between two sizes, measure first rather than ordering both and hoping one breaks in. A shoe that fits from day one needs far less breaking in.
- Numbness, tingling, or a visible blister in the first 20 minutes means stop and reassess.
- If one shoe fits and the other does not, check your foot measurement again before blaming the shoe.
Six-step break-in plan
- Step 1: Re-lace from scratch: Pull the laces out completely, straighten the tongue, and lace from the bottom eyelet up. Snug the midfoot, keep the top loose. Checkpoint: your heel stays put when you push off, and the top of your foot does not feel compressed.
- Step 2: Wear them for 20 minutes indoors: Walk around, do a few bodyweight squats, and stand on one foot. This is a fit check, not a workout. Common mistake: skipping this and going straight to the gym. Most fit problems show up in the first 20 minutes.
- Step 3: Do one easy session: Warm up, then train at reduced intensity for 30 to 40 minutes. Skip heavy lifts and sharp lateral cuts. Checkpoint: no hot spots by the end. If one appears, note exactly where.
- Step 4: Repeat at normal intensity: Train as usual, but keep the session under an hour and check in with your feet halfway through. Common mistake: adding duration and intensity in the same session. Change one variable at a time.
- Step 5: Adjust before you push: For heel slip, use a heel-lock lacing pattern. For instep pressure, skip the top eyelet pair or switch to thinner socks. Checkpoint: the same hot spot should not return three sessions in a row.
- Step 6: Decide by day seven: If the shoe now feels comfortable at full training load, it is broken in. If it still pinches, the size or shape is wrong. Next step: reassess your size with a sizing kit before ordering a replacement.
Reebok shoes and how they affect break-in
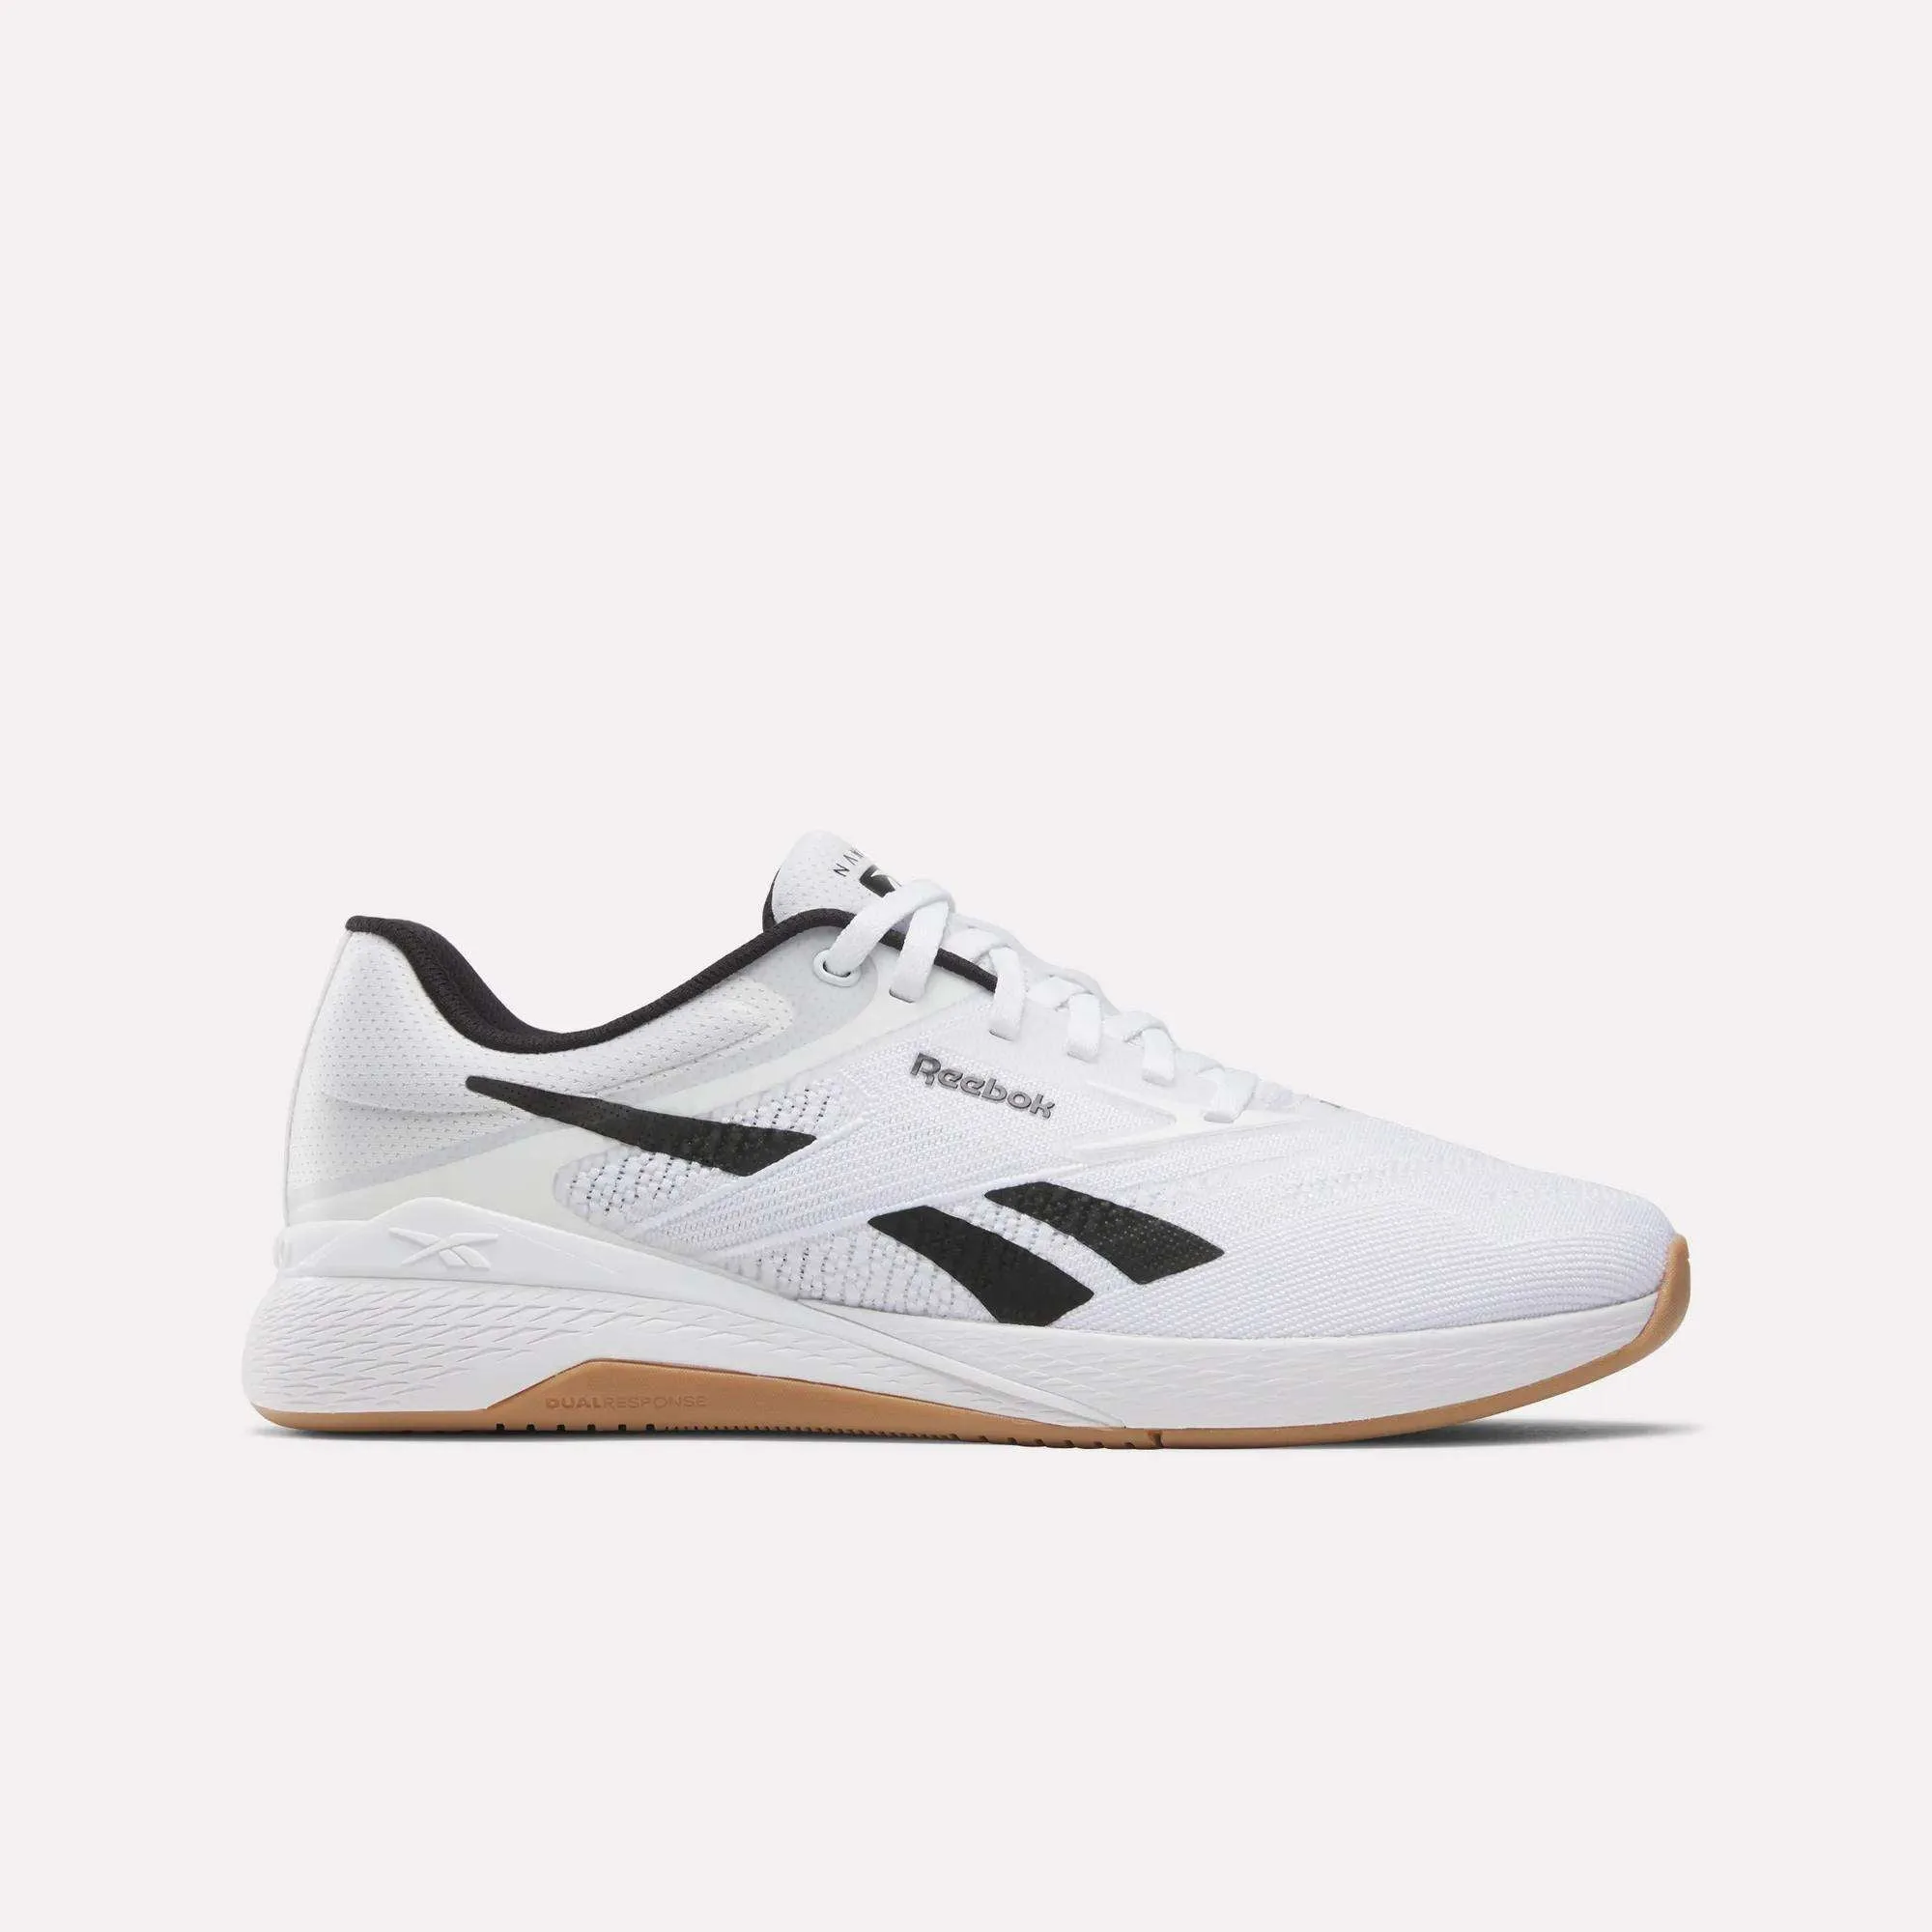
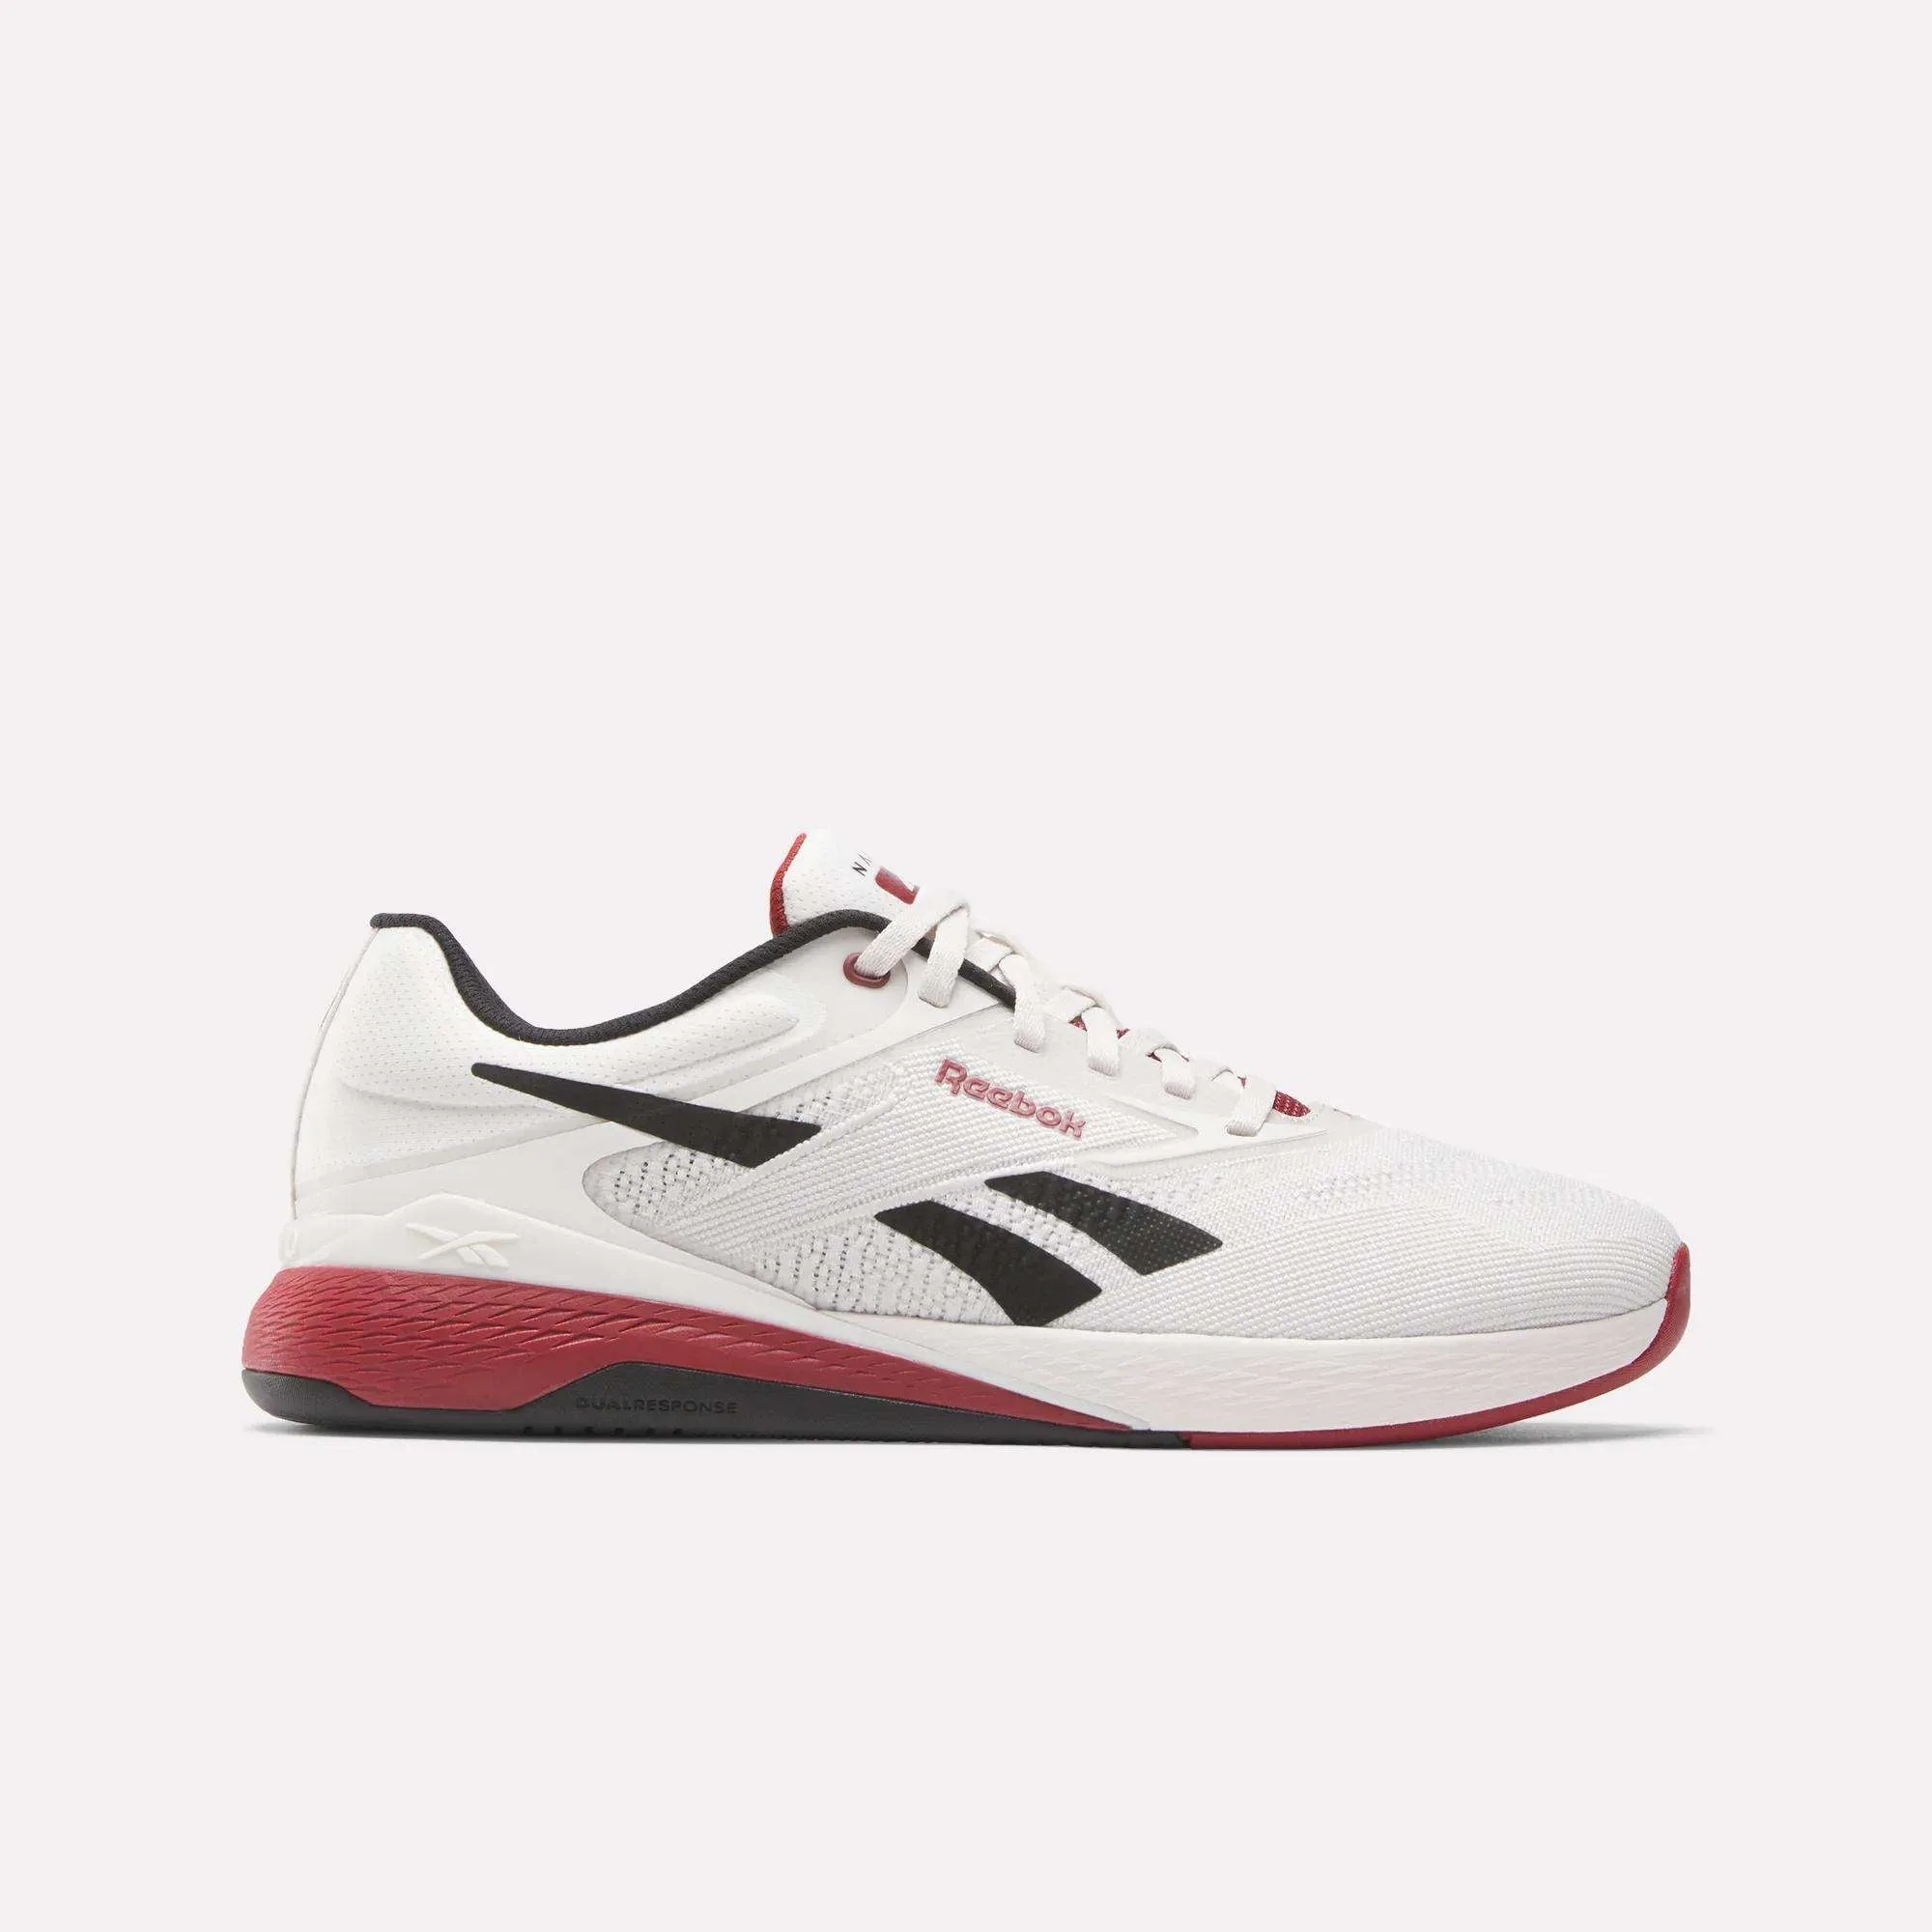
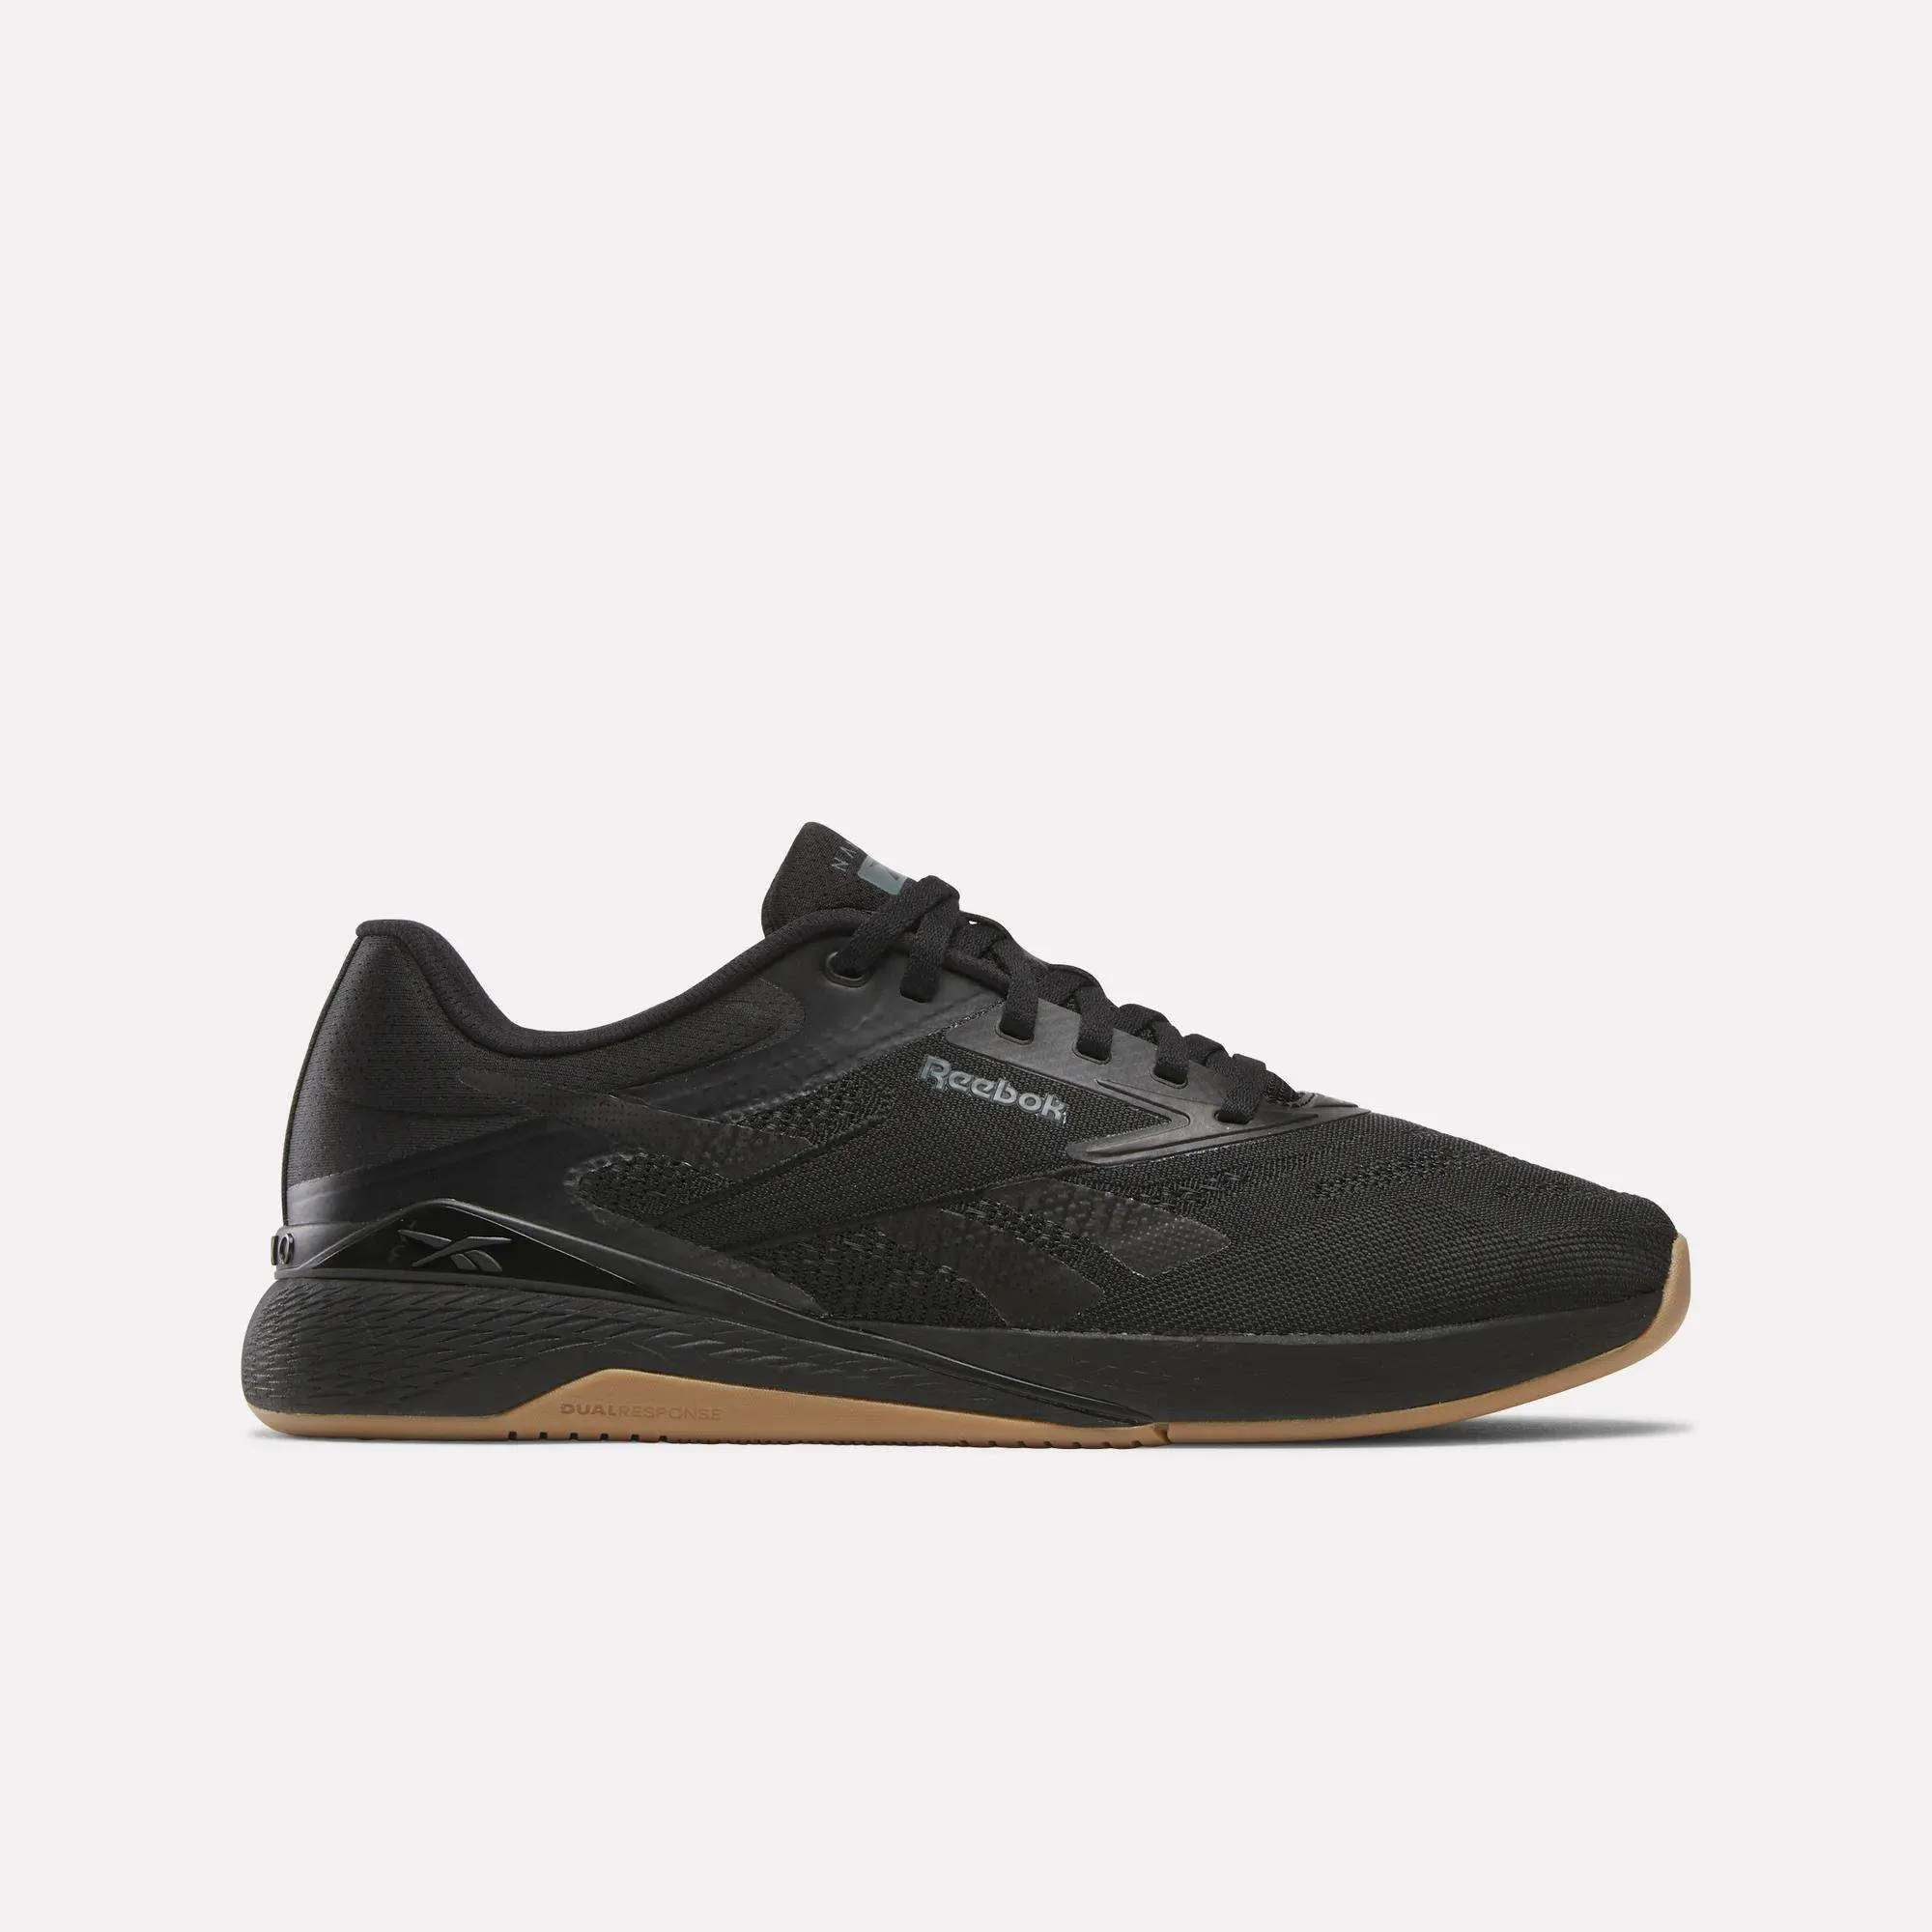
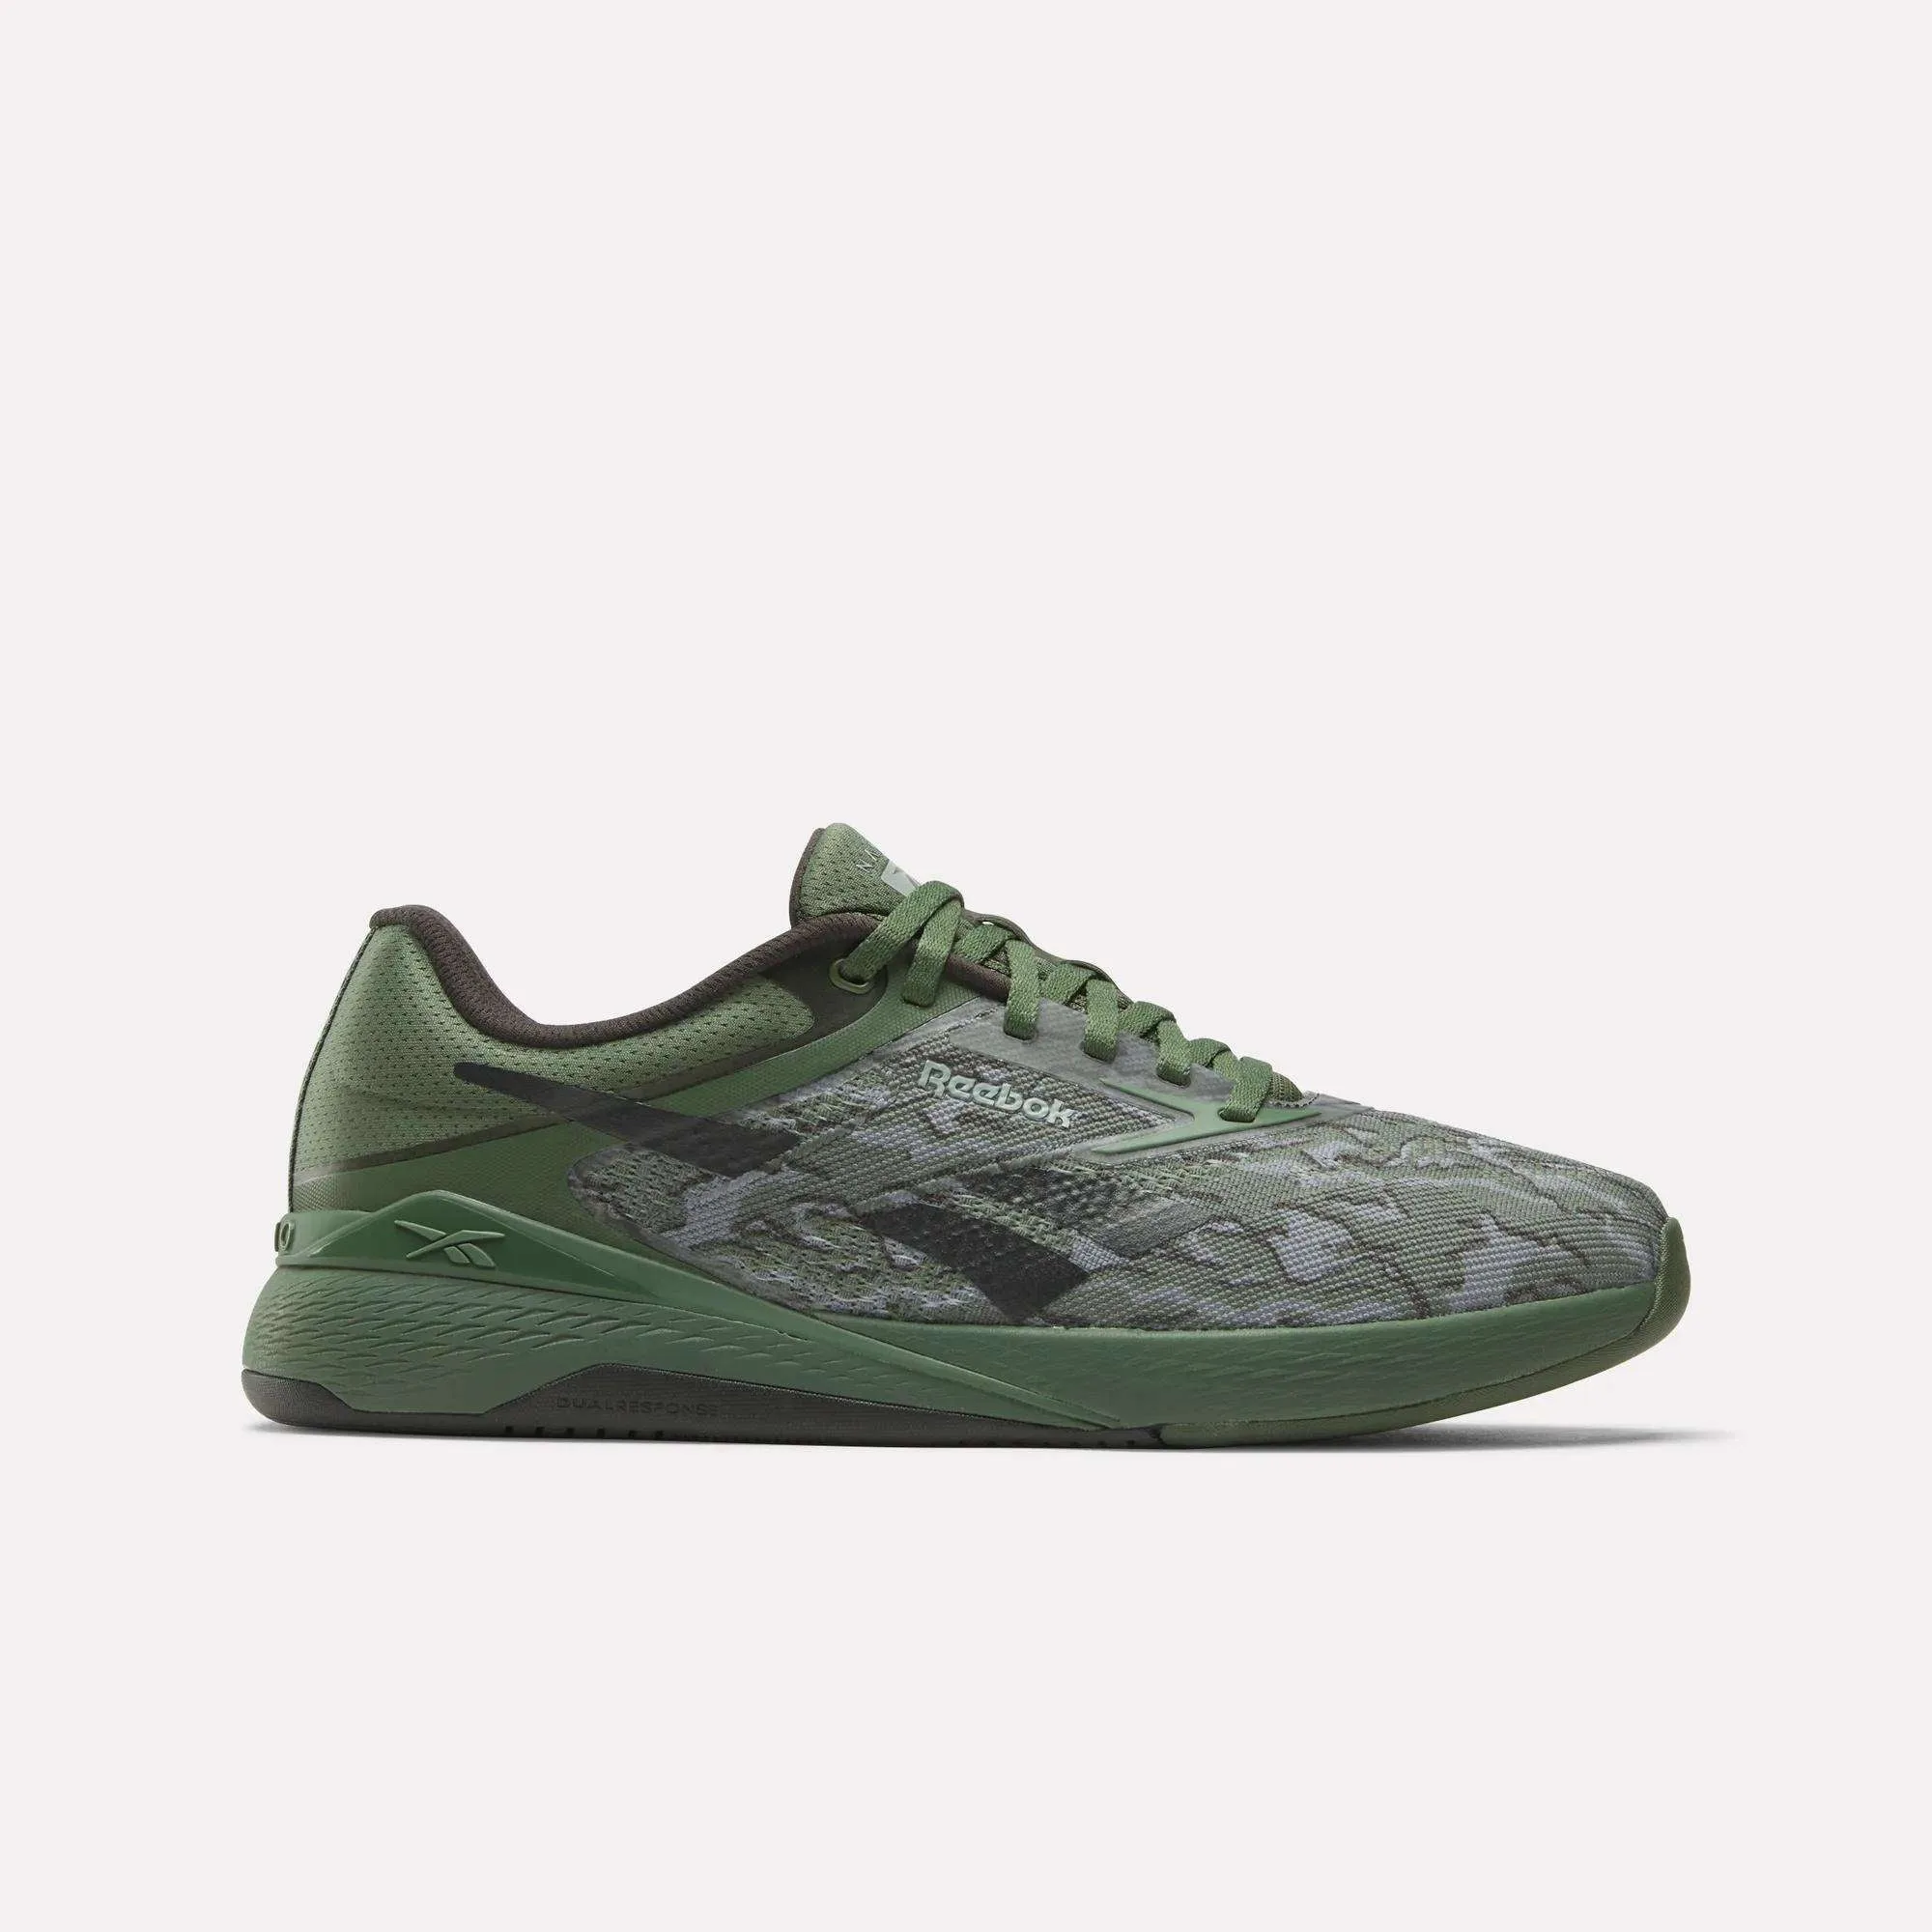
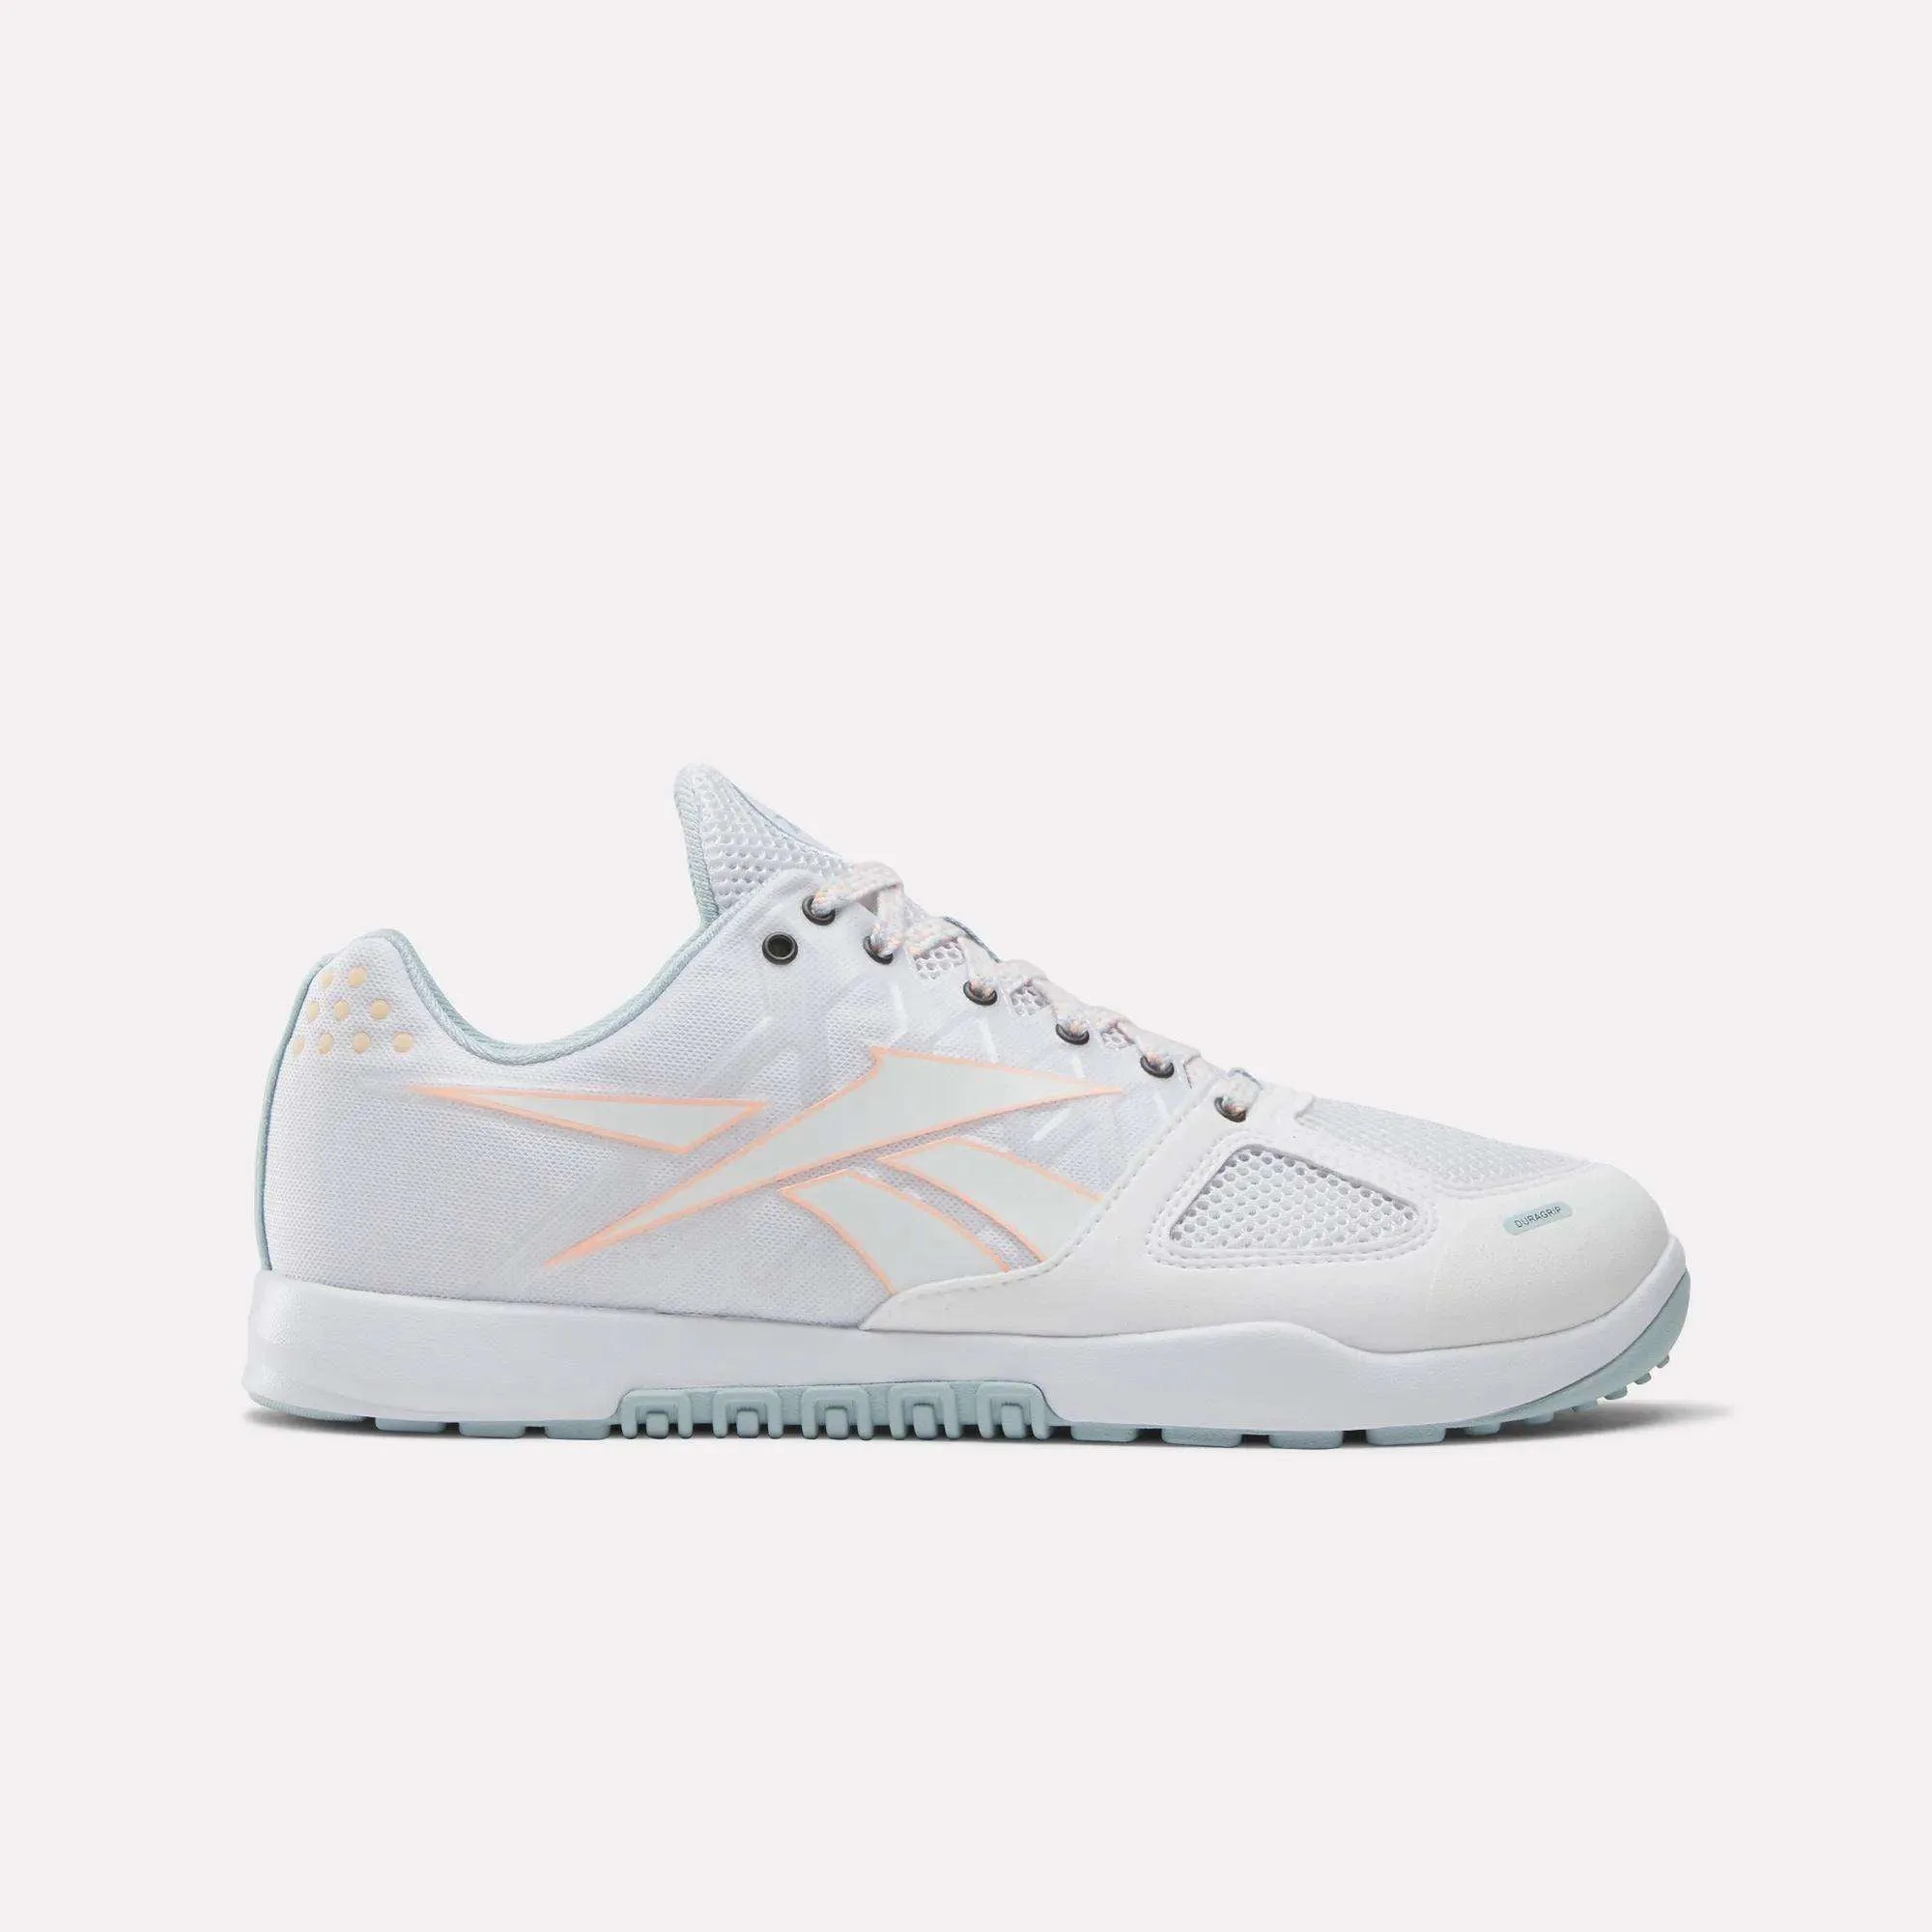
- Women's https://reebokevb.com/products/reebok-nano-x5-training-shoes-luxe-grey-retro-red-black-3e7707b89545e20db41becb3-1594500https://reebokevb.com/products/reebok-nano-x5-ftwr-white-black-reebok-rubber-gum-04-11-d4b8899040a750b8e9f039fd-1594528https://reebokevb.com/products/reebok-nano-x5-training-shoes-breakaway-green-washed-bl-e2e7ccf2b93451be0df77c73-1594545https://reebokevb.com/products/reebok-nano-x5-black-grey-5-reebok-lee-3-118837-9200467f1ca7b066b53a3ae6-1594617Nano X5 Training Shoes: Dual-density midsole with firmer foam in the heel for stability and more responsive foam in the forefoot, plus a plush collar that keeps the foot locked down. The firmer heel holds your foot in place, which reduces the sliding that causes heel blisters, while the plush collar means less rubbing at the ankle from the first wear.
- Men's Viva Speed Shoes: Mesh upper with a deconstructed foam tongue that reduces lace pressure, plus a high-profile EVA midsole. Less lace pressure across the instep means fewer hot spots on top of the foot, which is the most common early break-in complaint.
- Women's FloatZig Tread Running Shoes: Breathable mesh upper with a dual-density midsole using SuperFloat foam and Zig geometry, plus a lateral outrigger. A breathable upper keeps feet drier, and dry friction is far less likely to turn into a blister during a treadmill session.
Break-in is a short ramp, not a test of pain tolerance. Give new Reebok training shoes a few easy sessions, fix pressure points as they appear, and give yourself a clear deadline for deciding whether the fit is right. A shoe that fits well barely needs breaking in at all.