Quick Answer
Use a digital coffee scale to measure both coffee and water by weight for consistent, delicious brews every time. Start with a 1:16 coffee-to-water ratio, adjust to taste, and always tare between additions. This precision is key for extracting the full flavor from your specialty beans.
If you're serious about your morning cup, a digital coffee scale is the single most impactful upgrade you can make to your brewing routine. Unlike scoops or volume measurements, weight accounts for bean density and grind size variations, ensuring you hit the same strength and flavor every time. Whether you're using an AeroPress, Chemex, or Clever Dripper, precision matters.
In this guide, we'll walk through why a scale is essential, how to set up your brewing station, and a step-by-step process for using a scale to achieve perfect extraction. We'll also cover common mistakes and how to adjust ratios to your taste.
Why Use a Digital Scale for Coffee?
Coffee brewing is a science of ratios. The Specialty Coffee Association recommends a 1:16 coffee-to-water ratio (1 gram of coffee to 16 grams of water) as a starting point. Without a scale, you're guessing—scoops can vary by 20% or more depending on bean size and roast level. A digital scale removes the guesswork, giving you repeatable results.
Additionally, water expands when heated, so measuring by volume (like cups) is inaccurate. Weight is the only consistent way to measure water. For pour-over methods like Chemex, a scale also helps you control pour rate and timing, which directly impacts extraction quality.
- Consistency: same coffee, same water, same ratio equals same taste.
- Adjustability: fine-tune strength by tweaking the ratio.
- Cost-effective: avoid wasting expensive beans on bad brews.
Setting Up Your Brewing Station
Place your digital scale on a flat, stable surface. Ensure it's turned on and set to grams. If your scale has a timer, use it—timing is crucial for methods like AeroPress or pour-over. Place your brewing device (e.g., Chemex or AeroPress) on the scale and press tare to zero out the weight.
Have your coffee beans and grinder ready. Weigh the beans before grinding to avoid retention issues—ground coffee can stick in the grinder, throwing off your measurement. For a 1:16 ratio, if you're making 300g of coffee, you'll need about 18.75g of beans.
- Always tare the scale after placing your empty brewing device.
- Weigh beans whole, then grind—don't weigh after grinding.
- Use a timer to track brew time for consistency.
Step-by-Step: Brewing with a Scale
Start by placing your empty brewing device on the scale and taring. Add your ground coffee and note the weight. Then, slowly pour water while watching the scale, stopping at your target water weight. This ensures you hit your desired ratio exactly.
For immersion methods like the Clever Dripper, you can add all the water at once, but for pour-over, pour in stages (bloom, then main pour) while monitoring the scale. After brewing, taste and adjust: if it's too strong, increase water next time; if weak, decrease water.
- Bloom: pour 2-3 times the coffee weight in water, wait 30 seconds.
- Main pour: add water until you reach the target weight.
- Adjust ratio by 1-2 grams of water at a time to fine-tune.
Step-by-Step: Brewing with a Digital Scale
- Step 1: Tare Your Scale: Place your empty brewing device on the scale and press tare to zero it out. Common mistake: forgetting to tare after adding the device, which throws off measurements. Always tare before adding coffee or water.
- Step 2: Weigh Your Coffee: Add whole beans to a separate container or directly into the grinder hopper. Weigh the beans before grinding to avoid retention errors. Use your desired ratio (e.g., 1:16) to calculate the amount. Weigh whole beans, not ground, for accuracy.
- Step 3: Pour Water to Target Weight: Start pouring water and watch the scale. Stop exactly at your target water weight. For pour-over, pour in stages (bloom and main pour) while monitoring the scale. Common mistake: pouring too fast and overshooting. Use the scale to control your pour and hit the exact ratio.
- Step 4: Adjust to Taste: After brewing, taste your coffee. If it's too strong, increase water next time by a few grams; if too weak, decrease water. Keep notes to refine your preference. Your scale is your tool for dialing in the perfect cup.
Recommended Brewing Equipment
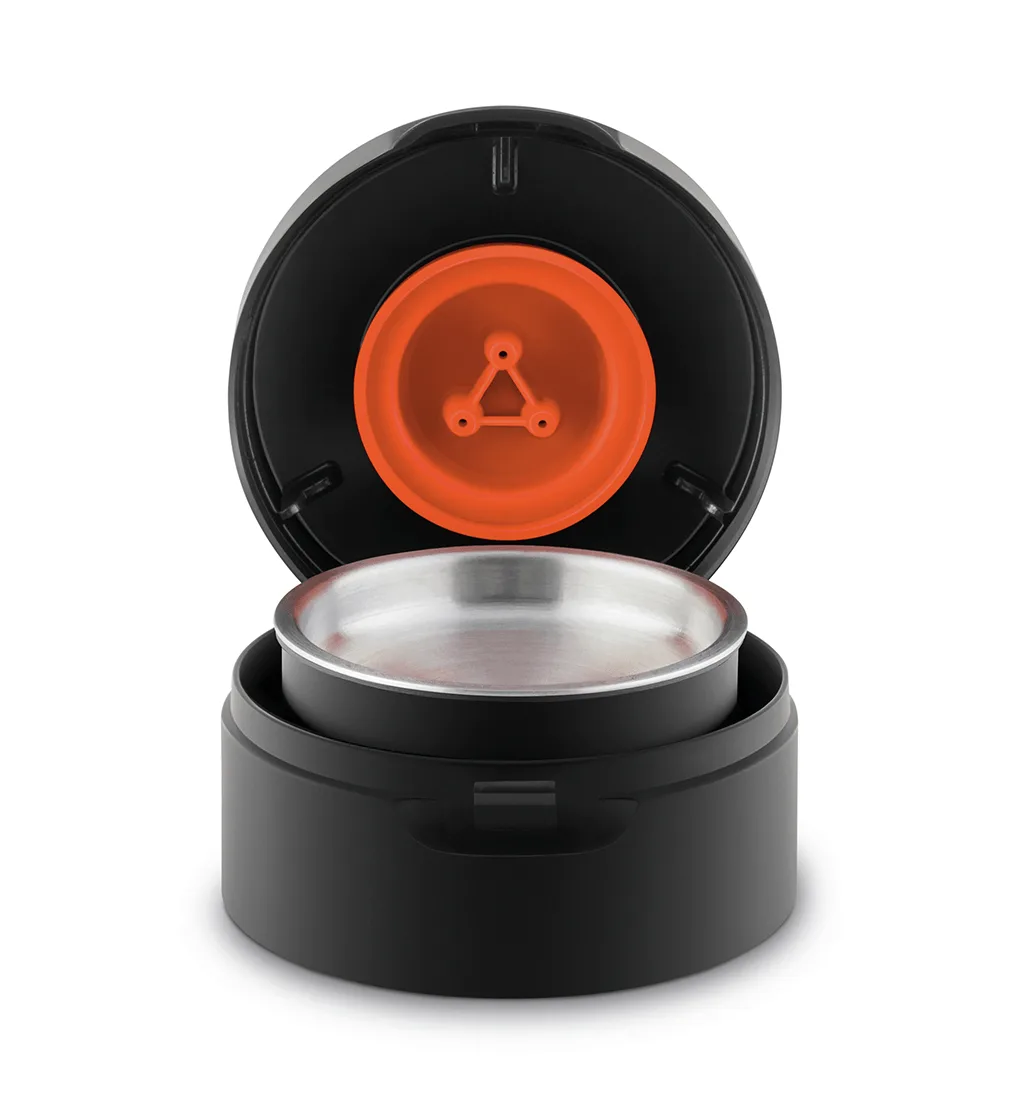
- Aerobie AeroPress, coffeemaker: Uses gentle air pressure for smooth, rich flavor with lower acidity and without bitterness. Lightweight and robust, travels well. The AeroPress is forgiving of slight ratio variations, but using a scale ensures you hit the sweet spot for its immersion brewing style.
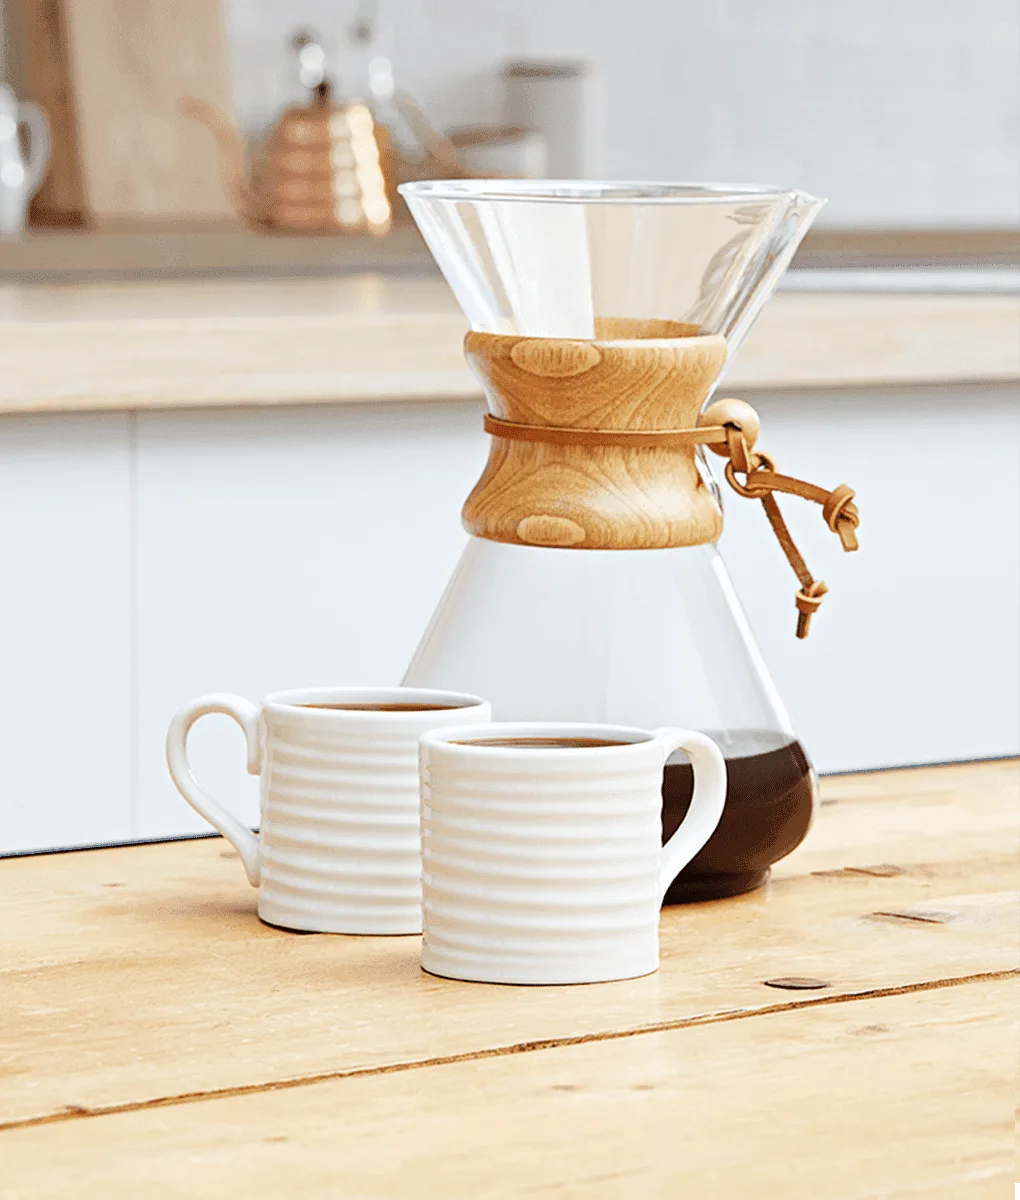
- Chemex Brewer, 6-cup: Simple, easy to use filter brewer with timeless, elegant design. Holds around 900ml of coffee. Pour-over with Chemex benefits greatly from a scale to control water flow and ratio, ensuring clear, pure flavor.
Using a digital coffee scale is a simple yet transformative habit for any home brewer. It brings consistency, control, and confidence to your daily ritual. Start with a 1:16 ratio, experiment from there, and enjoy the full potential of your specialty beans.