Building a 1/24 scale car model kit is one of the most rewarding hobbies for both newcomers and seasoned modelers. The scale offers a perfect balance of detail and manageability, allowing you to recreate iconic cars like the Mitsubishi Galant GTO or a classic Mini Mayfair with stunning accuracy. If you're just starting out, this guide will walk you through every step—from choosing your first kit to applying the final clear coat.
Whether you're aiming for a showroom finish or a fun weekend project, the key is to understand the process and have the right tools. In this article, we'll cover everything you need to know to build your first 1/24 scale car model with confidence.
Why Choose a 1/24 Scale Car Model Kit?
1/24 scale is arguably the most popular scale for car models. It's large enough to capture fine details like engine components and interior stitching, yet small enough to display easily. For beginners, this scale offers a comfortable learning curve—parts are not too tiny to handle, and the assembly is straightforward compared to smaller scales like 1/43.
Many kits in this scale come with a decent number of parts, giving you a satisfying build without overwhelming complexity. Brands like Tamiya, Aoshima, and Fujimi produce excellent 1/24 car kits, and at Hobby Gundam USA, you'll find a variety of options to start your collection.
- Ideal for beginners: parts are manageable and instructions are clear.
- Great detail potential without requiring advanced skills.
- Wide variety of car models available, from classic JDM to modern supercars.
Essential Tools and Materials for Your First Build
Before you start, gather the necessary tools. You don't need to invest in expensive equipment right away, but a few basics will make the process much smoother. Essential items include a hobby knife, sprue cutters, sandpaper or files, plastic cement, and tweezers. For painting, you'll need model paint (acrylic or enamel), brushes, and possibly an airbrush if you want a professional finish.
A cutting mat is also recommended to protect your work surface. For decals, you'll need warm water and a soft brush. Optional but helpful: a pin vise for drilling small holes, and a set of small clamps or rubber bands to hold parts together while glue dries.
- Sprue cutters: for cleanly removing parts from the runner.
- Hobby knife: for trimming flash and cleaning seams.
- Plastic cement: for strong, seamless bonds.
- Sandpaper (400-2000 grit): for smoothing and polishing.
Step 1: Prepare Your Workspace and Read the Instructions
Set up a well-lit, clean workspace. Organize your tools and ensure you have all the parts. Read the instruction manual thoroughly before starting. Familiarize yourself with the parts tree and the assembly sequence. This will prevent mistakes and help you plan your painting and assembly steps.
For beginners, it's wise to follow the instructions in order. Some modelers prefer to paint parts before assembly, but for a first build, you can assemble and then paint, or paint sub-assemblies as you go. The choice is yours, but consistency is key.
- Lay out all parts and check against the parts list.
- Use a parts organizer to keep small pieces from getting lost.
- Highlight steps that require painting before assembly.
Step 2: Cutting and Cleaning the Parts
Use sprue cutters to carefully remove parts from the runners. Cut slightly away from the part to avoid damaging it, then trim the remaining nub with a hobby knife. After cutting, clean up any mold lines or flash using sandpaper or a file. This step is crucial for a realistic finish.
For curved surfaces, use flexible sanding sticks or sandpaper wrapped around a small dowel. Always sand in one direction to avoid creating scratches. For tight areas, a craft knife can be used to scrape off excess plastic.
- Always cut away from your body.
- Sand with progressively finer grits for a smooth surface.
- Wash parts in warm soapy water to remove mold release agents before painting.
Step 3: Dry Fitting and Assembly
Before gluing, dry fit the parts to see how they align. Make any necessary adjustments. Apply plastic cement sparingly to one surface and press the parts together. Hold them for a few seconds until the bond sets. For larger parts, use clamps or rubber bands to maintain pressure while drying.
Assemble sub-assemblies like the engine, interior, and chassis separately. This makes painting easier and reduces the risk of damaging delicate parts. For a beginner, the 1/24 MITSUBISHI GALANT GTO 2000GSR EARLY VERSION w/REAR WING is an excellent choice—it's a classic JDM car with a detailed engine bay that will give you plenty of practice.
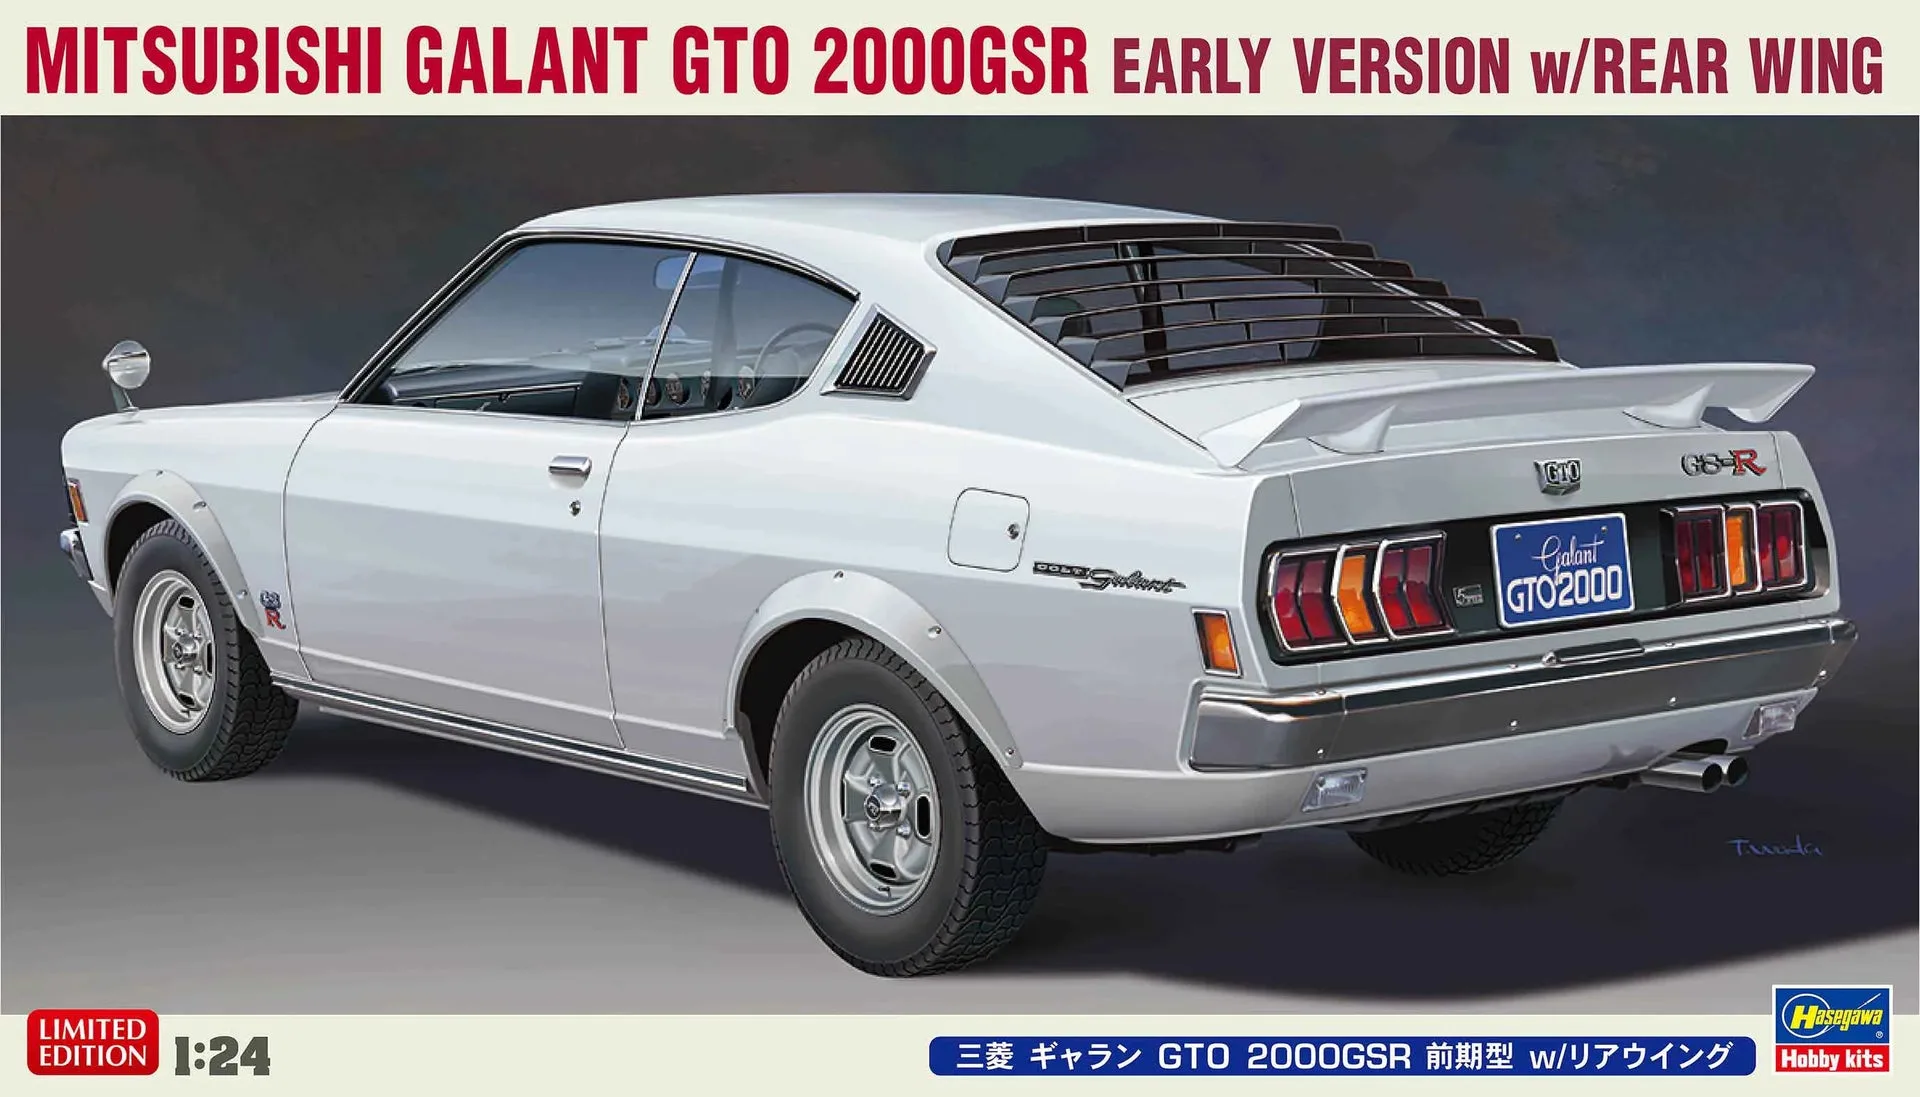
1/24 MITSUBISHI GALANT GTO 2000GSR EARLY VERSION w/REAR WING
- Use liquid cement for tight seams; it flows into the joint and creates a strong bond.
- Work in a well-ventilated area when using glue.
- Test fit before gluing to avoid misalignment.
Step 4: Painting and Detailing
Painting is where your model comes to life. For beginners, spray cans are a great option—they provide an even coat without needing an airbrush. Start with a primer to help paint adhere, then apply thin layers of your chosen color. Let each layer dry before adding the next to avoid runs.
For small details like engine parts or interior trim, use a brush with model paint. Take your time and use a steady hand. You can also use panel line accent colors to highlight recessed lines and add depth. If you're building a kit like the 1/12 Scale A.T.K. Girl Qinglong, you'll have more complex parts, but the same principles apply.
- Always prime before painting for better adhesion.
- Use masking tape for clean lines when painting two-tone schemes.
- Practice brush painting on spare sprues to perfect your technique.
Step 5: Applying Decals and Final Assembly
Decals add realism and branding to your model. Soak the decal in warm water until it slides off the backing paper. Position it with a brush or tweezers, and gently press out any air bubbles. Use a decal setting solution to help it conform to curved surfaces.
Once decals are dry, you can apply a clear coat to protect them and give a uniform finish—gloss for showroom shine or matte for a more understated look. Finally, complete the assembly by attaching the remaining parts like wheels, mirrors, and bumpers. Be careful not to glue moving parts if you want them to remain functional.
- Use a soft brush and water to slide decals into position.
- Seal decals with a clear coat to prevent peeling.
- Check the instructions for the correct placement of each decal.
Troubleshooting Common Beginner Mistakes
One common mistake is using too much glue, which can cause visible marks or weaken the plastic. Use glue sparingly and apply it with a toothpick or fine applicator. Another issue is paint that is too thick, resulting in brush strokes or orange peel texture. Thin your paints and apply multiple thin coats.
If you accidentally break a part, don't panic—you can often fix it with plastic cement or superglue. For missing parts, check your kit's instructions; some kits like the 30MS OPTION BODY PARTS TYPE G03 [COLOR B] include spare parts for customization, but for car kits, you might need to contact the manufacturer.
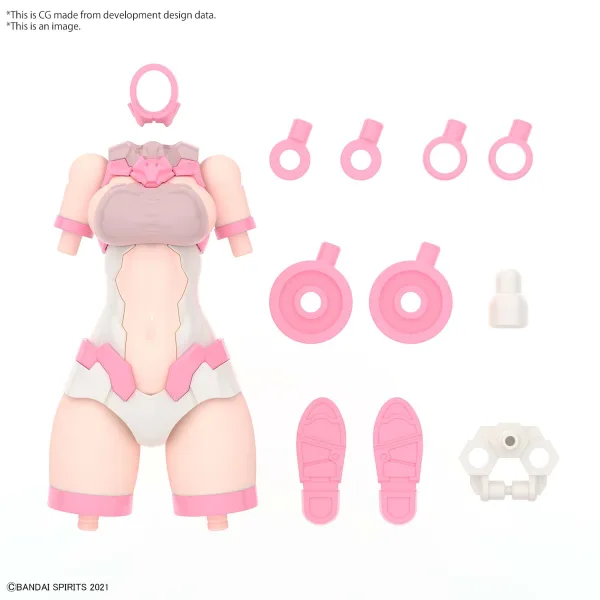
30MS OPTION BODY PARTS TYPE G03 [COLOR B]
- Practice patience: let each layer dry completely.
- Use a toothpick to apply glue for precision.
- If you make a mistake, let it dry and sand it down gently.
Displaying and Maintaining Your Finished Model
After completing your build, display it proudly. A display case or shelf can protect it from dust. If you want to handle it, use gloves or handle it by the chassis to avoid fingerprints. To keep it clean, use a soft brush or compressed air to remove dust.
Consider adding a base or diorama to enhance the presentation. Many modelers enjoy creating scenes that complement their cars. For more detailed builds, you can add photo-etched parts or aftermarket decals, but for now, enjoy your achievement!
- Use a display case to prevent dust accumulation.
- Handle with care to avoid breaking fragile parts.
- Take photos to share your work with the modeling community.
Building a 1/24 scale car model is a fulfilling hobby that combines creativity and precision. With the right tools, a good kit, and the steps outlined above, you'll be well on your way to creating a stunning model. For your first project, consider the 1/24 MITSUBISHI GALANT GTO 2000GSR EARLY VERSION w/REAR WING or the 1/12 Scale A.T.K. Girl Qinglong if you're feeling adventurous. Visit Hobby Gundam USA to explore our selection of model kits and accessories, and start building today!