Stepping into the boots of a World War II US infantryman is a rewarding journey, but knowing where to start can be overwhelming. Whether you are a new reenactor or a history enthusiast building your first impression, a basic kit forms the foundation of an authentic portrayal. This guide will walk you through the essential components of a standard infantry kit, from head to hip, focusing on accuracy, practicality, and value.
Building a kit does not require buying everything at once. Prioritize the core items that define the American GI: the helmet, the cartridge belt, the canteen, and the uniform. With careful selection, you can create a convincing impression that honors the service of those who fought. Let’s break down each piece, starting with the most iconic element.
The Helmet: Your First and Most Visible Piece
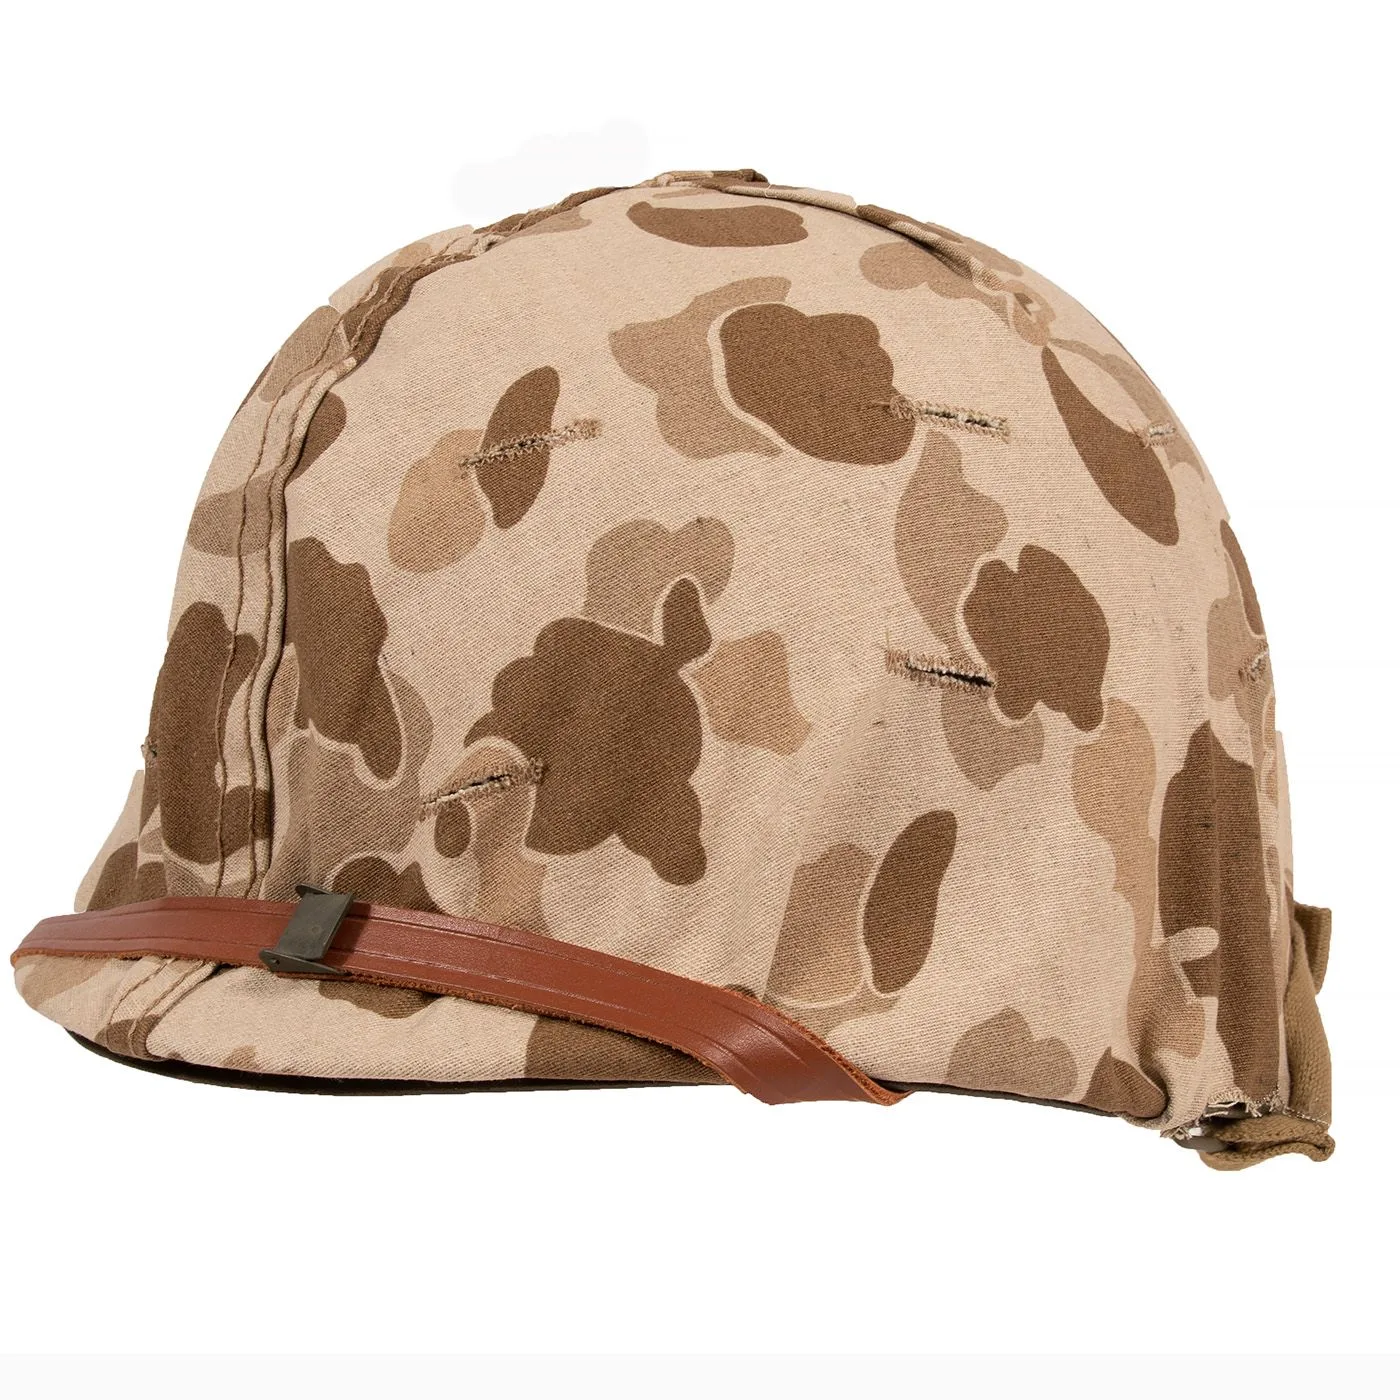
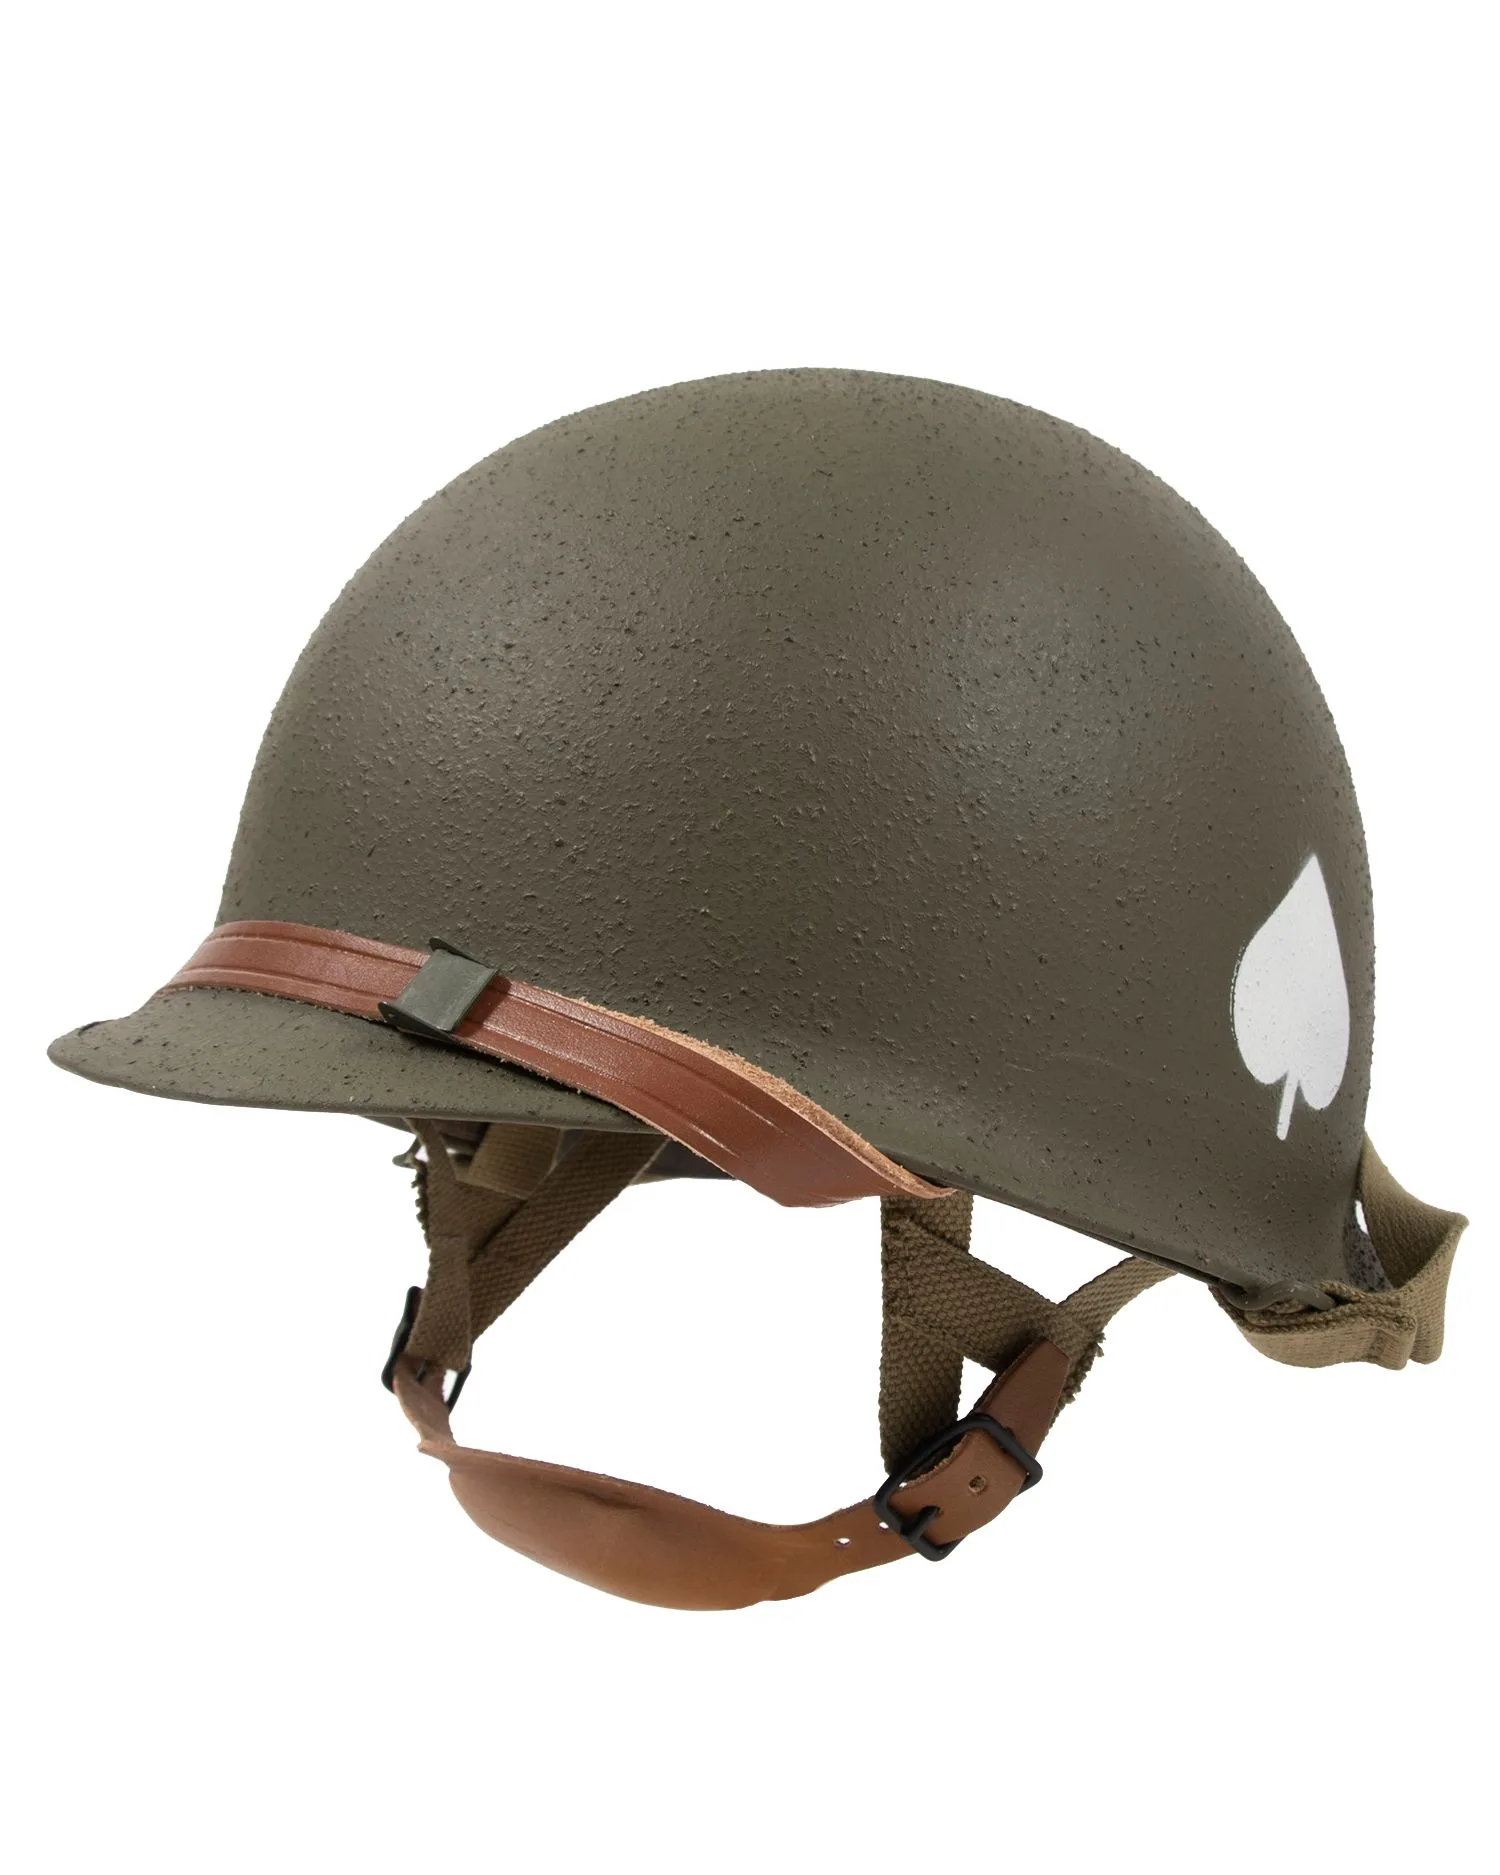
The M1 helmet is the hallmark of the WWII US infantryman. For a basic kit, you need a helmet shell, liner, and chinstrap. A reproduction M1 helmet is a solid starting point, but many reenators prefer to upgrade with original or high-quality reproduction parts. The https://wildernessworks.shop/products/m1-helmet-wwii-parts-99258https://wildernessworks.shop/products/m1-helmet-wwii-parts-99285M1 Helmet WWII Parts category offers everything from suspension systems to chin straps, allowing you to customize your helmet for fit and authenticity.
If you are aiming for a paratrooper impression, the M2 Paratrooper Helmet is a distinct variant with a different liner and chinstrap configuration. However, for standard infantry, the standard M1 is correct. Ensure your helmet has a proper olive drab finish and a textured surface. A common mistake is using a post-war liner; check that the liner has the correct webbing and sweatband for the 1940s.
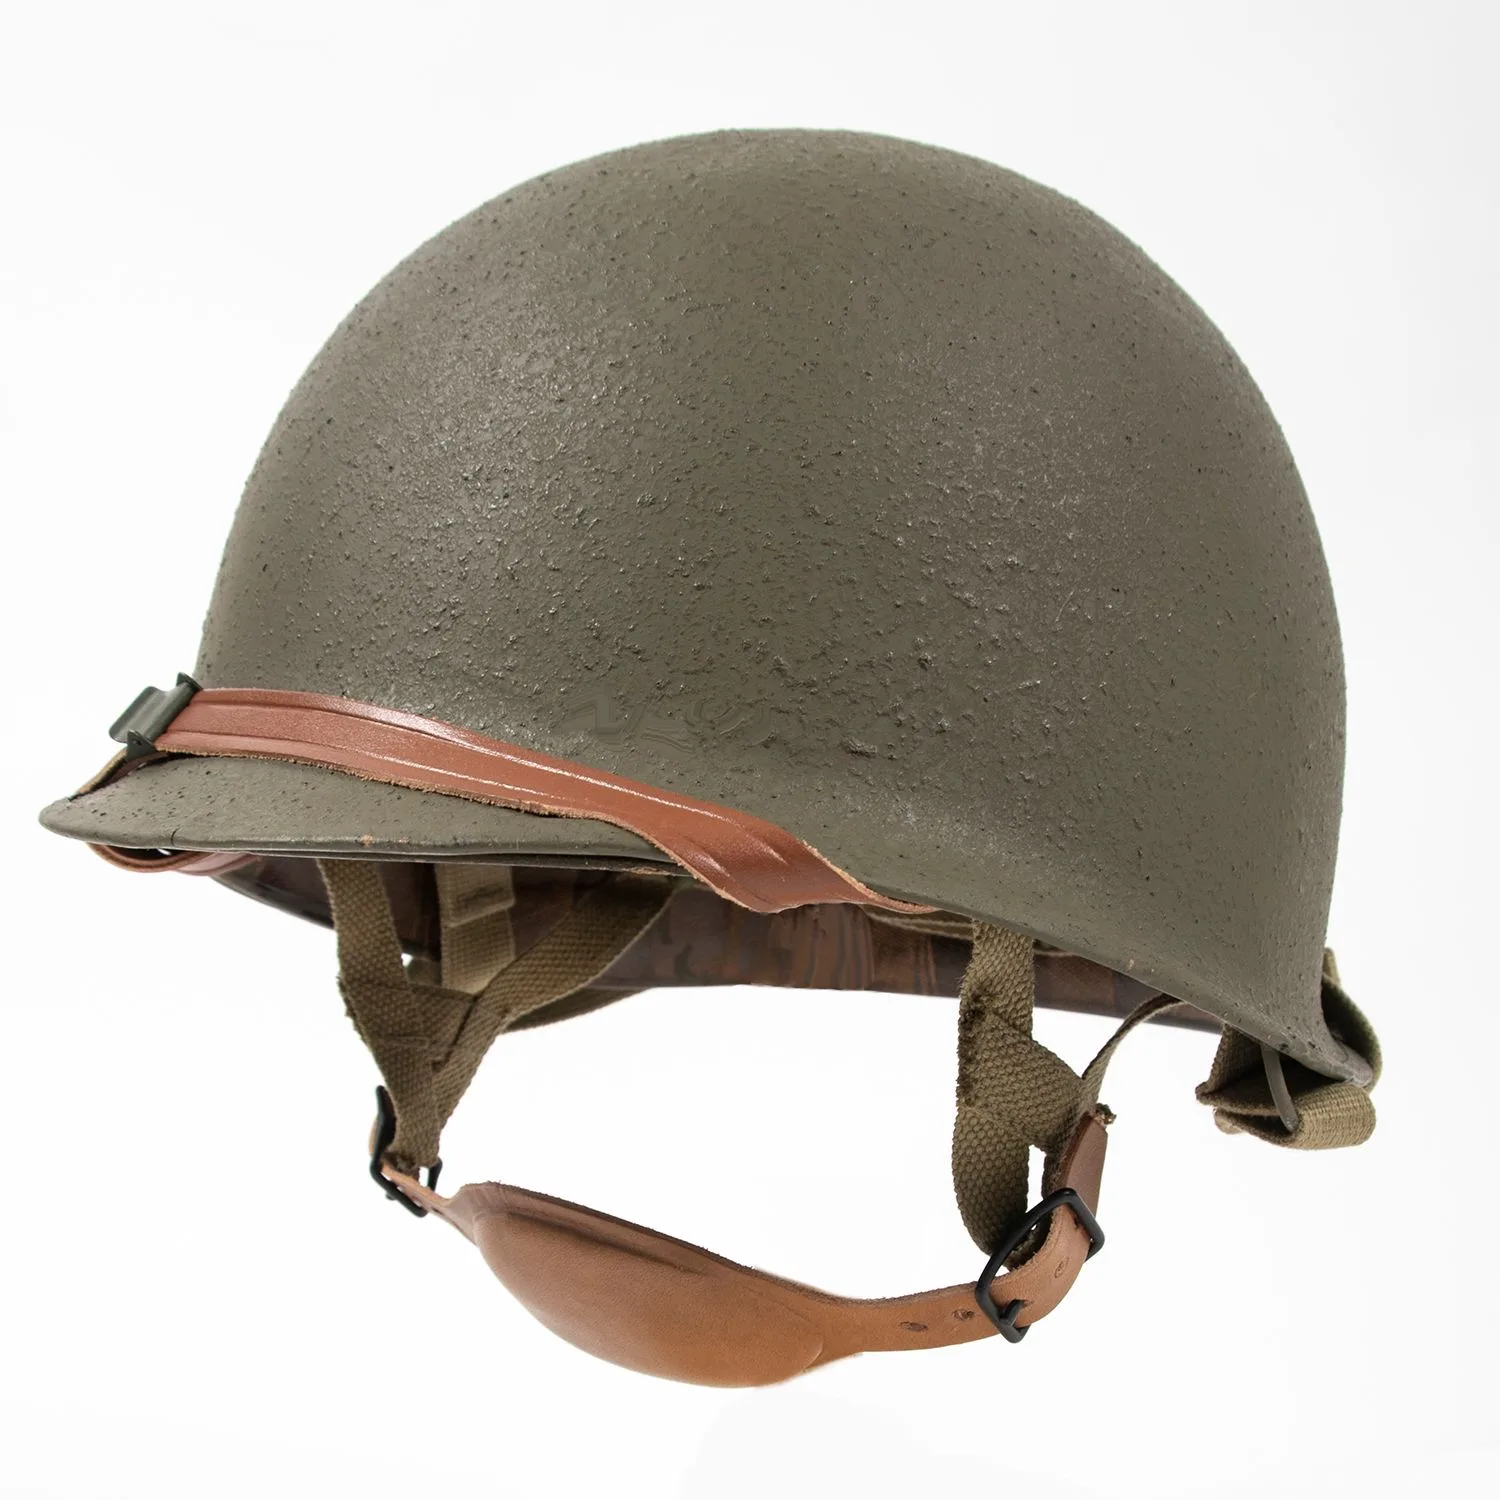
M2 Paratrooper Helmet
- Choose a reproduction M1 helmet shell and liner set for affordability.
- Replace the chinstrap with a period-correct web or leather version.
- Add a helmet net or cover only if your impression requires it (e.g., late war or specific unit).
The Cartridge Belt: Carrying Your Ammunition and Gear
The M1923 Cartridge Belt is the standard load-bearing equipment for the WWII US infantryman. Made of olive drab cotton webbing, it holds ten M1 Garand clips in five pockets, plus a first aid pouch and intrenching tool carrier on the sides. This belt is essential for any basic kit, as it distributes weight and keeps ammunition accessible.
When selecting a cartridge belt, look for one made in the USA to ensure correct materials and stitching. The M1923 Cartridge Belt, Made in USA is a reliable choice that matches original specifications. Pair it with a web pistol belt if you carry a sidearm, but for most infantry impressions, the M1923 alone suffices. Ensure the belt fits snugly around your waist, and practice opening the pockets for smooth reloads during events.
- Verify the belt has five pockets and a brass or blackened buckle.
- Add a first aid pouch to the left side of the belt for authenticity.
- Avoid mixing post-war or foreign-made belts; stick to US-made reproductions.
Canteen and Canteen Cover: Hydration on the Move
Every GI carried a canteen, and the USMC Canteen Cover, 1st Pattern is a specific variant used by Marines and some Army units early in the war. For a standard Army impression, a standard M1910 or M1942 canteen cover works perfectly. The cover should be made of olive drab webbing with a metal or plastic canteen inside.
The canteen itself is a simple aluminum or stainless steel bottle with a cup that fits over the bottom. When attaching the cover to your cartridge belt, use the metal grommets and a web loop. This setup keeps water accessible and balanced on your hip. For a basic kit, one canteen is sufficient, but many reenactors carry two for longer events.
- Choose a canteen cover with a functional flap and metal grommets.
- Ensure the canteen cup fits snugly over the bottom of the canteen.
- Attach the cover to your belt on the right hip for right-handed shooters.
Uniform and Footwear: The Foundation of Your Impression
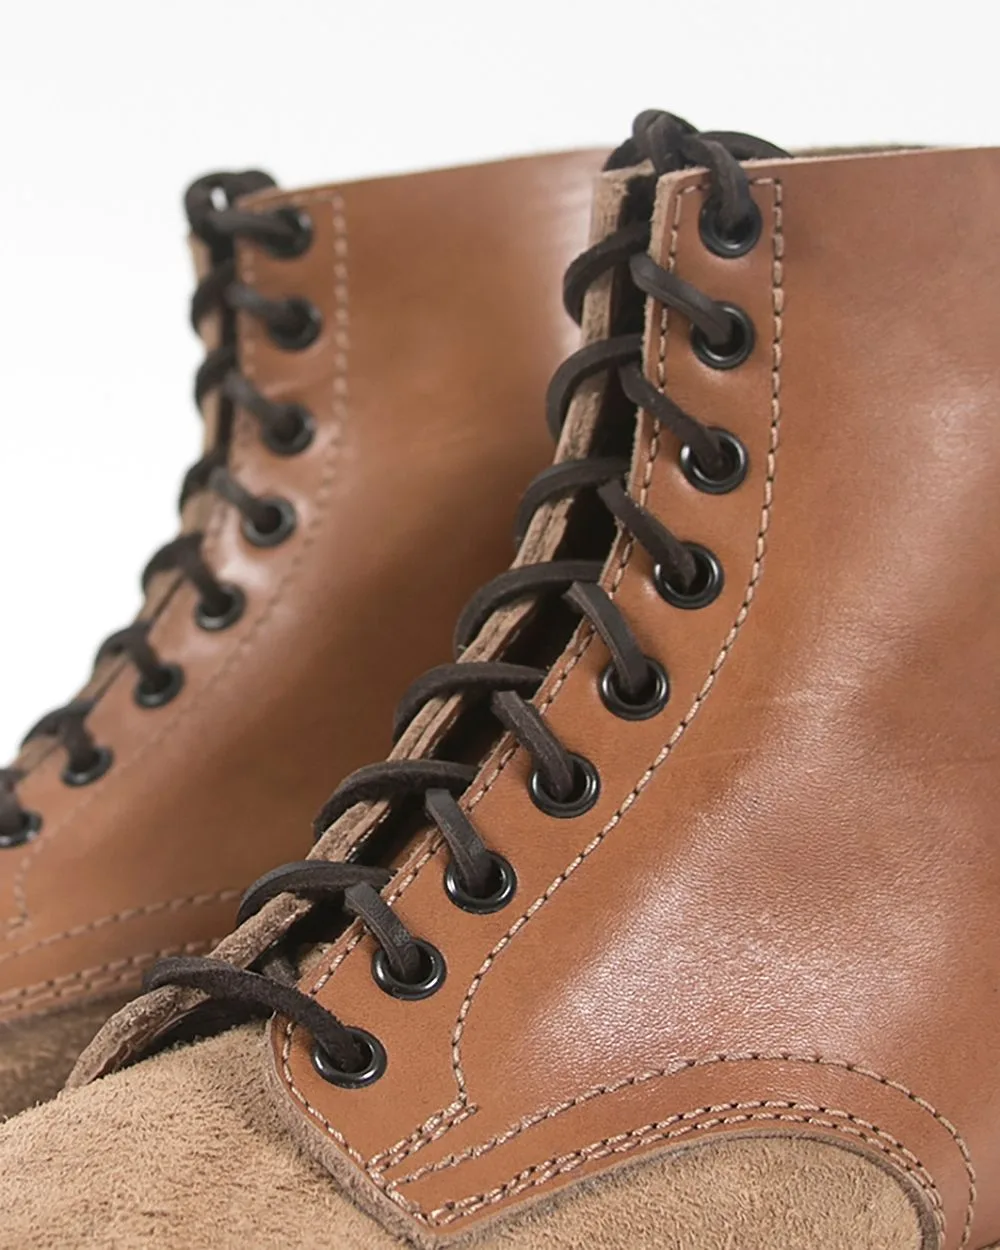
The uniform for a basic WWII US infantry kit typically consists of the M1941 Field Jacket (or the Summer M41 Jacket for warmer weather), wool trousers, and a wool shirt. The Summer M41 Jacket is a lightweight cotton version ideal for spring and summer events, while the wool M1941 jacket provides warmth in cooler months. Pair these with a pair of service shoes or rough-out boots, and wool socks.
Footwear is often overlooked but critical for comfort. WWII-era boots are available in reproduction, but many reenactors use modern boots with period-correct leggings. The key is to maintain a consistent look: avoid bright colors or modern logos. A basic kit should also include a wool cap or garrison cap for off-duty wear. Remember, authenticity extends to the smallest details, like the correct buttons and stitching.
- Start with a Summer M41 Jacket for versatility in mild weather.
- Wear olive drab wool trousers and a khaki or olive drab wool shirt.
- Use canvas leggings over service shoes for a classic infantry look.
Additional Gear: Pouches, Bags, and Accessories
Beyond the core items, a few accessories enhance your kit. A Camo Kit Bag, Made in USA is useful for carrying extra gear to and from events, though it was not standard issue for all infantrymen. For field use, a musette bag or haversack is more appropriate. Add a bayonet and scabbard, a canteen cup, and a mess kit for a complete field impression.
Small items like a trench knife, compass, or map case can personalize your kit without breaking authenticity. Avoid overloading—a basic infantryman carried only what was necessary. The goal is to look like a soldier ready for combat, not a pack mule. As you build your kit, reference period photos and unit histories to match your impression.
- Carry a musette bag or haversack for personal items and rations.
- Add a bayonet and scabbard to your cartridge belt if your unit requires it.
- Keep accessories minimal—focus on the essentials first.
Building a basic WWII US infantry kit is about prioritizing the core pieces that define the American soldier. Start with the M1 helmet, the M1923 cartridge belt, and a proper canteen setup, then build outward with a uniform and accessories. For a reliable foundation, explore the Reproduction WWII M1 Helmet to anchor your impression, and remember that authenticity comes from research and attention to detail. Step by step, you will create a kit that honors history and enhances your reenactment experience.