Quick answer
Build the kit around one job: helping your child settle without adult help. Choose three to five small, quiet, mess-free tools, pack them in a pouch your child can open alone, and label each item so teachers know how it is used. Keep the kit small enough to live in a backpack or cubby, and refresh it each term as your child's needs change.
A calm-down kit only works if a child can reach it, open it, and use it without a grown-up running across the room. That is the whole design brief. Everything else, the colors, the themes, the number of items, comes second.
School and daycare settings add two constraints home does not have: noise and mess. A tool that is perfect on the living room floor may be a poor fit in a classroom. The steps below walk through choosing, packing, labeling, and refreshing a kit that fits real school sensory support routines.
Start with the regulation goal, not the toys
Before you buy anything, name the moment the kit is for. Is it the transition from recess back to desk work, a waiting period, or a full meltdown? A kit for transitions needs quick, quiet, hands-busy tools. A kit for big feelings needs slower, heavier, repetitive items. Write the goal on a sticky note and keep it in front of you while you shop.
Next, ask what your child already reaches for at home. If they chew their sleeve, a chew pendant belongs in the kit. If they press their palms together or squeeze things, a textured ball is a better match. Matching the kit to existing habits means less coaching for teachers and faster use by your child.
- Checkpoint: if you cannot describe the exact moment the kit is for in one sentence, you are not ready to pack it.
Choose three to five tools that fit one small pouch
A kit with twelve items becomes a toy box, and a toy box does not calm anyone down. Three to five tools is enough to cover touch, sight, and a repetitive motion. Aim for items that are quiet, sealed, and safe to use without supervision for your child's age and chewing stage.
Practical picks for a portable sensory kit include a sealed sensory bottle, a chew pendant on a cord, a small fidget or sensory ball, and one tactile item with a repeating action. Jellystone Designs' range covers most of these slots, which keeps sizing and materials consistent across the kit.

sensory ball
- Common mistake: packing a favorite toy that also happens to be loud, messy, or a choking risk for a younger classmate.
Match each tool to a specific calm-down job
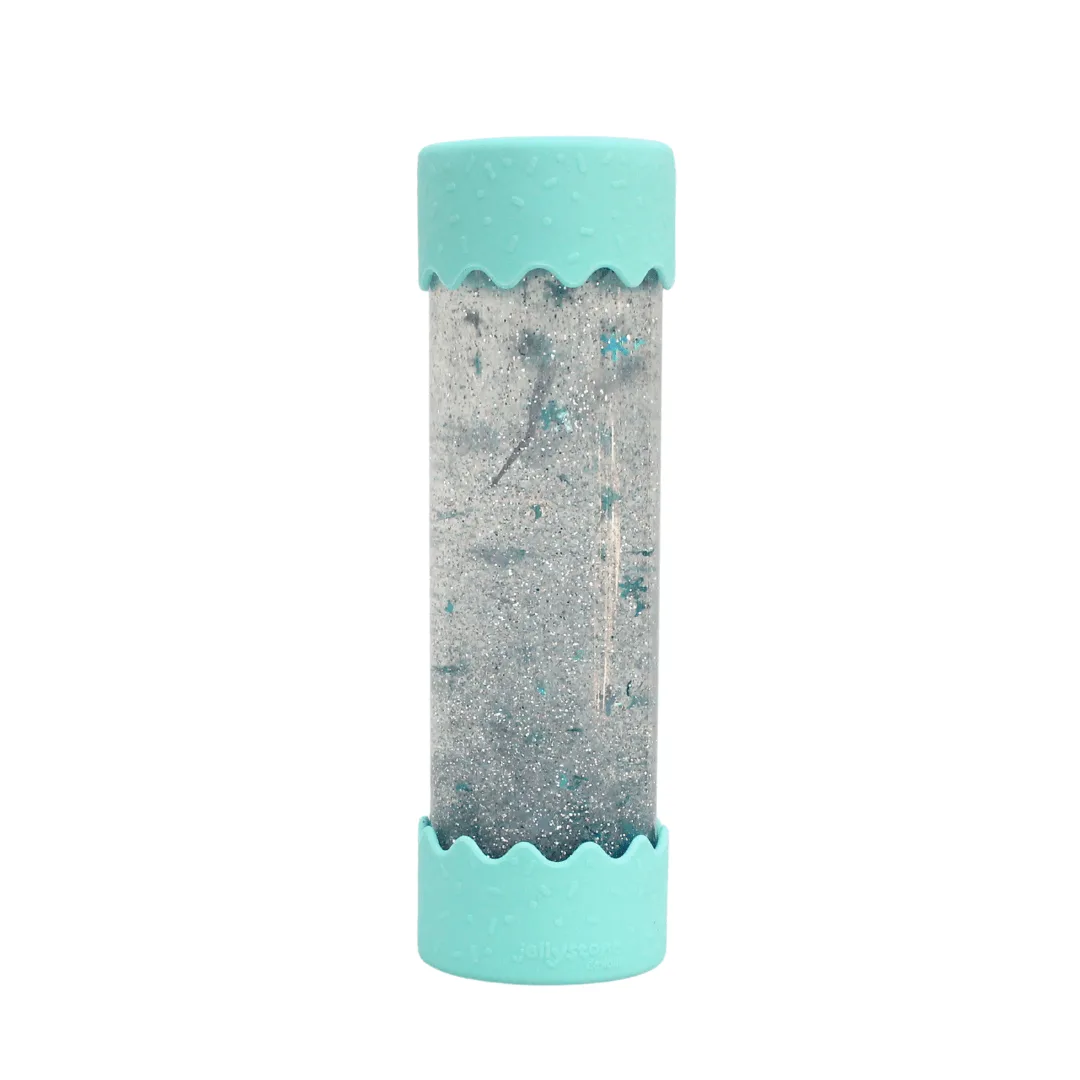
Every item should have one assigned job so your child and their teacher know when to reach for it. A sealed sparkle bottle is a watching tool for slowing breathing. A chew pendant is a mouth tool for redirecting chewing from sleeves and pencils. A weighted sensory bag is a pressing tool for heavy, quiet feedback.
Write the job on the label, not just the name. "Shake and watch for 30 seconds" is more useful to a substitute teacher than "sensory bottle." This is the step most families skip, and it is the step that decides whether the kit gets used when you are not there.
- Checkpoint: if two items do the same job, drop one and keep the kit lighter.
Pack it so a child can use it alone
Test the pouch with your child's hands, not yours. Zippers, snaps, and drawstrings all add delay. A soft pouch with a wide opening and a loop for a cubby hook is usually the easiest option for younger children. Label the outside with your child's name and a short note that this is a calm-down kit, not a toy bag.
Keep the kit in one place every day: backpack side pocket, cubby, or a designated shelf spot the teacher approves. Consistency matters more than the container itself. If the kit moves around, it disappears exactly when it is needed.
- Common mistake: packing the kit so tightly that items must be removed to reach the one your child wants.
Brief the teacher in one page, not one conversation
Teachers and daycare staff change shifts, rooms, and schedules. A single-page card inside the kit does more than a hallway chat. List each item, its job, and one sentence on when to offer it. Include what your child does not want, such as being asked questions mid-use.
Ask the teacher where the kit should live and whether any item is not allowed in the room. Some settings restrict cords or small parts for licensing reasons. Finding this out before the first hard day prevents the kit from being stored in a cabinet your child cannot open.
- Checkpoint: confirm the kit's storage spot with the teacher in writing before the first week ends.
Refresh the kit each term and after every hard week
Sensory needs shift. A tool that worked in September may be ignored by January, and a chewer may move from soft to firmer silicone as their jaw strength changes. Set a reminder to review the kit at the start of each term, and again after any week with repeated hard moments.
Cleaning is part of the refresh. Silicone items should be washed according to the maker's instructions, and sealed bottles should be checked for cracks or leaks. Replace anything worn, and rotate in one new option at a time so you can tell what is actually helping.
- Common mistake: adding three new tools at once, which makes it impossible to know which one your child is responding to.
Calm-down kit checklist, step by step
- 1. Name the moment: Write one sentence describing when the kit will be used, such as the transition from outdoor play back to table work. Checkpoint: if the sentence includes the word 'sometimes' or 'whenever,' narrow it down.
- 2. Pick three to five tools: Cover touch, sight, and one repetitive motion with quiet, sealed, age-appropriate items. Common mistake: buying a full set instead of choosing for your specific child.
- 3. Assign one job per tool: Decide what each item is for and how long your child typically uses it, then write that on the label. Checkpoint: no two items should share the same job.
- 4. Test the pouch with your child: Have your child open, use, and close the kit without help while you watch. Common mistake: choosing a container that is easy for adults and hard for small hands.
- 5. Write the teacher card: List each item, its job, and one line on when to offer it, plus anything your child does not want during use. Next step: agree on a storage spot with the teacher before the first week ends.
- 6. Review each term: Clean the items, check sealed bottles for wear, and swap in one new tool at a time if needs have changed. Checkpoint: replace anything cracked, leaking, or chewed through immediately.
Tools that fit a school calm-down kit
- Baby Calm Down Bottle: Comes prefilled with sparkles and water and is totally sealed, with babies captivated by the swirling sparkles and glitter. A sealed bottle means no leaking in a backpack or cubby, and the visual motion gives children something to watch while their breathing slows.
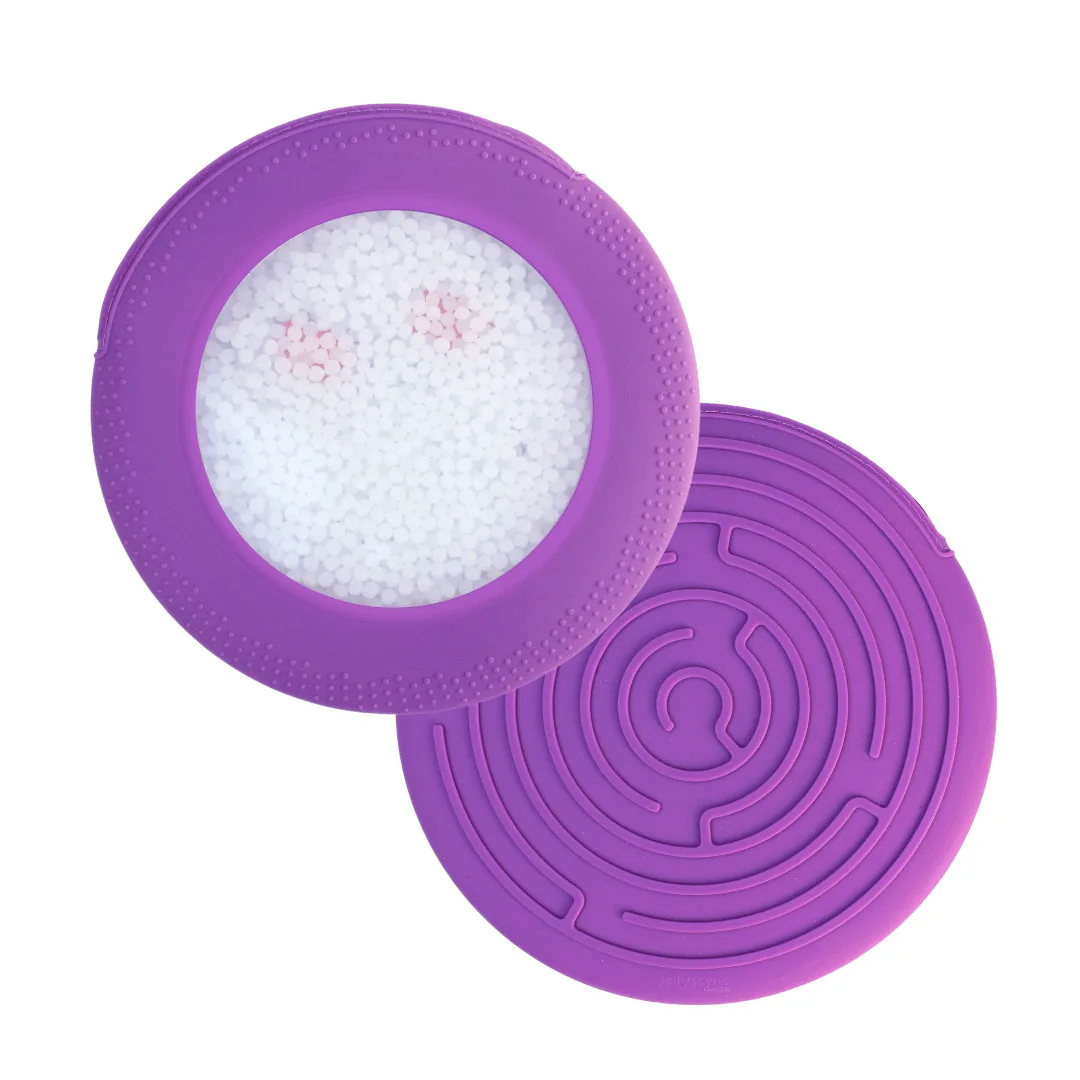
- Peekaboo Sensory Bag: Filled with weighted beads and themed figurines, totally sealed, and designed to engage sight, touch, and sound while helping to calm and relax. The weighted beads add a pressing, heavy-feedback option that stays quiet, which suits classrooms where noise is the main constraint.
- Princess & the Pea Necklace: Made from food-grade silicone beads in different colors and doubles as a mobile sensory tool for redirecting chewing from fingers, nails, hair, and pencils. A wearable chew tool is the easiest item for a child to use independently, because it is already on them when the hard moment starts.
- 2 Pack Sensory Ball & Fidget Ball: Combines a Sensory Ball and a Fidget Ball in one 2-pack, described as a teether toy for early development, with the Fidget Ball helping children who have trouble sitting still. Two small hand tools in one purchase gives you a spare for home or a second classroom without doubling the kit's bulk.
A calm-down kit works when it is small, labeled, and built around one predictable moment. Start with three tools, write down what each one is for, and hand the teacher a one-page card. Then review it each term, because the kit that fits your child in September will not be the same kit that fits them in June.