Building a complete USMC impression for reenactment is a rewarding journey that connects you with the legacy of the Marines who fought across the Pacific. Whether you are a beginner or a seasoned reenactor looking to refine your kit, authenticity is key. A proper World War II Marine impression requires attention to detail, from the iconic helmet liner to the webbing and weapon accessories. In this guide, we will walk you through the essential components of a USMC loadout, focusing on accuracy, fit, and functionality.
The United States Marine Corps in WWII had a distinct look and equipment set that set them apart from the Army. Their gear evolved over the course of the war, but certain items remained constant. By carefully selecting each piece of your kit, you can create an impression that honors the service and sacrifice of the Marines. Let's dive into the core elements of a USMC reenactor kit, starting from the head down.
The Helmet and Liner: Your Foundation
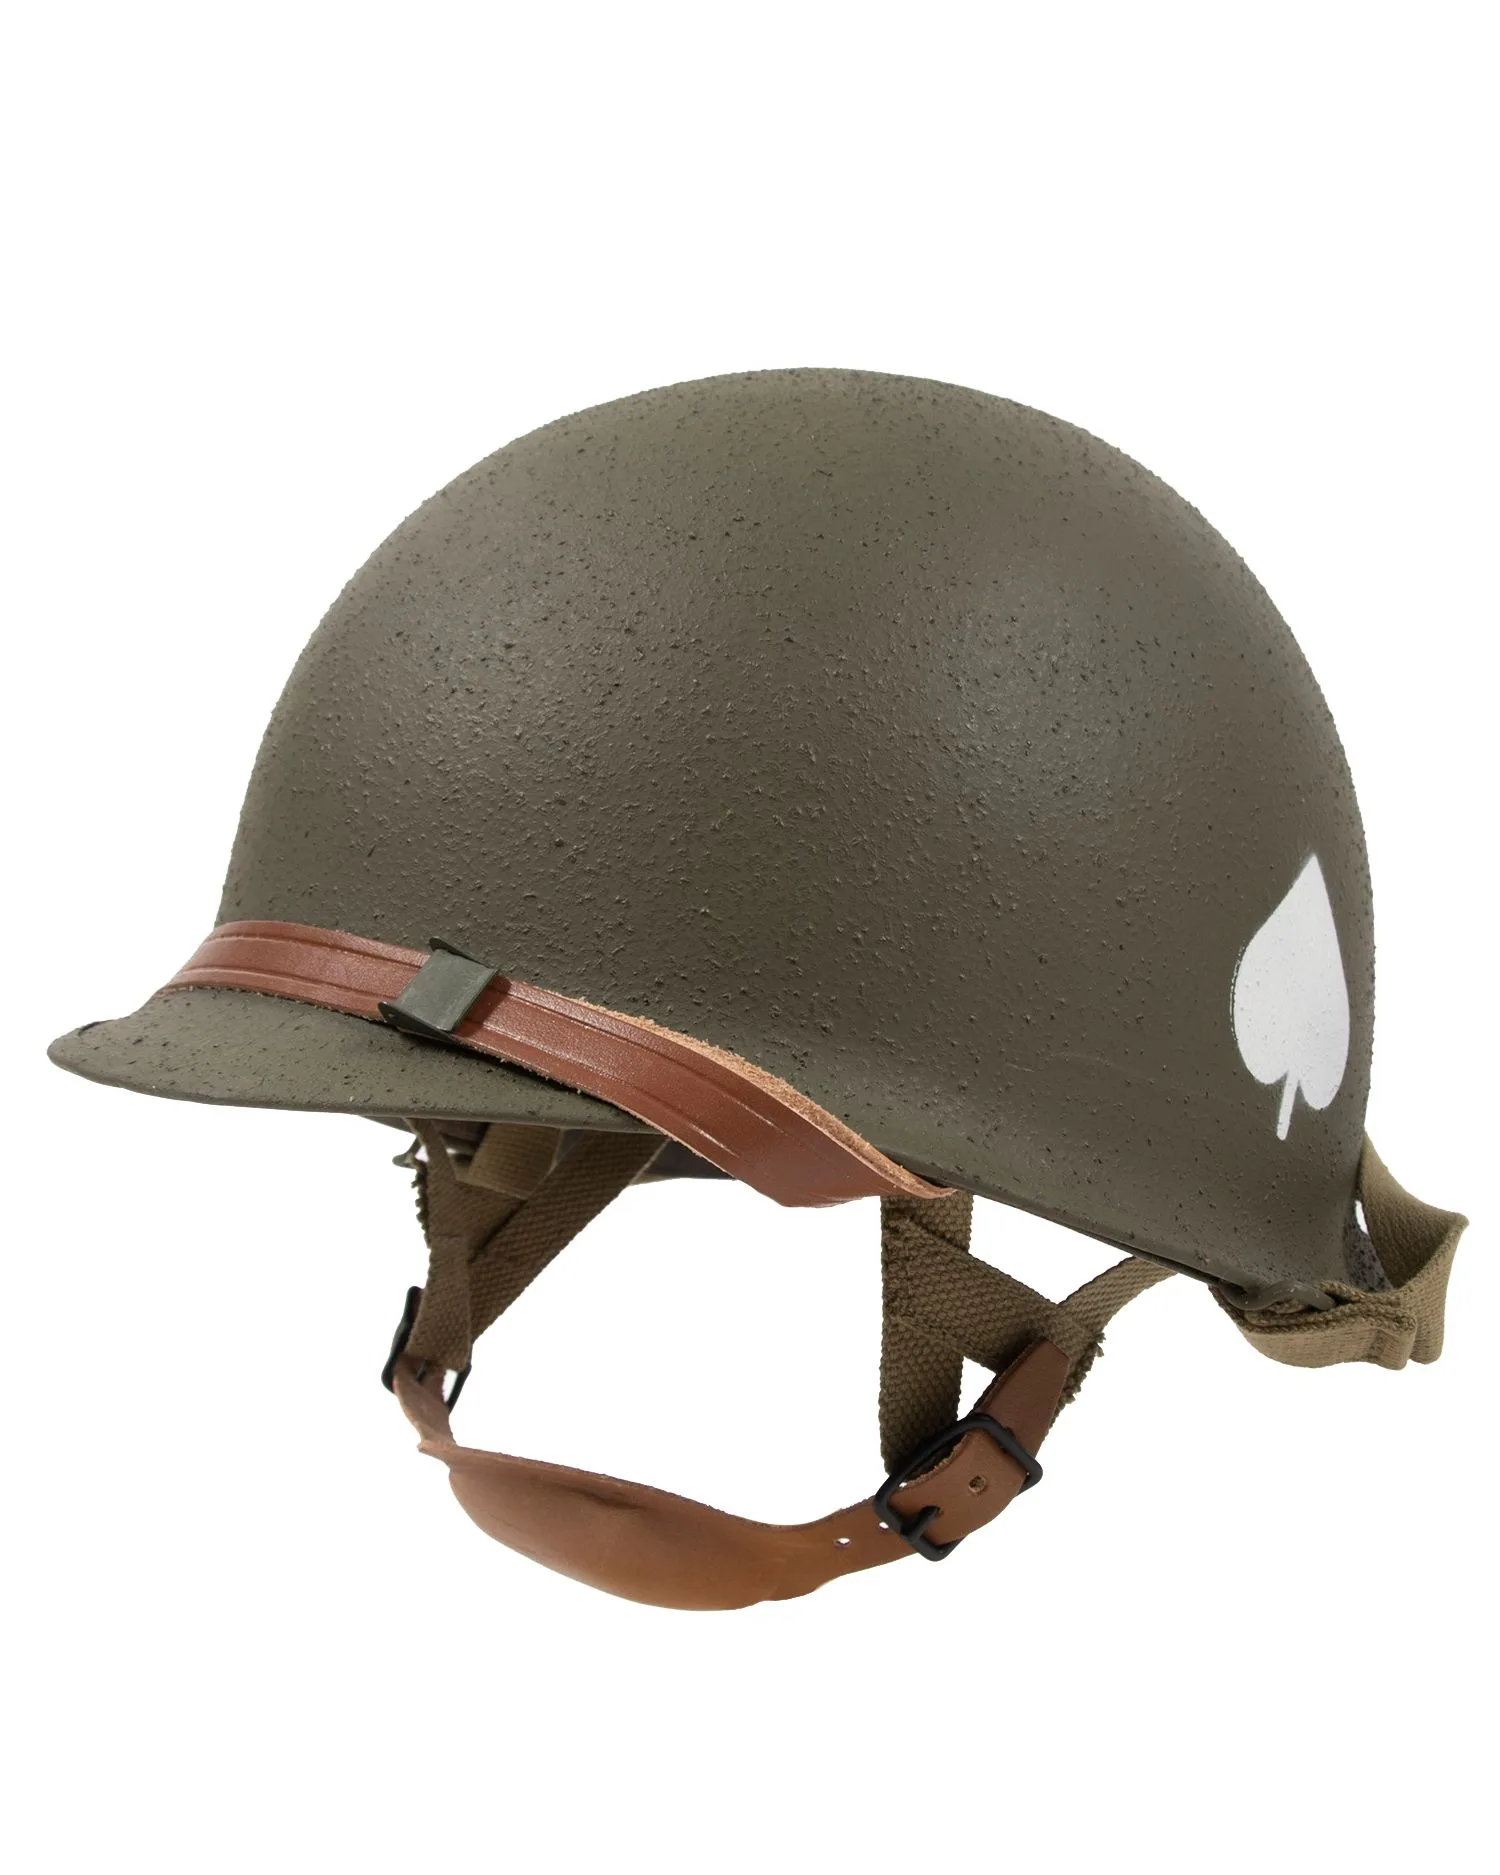
The M1 helmet is the most recognizable piece of American WWII gear, and for a USMC impression, it is non-negotiable. However, the Marine Corps often used a specific type of liner and cover. The WWII US Helmet Liner Sweatband is a crucial component for comfort and authenticity. Many original liners had a leather sweatband that helps the helmet sit correctly on your head. When selecting a liner, look for one that fits your head size snugly, as a loose liner can shift during reenactments.
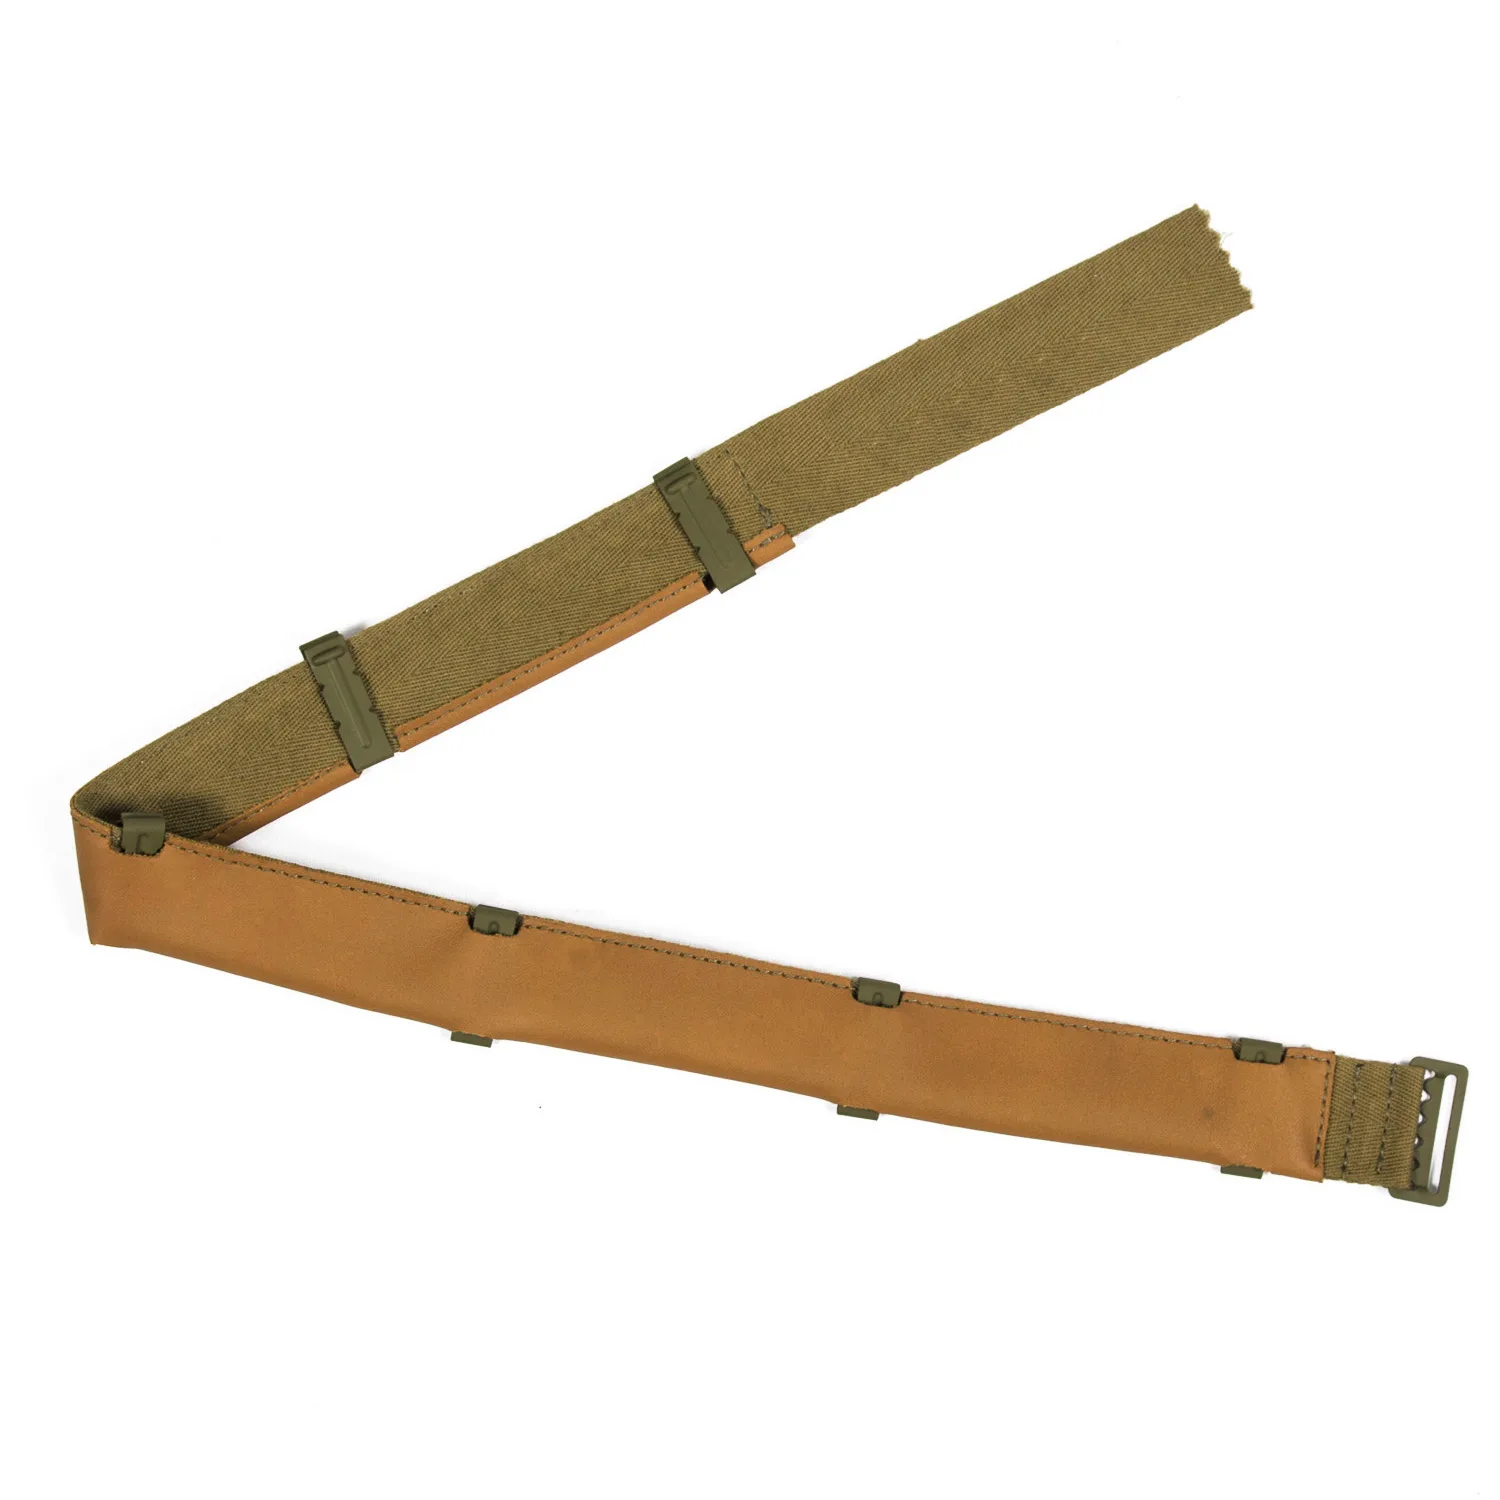
WWII US Helmet Liner Sweatband
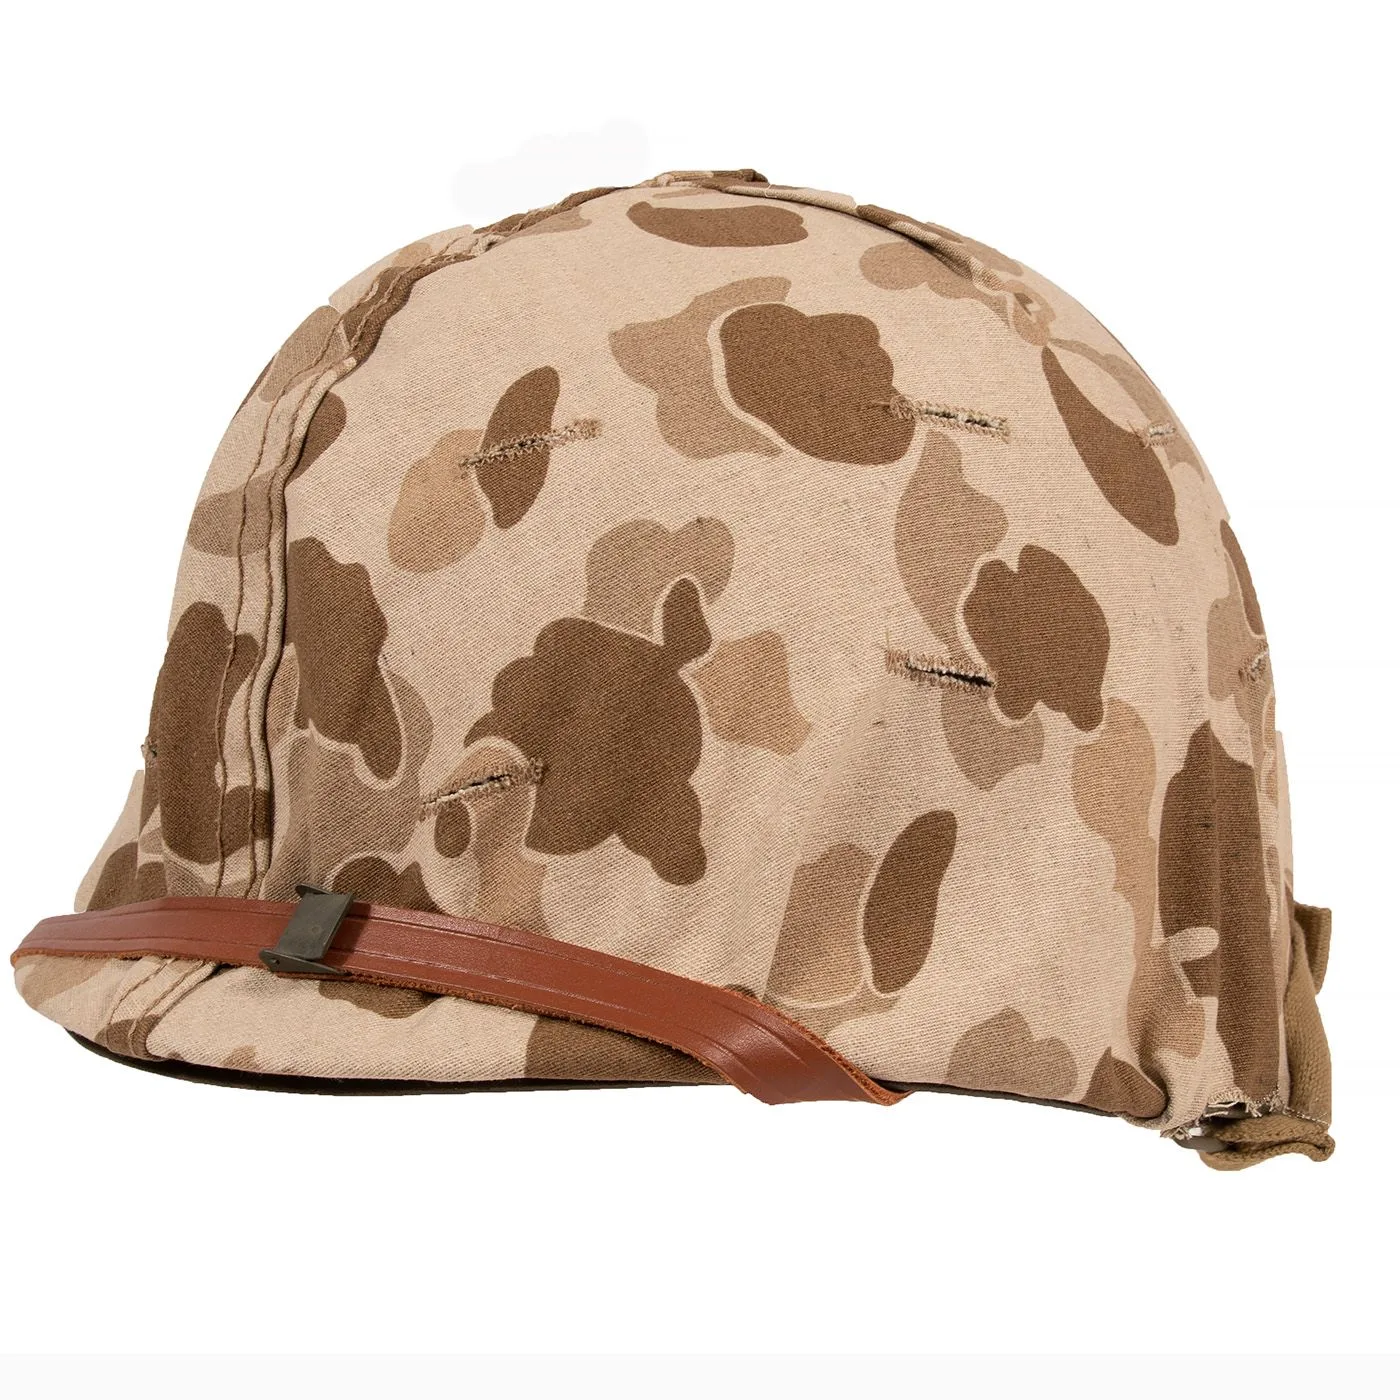
For the cover, Marines frequently used the M1941 pattern camouflage cover, often referred to as the frog-skin pattern. This reversible cover featured a green/brown side and a tan/olive side, allowing for adaptation to different environments. Pairing the correct cover with a proper liner and shell is the first step in your USMC build. Ensure your helmet shell is the correct shape and has the proper chinstrap hardware, as later war models differ slightly from early war ones.
- Always check the condition of the sweatband; replace it with a reproduction if the original is too brittle.
Uniform and Footwear: Dressing the Part
The standard USMC uniform in WWII was the herringbone twill (HBT) utility uniform, often in sage green or olive drab. Marines wore the HBT shirt and trousers in most combat environments, though some units wore the M1941 jacket in colder weather. When building your impression, choose HBTs that match the correct shade and cut for your specific theater and time period. For example, early war uniforms had a darker green hue, while later war ones were lighter.
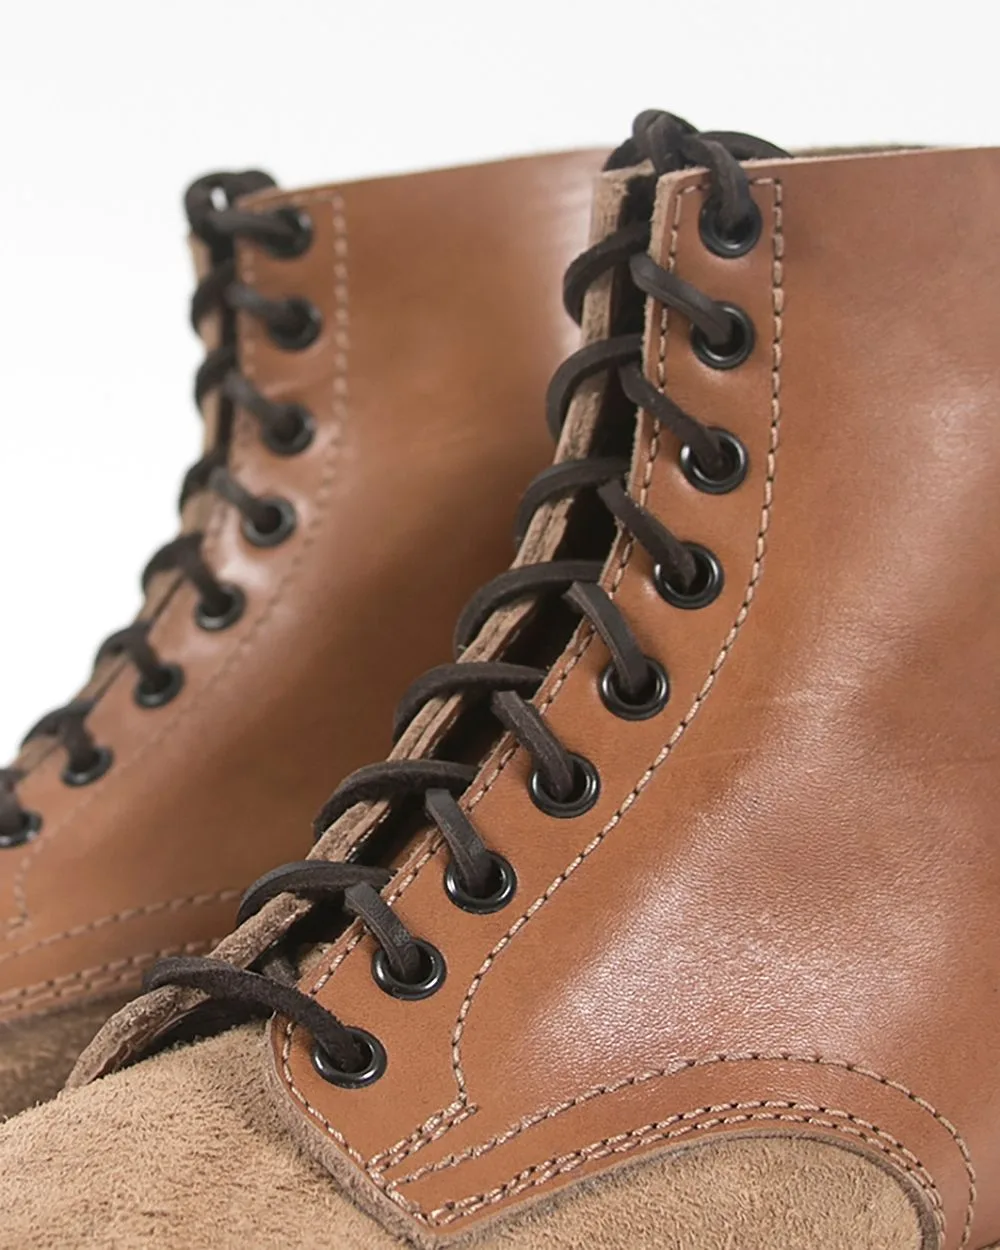
Footwear is equally important. The M1941 boondocker boot is the definitive Marine boot of WWII. These rough-out leather boots provided durability and traction on the muddy islands of the Pacific. Ensure your boots are properly broken in before a reenactment to avoid blisters. Pair them with canvas leggings or the M1938 gaiters to keep debris out and maintain the authentic silhouette. A complete impression also requires proper insignia, such as the Marine Corps emblem on the collar.
- Look for HBT uniforms with the correct button placement and pocket sizes for your chosen year.
Webbing and Load-Bearing Equipment
The M1910 and M1923 webbing systems were standard for Marines, often modified with additional pouches for ammunition and gear. A key piece is the https://wildernessworks.shop/products/m1910-canteen-cover-99278M1910 Canteen Cover, which holds the iconic M1910 canteen and cup. This cover attaches to the cartridge belt and is essential for hydration in the field. When selecting a canteen cover, look for one with the correct metal snap and belt loops that fit your webbing.
Ammunition pouches are another critical component. The .45 Ammunition Pouch, Kirkman is a great choice for carrying pistol magazines or loose rounds. Marines often carried a mix of M1 Garand clips and .45 ammunition, depending on their role. The cartridge belt should hold multiple pouches and suspenders for weight distribution. For a complete loadout, consider adding a first aid pouch and a bayonet. The https://wildernessworks.shop/products/original-m1-garand-bayonet-grade-3-99215Original M1 Garand Bayonet, Grade 3 is a solid, affordable option that adds authenticity to your impression.
- Test your webbing setup by wearing it for an hour to ensure pouches are positioned comfortably.
Weapons and Accessories: The Final Details
The M1 Garand was the primary rifle for USMC infantry, but the M1 Carbine and Thompson submachine gun were also used. If you choose to carry a Garand, ensure your bayonet and scabbard match the correct type. The M1905 bayonet was standard early in the war, later replaced by the M1 bayonet. For reenactment safety, use deactivated or replica weapons, and always follow event safety rules.
Other accessories like the M31 Rucksack are useful for carrying extra gear during longer events. While the Marine Corps used various packs, the M31 is a good choice for a late-war impression. Additionally, a compass, entrenching tool, and gas mask bag can round out your kit. Remember that less is often more; a cluttered loadout can look unrealistic. Focus on the essentials and add items that your specific unit would have carried.
- Consult period photographs of your chosen unit to see exactly what gear they used.
Building a complete USMC impression for reenactment takes time and research, but the result is a kit that honors the legacy of the Marines who served. Start with the basics like the helmet liner and sweatband, then build up your uniform and webbing. For a reliable and authentic addition to your loadout, check out the WWII US Helmet Liner Sweatband to ensure your helmet fits perfectly. With attention to detail and quality gear, you will create an impression that stands out at any reenactment.