Getting Started with Your 3D Wooden Sphere
The Australian Geographic 3D Wooden Sphere is a satisfying interlocking brain teaser that challenges you to take apart and reassemble a beautifully crafted wooden sphere. Compact and tactile, it's the kind of puzzle that looks deceptively simple but keeps curious minds genuinely engaged.
Before you begin, clear a flat surface with good lighting. The sphere comes fully assembled, so your first step is to carefully take it apart to understand how the pieces fit together. This initial disassembly is part of the fun and helps you learn the puzzle's logic.
What You Get
-
Australian Geographic 3D Wooden Puzzle - Sphere: The Australian Geographic 3D Wooden Sphere is a satisfying interlocking brain teaser that challenges you to take apart and reassemble a beautifully crafted wooden sphere. This is a single-piece puzzle (no loose parts to lose) that rewards patience and spatial thinking.
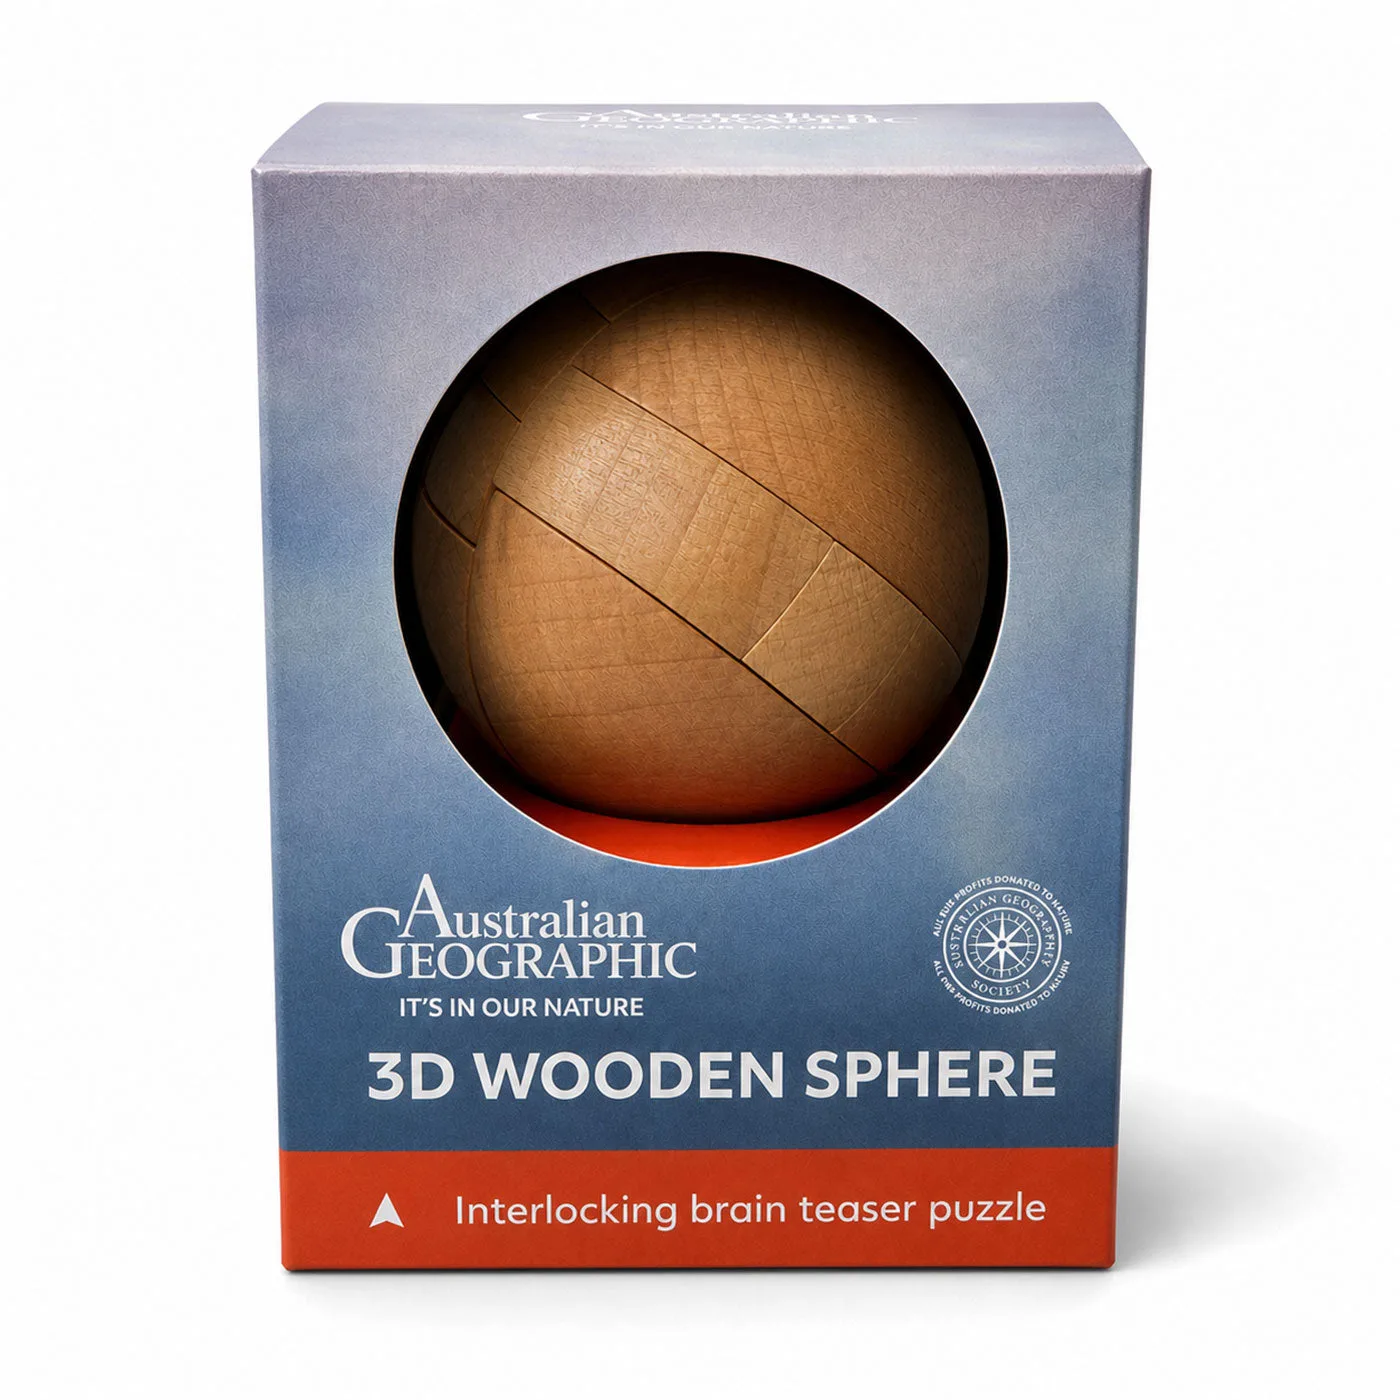
Australian Geographic 3D Wooden Puzzle - Sphere
-
Australian Geographic 3D Wooden Puzzle - Sphere: Compact and tactile, it's the kind of puzzle that looks deceptively simple but keeps curious minds genuinely engaged. Its small size makes it perfect for desks, coffee tables, or travel – a great screen-free challenge anywhere.
-
Australian Geographic 3D Wooden Puzzle - Sphere: A great screen-free challenge for problem solvers of all ages, and a handsome piece to keep on a desk or coffee table. No batteries or instructions needed – just your hands and your brain. It doubles as a decorative object when solved.
Step-by-Step Assembly Guide
The sphere is designed to be taken apart and reassembled. There is no single correct starting point, but the following approach works well for most people.
- 1. Study the assembled sphere: Turn the sphere in your hands and look for the natural seams where pieces meet. The interlocking design means each piece holds its neighbors in place.
- 2. Disassemble carefully: Gently wiggle and slide pieces apart. Do not force anything – the wood should move smoothly. Note which pieces seem to be key holders (they may be slightly different in shape).
- 3. Lay out the pieces: Arrange the wooden pieces on your work surface so you can see them all at once. This helps you spot symmetry and matching edges.
- 4. Find the first interlock: Look for two pieces that fit together with a notch or groove. Join them loosely – you may need to add a third piece to lock them in place.
- 5. Build outward: Add pieces one at a time, always checking that each new piece engages with at least two existing ones. The sphere shape will gradually emerge.
- 6. Final adjustments: Once all pieces are in place, gently press the sphere together so it feels solid and round. It should hold together without glue or fasteners.
Tips for Success
Work slowly and enjoy the process. The puzzle is designed to be solved without force – if a piece doesn't fit, try rotating it or swapping its position with another piece. Some people find it helpful to take a photo of the assembled sphere before disassembling it, as a reference for the final shape.
This is a great activity for solo problem-solving or for sharing with a friend. It also makes a thoughtful gift for anyone who enjoys hands-on challenges.