Quick answer
Build the eitech sightseeing bus from the chassis up: sort parts by size, assemble the frame on a flat surface, align the body before tightening, and fit wheels last. Keep screws loose until each section is square, then tighten in a cross pattern. That order prevents twisted frames and scratched panels.
A sightseeing bus looks simple until you tighten the frame too early and the body sits crooked. The fix is not more force; it is a better order. Build from the chassis upward, keep each stage loose until it is square, and check alignment before you commit.
This guide walks through the eitech bus assembly in practical steps, with the mistakes that most often cause a rough finish. You do not need special tools, but you do need a flat surface and a little patience with small parts.
Set up before you assemble the eitech bus
Empty the parts onto a tray with a rim so small screws and brackets do not roll away. Sort by type: axles, brackets, plates, and wheels in separate piles. Keep the instructions open at the parts list and check off each group as you find it. This five-minute habit prevents most mid-build searches and stops you from forcing a similar-looking part into the wrong hole.
Work on a flat, hard surface such as a table or a cutting board, not a carpet. Soft surfaces let the frame flex while you tighten, which is a common cause of a twisted chassis. Good light from above also helps you see whether holes are truly aligned before you drive a screw home.
- Use a shallow tray or box lid to keep small parts contained.
- Check the parts list before starting so missing pieces are obvious early.
Build the chassis square, then tighten
Start with the main frame and fit screws finger-tight only. A frame that is tightened as you go locks in small errors. Once the base rectangle is together, press it flat against the table and check that it does not rock. If it rocks, loosen the nearest screws, realign, and tighten again in a cross pattern rather than around the edge.
This is where the eitech bus model guide matters most. The chassis sets every later dimension, so a square base makes the body panels line up later. If you are short on long axles for a stretched frame, check the size before substituting; a wrong length will pull the frame out of square.
- Tighten screws in a cross pattern, not in a circle, to avoid pulling the frame.
- Test for rocking on a flat surface before moving to the body.
Align the body panels before final tightening
Add the side panels and roof supports with the frame still slightly loose. Sight down the length of the bus from the front; the roofline should be straight, not bowed. If one side sits higher, find the bracket that is one hole off rather than bending the panel. Metal parts do not forgive bending, and a bent plate will show in the finished model.
For window openings and door frames, fit the surrounding plates first and check the opening size before adding glazing or trim. Small alignment errors multiply here. A bracket that is one hole out at the front can make the rear door frame look crooked.
- Sight down the roofline from the front to catch a bowed body early.
- Fix alignment by moving a bracket, not by bending a plate.
Fit wheels, axles, and finishing parts last
Install axles and wheels only after the body is square and tightened. This keeps the chassis flat while you work and avoids knocking wheels off repeatedly. Check that each axle turns freely in its bearings; if it binds, the frame may be slightly twisted or a bracket may be pinching the axle. Loosen the nearest screws, realign, and retest.
Add decorative parts and any remaining trim at the end. If you plan to display the bus, a small drop of craft glue on decorative pieces can stop them wandering, but keep glue away from axles and moving parts. For a cleaner finish, wipe fingerprints off plated parts with a dry, soft cloth as you go.
- Spin each wheel by hand; binding usually means a twisted frame, not a bad axle.
- Keep glue away from axles, gears, and any part that must move.
eitech sightseeing bus steps
- Sort and stage parts: Empty the kit onto a rimmed tray and sort by type: axles, brackets, plates, and wheels. Check the parts list before starting. Checkpoint: every group accounted for before you tighten anything.
- Assemble the chassis loose: Build the base frame with screws finger-tight. Press it flat on a hard surface and check for rocking. Mistake to avoid: tightening as you go, which locks in a twist.
- Square the frame and tighten in a cross pattern: Loosen the nearest screws if the frame rocks, realign, then tighten diagonally across the frame rather than around the edge. Checkpoint: the frame sits flat with no rocking before you add the body.
- Add body panels and check the roofline: Fit side panels and roof supports with the frame still slightly loose. Sight down the length of the bus from the front. Mistake to avoid: bending a plate to fix alignment; move the bracket instead.
- Fit axles and wheels last: Install axles and wheels after the body is square and tightened. Spin each wheel to check for binding. Checkpoint: all wheels turn freely and the bus rolls straight.
- Finish and clean: Add decorative trim, then wipe plated parts with a dry, soft cloth. Keep glue away from axles and moving parts. Next step: display the bus on a flat shelf to avoid long-term frame stress.
Parts that help with a cleaner bus build
- Axle profile 4x330 mm galvanized: The eitech Axle Profile is a galvanized component supplied in a 4 x 330 mm size, listed under the Manufaktur tag with SKU Standard, code 01367P. A long, straight axle helps keep a stretched bus chassis square, and the galvanized finish resists handling marks while you assemble.
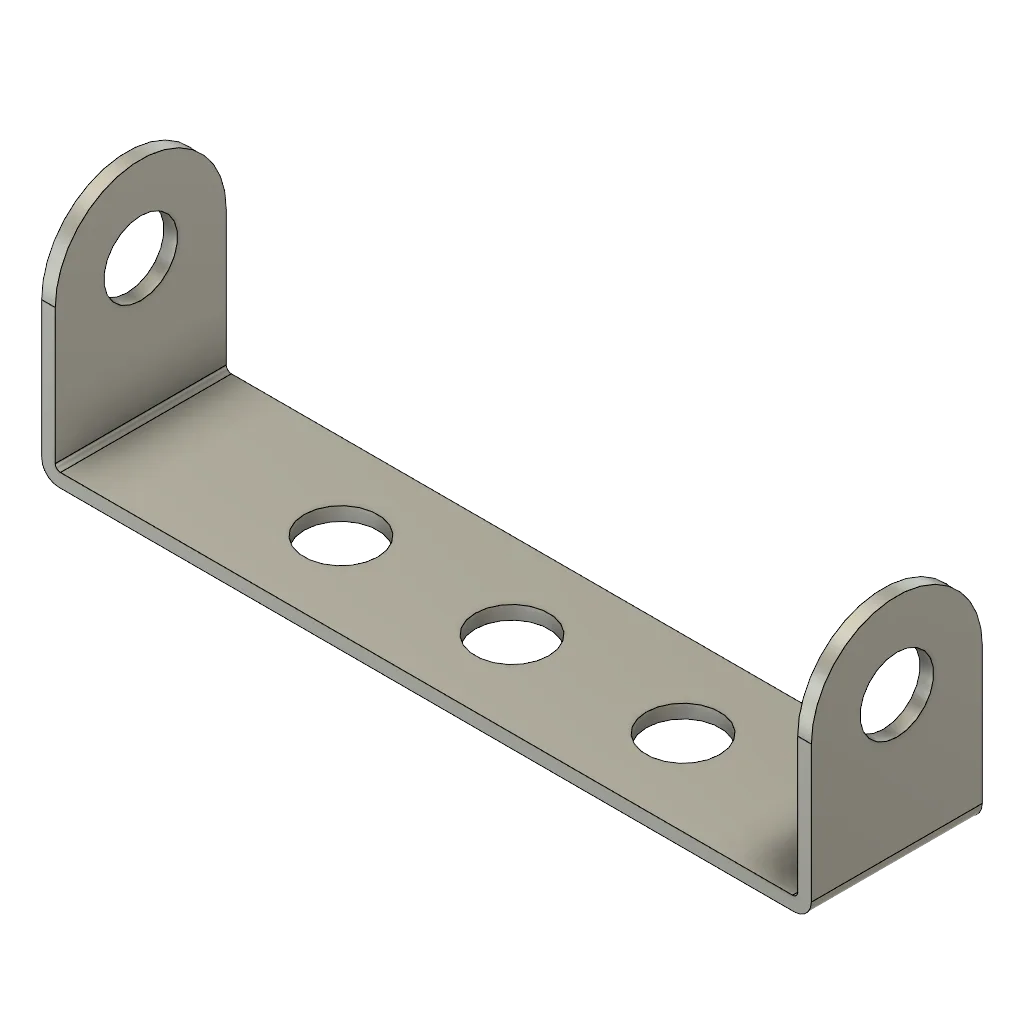
- Bracket 3x1-hole (large): The eitech Bracket 3x1-hole (large) is a component from the eitech Manufaktur line, offered under SKU 01202 in the Standard option. These brackets are useful for reinforcing body corners and roof supports, which reduces flex when you tighten the final screws.
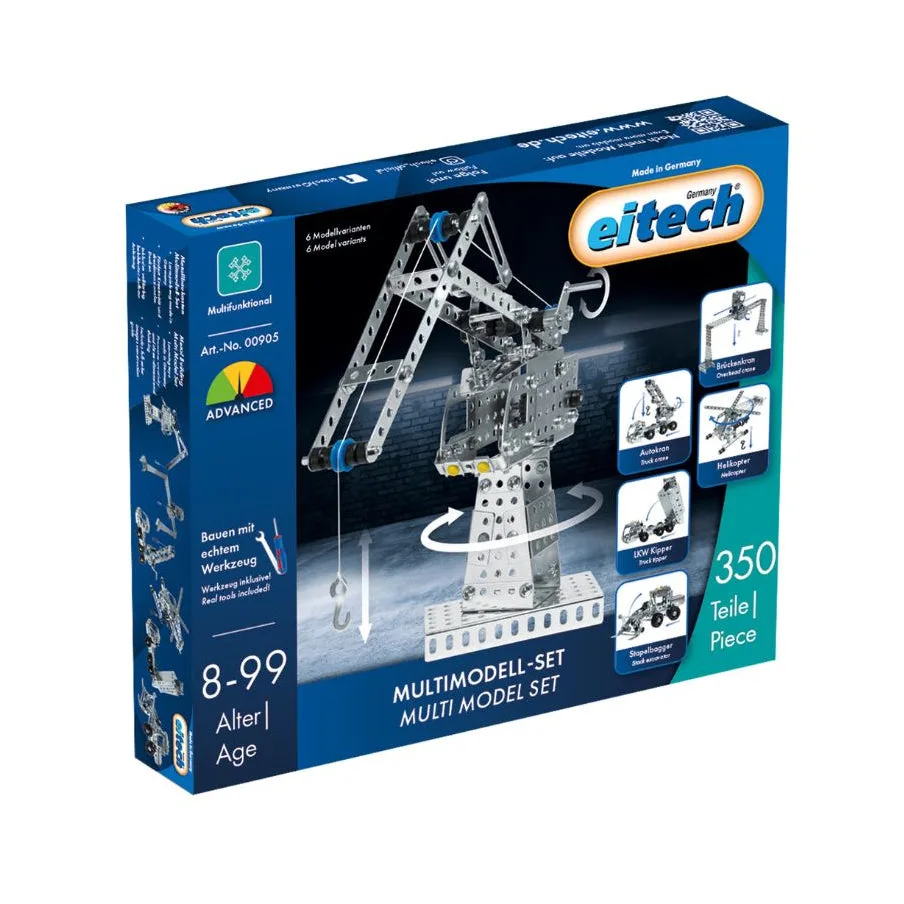
- Multi-model set: The multi-model set consists of 350 components that can be used to create six different construction objects, including a crane, helicopter, and dump truck, with listed model dimensions for each. If you are deciding whether a bus-style build fits your spare parts, this set shows the range of models eitech supports and gives you a broad parts pool for practice builds.
A cleaner eitech sightseeing bus comes from order, not force: sort first, build the chassis loose, square it, then tighten and fit wheels last. Check alignment at each stage and the finish takes care of itself.