Building a Gundam bust is a rewarding project that lets you focus on the intricate details of your favorite mobile suit without the commitment of a full kit. The 1/35 scale is particularly popular for busts because it offers impressive size and presence, making it a centerpiece for any collection. In this guide, we'll walk you through the process of building a 1/35 Barbatos bust, from preparation to final assembly, ensuring you get the best results.
Whether you're a seasoned builder or new to the hobby, this guide will provide you with practical tips and techniques to make your Barbatos bust stand out. We'll cover everything from the tools you'll need to advanced painting and weathering methods. By the end, you'll have a stunning display piece that showcases your skills and passion for Gundam.
Why Choose a 1/35 Gundam Bust?
Busts are an excellent way to highlight the mechanical detail of a Gundam without the complexity of a full model. The 1/35 scale offers a larger canvas, allowing for more intricate panel lines, weathering, and customization. For Barbatos, with its distinctive silhouette and intricate inner frame, a bust lets you appreciate the design up close.
Additionally, busts are often more affordable and quicker to build than full kits, making them perfect for hobbyists who want a satisfying project with a shorter time commitment. They also make great gifts or display pieces for your desk or shelf.
- Larger scale means more detail visibility
- Shorter build time compared to full kits
- Great for practicing advanced techniques
Tools and Materials You'll Need
Before you start, gather the essential tools: a hobby knife, nippers, sanding sticks or files, a cutting mat, and plastic cement or super glue. For painting, you'll need primer, acrylic or enamel paints, brushes, and an airbrush if you prefer. Also, consider panel line accent colors and a top coat to protect your work.
Having a clean, well-lit workspace is crucial. Make sure you have good ventilation if you're using sprays or glues. Organize your parts by labeling them or using a parts tray to avoid losing small pieces.
- Use a glass file for clean nub removal
- Invest in a good quality hobby knife for precision
- Keep your workspace tidy to avoid losing parts
Step-by-Step Assembly Process
Start by carefully removing parts from the runners using your nippers. Cut a bit away from the part to avoid stress marks, then trim closer with a hobby knife. Sand down any remaining nubs with a fine-grit sanding stick or glass file. Pay extra attention to visible areas like the face and chest.
Dry-fit the pieces before applying glue to ensure alignment. Once you're satisfied, apply a small amount of cement to the joints and press together. Hold for a few seconds to set. For parts that need to be movable, consider using a small amount of super glue or leaving them unglued.
As you assemble, refer to the instruction manual. The Barbatos bust may have a complex inner frame, so take your time to understand how pieces fit. If you encounter tight fits, gently sand the pegs or holes to adjust.
- Always dry-fit before gluing
- Use a toothpick to apply glue precisely
- Let glued parts cure completely before moving on
Painting and Detailing Your Barbatos Bust
Painting brings your bust to life. Start by priming the entire model with a fine primer to help paint adhere and reveal any imperfections. Use a gray primer for light colors and black for dark colors. After priming, inspect for any seams or blemishes and fix them with putty if needed.
For the Barbatos, the signature colors are deep blues, reds, and gold accents. Use masking tape to create sharp color separation. Airbrushing gives a smooth finish, but brush painting works well with thin coats. After the base colors, apply panel line accent to the recessed lines to add depth. Wipe away excess with a cotton swab.
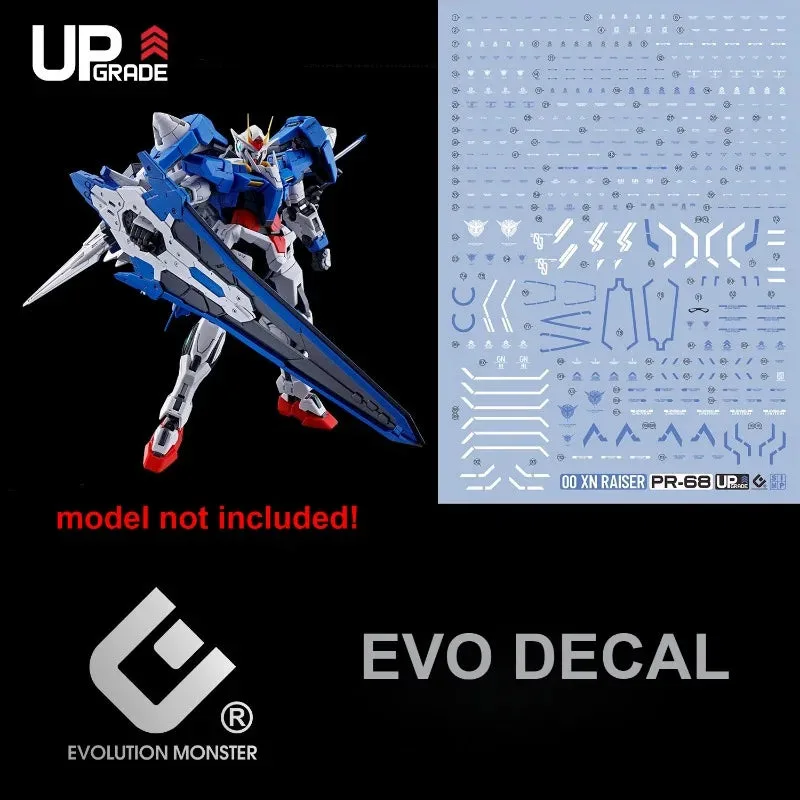
Consider adding water decals for extra detail. If you have decals from a kit like the Holographic Water Decal for MGEX Unicorn Gundam, you can adapt them, but for Barbatos, you might find specific decals. Apply decals over a gloss coat for best results, then seal with a top coat.
- Use a gloss coat before decals to prevent silvering
- Practice panel lining on scrap plastic first
- Seal your work with a matte or gloss top coat
Advanced Techniques: Weathering and Customization
Weathering adds realism and character to your bust. Techniques like dry brushing, washing, and chipping can make the model look battle-worn. Start with a dark wash to bring out panel lines, then dry brush a lighter color on edges to simulate wear. For chipping, use a sponge or a fine brush with a metallic paint.
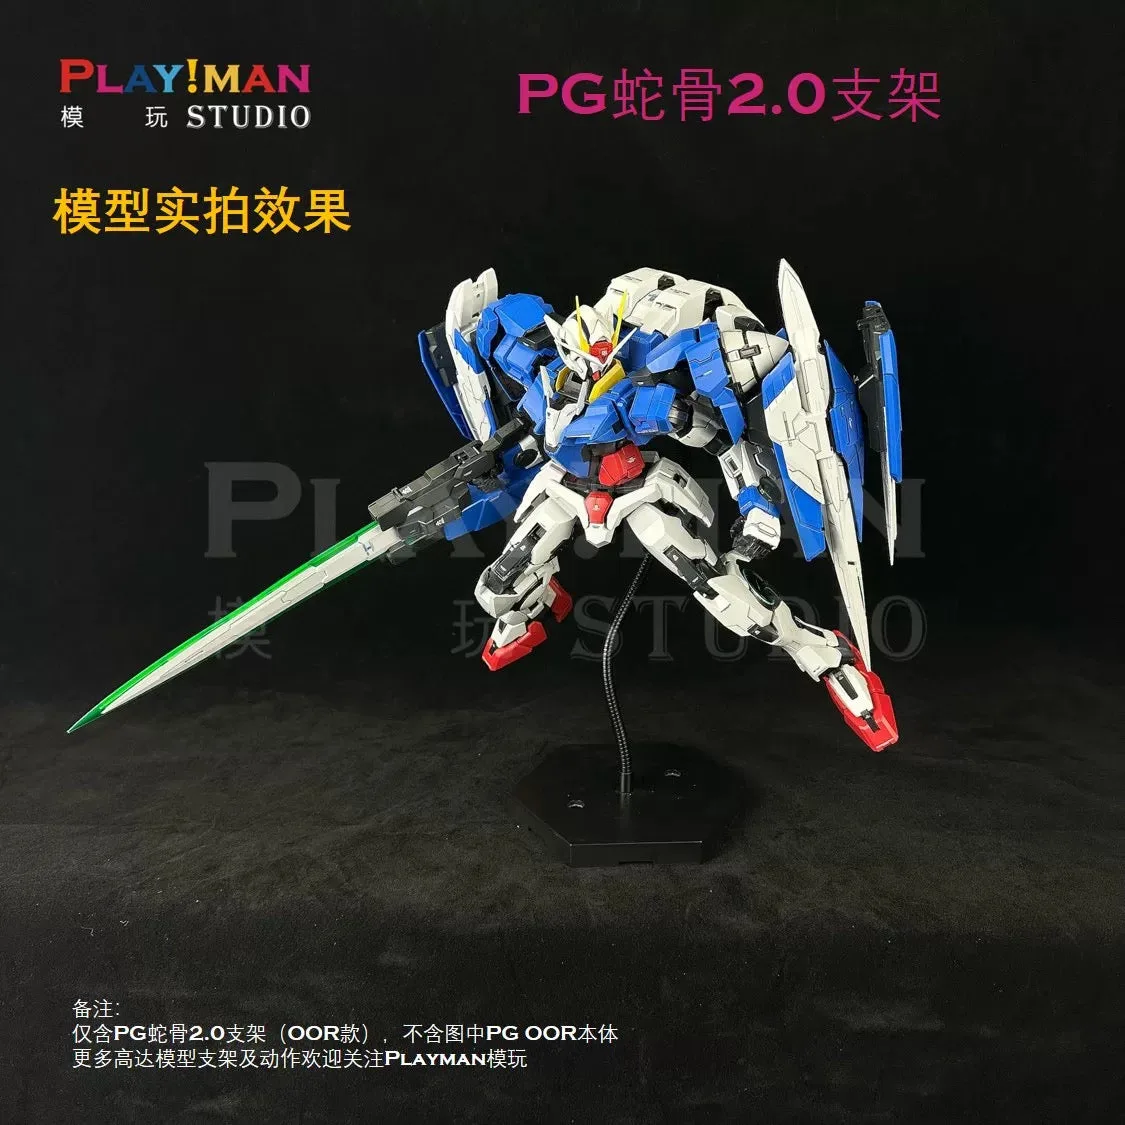
You can also customize your bust by adding LED units for glowing eyes or replacing parts with resin conversions. If you're into third-party parts, there are many options to enhance your build. For example, you could use an action base like the Playman Studio Snake Bone Action Base Stand to display your bust dynamically, though it's designed for PG Unicorn, it might be adaptable with some modification.
- Practice weathering on a spare part first
- Use a satin top coat for a realistic finish
- Don't overdo weathering – subtlety is key
Displaying Your Finished Bust
Once your bust is complete, it deserves a great display. A simple shelf with good lighting can make a huge difference. Consider using a display case to protect it from dust. If you want to add a dynamic pose, you might use an action base, but for a bust, a sturdy stand is often sufficient.
You can also create a themed display with other Gundam models or accessories. For example, pairing your Barbatos bust with a model like the Daban PG Gundam Unleashed RX-78-2 can create an impressive comparison. Alternatively, you could showcase it alongside other busts or as part of a larger collection.
- Use a dust-free display case
- Position lighting to highlight the details
- Rotate your display periodically to prevent dust buildup
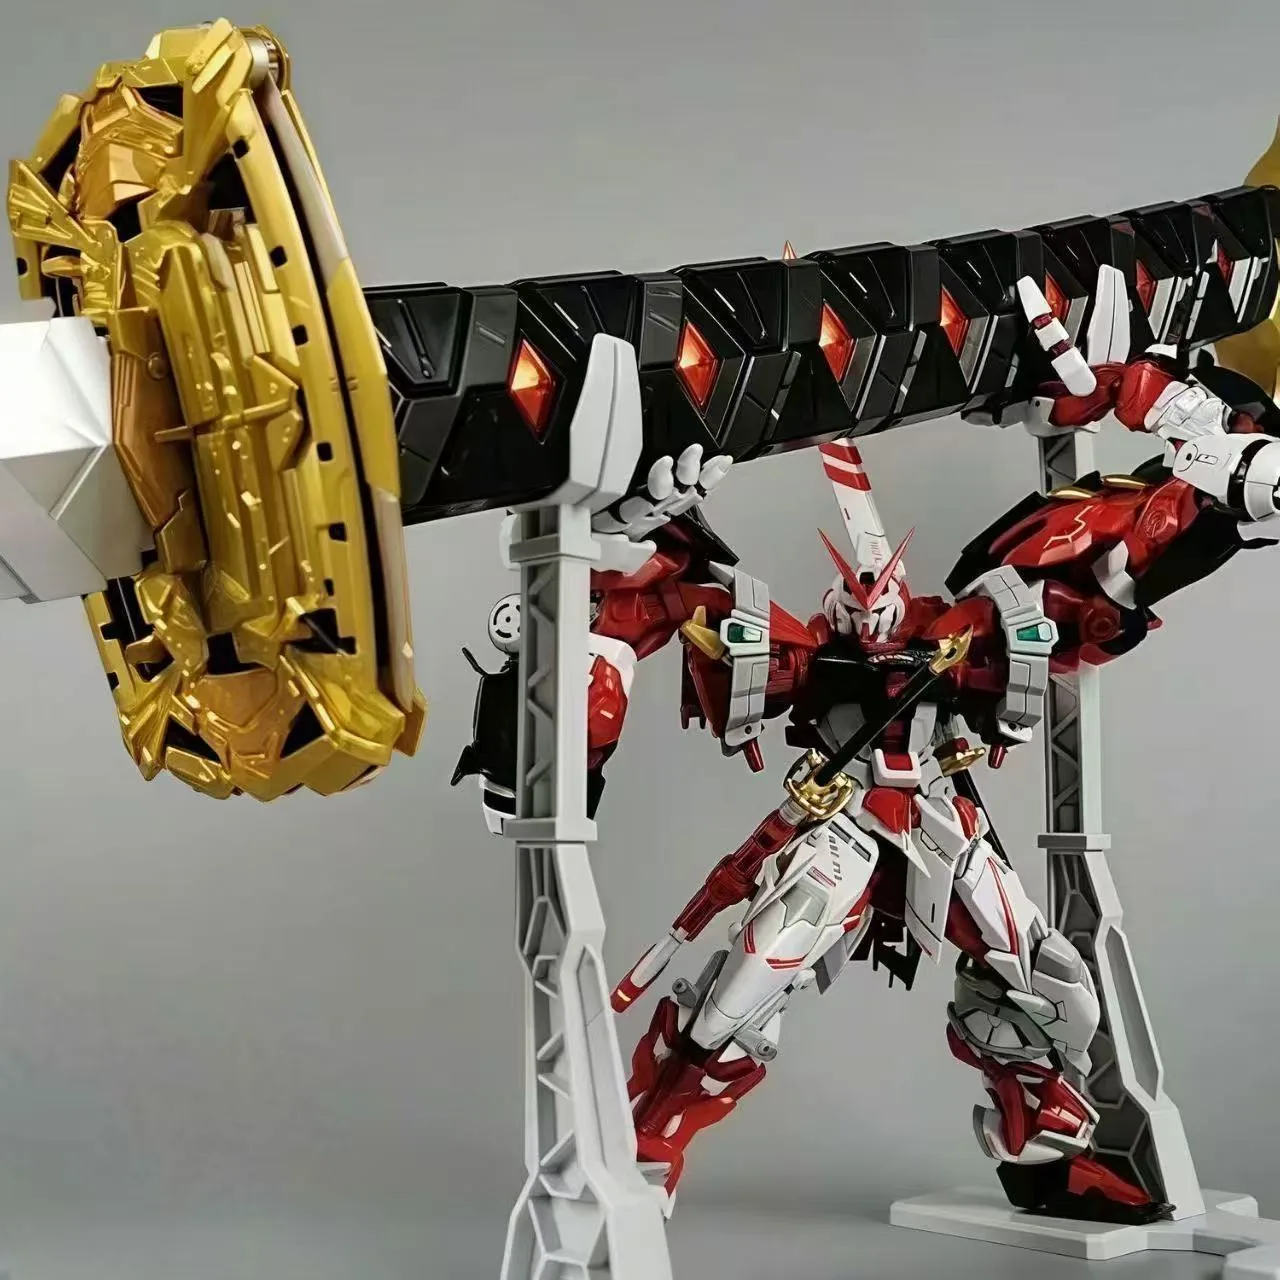
Building a 1/35 Barbatos bust is a fulfilling project that enhances your modeling skills and results in a striking display piece. Whether you're a beginner or expert, the techniques covered here will help you achieve a professional-looking finish. For more model kits and supplies, check out our selection, including the Bandai China Limited MG 1/100 GUNDAM ASTRAY CROSS CONTRAST COLORS [WHITE] for your next project.
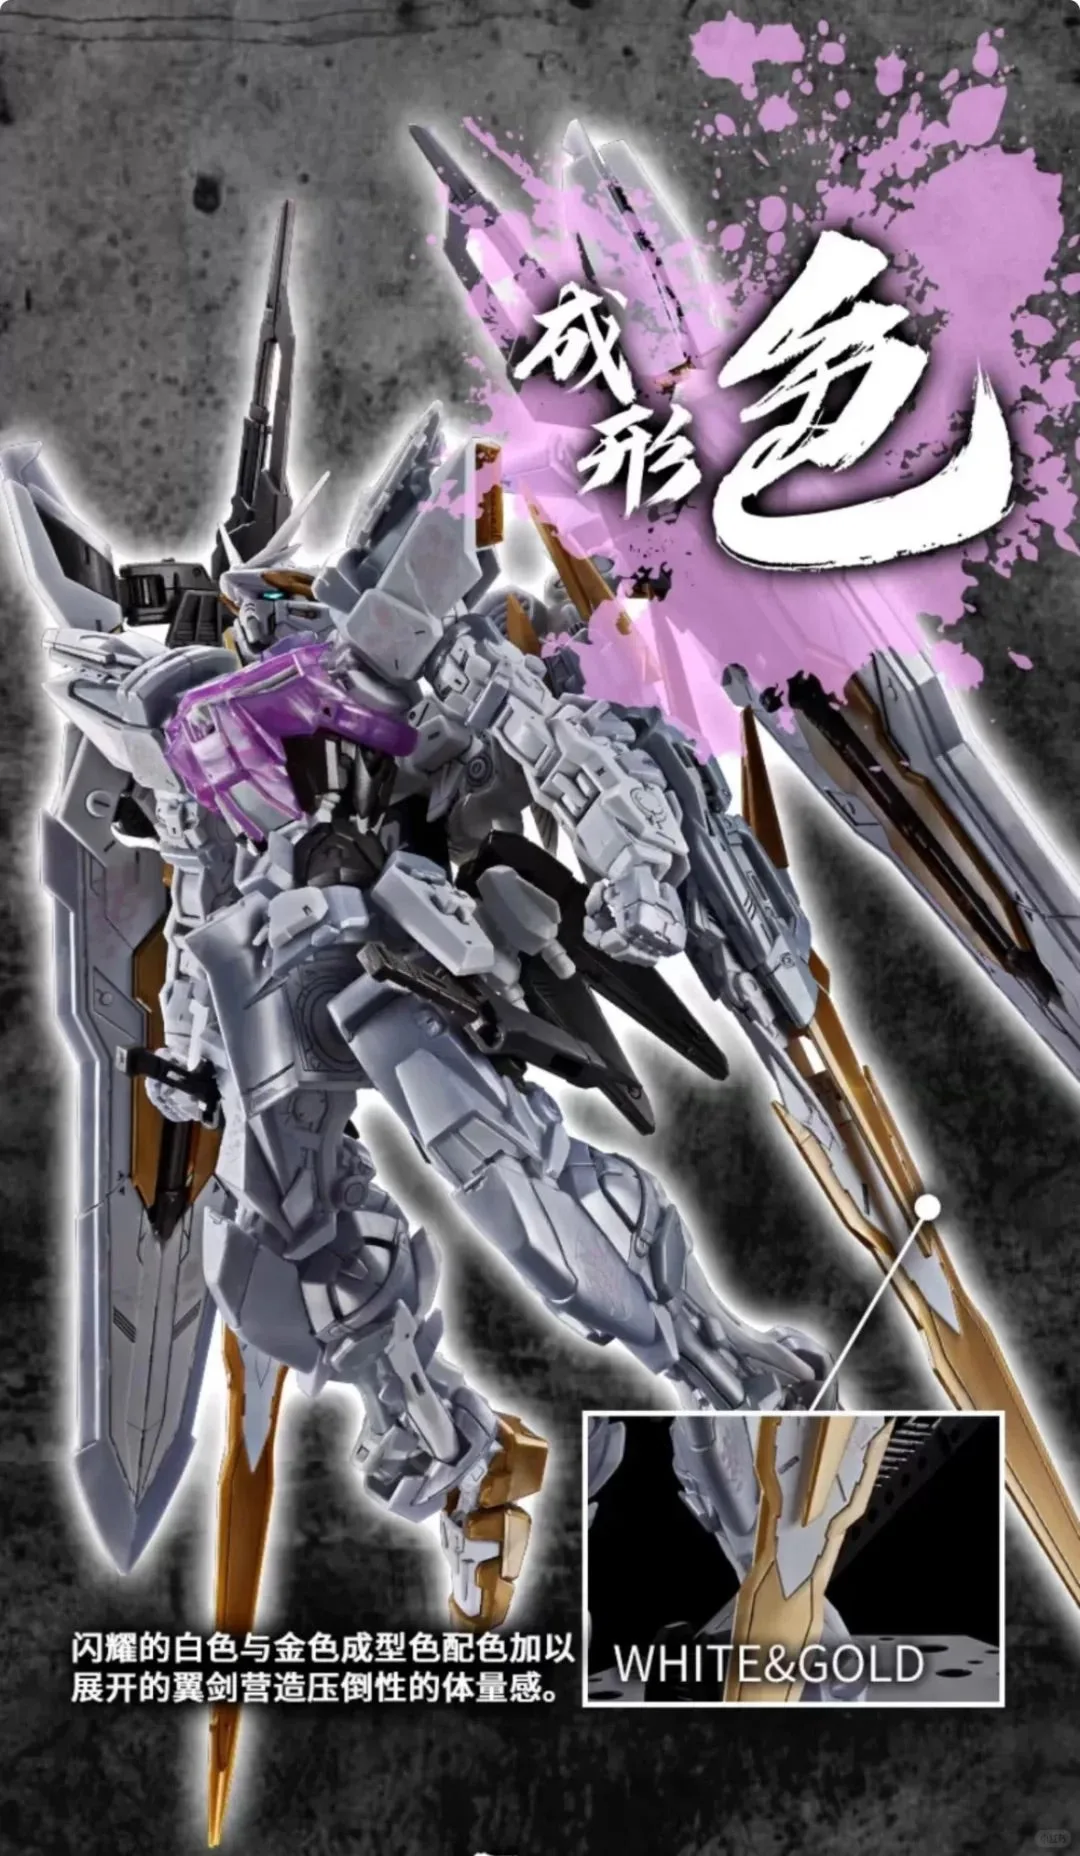
Bandai China Limited MG 1/100 GUNDAM ASTRAY CROSS CONTRAST COLORS [WHITE]